Exposure is a tricky thing.
One day you think you got it. The next day you get hit with a few surprises.
I have made every mistake I can when it comes to exposure.
I’ve underexposed when I thought I was over. I’ve overexposed when I thought I didn’t have enough light.
You name it I have done it and the majority of the time, the problems start when I lose trust in my system and step outside my exposure methodology to go rouge.
Today I wanted to look at how I use a two LUT production system for on set work to attempt to eliminate as many exposure issues as possible.
Evaluating Exposure & Modern Cinematography
The ways of gauging values, understanding levels, and visualizing light have dramatically changed in the past few decades. Where light meters once ruled, now a whole plethora of options exist.
Mastering consistent, repeatable exposure results is a daily battle and as high dynamic range digital cameras have become the norm LUTs are becoming an increasingly large piece to the exposure puzzle.
Let’s start at the beginning.
Don’t know what a LUT is?
Yes?
Good. You should at this point.
No?
Now is the time to google that. Or maybe start with What is a LUT? from the good folks over at Light Illusion.
There is more detailed info already outlined there then i could ever hope to share with you.
Understanding LUTs and how they interact with your exposure workflow can be the difference between good results and great results.
My Exposure Workflow: Production LUTs
Today I am laying out my methodology when using a two LUT process on productions.
One is a standard LUT and one is a custom LUT.
To download my custom LUT click here:
Please Note: This LUT is only for use with Arri Alexa files. It will work with other camera files but for best use stick with Alexa stuff.
To see just how important LUT management is we need to step back and see the whole exposure system.
My Preferred Exposure Tools
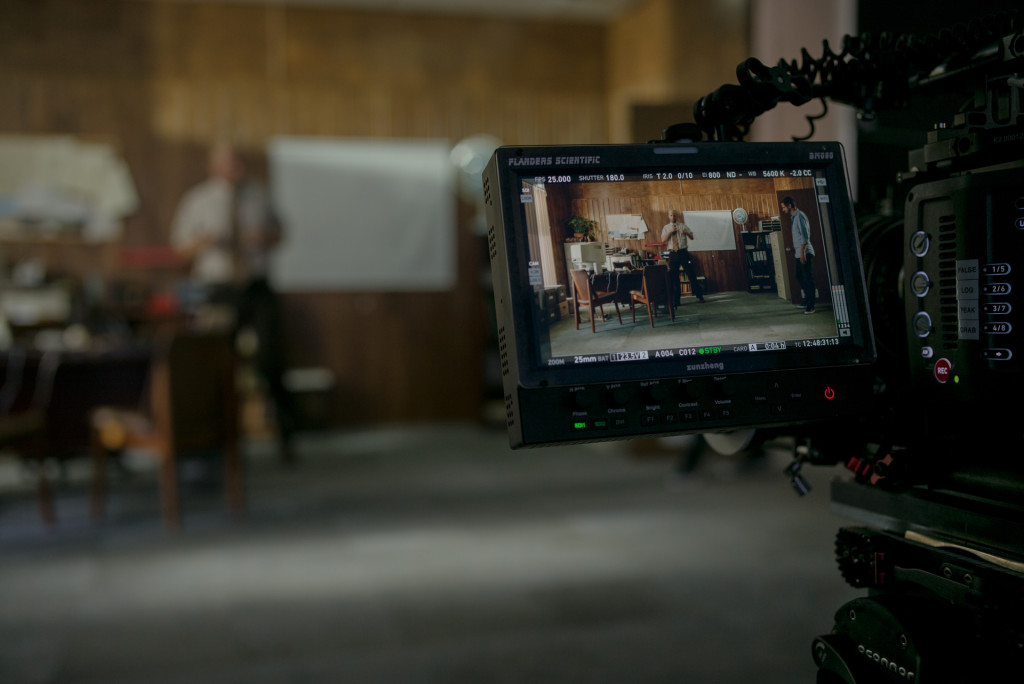
In the digital era there are many different ways DPs judge exposure.
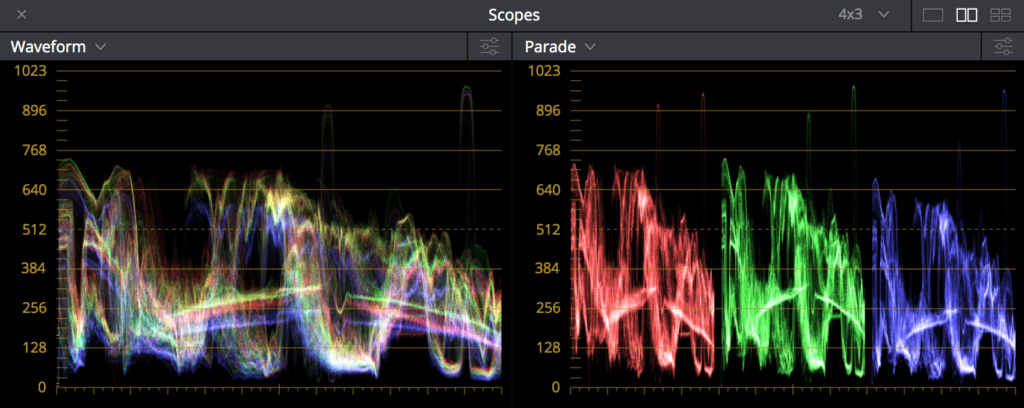
We have had DPs on the podcast who judge levels simply by looking at the on set monitor. I know others who use waveforms, histograms, rgb parades or false color. There are even the old cowboys still kicking along who use light meters.
All of these tools have their pluses and minuses (and in a future post I will outline the strengths of each) but one thing they all have in common is the need to understand your on set LUT.
My personal exposure system involves 3 techniques that all cross check one another.
I am a self diagnosed severe exposure paranoia sufferer. I can’t trust my eyes, monitors, light meters, false color. I’ve tried many times to no avail. I am hard wired to be paranoid about exposure.
I have found that using 3 techniques help me get consistent results (which in the game of mastering exposure is all you can hope for) and repeatable imagery.
1. False Color
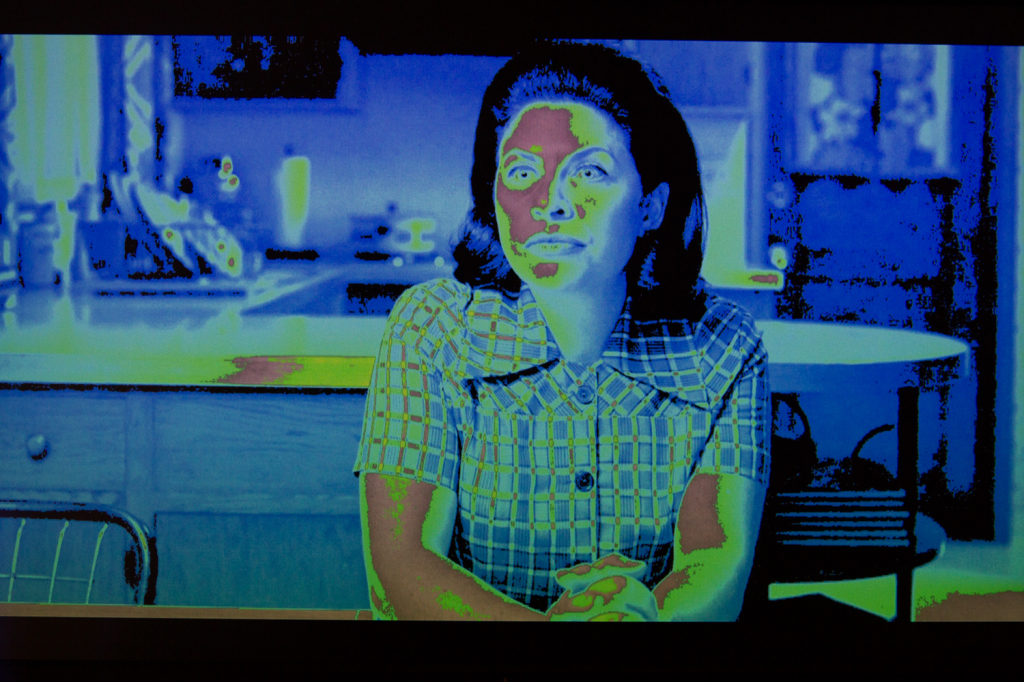
My main exposure tool is false color. I have talked about it many times on the podcast but still to this day I rely on this tool more than any other.
Pros
- Fast - All you have to do is click a button and you can see exactly where all your values are sitting.
- Objective - Monitors lie. They aren’t always calibrated. On set environment and fatigue cause eyes to adjust and over or underexpose. False color just states the facts.
- Non-intrusive - No need to go up and measure every light in front of the talent. Just hit the button and you get all the info
Cons
- Calibration - You must have a calibrated monitor which is harder than it sounds. If you don't know how hard it is to get a properly calibrated monitor your are not using one.
- Format Knowledge - To get the full benefits you need to be familiar with camera codes, formats, post workflows, and LUTs
- Availability - Not all monitor manufacturers have programmable false color as a feature.
Where does the LUT fit?
You need to know what you are looking at for the false colors to mean anything. The LUT translates the RAW sensor image into something we are more familiar with. Knowing exactly what the LUT is doing allows me to correctly interpret the levels.
2. Monitor
I light off the monitor.
It can get you in trouble pretty quick if you don’t know the monitor or its accuracy.
This is an even bigger problem when you are just starting out as calibrated on set monitors are expensive.
Pros
- Fast - What you see is what you get. It doesn't get much faster than that.
Cons
- Time - You need the camera to light. This isn't always possible of commercials.
- Luck of the Draw - Unless you own the monitor you are never going to see the same image twice.
- Eye Fatigue - On set environment and viewing conditions as well as energy levels can trick your eyes and cause under or overexposure.
Where does the LUT fit?
Same as with false color.
If you have a LUT that is transforming the values to be a stop darker than usual you would be in serious trouble if you were judging exposure off a monitor.
You need to know exactly how the LUT is transforming the data.
3. Light Meter
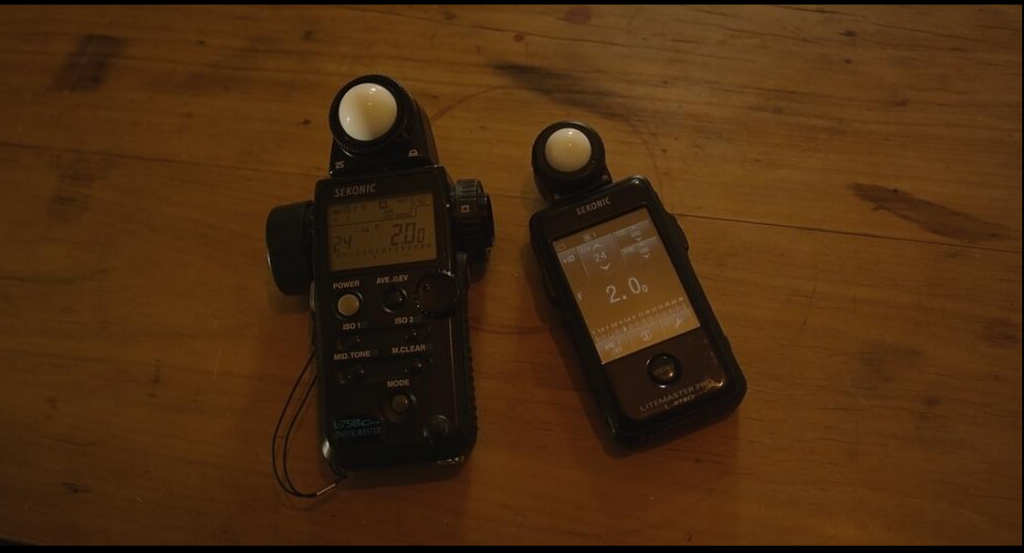
Tried and tested for decades the light meter is still the king of exposure tools.
It may not quite be as convenient as the other tools but if you want pin point accuracy then the light meter is your tool.
Pros:
- Tried & Tested - The system just works
- Speed - You don't need the camera to start lighting
- Knowledge - Once you learnt he system and what fits where that knowledge will spill into all aspects of your cinematography even when you aren't using a light meter.
Cons:
- Calibration - Over time you need to make sure your meter is calibrated to your sensor.
- Time - To get the most out of a meter you need to trust it and to trust it you need to do extensive testing.
- Skill - Learning how to use a meter can be tricky. You need to study and practice to make sure you are using it properly.
Where does the LUT fit?
Every sensor will break at some point. Different LUTs will show these breaking points at different times. Trust is all you have with a meter. You need to trust your system by knowing where your LUT will break the image.
The On-Set Workflow
I use these three tools on every job I shoot. I am constantly going back and forth between them to make sure they are all telling me the same thing.
Even when they tell me the exact same thing I still sometimes get suspicious that I am being tricked. It is a never ending battle.
Where LUTs Fit
To use my workflow I need to understand LUTs. They are critical for all 3 exposure methodologies.
Very rarely are you actually viewing what the sensor truly captures. The majority of the time you are looking at the values through a LUT.
I use two different LUTs for all my productions with Alexas and they each serve a very specific function.
LUT #1: The On Set LUT
My preferred on set LUT is the Arri LogC to REC709 LUT. I make no changes to the default. This is not groundbreaking but it is very intentional.
You can download the original in a few different flavors on the Arri LUT Generator page.
I like consistency. If I want to underexpose I want to do it willingly. Same with overexposure.
The beauty of the standard Arri LUT is that I will never show up to a shoot and get a DIT who forgot to load it in camera.
The other great thing about the standard LUT is it is contrasty. I like to make sure that the images on set are the worst anyone will ever see. I am not a big fan of strong contrast.
When working with the standard LUT I am always fighting the extreme contrasts. Having a workflow like this means my RAW LOG files will be even less contrasty at their 1s and 0s level. I am tricking myself even though I know and am aware of the trick.
After years of Alexa jobs I have become so familiar with the standard LUT that I can light more with my eyes.
So why a whole article on the subject of Arri Alexas and LUTs if I just use the standard version?
Aha…
LUT #2: The Dailies LUT
When shooting commercials I like control over the image. I want to squeeze every last drop of info out of the files in my favor. I also want to convince the director and post production team to follow me in a certain look direction.
Alexa files look nice out of the can. They look even better if you mine them for all they are worth. The true gold is almost always in the shadows.
This is why I developed my own Dailies LUT.
Using this LUT lets me employ my S+D technique. Squeeze and Drop. Not complicated but very effective for creating the tonal value I find appealing.
If you are a Patreon supporter make sure you check out the Patreon Podcast for episode #76 where I go into further detail about this technique. This S+D technique is the core of my exposure technique and discovering it has provided a massive boost in my imagery.
What Is Different About the Dailies LUT?
The Dailies LUT is based off the standard Arri LUT so overall it is not a huge departure but there are two things that make it stand apart.
1. Contrast - My Dailies LUT has a much lower contrast output than the standard.
Remember that I was already lighting low con to counteract the contrasty nature of the standard LUT. Now this LUT takes advantage of the files true potential. Lowering the contrast to a very specific point also increases apparent Dynamic Range.
2. Offset - The Dailies LUT has an Offset adjustment to bring the files down to a level where I think skin and background fall nicest on the sensor.
I am able to balance a healthy negative with a tonal map that I am happy with.
This LUT is not a grade and it is not meant to be one. It is simply a first step into a world more aligned with images that I find appealing.
How I use the Dailies LUT
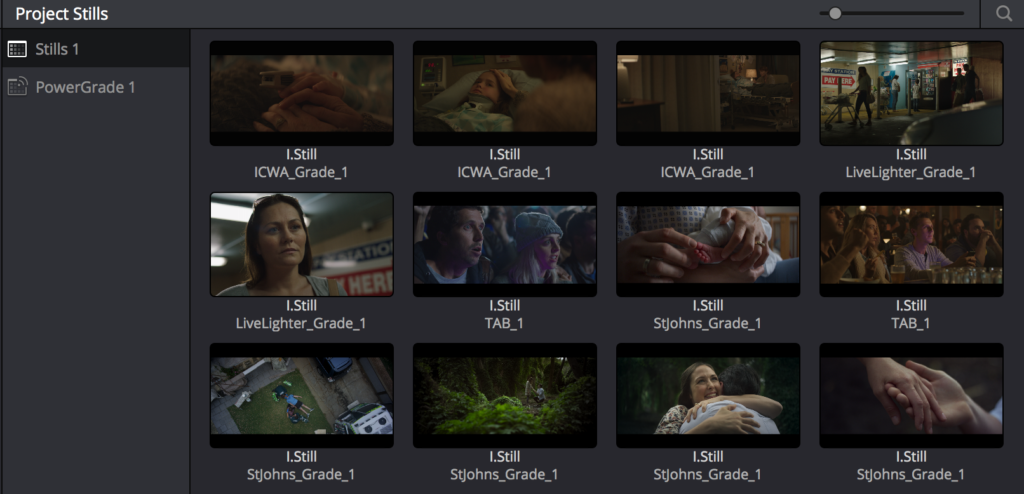
I will either gather stills or clips from a job and as soon as possible I will send files with the LUT to the director.
If it is a multi day job I will use the Dailies LUT to communicate with the team (gaffer, key grip) about looks and how we are traveling.
Why don’t I just shoot with the Dailies LUT?
A very simple question with an even simpler answer.
I don’t get as good a final result if I do.
As I said at the beginning of this article I am paranoid about exposure. If I use a lower contrast LUT I find myself misjudging values. This is just the workflow that I have found works best for me.
This only applies to Arri Alexa productions. If I am shooting RED it is an entirely different shooting and dailies LUT. I still use two they just aren’t the same.
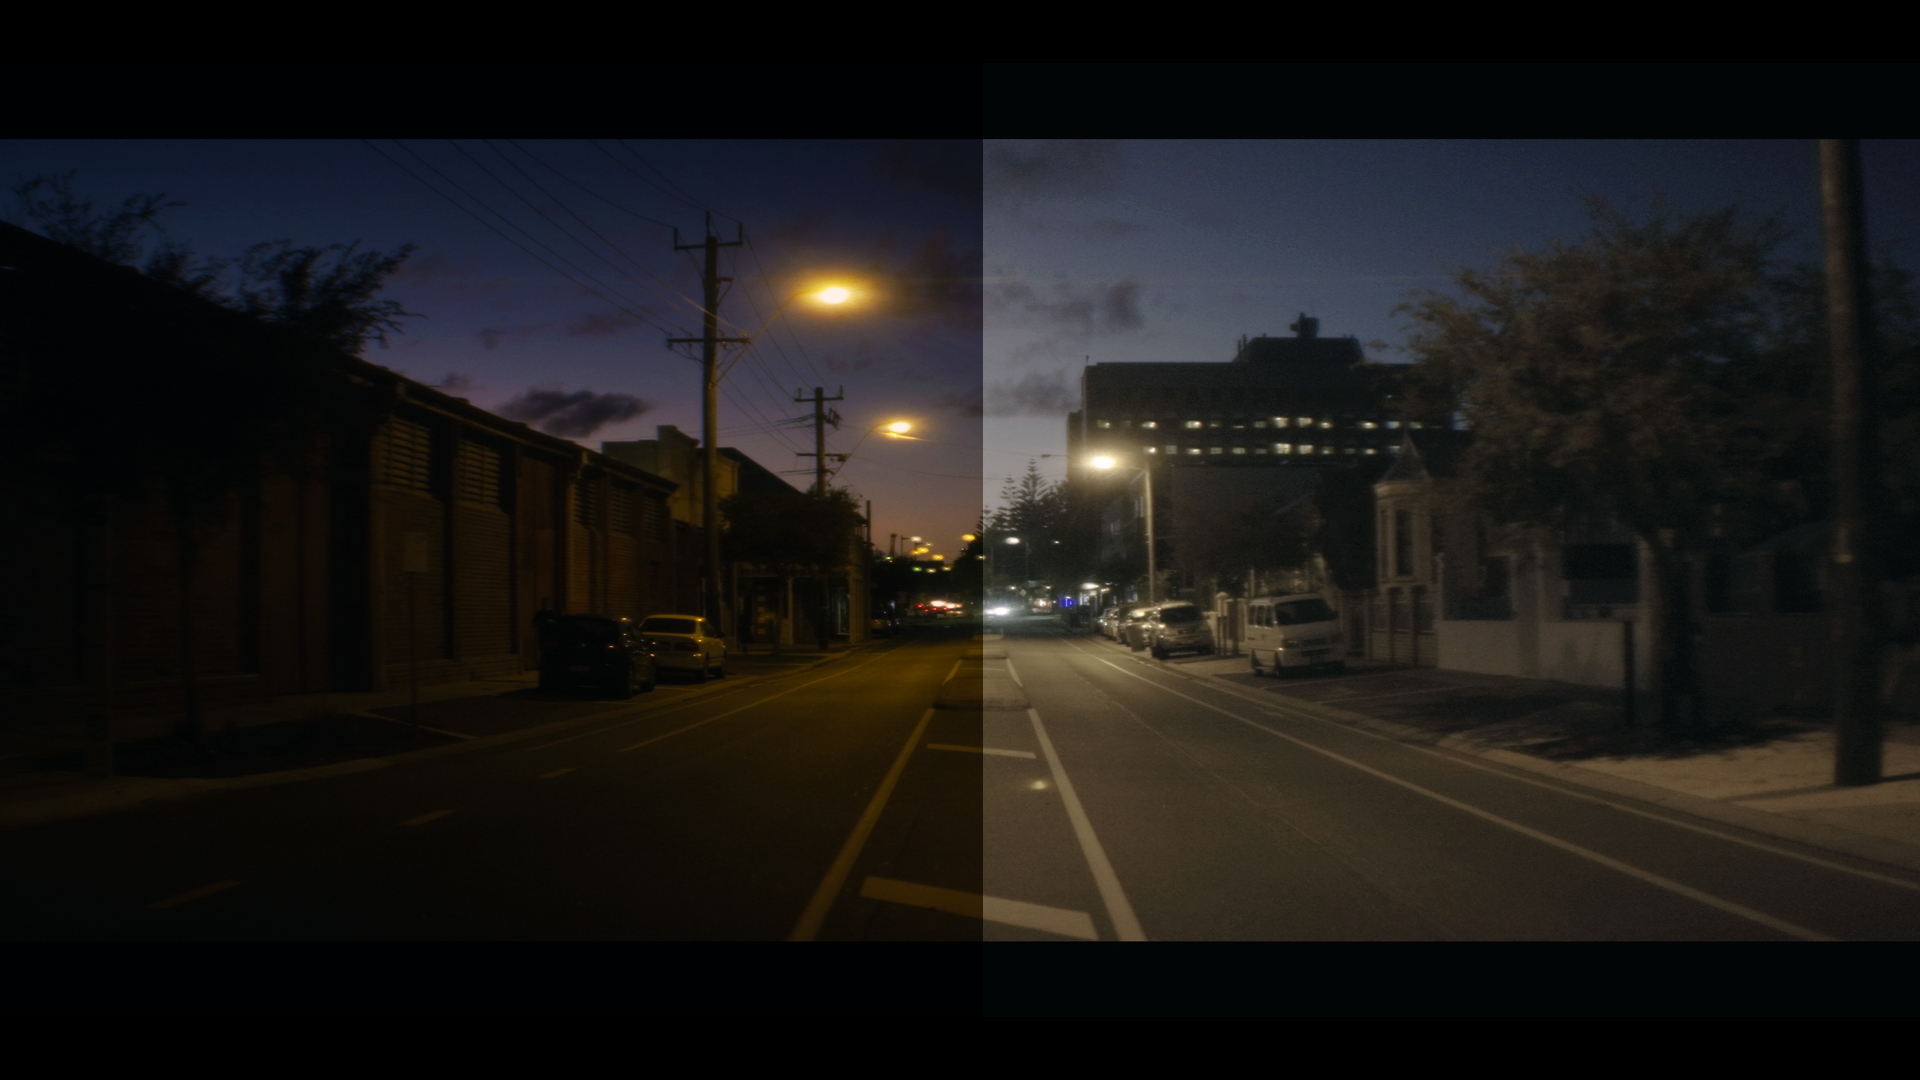
The End Result
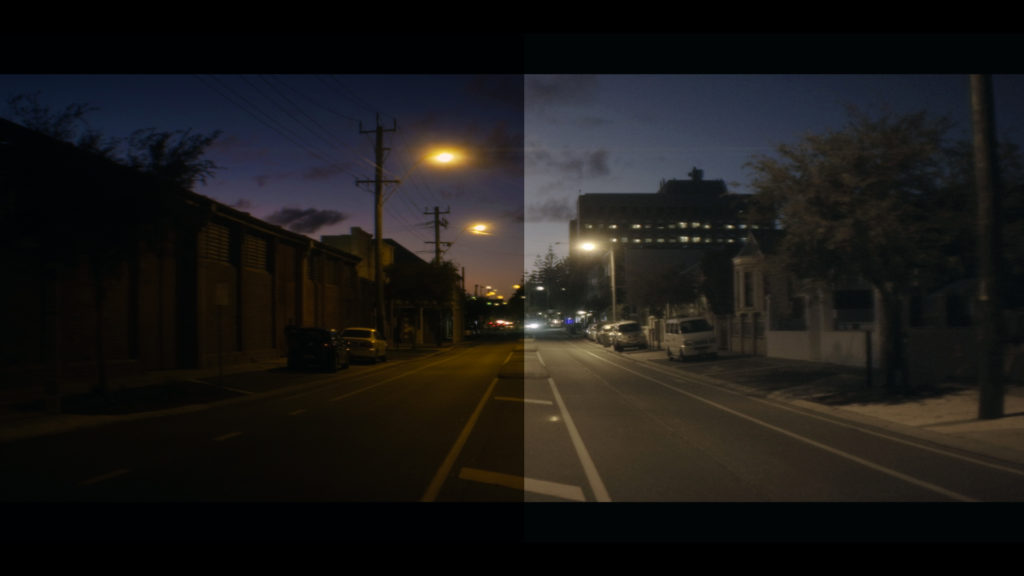
In the end all that matters is the final image.
Doesn’t matter how you get there just matters that you get there.
My exposure workflow requires a deep knowledge of the role the LUT plays and an understanding as to what lies beneath the LUT.
Chances are this won’t work for you. You may find a completely different way of doing things.
Either way, I challenge you to experiment with this system, research what LUTs are and why they exist, and find how you like to fit them into your exposure workflow.
Do you use specific in camera LUTs? If so, which do you prefer and why?