Listen to the Podcast:
This week on the show we welcome back Ian "The Wolverhampton Wonderboy" Rogers for a look at a recent TV commercial shot on Hawk Anamorphics and the RED Weapon.
In this episode we also chat about using LUTs on set and near set and how the proper workflow can help you lock in exposure.
Download the Dailies LUT
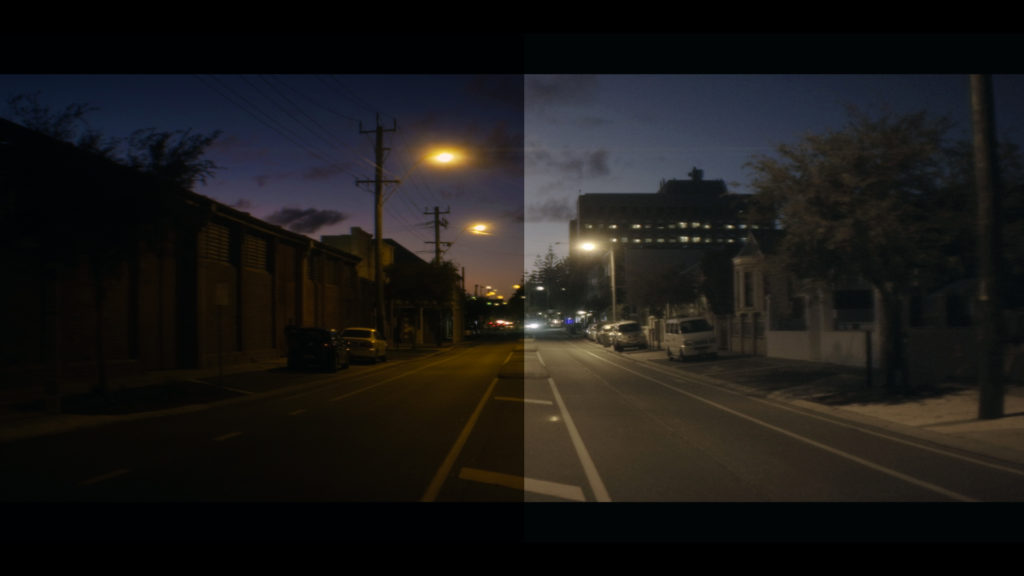
Early this week I put up a blog post, "Exposure & LUT Methodology: My Arri Alexa Workflow" where I posted my own custom Dailies LUT.
In case you missed it you can download the LUT by clicking the button below.
In this episode Ian and I chat in detail about where and when to employ this LUT and why I may be the only person alive doing this.
Patreon Podcast: The S & D Technique
The LUT workflow described in the Exposure blog post lays the general ground work for getting a sound negative but that is only half the battle.
This week on the Patreon Extended Podcast we go step by step through exactly how I use the LUT in my production workflow and the various cases where it can be beneficial.
If you are a Patreon supporter be sure to head to the Wandering DP Patreon page to get access to all the extended content from this and previous episodes.
Case Study: Hawk Anamorphics - The Final Images
Shot #1
Shot #2
Shot #3
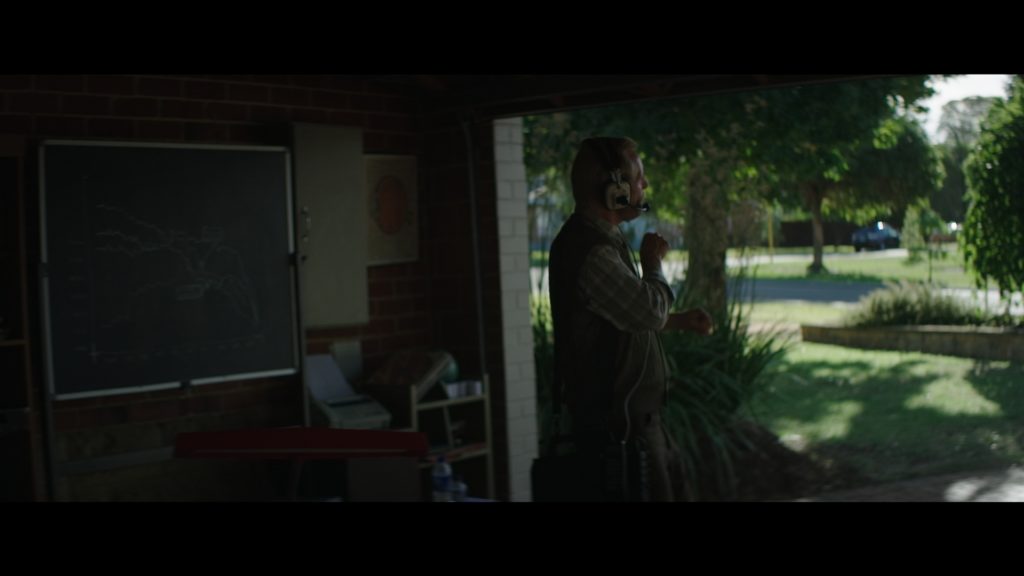
Shot #4
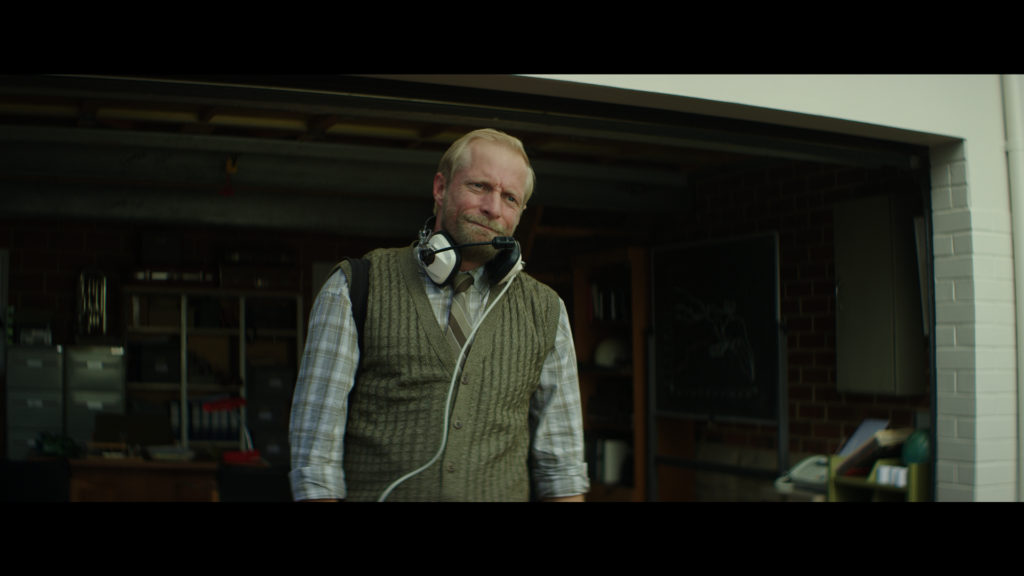
Shot #5
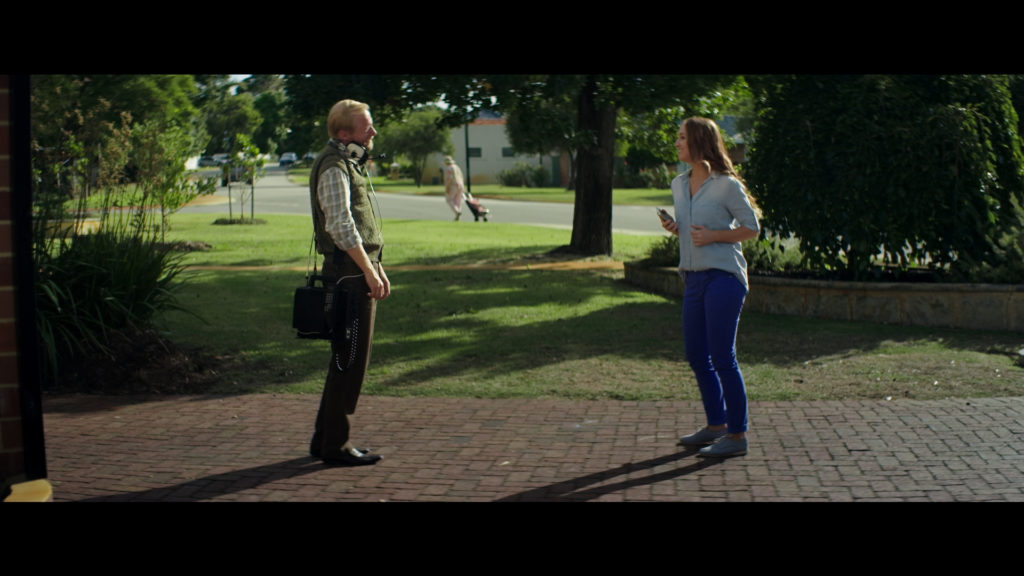
Shot #6
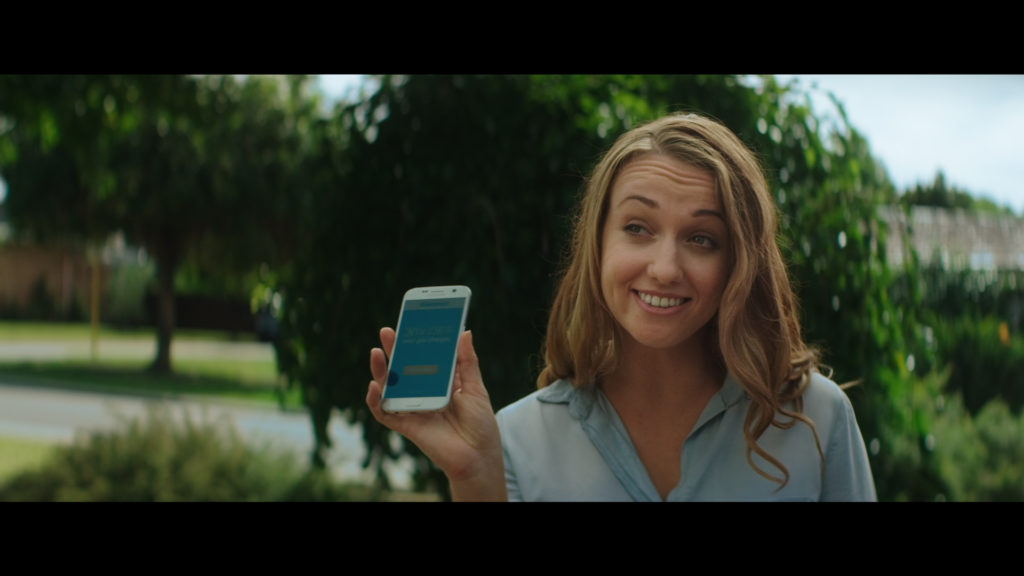
Shot #7
Shot #8
The Location
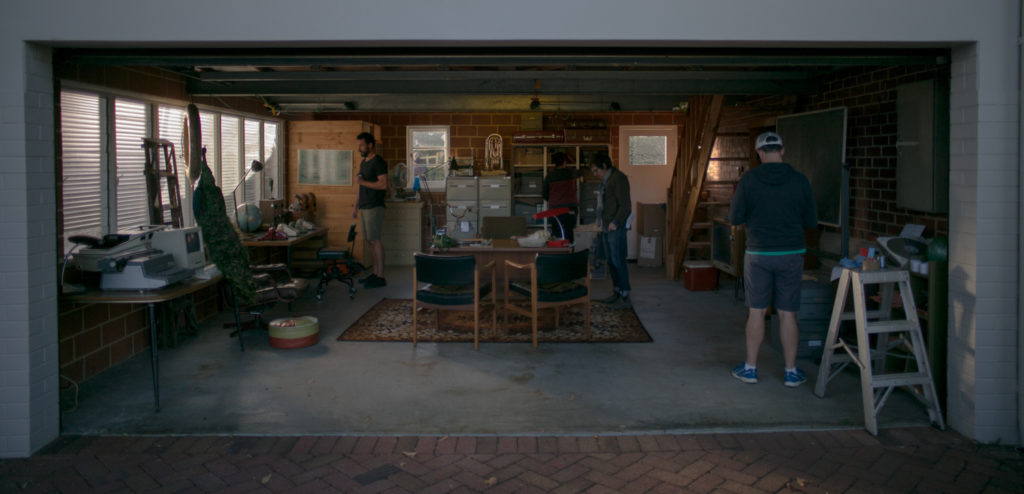
The commercial called for a man inside a garage to come out and meet a woman in standing in his drive way.
Our location needed to tick a few boxes and here is what we ended up with.
The Gear
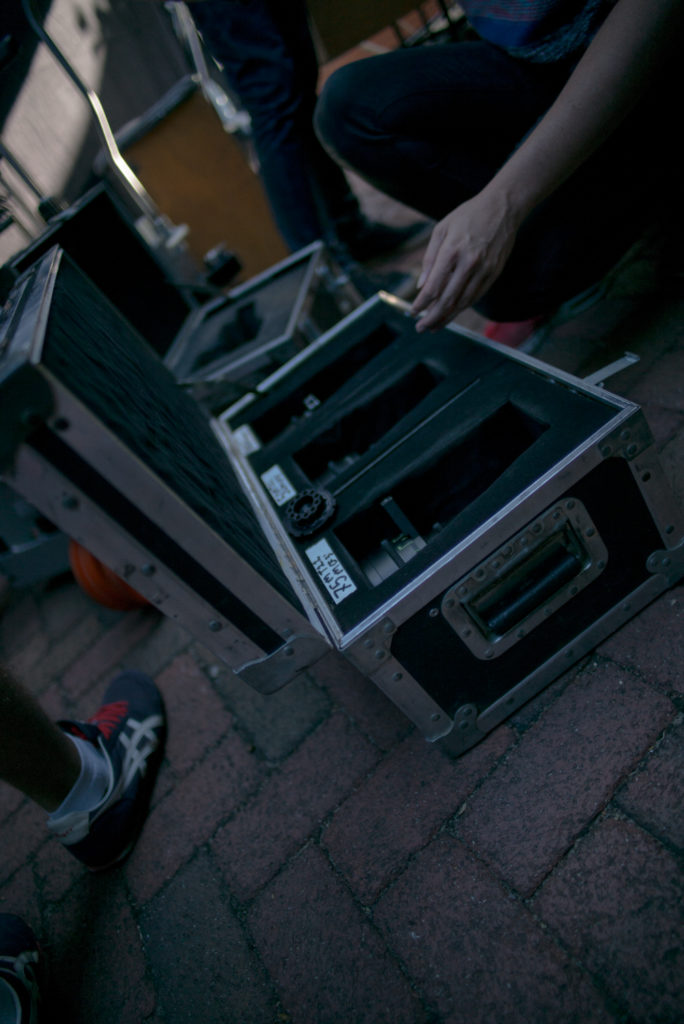
For this job we wanted to maintain a certain look that had been created in previous ads in the series but we also wanted to push the visuals in a slightly different direction.
The main departure was going from spherical lenses in a widescreen format to true 2x anamorphic lenses.
The Basic Camera Kit:
Camera: RED Weapon 6k
Lenses: Hawk Anamorphic 2x - 35mm, 50mm, 75mm, 100mm
Everything else was standard stuff from the rental house:
Arri LMB-25
RTmotion 3.1 Remote follow focus
Firecrest IRNDs
OConnor 2075 Fluid Head
Easyrig Cinema 3 w/Serene Arm
SmallHD DP7 High Bright On Board Monitor
Flanders BM090 - On board monitor
Cinetech Dolly
Shots 1-3: The Garage Interior
The first set up was inside a garage. Our talent starts at the rear of the garage and slowly makes his way towards the door. He walks out the door as it opens and reveals our 2nd talent waiting outside.
It was important to balance all the values early on because I knew that the light levels were going to drastically change once the door was opened.
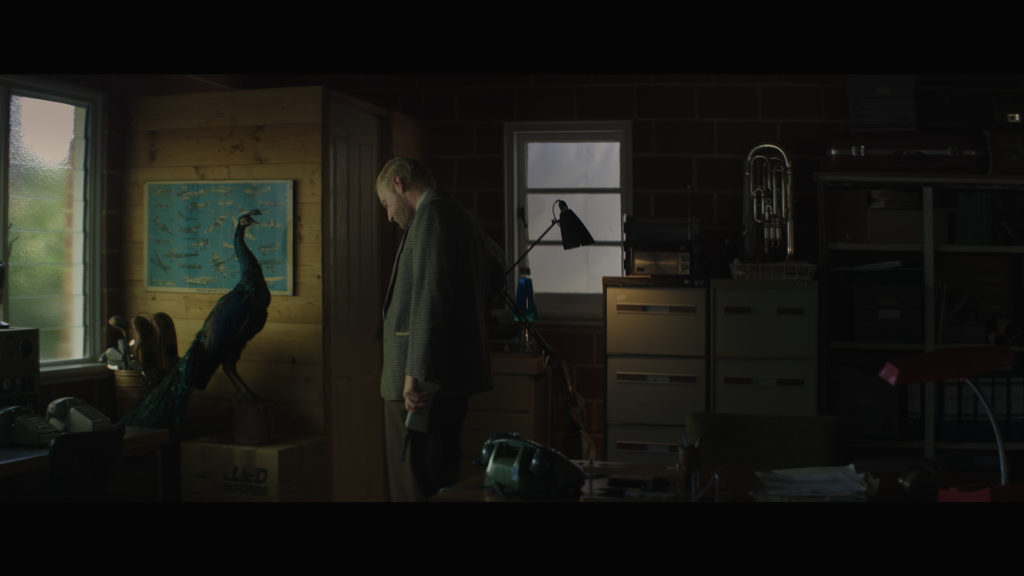
Shot #1

The Shot
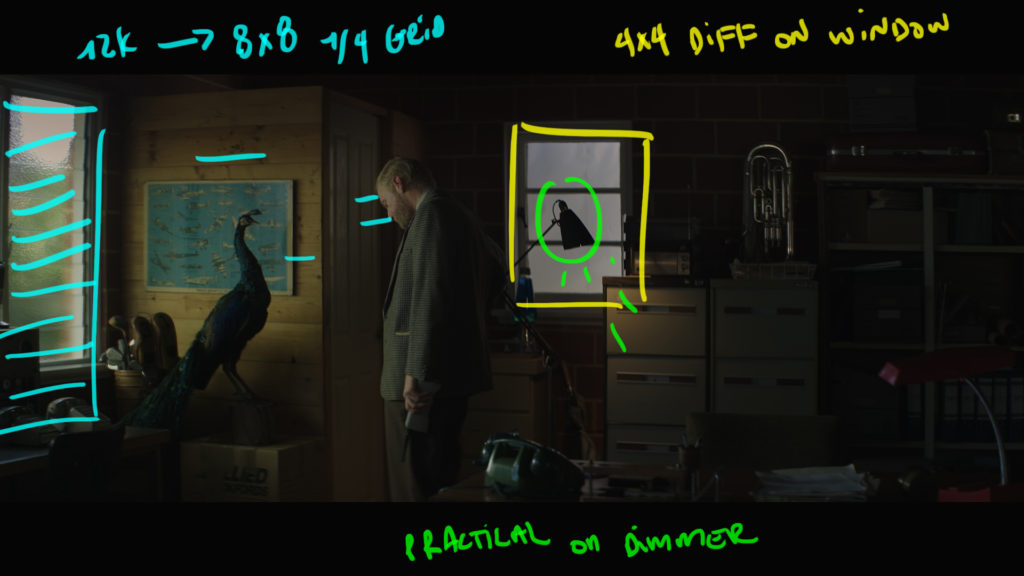
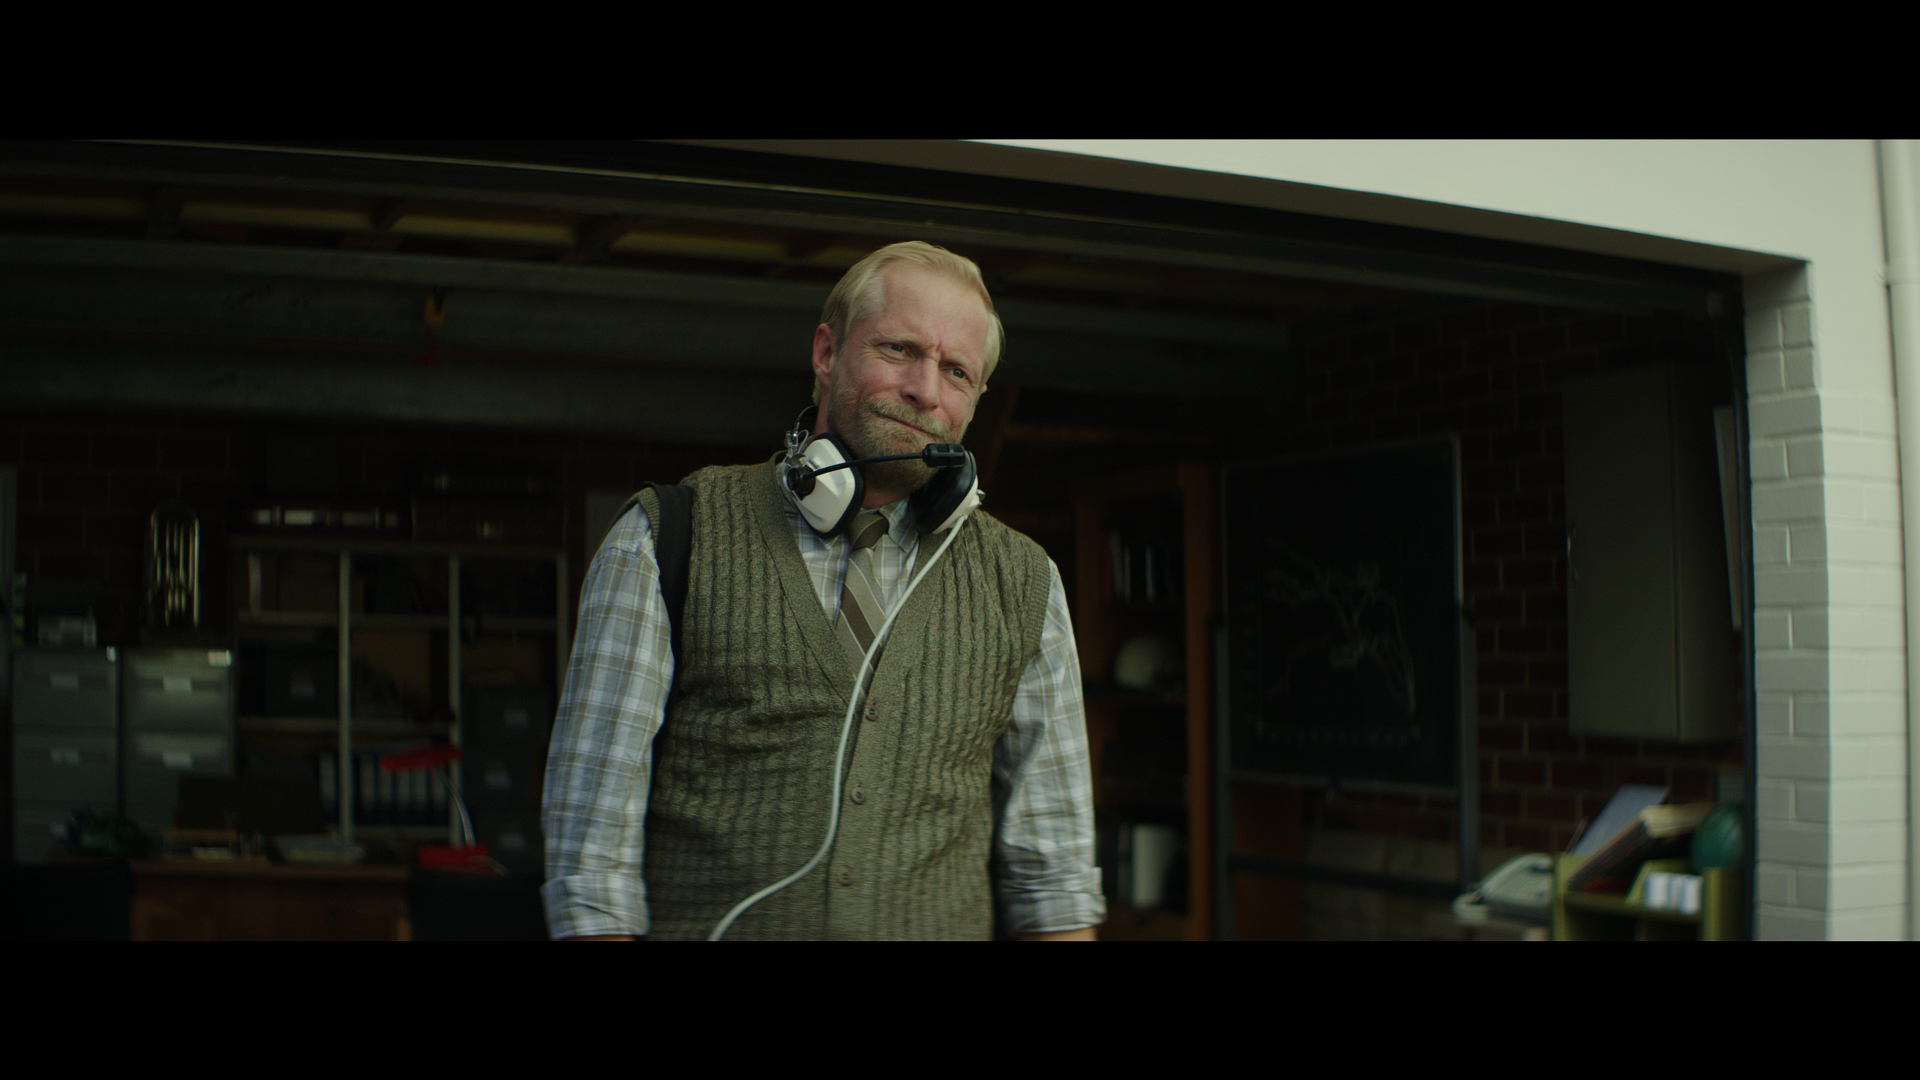
Our main talent standing in the corner of a dimly lit garage.
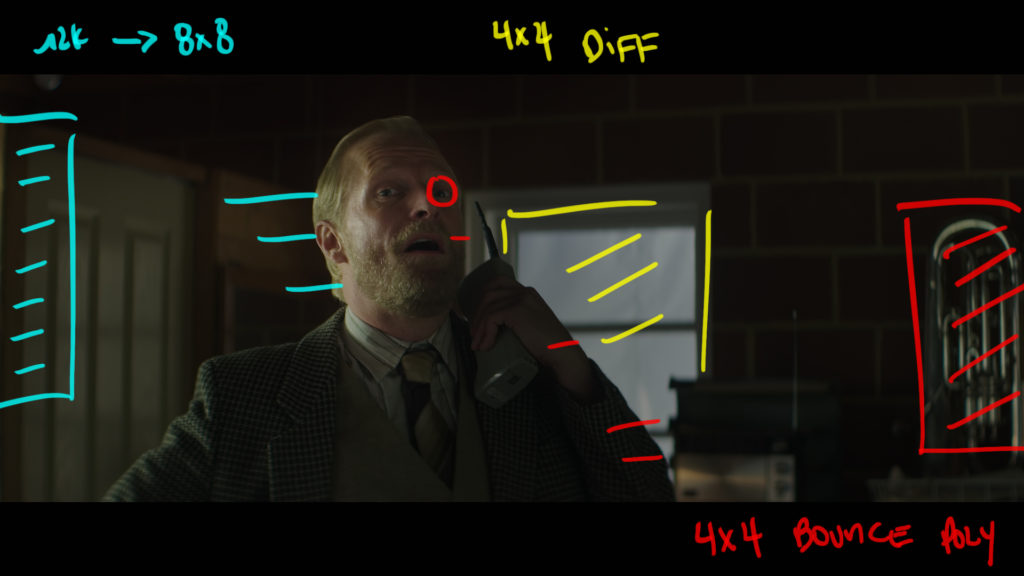
The Lighting
We wanted to keep the levels low and have all the light coming in from the one window we could just see on frame left.
To make sure we had enough level for later shots we ended up with a 12k out the main windows to the side through an 8x8 of 1/4 grid.
Then on the back window we placed some diffusion to keep the window from blowing out.
Over the 12k we had a 12x12 of ultra bounce with the black side down to cut any natural light from hitting the window. This meant we could have consistent levels as long as we needed.
The Results
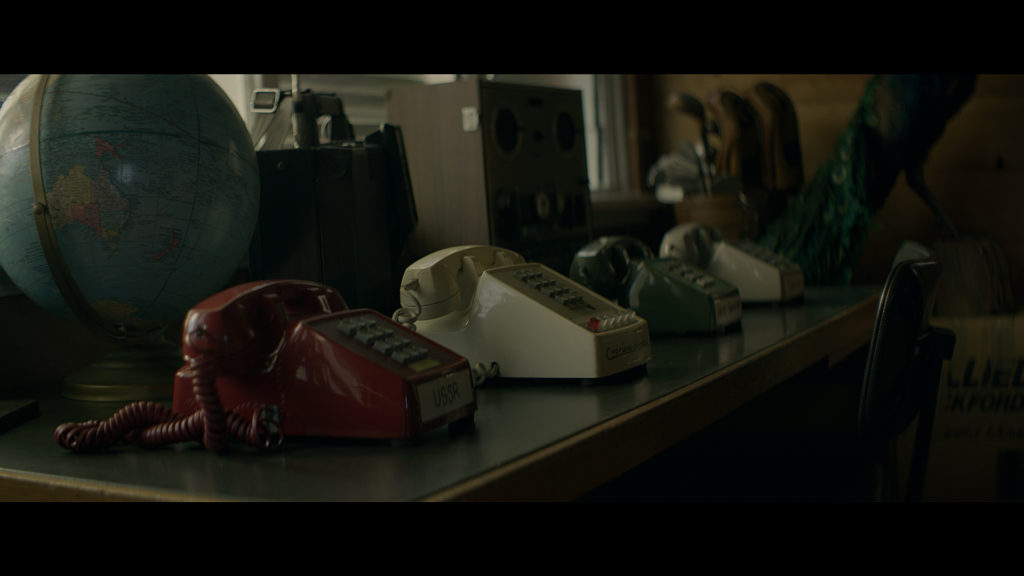
Shot #2

Nothing changed from the wider shot. This is an insert so you can see the softness of the 12k outside
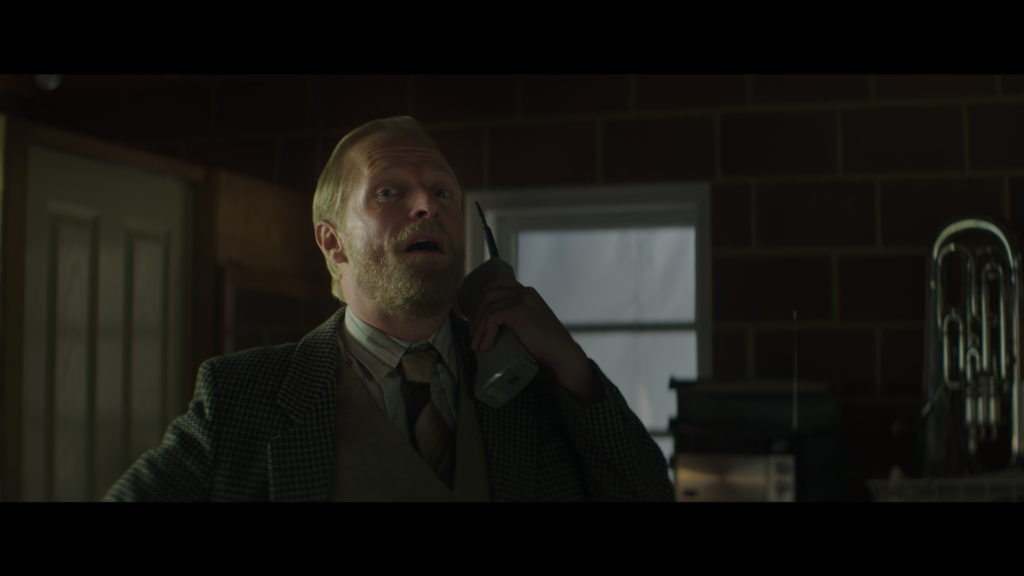
Shot #3

The Shot
A closer version of the previous shot. Same movement, same lines, same everything except for a focal length swap to a longer lens and the addition of a bounce board for the talent's fill side.
The Results
Shot 4: The Transition
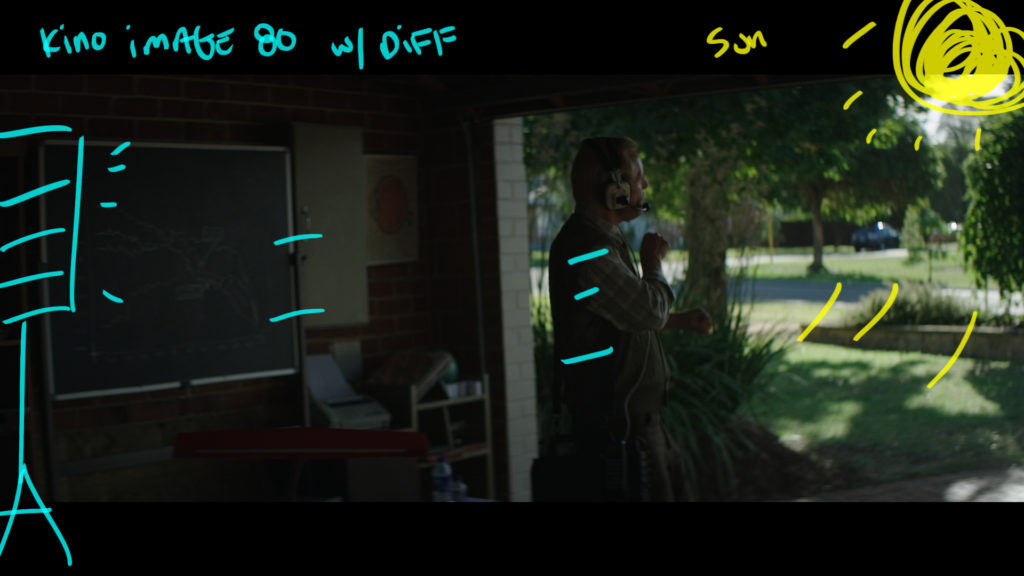
The Shot
Our main talent exits the garage as the door opens.
The Lighting
Balance and schedule were the main factors. The natural light was giving a nice backlit edge to the exterior and inside we used a Kino Image 80 to ever so slightly lift the blacks.
The Results
Shots 5-8: The Exterior Conversation
The exterior section of the shoot was the last for the day. The schedule was deliberate and it gave us a fighting chance to shape the exterior BG to our liking.
The most important part was keeping each angle consistent with the levels we were able to achieve in the wides even though it was shot over a period of 4 hours.
Shot #5

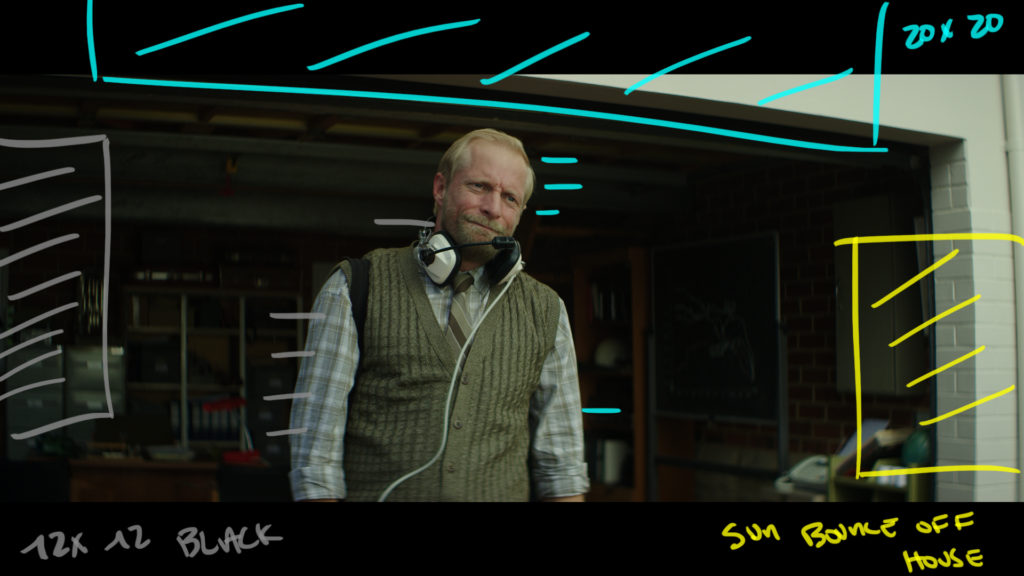
The Shot
Here we picked up where our transition shot left off. Our main talent comes into the daylight.
The Lighting
The schedule meant we were on this shot at the worst possible time for lighting. It was almost 1PM and the sun was directly overhead.
To counteract that we place a 20x20 overhead to soften the direct light and then added some neg fill to bring back some contrast and shape.
The Result
Shot #6

The Shot
Our first wide shot outside. This is what we were determining all of our exterior levels off of. Ideally you want to start with your wides and work closer.
That wasn't possible with our schedule so we had to estimate the light levels to make our closer shots (filmed earlier in the day) work.
The Lighting
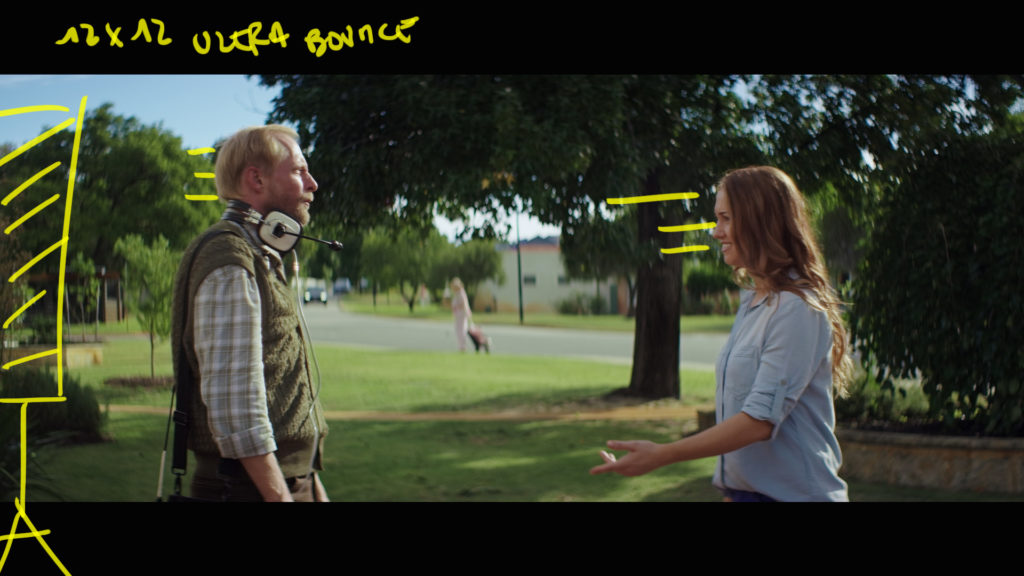
The sun had come down so much that we could no longer use our overhead. To counteract the strong contrast of the direct sun I had a 12x12 of ultrabounce just camera left to fill in the shadow side of the female talent's face.
That was the only modification from what the location was giving us.
Shot #7

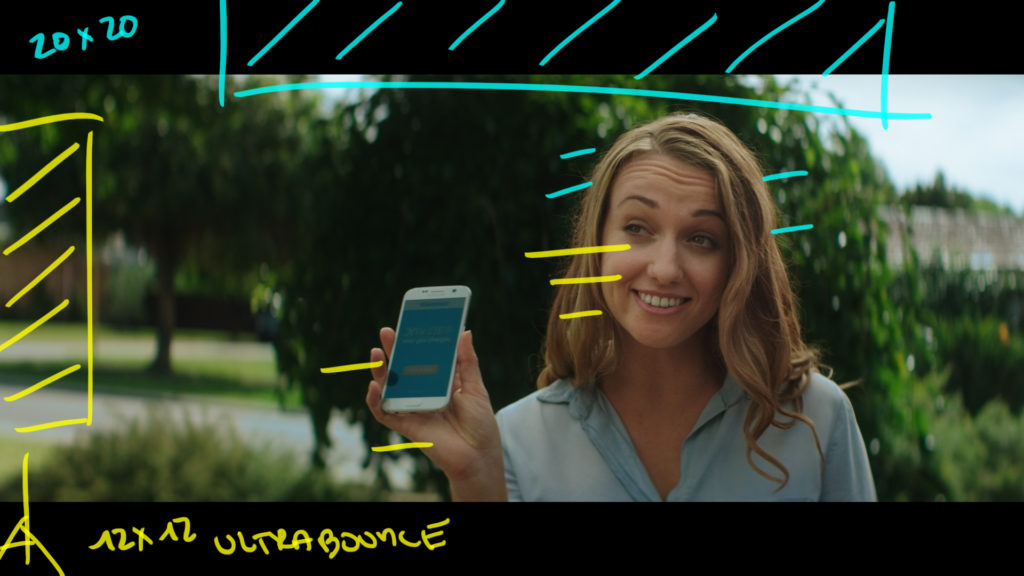
The Shot
The first CU on the female talent.
The Lighting
We wanted to save this shot till towards the end of the day.
This meant the sun would be lower and we could soften the light coming from behind. Then we keyed with a 12x12 of Ultra bounce which was being hit with light that wasn't being softened by the overhead.
The Result
Shot #8

The Shot
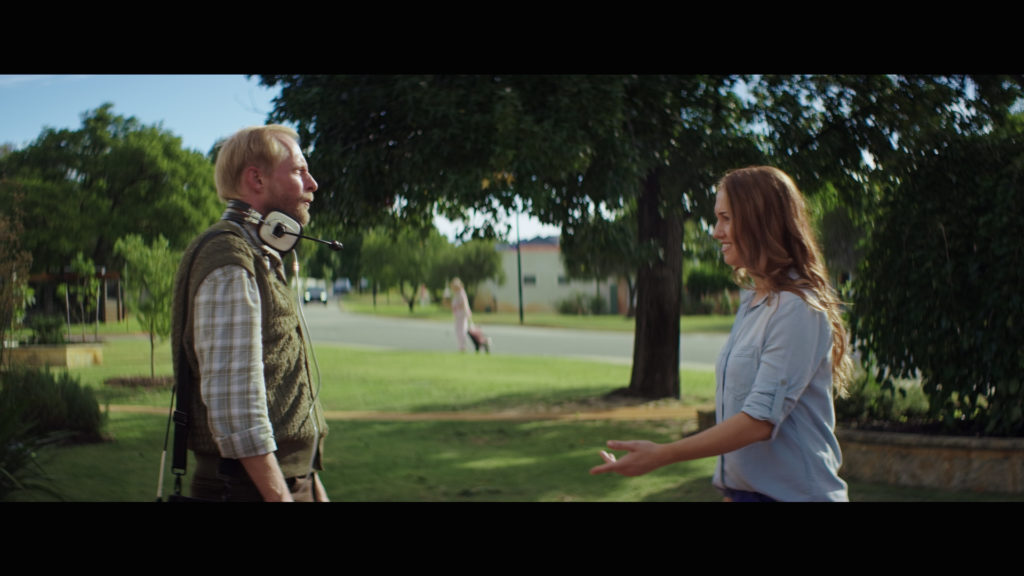
The grand finale. Our medium two shot.
Lighting
We had to take the 20x20 out as the sun was to low for it to play.
The only adjustment we made was to walk in a 12x12 ultra bounce to give our female talent a bit of level to soften the contrast between the sun on her back and the shadow on her face.
The Result
Another One in the Can
All in all it was a bit of a tricky set up and that makes two garage commercials in consecutive weeks. I promise next week will be a bit different.
In case you missed it early in the show notes you can download a free 3D LUT (the exact one I use for all of my Arri Alexa jobs) by clicking the button below.

You should really specify that you are using the old (probably C-series) Hawk anamorphic lenses. The newer Hawk V-lites are amazing, beautiful anamorphic look with all the character you want to see but great wide open performance, good close focus, and the size and mechanics are awesome. About the size of Ultra Primes but a bit heavier, non moving front for clip on goodness. If you can get them the Vintage 74s pretty much the nicest lenses I’ve ever played with.
It’s in the podcast I think.
Did you use a Tungsten 12K or HMI 12K? What was the color temperature set on camera?
Thanks!
HMI. Daylight in camera.
Hey Pat, was the point of the 12k HMI out the garage window to allow key exposure on talent and also hold the left window exposure in shot (Ie. large lamp set further back and inverse square law is assisting this..)?
The 12k was so we had enough level that when we swing around and look out at the open garage door it wouldn’t completely be blown out. Had to be balanced because we started in a dark hole then looked out to a super hot afternoon sun driveway.
Thanks for the great article Patrick! Could you specify what rag you used for the 20×20 overhead? Thanks!