Gear Package: Sourcing the Goods
If you have been following along with this series then you know that by now we are fully into the pre-production process. I have been on the initial location scout, locations have been approved, I have read the bried, spoken at length with the director about the project and the look, I’ve built a reference library, and now it is time to start putting the wheels in motion to create the vision.
This is where we start to blend the craft with the art.
Understanding Strengths and Weaknesses
The Camera
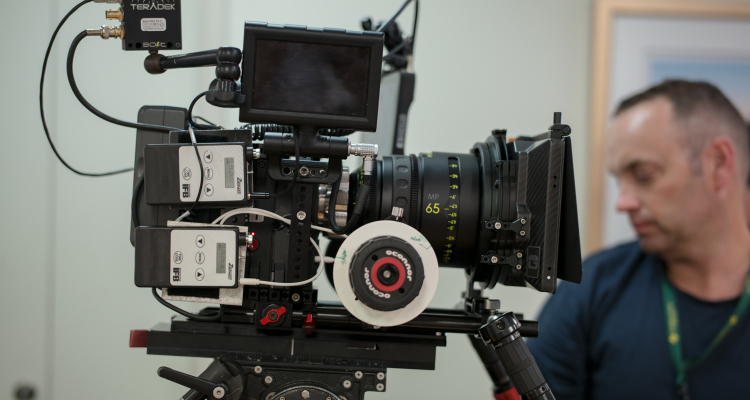
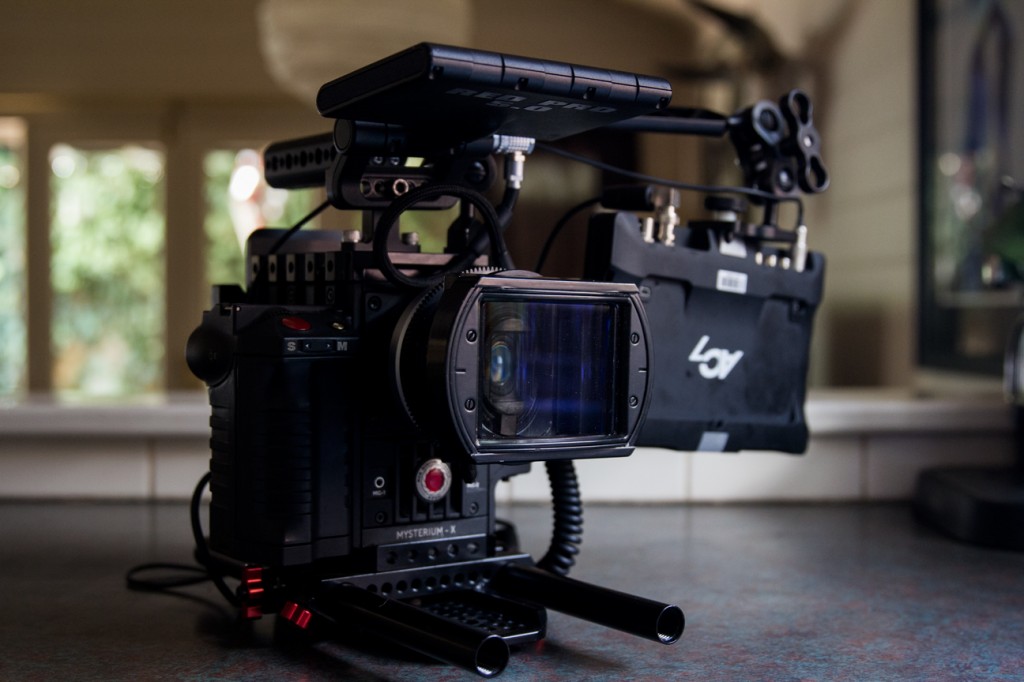
The first place to start is with the camera. Not a whole lot of options on the high end of things with TVCs. It is either RED or Arri at this point.
I own a RED and have been a happy user for a number of years and since we were shooting in conditions that I felt favored the RED Sensor I chose to go with the Epic.
The Epic is small and can be built up in an infinite amount of configurations. This commercial was 100% handheld and since I was operating I wanted to keep things as minimal as possible. The Epic allowed me to do just that.
Strengths:
Small Footprint – See above.
RAW Capture – I wanted to play with different color temperatures and different colored lights to add some color contrast in some scenes. Knowing what I could do with the RAW data in post helped to inform my decisions on set.
Dynamic Range Sweet Spot – I love the look of the RED when you have a tight DR. Anything at key to about 3 stops under has a very thick feel to it. Since I knew we would be able to keep things in that zone I didn’t need the creamy roll off of the Alexa.
HDRx – There was one shot where we would need an extra few stops. The shot down the dark hallway looking out onto the street. HDRx was a big help in keeping things under control.
Weaknesses:
N/A for this ad.
Now with the camera sorted I needed to sort out the settings. RED cameras can have a pretty wide range of reactions to different in camera settings and even though it has RAW capture some decisions can make or a break a project.
Camera Settings
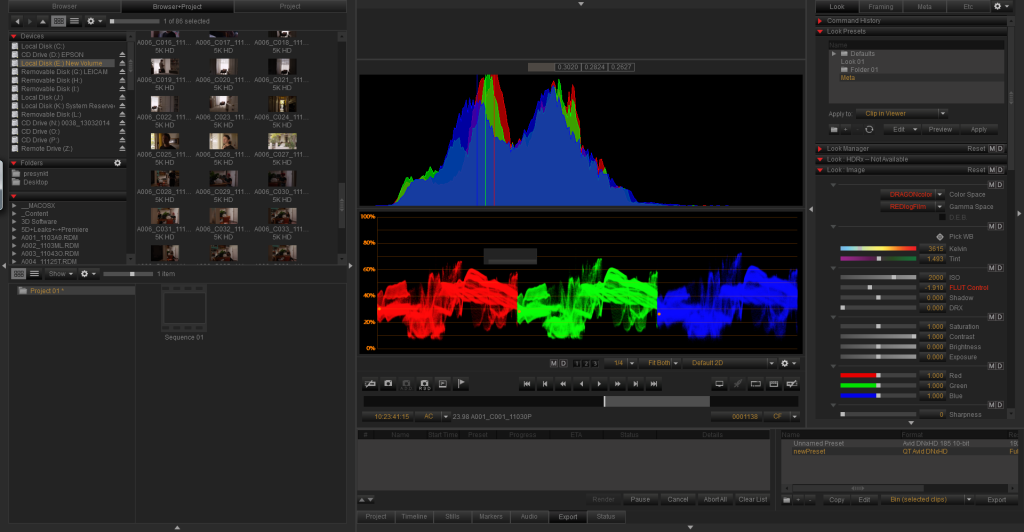
1. Project Frame Rate: This one is easy. In Australia everything going out for broadcast is 25fps.
2. Shutter Speed: Again nice & simple. 180 degrees at all times. Nothing ground breaking here.
3. ISO: This is the big daddy of them all. Choosing your ISO nowadays is essentially deciding on your texture requirements and where you want middle grey to fall.
As I mentioned before I knew this was going to be a dark piece with lots of muted tones. I knew I wanted everything either at key or two to three stops under. Normally I like the MX sensor at 800 ISO for the sweet spot on Dynamic Range but in this case I wanted to play it dark and still have a little bit of wiggle room if I went to crazy.
After some initial testing I decided to shoot everything at ISO 500. This allowed me to have tons of shadow detail while still protecting myself if I needed to boost a shot or two. You can certainly see the extra 3/4 stop in the shadows when you see the final piece.
4. Resolution: 5kHD
5. Shooting Frame Rates: Everything was shot at 25fps except for the doctor’s office material which was shot at 33.333 frames per second. I will talk more about that decision in a later post.
Gear Package: Lens Selection
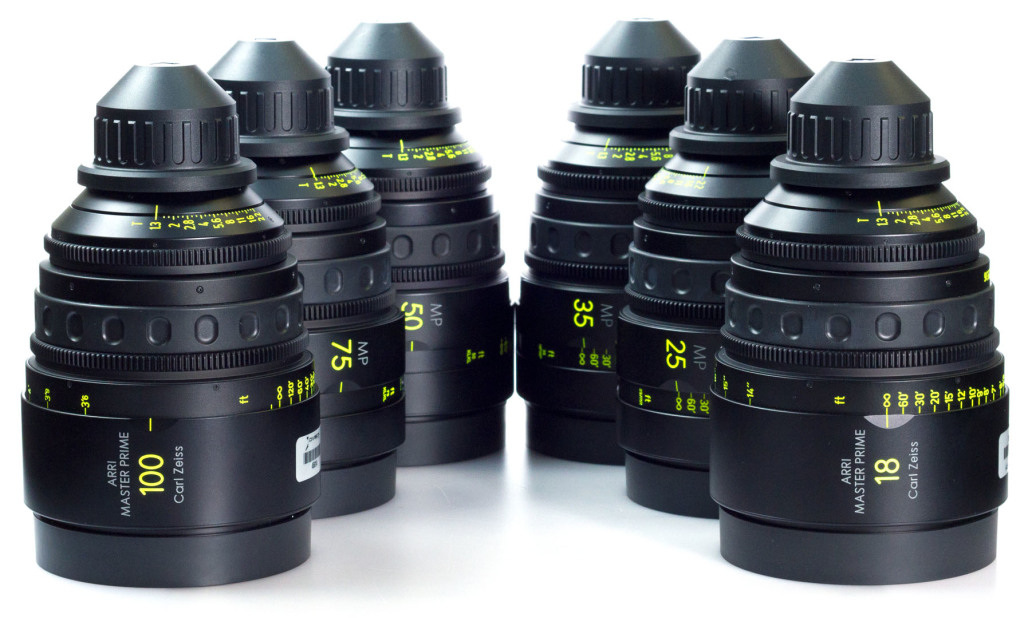
Since you are limited now with your emulsion (sensor) one of the ways a cinematographer has to develop the look of a project is through lens selection. There are tons of great PL glass out there and they all have their pluses and minuses.
What We Were Going For
The one question to keep in mind when selecting a gear package is “‘What are we going for?”. This question will help steer the direction of the project. Each decision should be headed towards the answer to that question.
Very early on in the conversations with the director I knew we wanted the characters in this piece to feel alone and separated from their environment. The style was going to be dark, naturalistic, and subdued. I kept listening for clues from the director and the more and more he described the project the more I started to form my vision.
The main idea I focused on was how we could seperate the characters from their environments. Yes we could use lighting and framing to isolate but what about lens choices. The shallower the depth of field the more and more isolated they would be come. I needed speed.
So what is out there for speed?
1. Zeiss Superspeeds
Pros: Fast. Perfect for Shallow DOF. Small and great for handheld. Lots of focal lengths.
Cons: Not sharp wide open. Vintage feel with the low contrast look. Flairy.
2. Canon K-35s
Pros: Fast. Perfect for Shallow DOF. Small and great for handheld.
Cons: See Zeiss Superspeed Cons.
3. Cooke S5i
Pros: Fast. Perfect for Shallow DOF. Beautiful fall off with that nice Cooke Look roundness to the image.
Cons: Big. Heavy. Lack of Availability. Beautiful Cooke Look fall off. I didn’t want the characters looking “pretty” per se.
4. Arri Zeiss Master Primes
Pros: Fast. Lots of Focal Lengths. Incredibly sharp wide open.
Cons: Big.
In the end I chose the Master Primes. We were going to shoot every single shot wide open at T1.3 and we wanted to maximize that angle of storytelling to help convey the state these characters were in.
Focal Lengths
I got a six lens set from Sydney shipped over and the set included the following:
18mm, 25mm, 32mm, 40mm, 65mm, & the 100mm.
We shot the majority of the commercial on the 32, 40, and 65. We never touched the 18 or the 100. We used the 25 for one shot.
I really dislike the look of a 50 on super 35 cameras. The 40 and 65 just have that little point of difference that doesn’t make those frames quite as vanilla. It is all personal preference but that is why a production hires you: personal preference.
The 32mm is probably my favorite spherical focal length.
Deciding on a Shooting Stop
We got the Master Primes to take advantage of the creative story telling opportunities so now we had to employ them. Going into the project I wanted to maintain some continuity between the setups and that meant deciding on a shooting stop and sticking to it. Everything was done at T1.3.
There is a few probelms that come with shooting at T1.3. Aside from the incredibly difficult job on the focus puller of having to pull focus on a 65mm @ T1.3 on a handhled shot with a bit of movement there is also the problem of sensitivity.
I rated the RED Epic @ ISO 500.
At T1.3 you only need 5 footcandles for “normal” exposure. Running at that low a light level is really difficult as you have to control almost non-existent levels.
So what do you do?
Well you light everything up to kill the ambient light and just keep your ratios intact. We light everything up to T2.8 and then used ND to bring the camera back down to where it needed to be to shoot @ T1.3. Basically the .6 ND lived on the camera the entire shoot. On the exterior shots went as high up as a 1.8 ND.
Gear Package: What It Took
Matte Box:
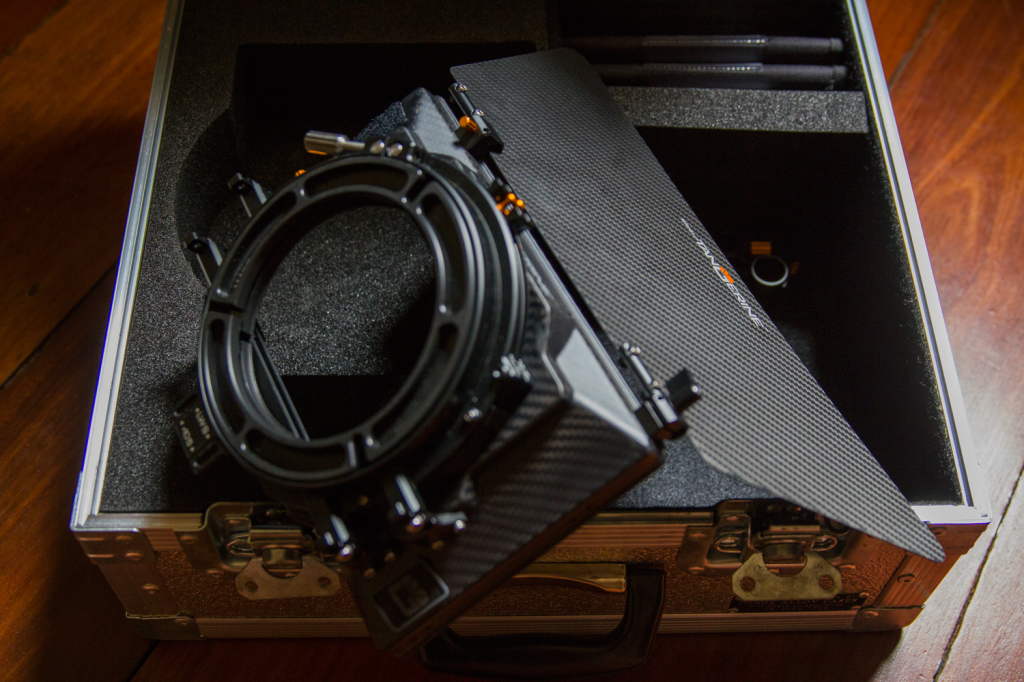
I have the Bright Tangerine VIV matte box. I absolutely love this matte box. I know it isn’t normal to love a matte box but I will share why this one is different.
It just works. It is solid. It is reliable. It is built to take a beating.
Those things are all pretty rare in film gear. The fact I never have to worry about it is huge. The peace of mind of having the proper kit to get the job done is worth its weight in gold. It is infinitely adjustable as well.
We ran with two stages and in a clip on orientation to keep the weight down. The combination worked flawlessly.
The Filters:
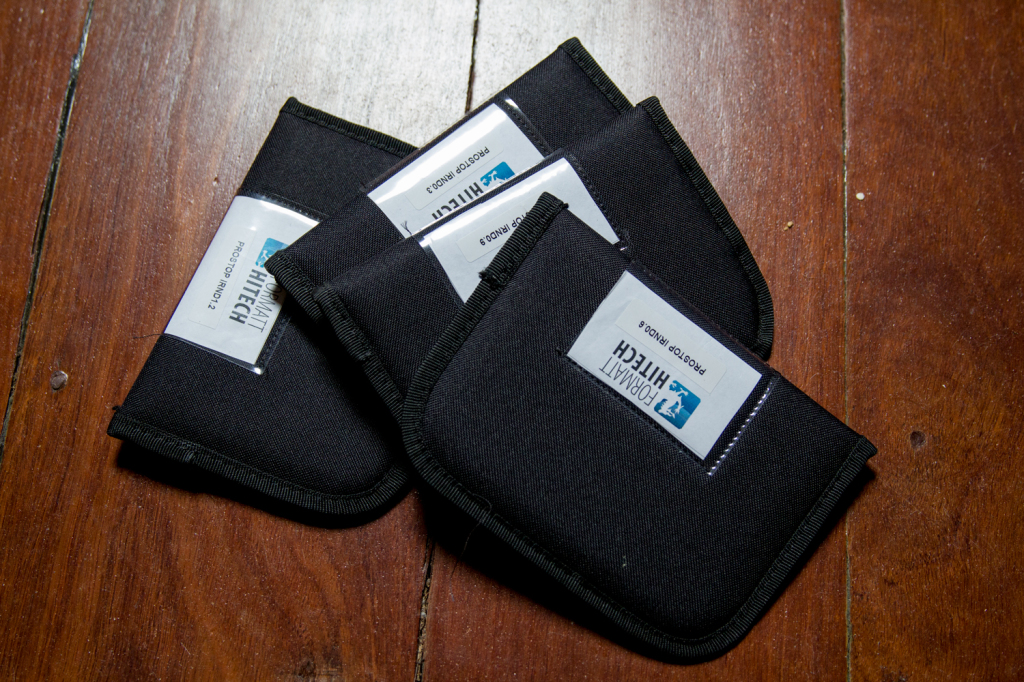
Formatt HiTech Pro Stop IRN Filters (.3 – 2.1)
These filters were the best filters I ever found for the MX sensor. The MX Sensor wasn’t the greatest at IR Pollution but these filters were very solid performers. Easy to take out the slight green cast with a simple tint adjustment in Resolve.
I didn’t use any other filters as we wanted a nice clean image to push around in the grade. We tried to keep things as neutral as possible.
Gear Package: Camera Movement
This commercial was 100% handheld. Even the dolly shot at the end was actually done with me sitting on a fischer with an easy rig holding the camera just off to the side. Doing it like that gave us enough movement to keep things cohesive over the whole piece.
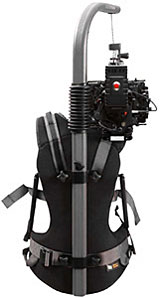
The only major piece of gear for camera movement was the Easyrig. I used it for every set up. Great for the low angle stuff. Worked perfect as always.
In actuality this was a perfect job for the Easyrig. The shots were meant to feel handheld but there was minimal tracking and moving to the shots. Walking and tracking with the Easyrig can yield some pretty average results as your hip movement exaggerates the camera sway when walking. This job didn’t have any of that so it was all good from that point of view.
Translating Great Gear to Quality Production
All the gear in the world means nothing if you don’t have a solid crew of experienced operators and an idea worth the effort. In the next post for the Commercial Cinematography Series we look at Final Prep and ticking all the boxes we can before the big shoot.

Hey Patrick,
You commented about how you lit at 2.8 although you were shooting at 1.3. Was this really necessary? It seems like you might have been able to use smaller lighting packages on location and lit to 1.3?
Then you could have rated your meter at 800 iso or something higher just to get your ratios, no?
Thanks for this series. Loving it.
Matt
Hi Matt,
No it would not be the same. There is a very specific reason for lighting to T2.8 when shooting at T1.3.
It is pretty lengthy though so I will answer it on this week’s podcast because it is a good question.
Cheers
Hi,
Have you dealt with any noise issues showing up in the shadow regions of the image when shooting on the Red Epic? I recently shot a short film on the Epic rated at 800 ISO, wide open at F2.8, and shooting 3:1. On set, I constantly checked my meters and waveform to make sure my exposure was on and nothing was too under exposed. But when I looked at the footage on my computer screen, I could see lots noise in the shadows regions such as a suit jacket.
You mentioned in this post you rated your camera at 500 ISO, does that help?
This series is great! Love how in-depth it is for each topic.
– Elliot