The Final Commercial
The Calm Before the Storm
So if you have been following along in this series you will know that we have been through the various stages of pre-production and we are fast approaching Day 1 of actual production. Standing between us and cinematography greatness is one of the last opportunities we have to make bold changes to the look and feel of the project.
The tech scout is quite possibly the most important time for the DP in pre-production. The tech scout is your chance to communicate with all the key department heads on what the plan is and how you are hoping to get there. Get it right and you will be living the dream, get it wrong and the production is on a course for failure.
Tech Scout 101
For this project we had a one day tech scout scheduled. The attendees were the producer/AD, Director, myself (DP), Gaffer, Production Designer and Production Manager. The six of us were to set the shoot schedule, go over the boards, and tackle any last minute items while we were all together before the shoot.
Tech Scout – What I Brought
This tech scout was a bit different than usual in terms of what I brought with me. Generally I would have much the same gear as I would during the location scout but I decided to go a bit different for this one.
1. RED Epic
That is right. I brought the Epic on the scout. Why? Well I stripped it down to its smallest possible configuration and threw on a 24-70 zoom so that everyone could have a quick guide to actual focal length choices. Having Artemis is great for the DP & Director but when you have 5 people trying to see the frame it is a bit small.
Having the 5″ screen on the epic and knowing for sure exactly what we were going to be seeing on the day was a big plus. With some Redvolts and a camera strap it is actually really easy to carry.
2. Initial Lighting Diagrams
This was the first time I got to talk to Jean, the gaffer, about the project and since this was the first time we were working together I wanted to give him some general ideas about levels and mood. I go a bit over the top with these diagrams because I always think the more, the merrier.
I have attached the actual PDF that I printed out and brought along for everyone to have with them on the scout if you are interested. It is basically some rough diagrams, some final references, and some quick notes on possible issues for each set up. You can download the full PDF (29 Pages) at the bottom of this article.
It is nice to pass these out to everybody so we are all on the same page. They are also nice for jotting down notes as we go.
3. Sekonic 758cine Light Meter
Same as the location scout. Always nice to have.
4. The Story Boards
We got the first draft of the working boards right before the tech scout.
The Work
For the sake of brevity I am going to mention just once that at each location the general idea was to find the angles we were interested in that somewhat matched the boards and the blocking. From the DP point of view I wanted to get these angles sorted so we could then figure out light placement, fixtures, and the rest. So now when I talk about each individual location and what we went over know that the angles, action, and blocking discussions are a given.
Also I am only going to mention topics that pertained to the cinematography. Lots of other production design and logistical stuff gets thrown around but I am focusing here on what I think you want to hear about.
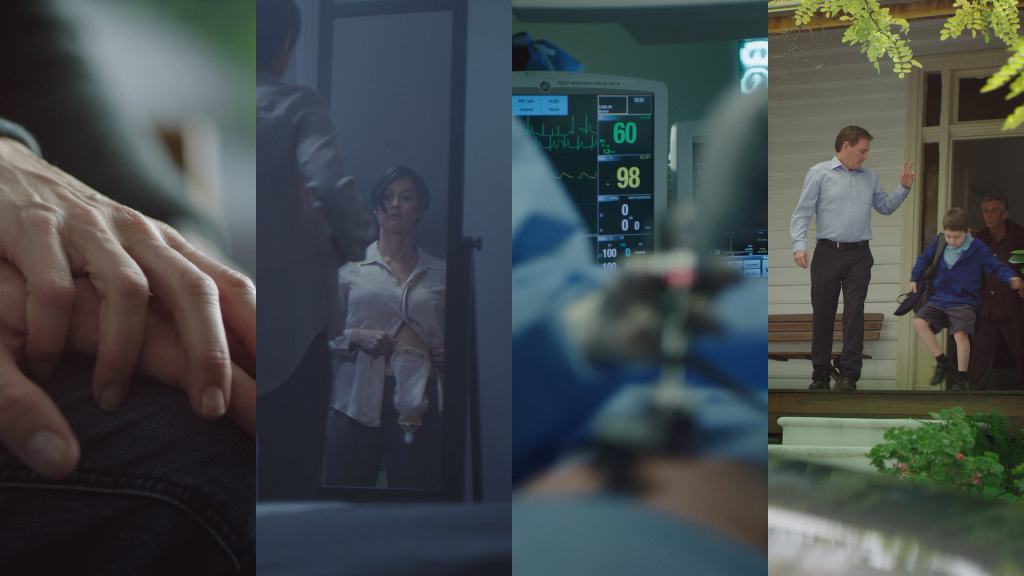
All the stills below are from the Epic on the day.
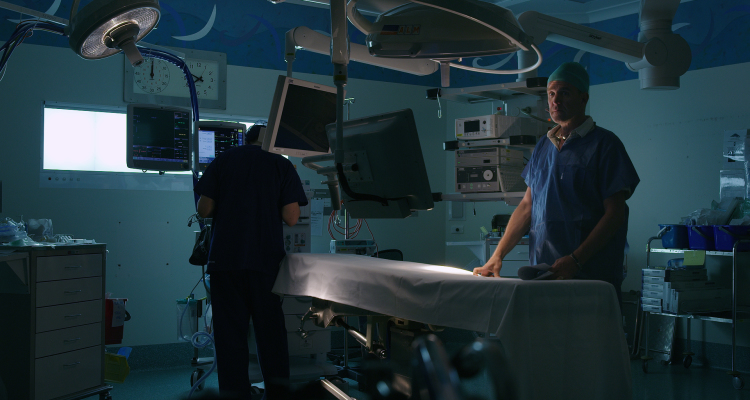
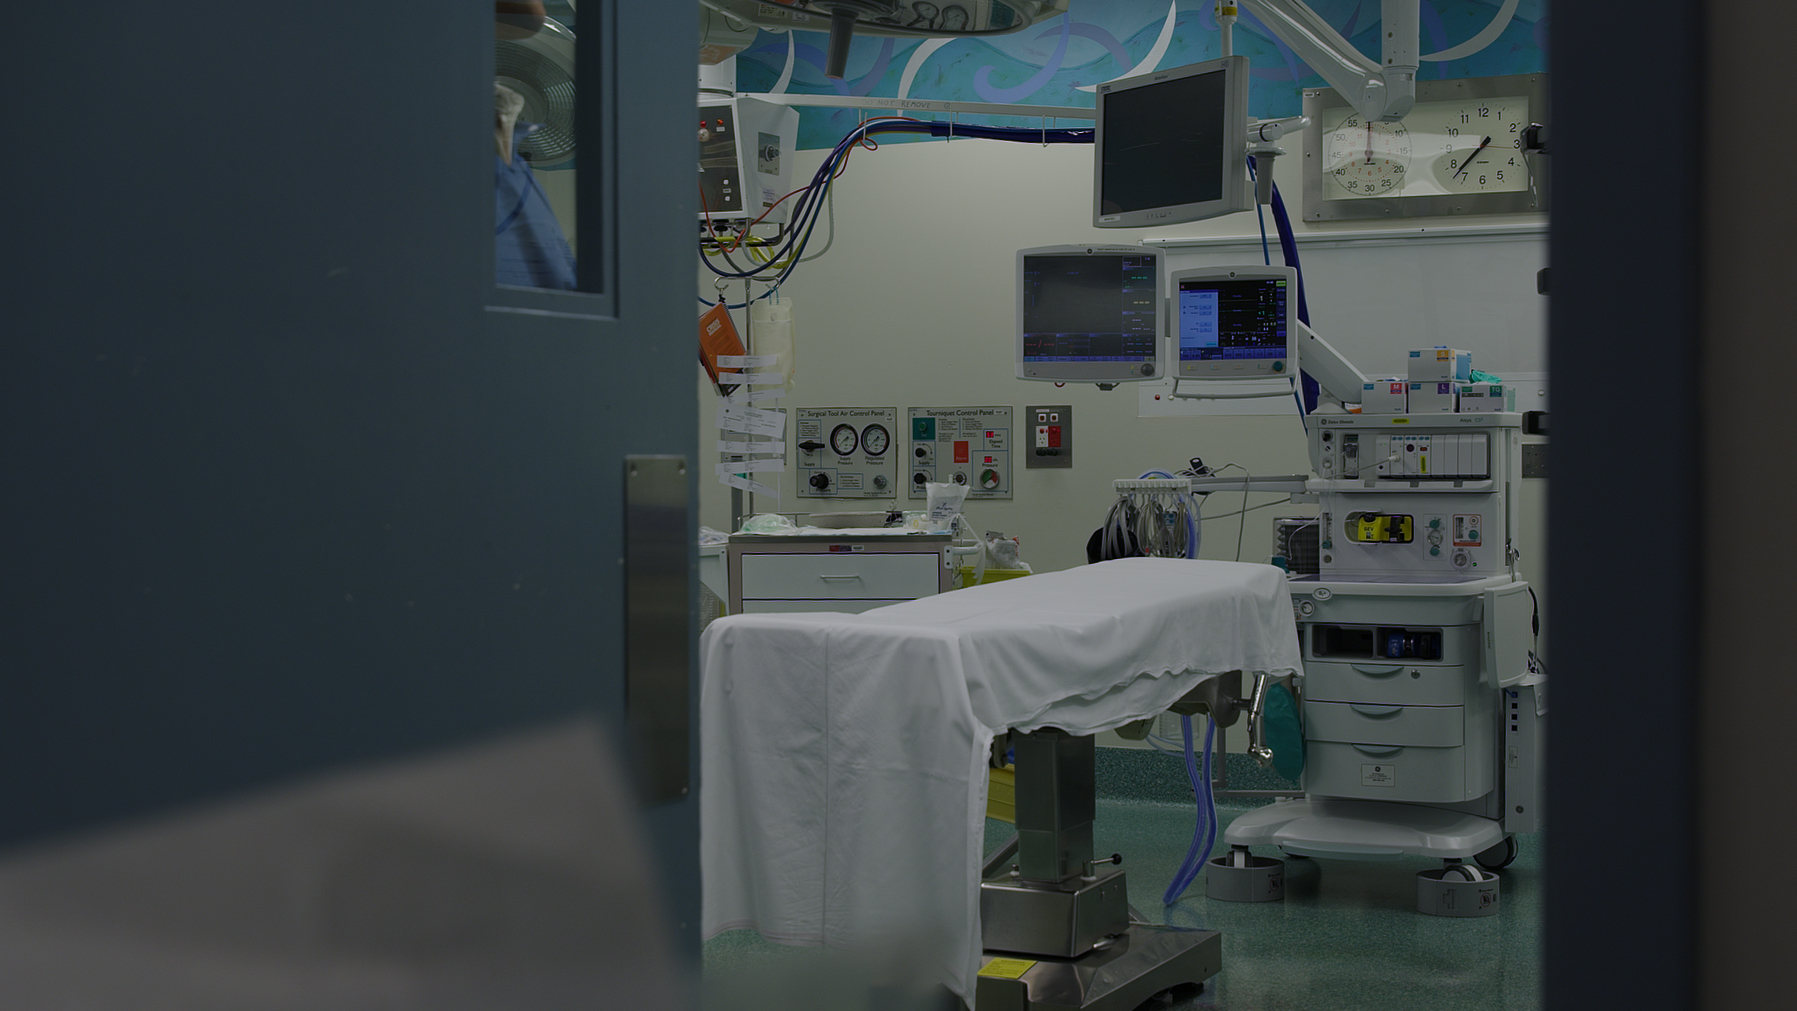
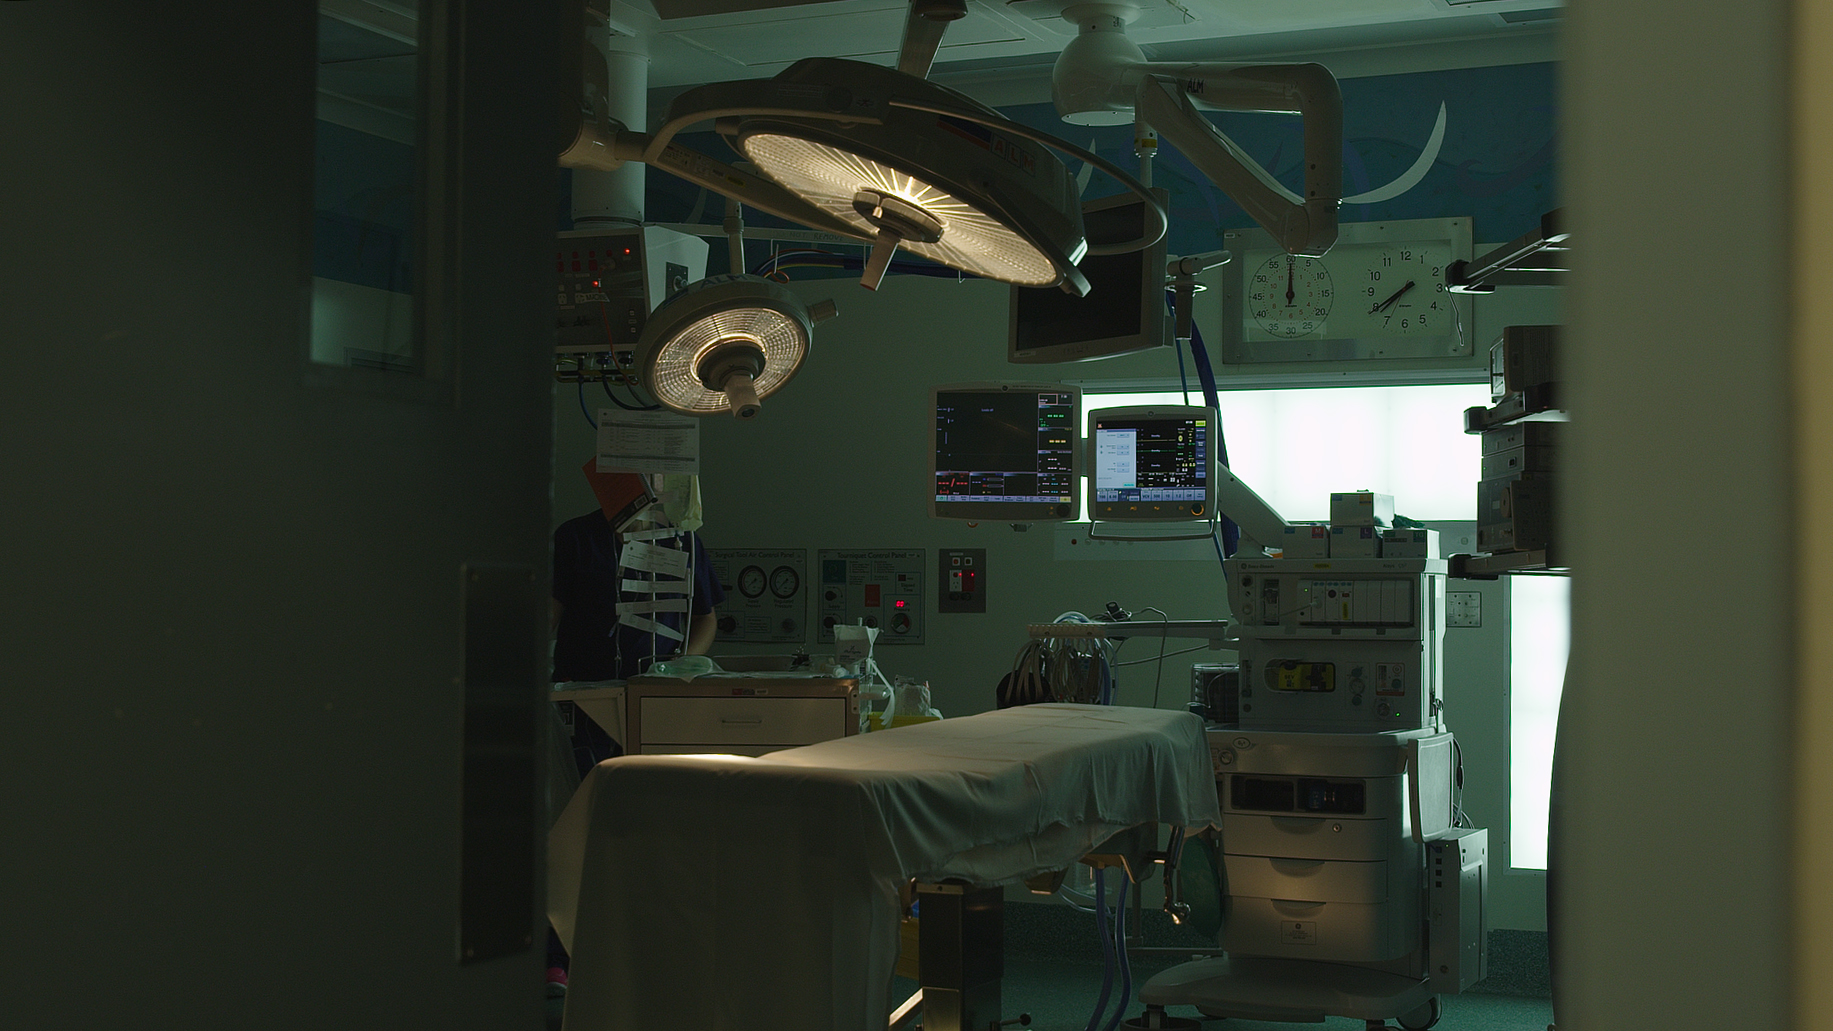
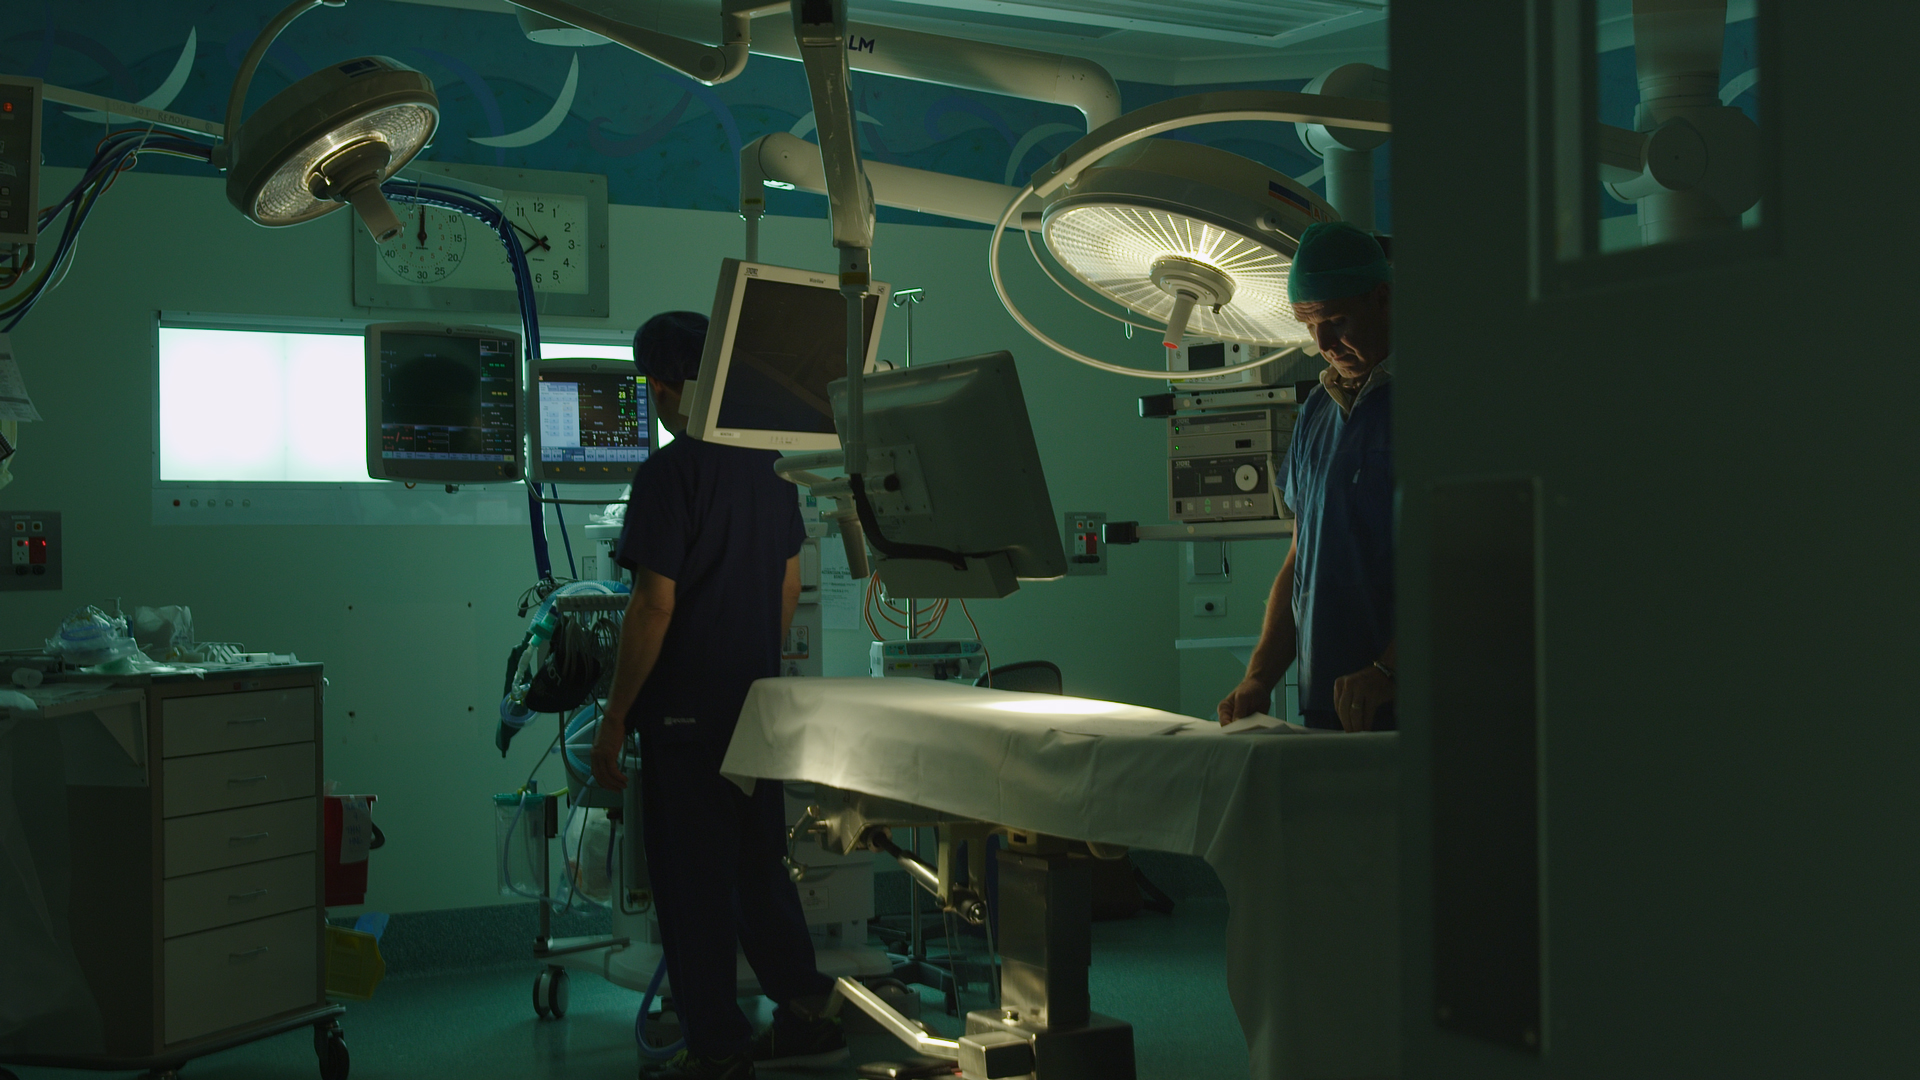
Tech Scout – Hospital Scene
Main Talking Points
1. The Wide – The hospital rooms have lots of doors shooting off into other rooms and we knew we wanted to playy of of these. We spent the majority of our time looking at which door gave us the most bang and also which angle allowed for minimal reshuffling of the lighting set up for the CUs.
2. Placement of the Spot Lights – We knew they were going to be too hot. We turned all the lights out, measured the ambient and then played with different angles on the lights. In the photos below you will notice Dr. Jean Vandermeiren (aka El Gaffer) standing in as the test subject.

3. Keeping Gear to a Minimum – As I mentioned in another post for the Commercial Cinematography Series all the gear the we were going to be using would need to be sterilized. That meant cleaning time of the day of the shoot. To minimize that we needed to streamline our gear as much as possible. We settled on our plan and knew exactly what we would need.
In case you have been following along with the last few post in this series you will notice there are no windows in this operating room. Unfortunately at the last minute we had to be shuffled to a new room as our first choice was unavailable.
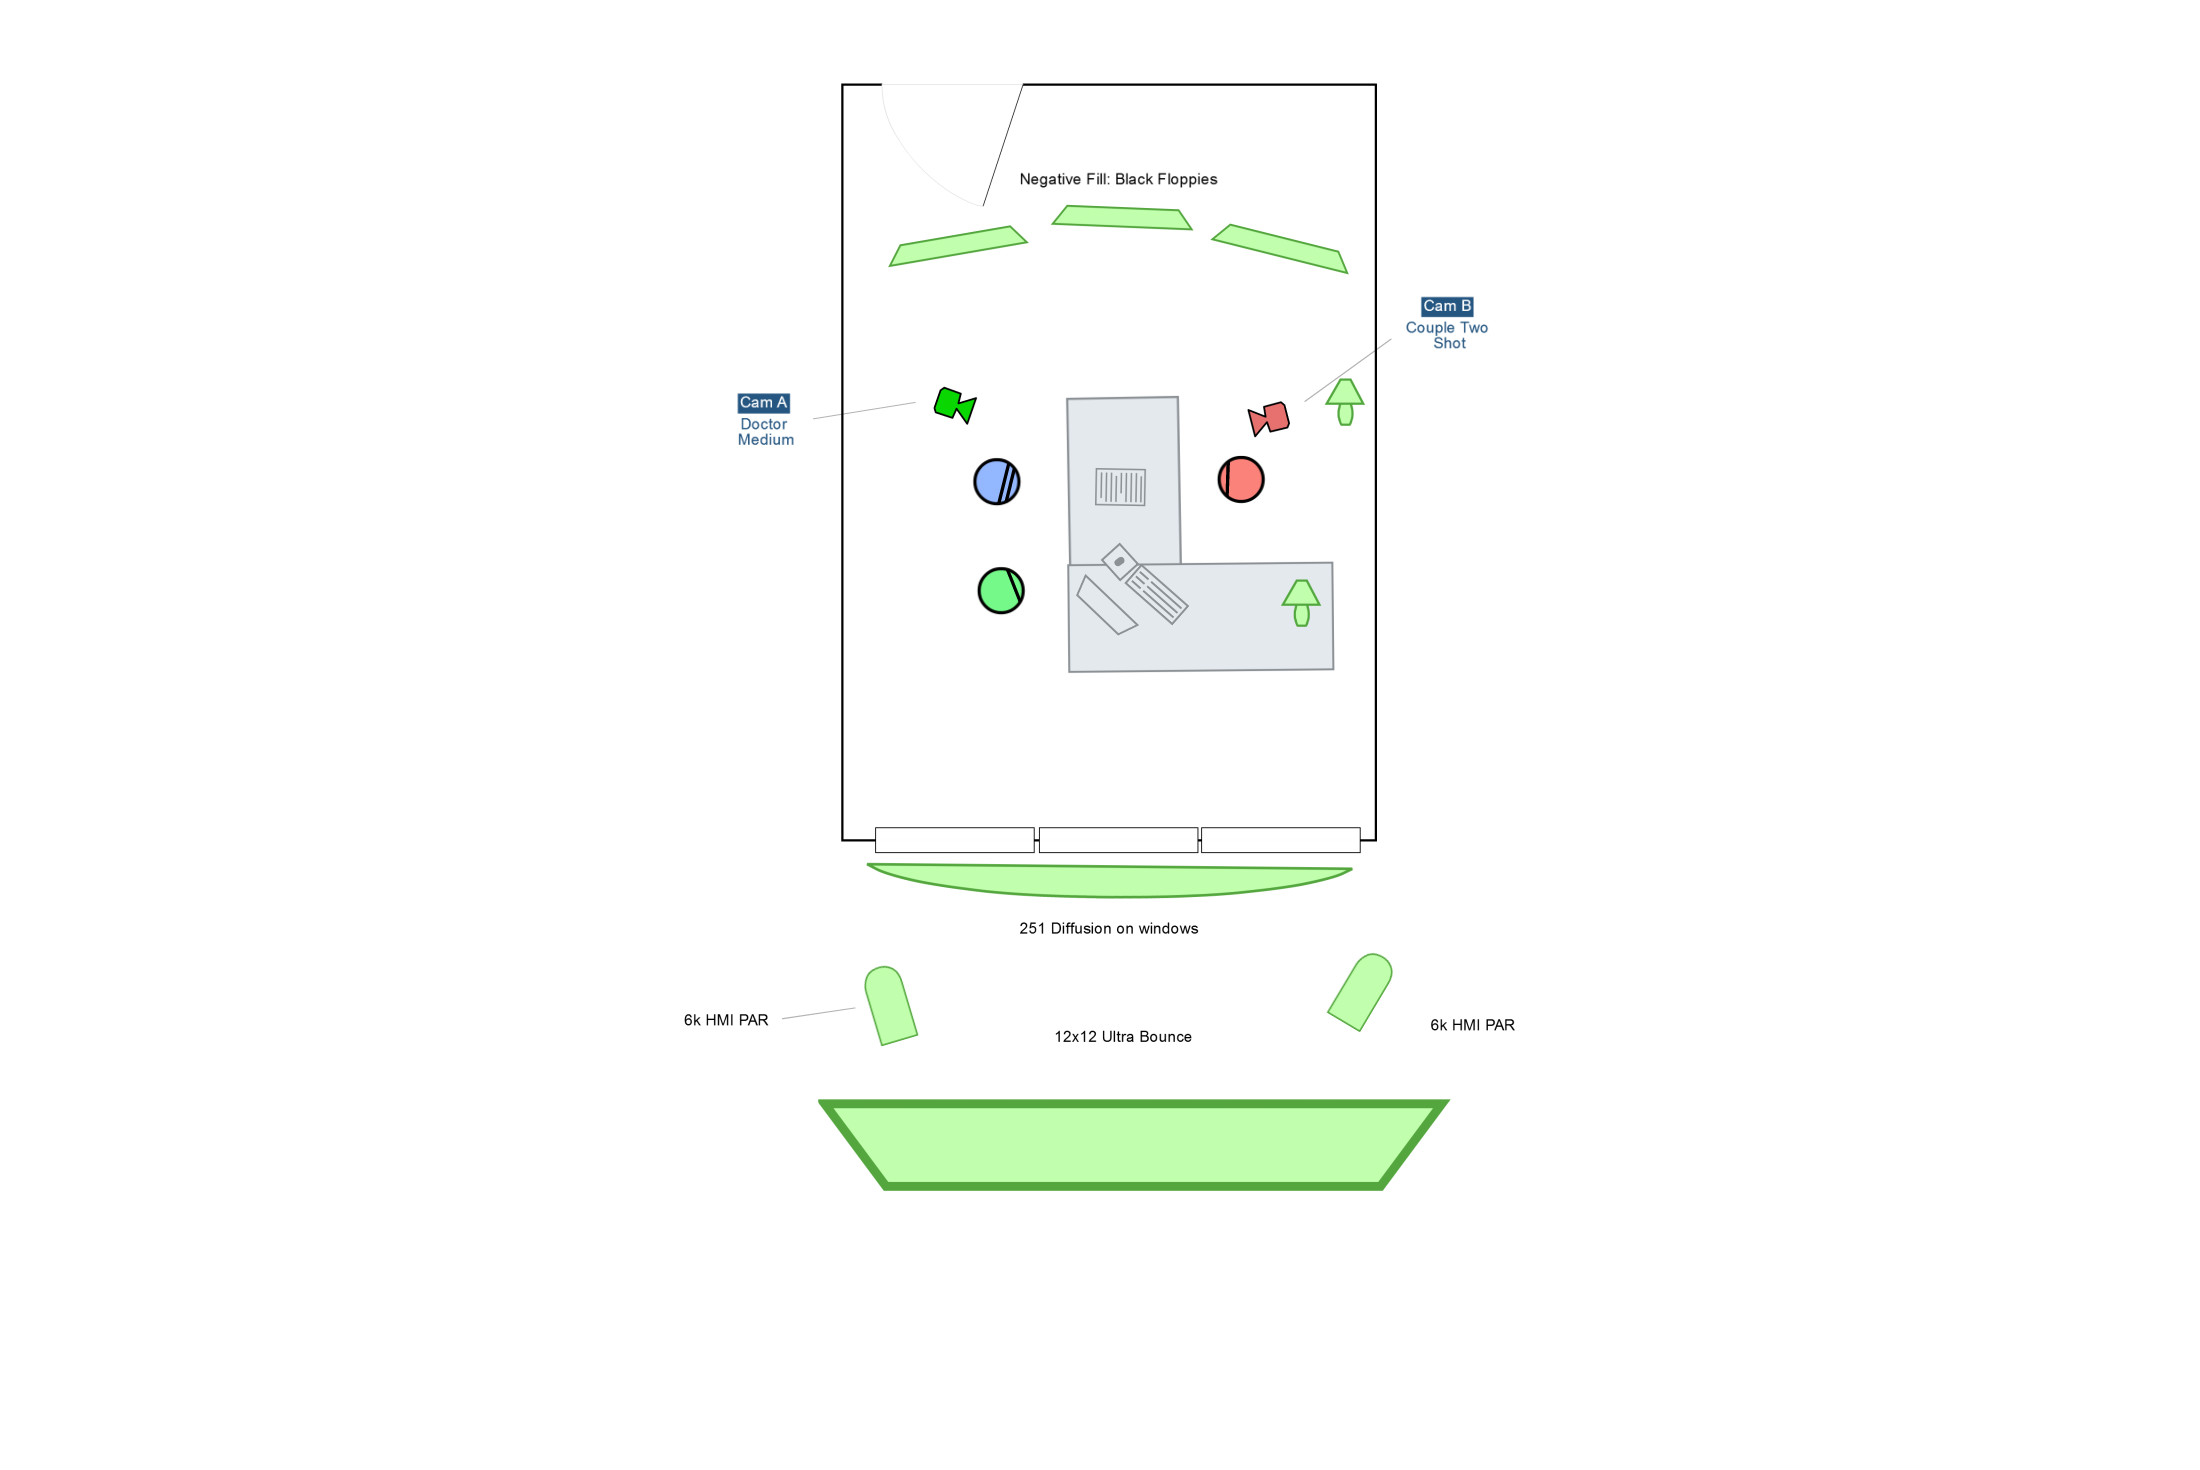
Tech Scout – The Doctor’s Office

Main Talking Points
1. The Desk – We settled on the orientation of the desk and finalized the sitting arrangements for the cast.
2. The Levels – This was the easiest set up from a lighting stand point and Jean and I simply decided on diffusion for the outside frame we were going to be using and then negative fill options inside.
We knew we wanted to light everything to about a T2.8 so fixtures and modifiers were chosen accordingly. We also knew that everything was to come from outside and that we wanted big sources.
3. The Walls – In talks with the art department we decided to change the colors of the existing walls as well to help set the tone.
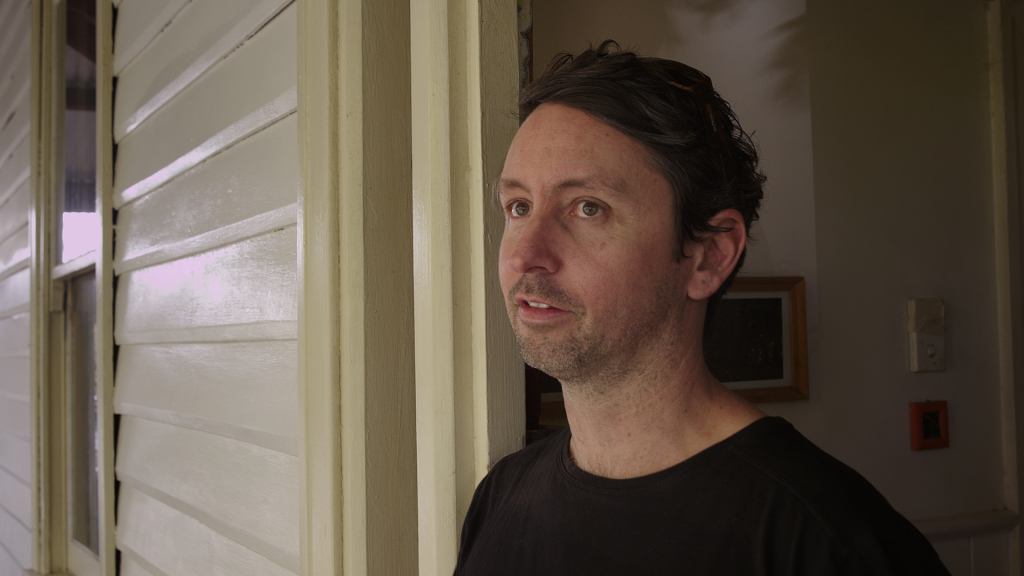
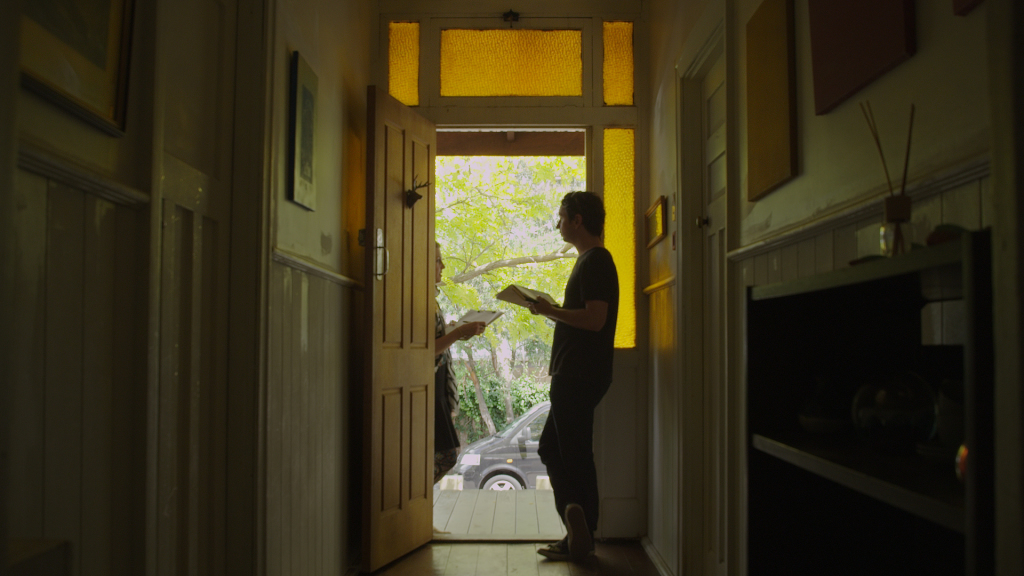
Tech Scout – House Scene

Main Talking Points
1. The Schedule – The way the house was oriented I wanted to shoot this scene as early in the day as possible. The house was facing west and with the sun popping up directly behind it if we shot early we could minimize harshness on the front yard and maximize some raking sidelight with our big HMIs. We ended up shooting this first thing and it worked out perfect.
2. VFX – Part of needing to do this shot early in the morning was the lighting requirements for the VFX. The VFX shot needed some harsh contrast on the actor and the only way to get harsh contrast on a raised porch that is covered is to come in from the side. To solve the problem we planned to blast 12ks from the house next door to create a morning effect underneath the overhang.
In the shot below you can see our producer extraordinaire is being filled from all over with light bouncing from the top and bottom.
3. Controlling the Hallway – Lighting the hallway shot in the middle of a sunny day was always going to be challenging. Jean and I talked about possible solutions depending on the weather. Jean came up with a great idea that really helped on the day. You will be able to read all about each of the lighting set ups we used when I do the production diary entries.
Tech Scout – Kitchen Scene
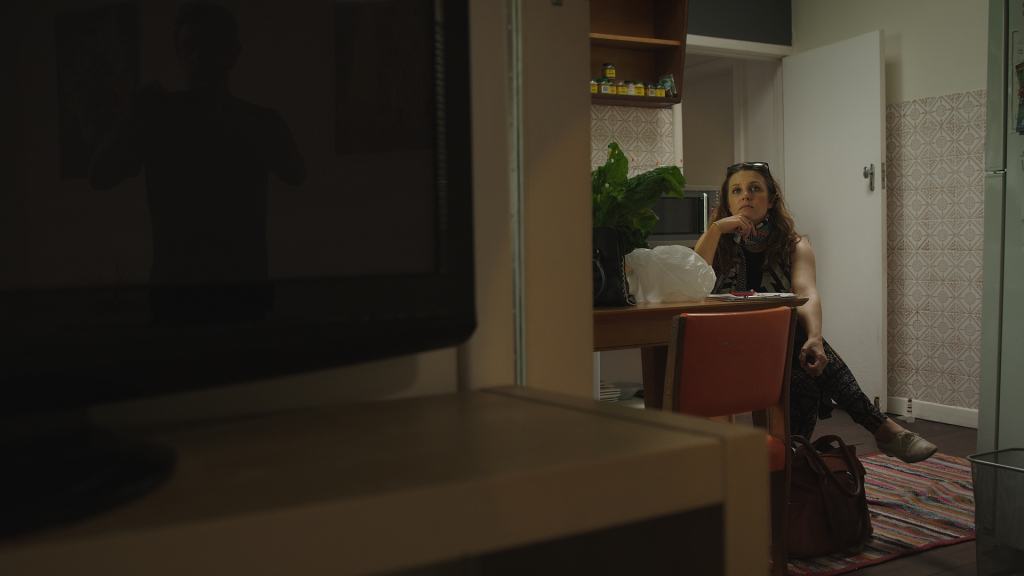
Main Talking Points
1. The Black Out – With the way the schedule was going to have to work the kitchen seen was going to have to be shot during the day but we wanted a night time dinner feel. So we needed to figure out exactly what the tent procedure was going to be.
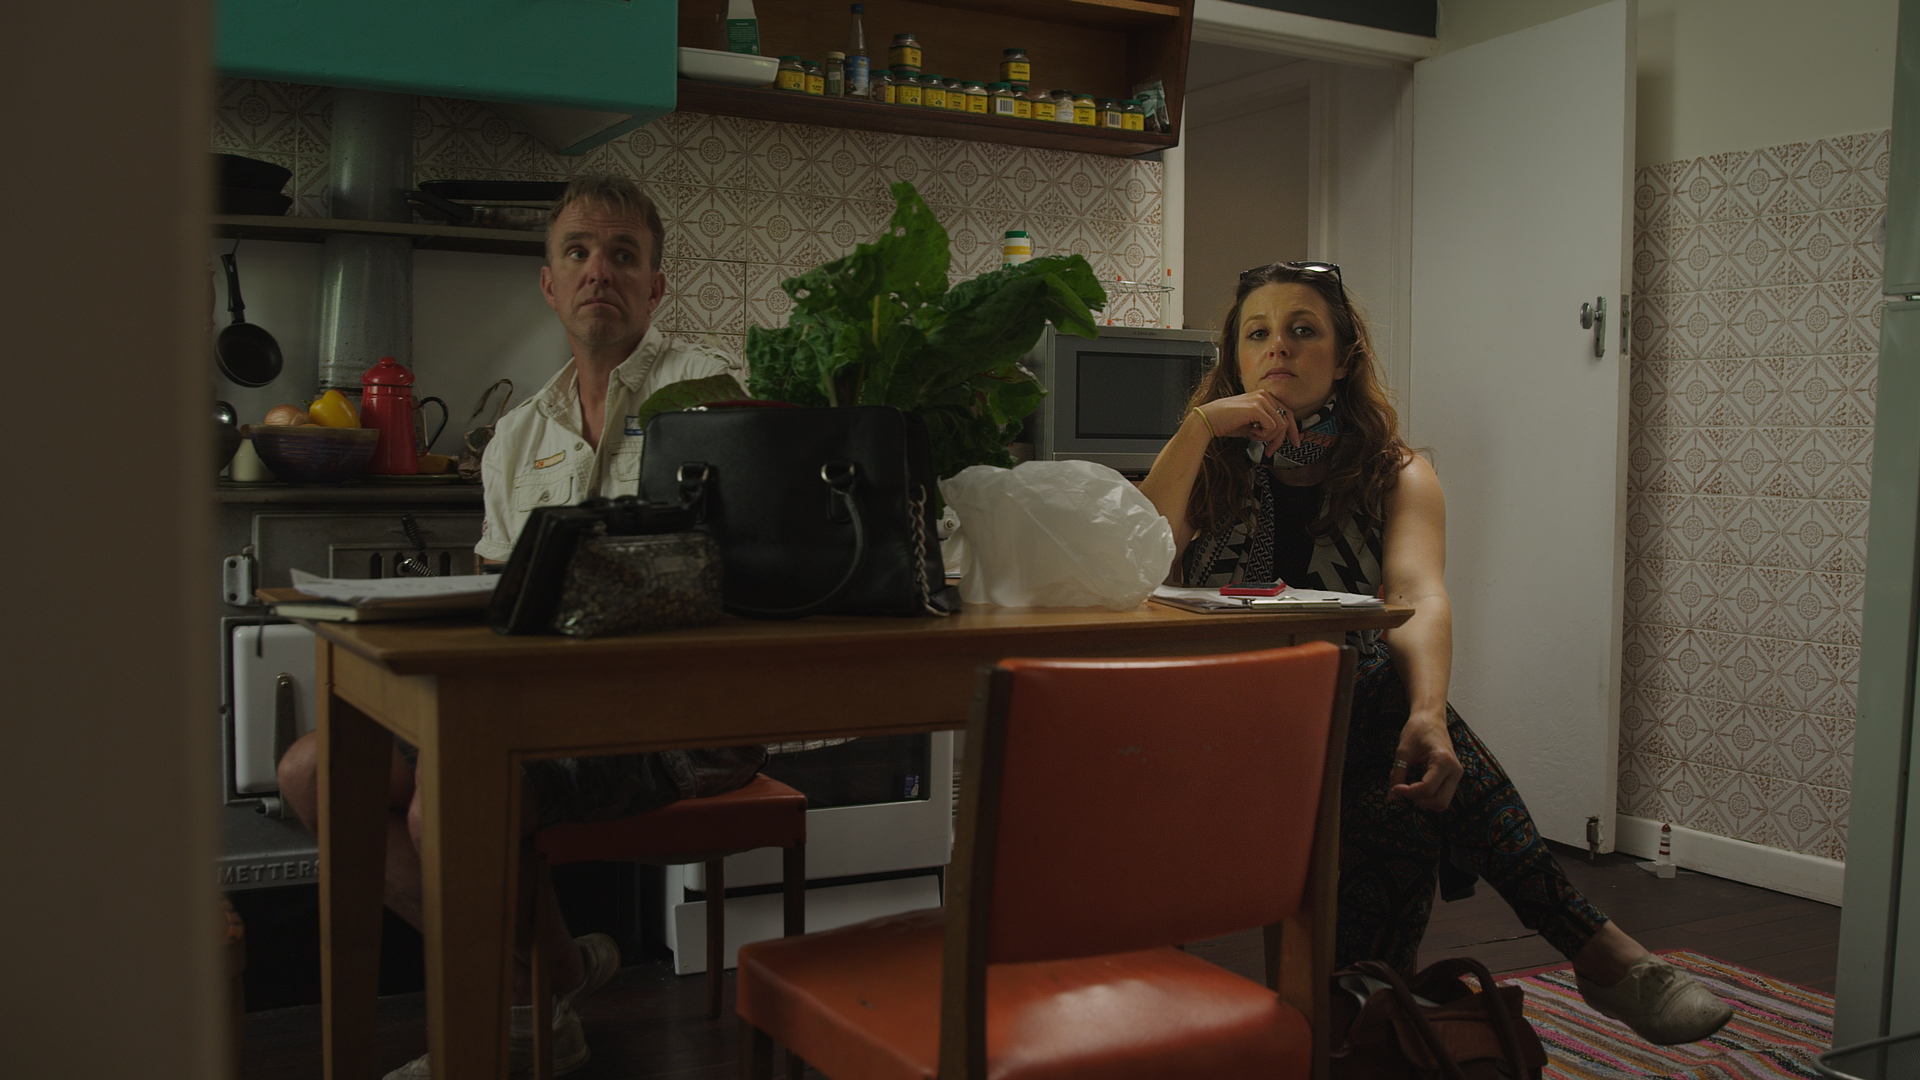
2. Choosing the Doorway – Grant wanted the closing shot to be coming off the main actress and onto the graphics. There were lots of little knooks and doorways coming off the kitchen so we had to settle on one area to lay the tracks for the dolly.
Tech Scout – Bedroom Scene
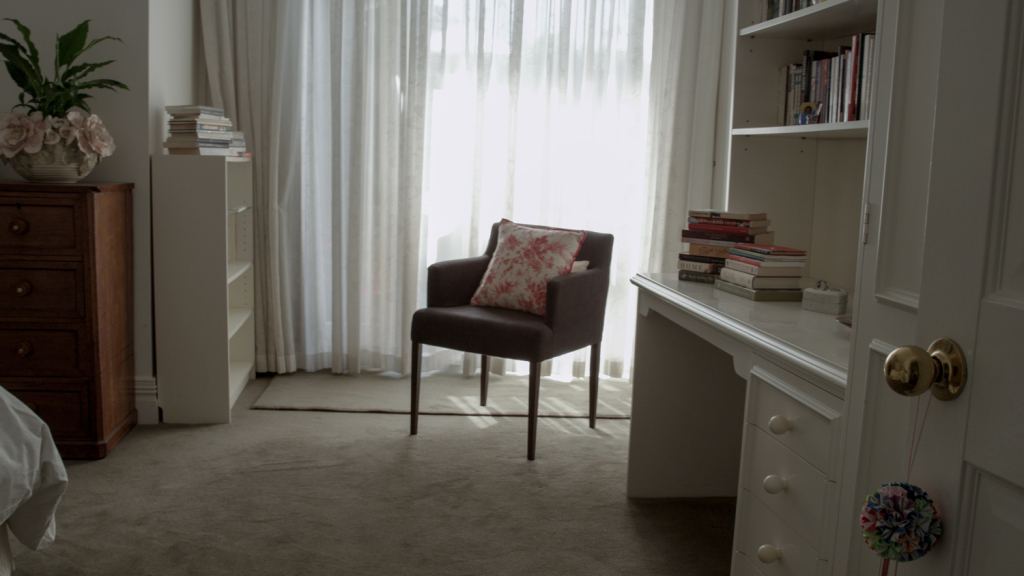
Main Talking Points
1. Faux Source Lighting – After having done the location scout and seen the room I knew we were going to have an issue with the sheers. Basically I wanted the scene to look as though it was being lit by the light coming in from the sheers.
The problem is that to get enough light level on the actor we would need to blast the sheers and in turn they would be two stops over. I didn’t want them at key let alone over. So with Jean we came up with a solution. We would light the sheer to a stop under, then float a 4×4 kino just above the frame line. With enough diffusion it would look like it was coming through the window and it would give us the level we neded on the action while keeping the window where we wanted it.
2. Changing the Angle – Originally we had planned to shoot directly into the window by peering through the door frame. This became problematic for a few reasons so in the end we opted to shoot across the bed for a different feel.
Tech Scout – Moving On
We were able to maximize our time together on the scout because everyone came prepared. We sorted through the main issues and got the shooting schedule all lined up. Now it was time to get busy.
The Fun Begins – Production Starts
Pre-production can be fun and tech scouts, location scouts, and sourcing gear is interesting but the real fun starts when you actually start shooting. In the next installment of our Commercial Cinematography Series we dive into Day 1 of Production.
If you want to download the actual Lighting PDF that I handed out to the team for this commercial simply click on the download button listed below. I will also keep you up to date and remind you when new installments of the Commercial Cinematography Series are released.
Is it just me? I can’t find the PDF download button on this page 🙁
Thanks.
Where is the pdf ?
Great series. Thanks for sharing all the in and outs of your prep. I don’t think I have ever had that much insight on how other DPs prep. Great stuff! Would love to see that PDF you handed out on the Tech Scout. Is it still available for download anywhere?
Thank you for all the great information you’re sharing with us.
I can’t find the download link, is it still available?
Thanks for taking the time to put this all together! This is a great series and filling a big void in the specifics of a commercial shoot. Thanks!!
This is such an awesome series. Just curious, is the PDF of the lighting diagrams still available?