Listen to the Podcast
On the Wandering DP Podcast this week we are going behind the scenes and looking at how we lit, framed, and finished a recent television commercial. We also discuss how lighting references can help inform you and the rest of the crew on the approach a situation calls for.
Lighting references are a mixed bag in the cinematography community and in this episode we look at how they aren't as evil as some people make them out to be.
Patreon Video: Making the Grade

I am back on the road this week on a project so for Patreon supporters I have made a video breaking down how I approach the grade to all my work.
I am a self-proclaimed terrible colorist but I have a system that works for me and helps me get an idea of what a talented person could possibly do.
To view the Patreon Video of the Week click on the link below:
If you are new to the podcast and the site Patreon is a way for listeners to help support the show while at the same time getting more of the content they appreciate.
Each week Patreon members get bonus material through live streams, extended podcasts, or videos. You can't find these resources anywhere else online and I do them as a thank you to the many listeners that do support the show.
If you are interested please make sure to check out the Patreon site and if you do sign up you get instant access to all the past content.
The Spot - Car Rigs & Lighting References
The aim for this series of spots was two fold.
The first was to show a car traveling in different environments over an extended period of time. The gag was that the angle and position of the camera would remain static and constant while everything around the camera and car would change from shot to shot.
The second was to capture moments of individuals realizing things were happening around them as they look towards the sky.
All straight forward but how we got there is the interesting part.
The Gear - Camera + Lighting
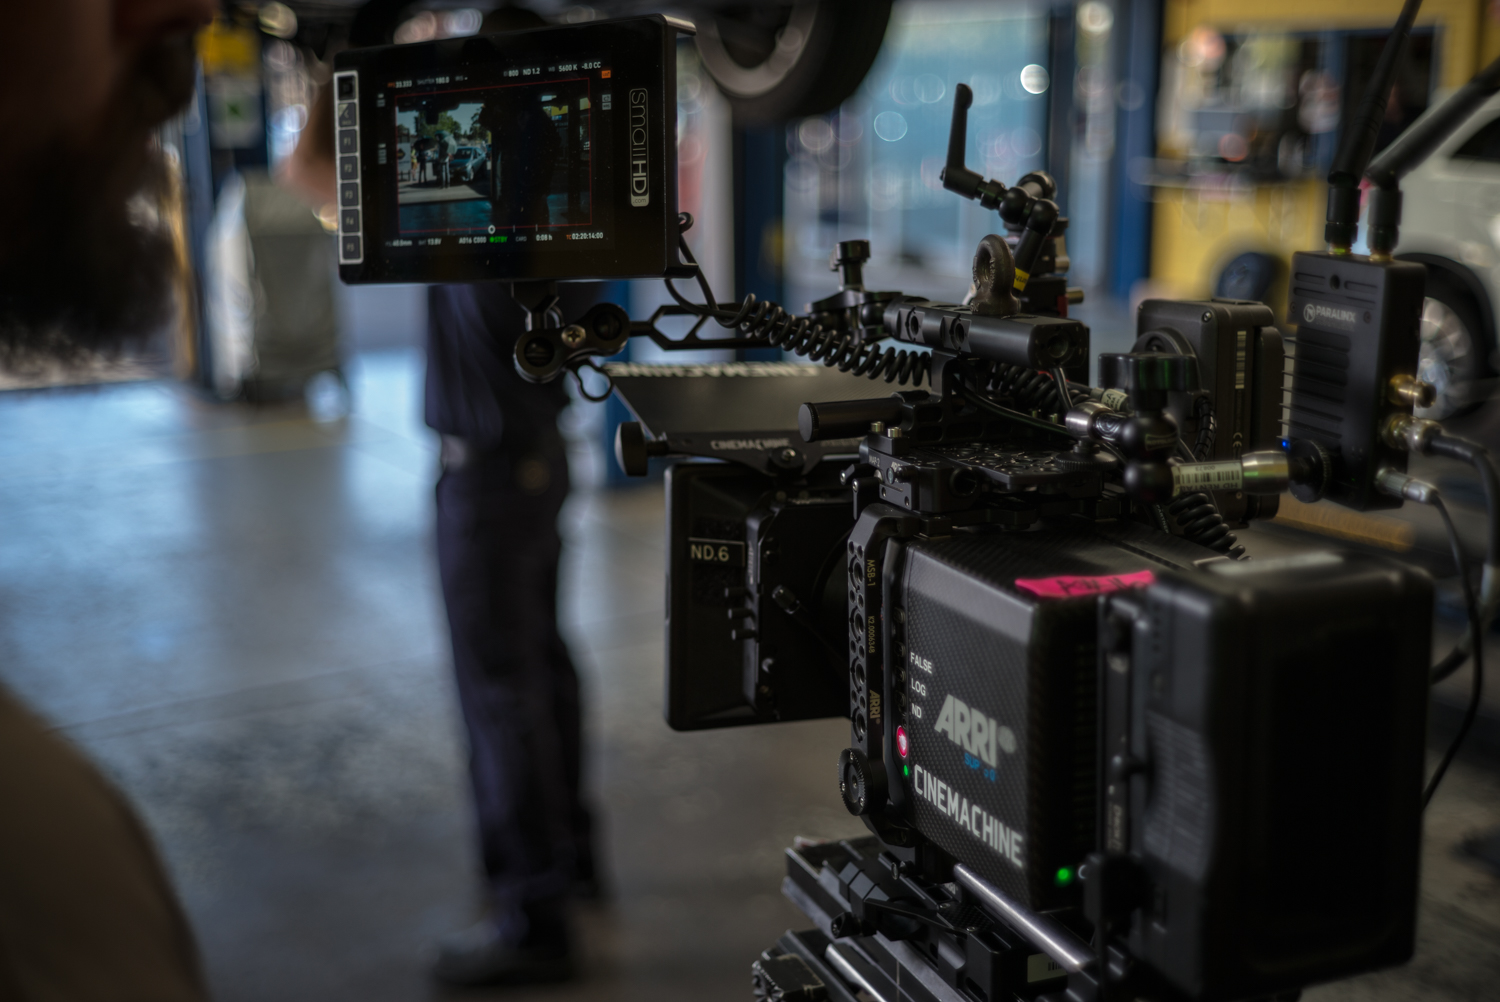
On this job we shot Arriraw on the Arri Alexa Mini. We shot on a rehoused set of the Cooke S2/S3 Prime lenses. Below is a full gear list:
- Arri Alexa Mini
- Cooke S2/S3 Vintage Panchros - Rehoused by Van Diemen
- Arri LMB-25 - Matte Box
- Arri WCU-4 - Wireless Follow Focus
- Firecrest IRND Filter Set - 4 x 5.6 (.3 -2.1)
- OConnor 2575C Fluid Head
- SmallHD 703 HB On Camera Monitor
- Flanders Scientific CM240 Director's Monitor
- Paralinx Tomahawk Wireless Video System
- Easyrig Cinema 3 600N
For the lighting we used a range of fixtures. Below is a brief list:
- Arri 12k HMI
- Arri M18 HMI
- Arri 575W HMI
- Litemat 2L
- 12x12 1/4 Grid
- 12x12 Hi-lite
- 4x4 Poly Bounce
- 4x4 Floppies
Lighting References - Drive
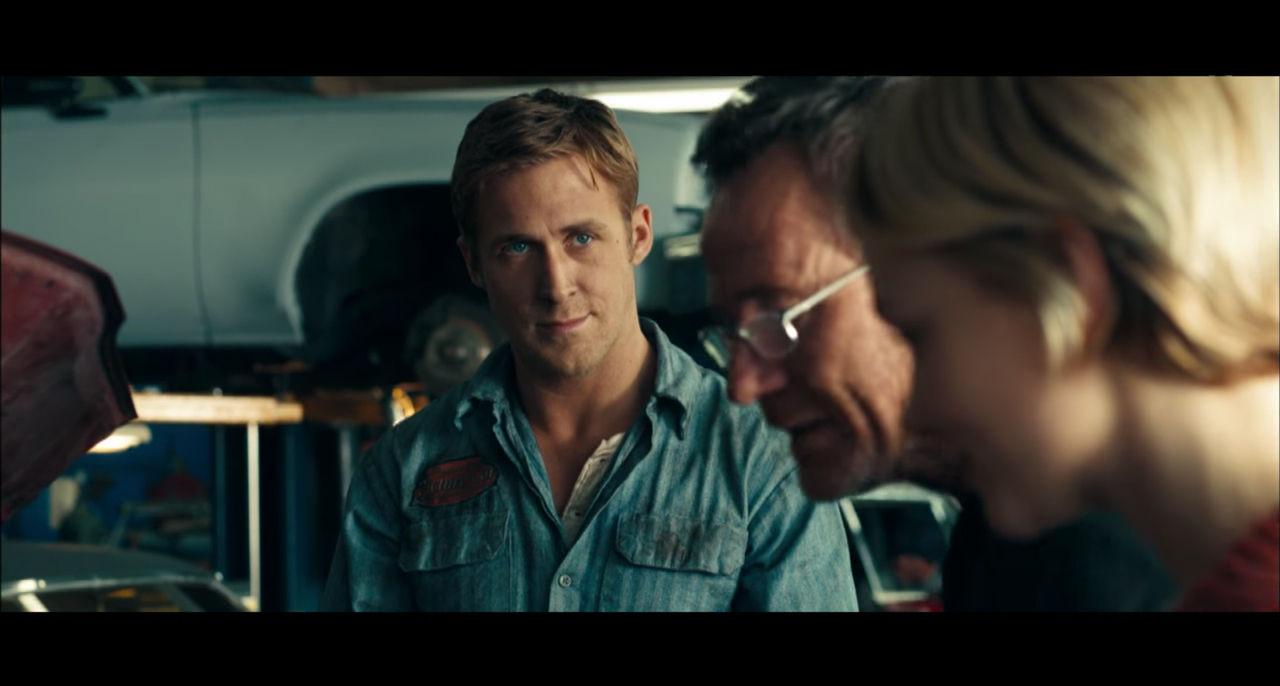
The main scene outside the car rig stuff that we are looking at today has to do with an exchange at a car mechanic. It was a very difficult location and after multiple chats with the director we decided to push it to this dark blue yellow world for a variety of reasons.
The main reference we looked at was the move Drive and specifically the scenes involving the mechanic shop. These scenes have a very controlled lighting and color feel and we thought with a bit of planning we could make this llook work for us.
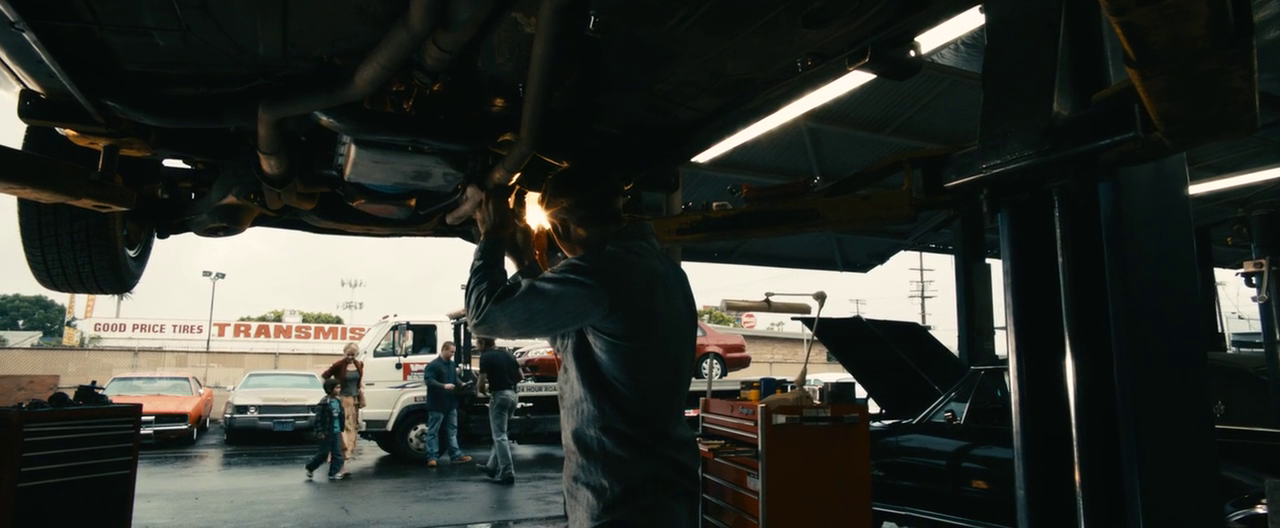
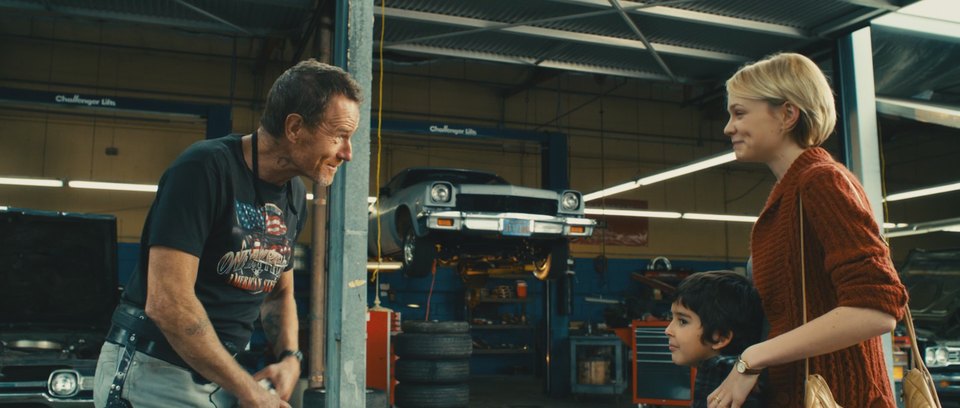
We had to make a few adjustments to fit the brand and the location we were in but the influence of these references should be felt in the final images.
The Shots - Making Lighting References a Reality
The first set up we are looking at is the car mechanic scene. We have 3 shots to do and a very difficult location made even more challenging by limited availability.
Here is how we solved it:
Shot #1 - The Wide
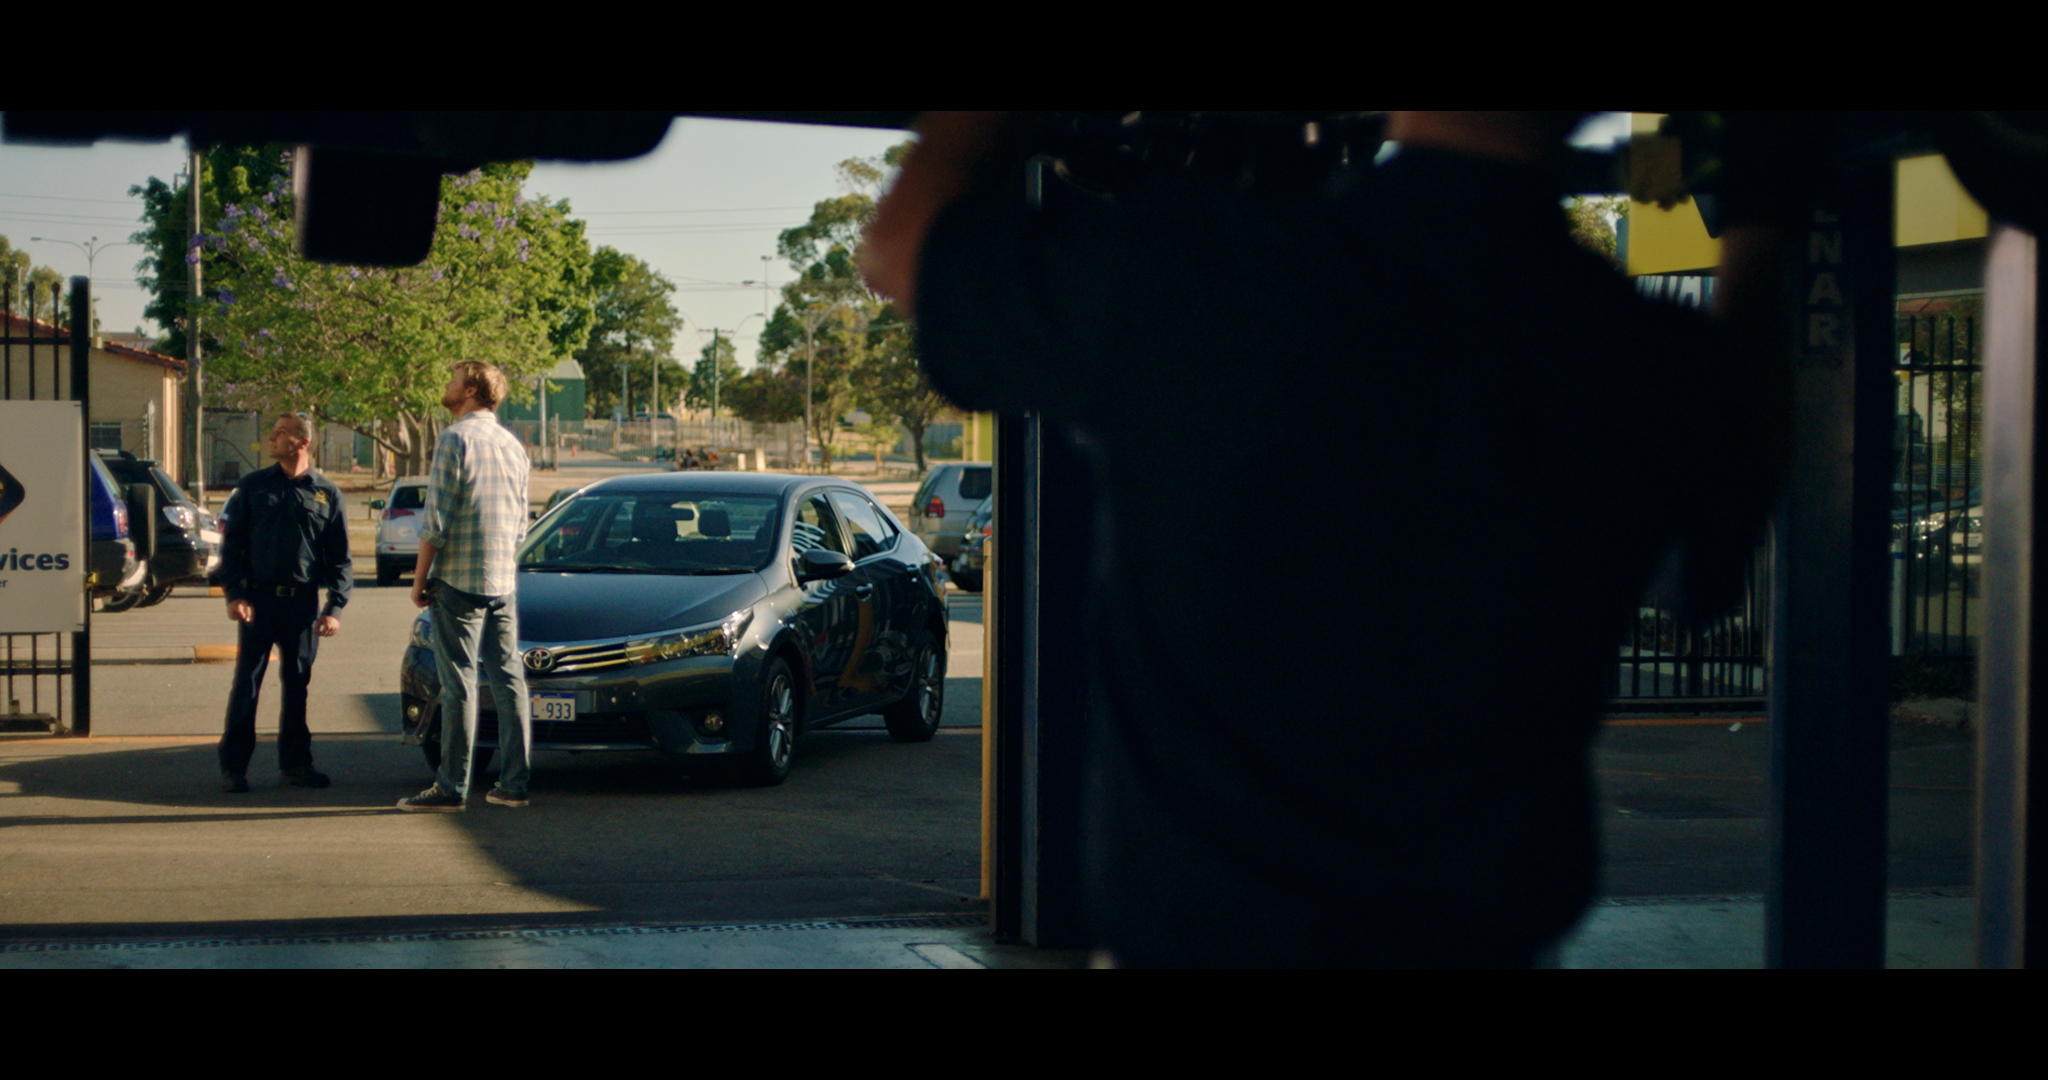
The Shot
For this shot we are setting the mood for the scene. We needed to be wide enough to see where we were but close enough of the characters to make sure the audience took quick notice of them.
What looks like a fairly simple shot was made much more complex due to the location. The contrast was so great between the outside sunny day and inside the mechanic it was vary difficult balancing the levels between the two.
The Lighting
Balancing inside and outside is the big challenge here.
Couple that challenge with the orientation of the location and the angle we needed to be shooting and we have the double handed wheel of cinematography death.
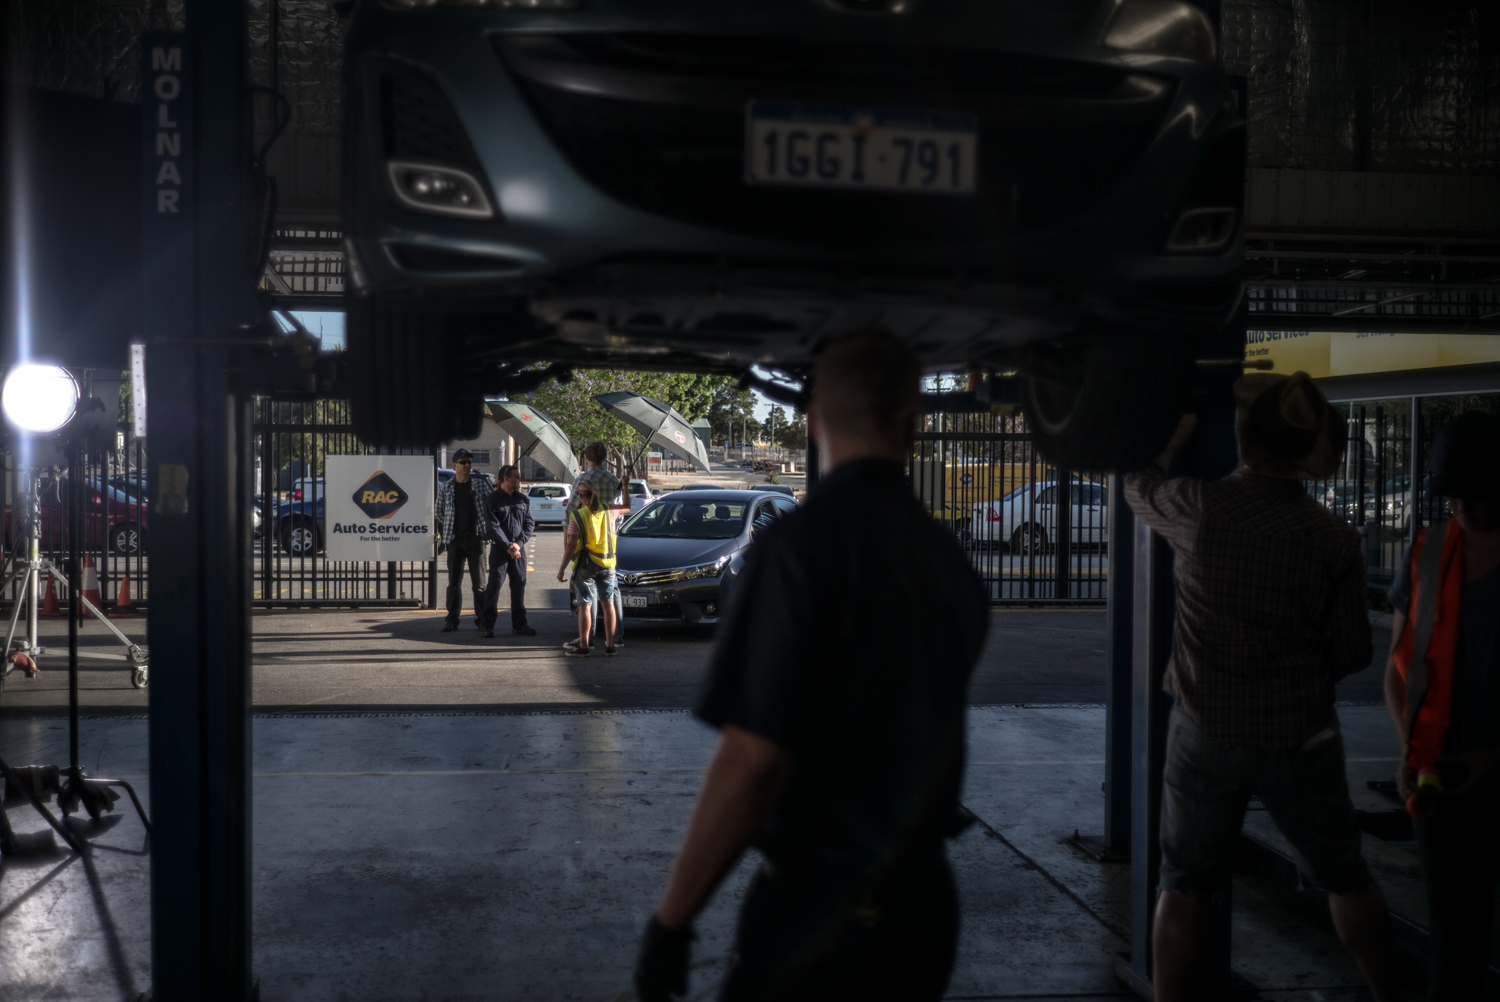
We used a combination of 12x12 bounces, being in the location at the right moment (actually moments not minutes), and some heavy duty HMIs to get the job done.
The Result

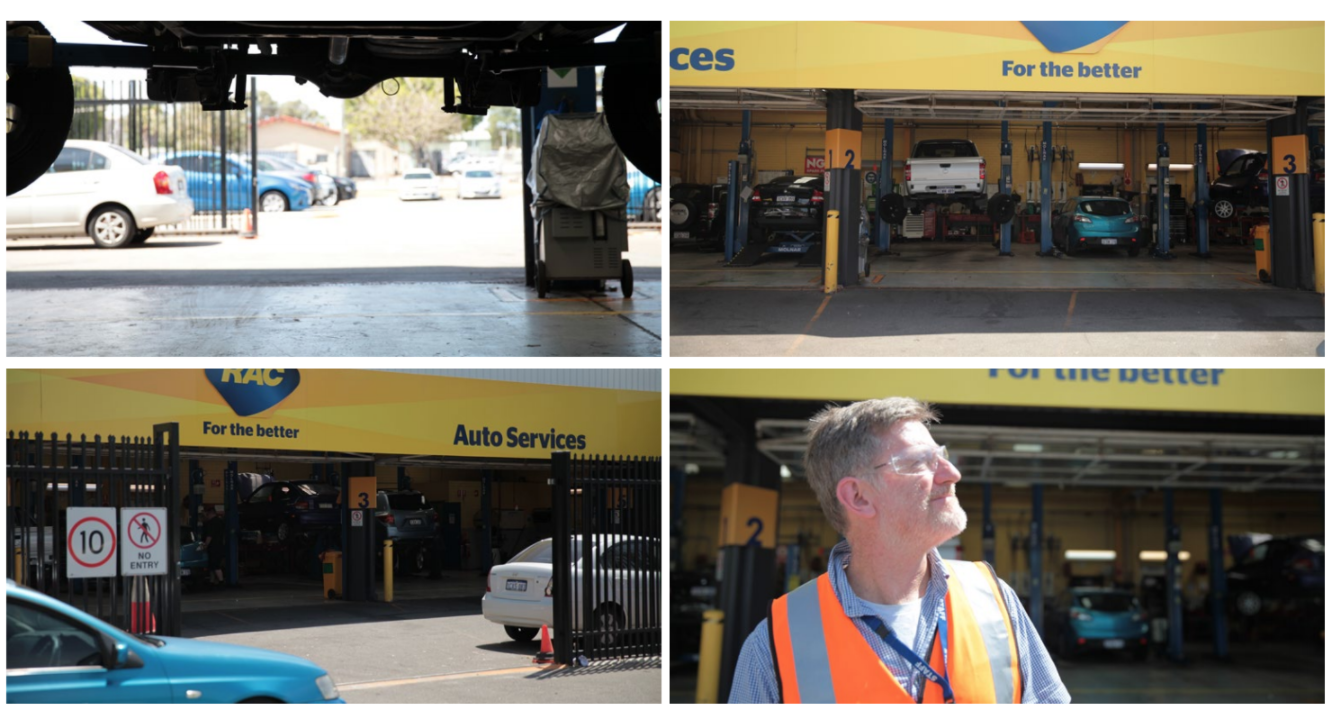
Location Scout Photos
Behind the Scenes
Shot #2 - The Two Shot
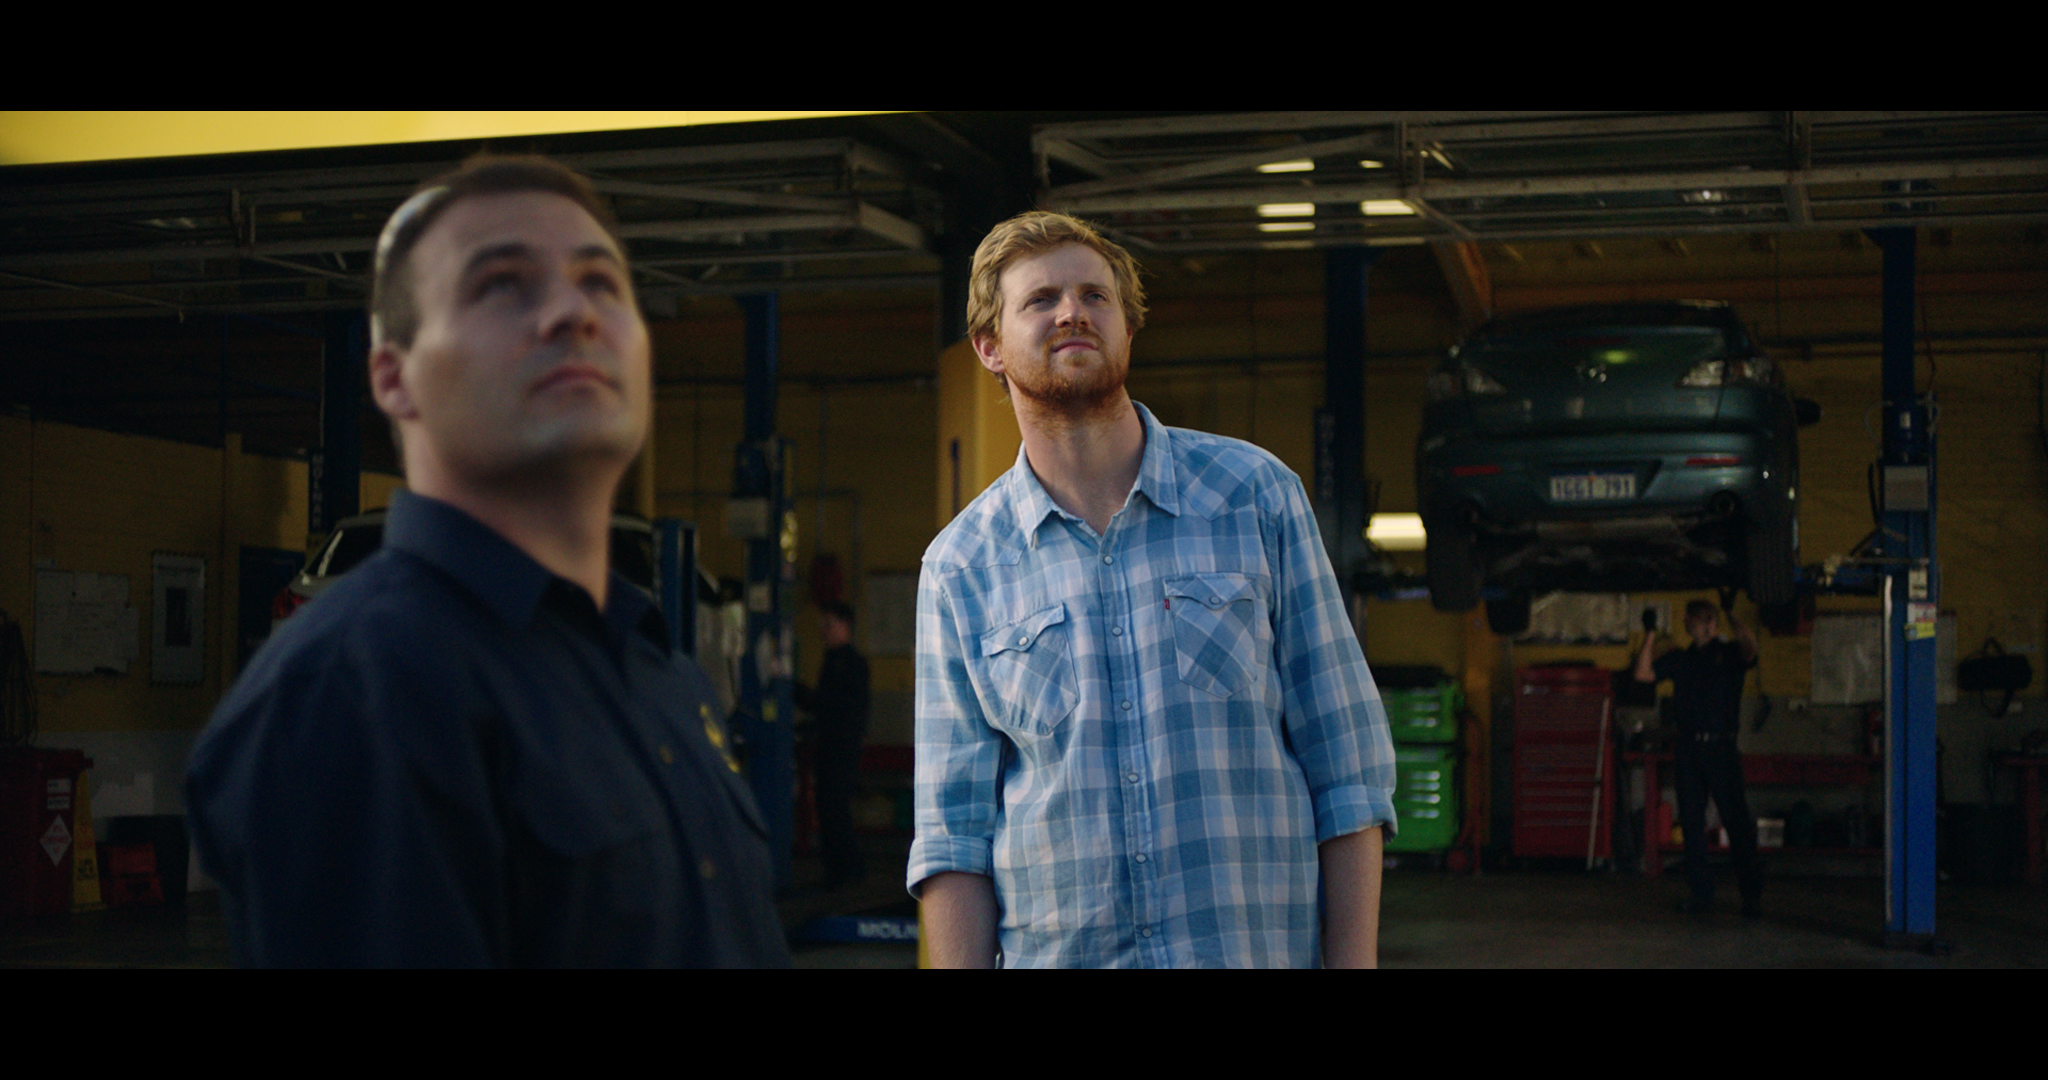
The Shot
The second shot in the series sees the camera pop outside and reverse the direction the viewer is looking.
Now we needed to raise the ambient inside and bring the foreground down to maintain the look we created in the wide..
The Lighting
We used a 12x12 to soften the direct sun that was hitting the talent then pumped in both artificial and bounced light in to the background.
The Result

Shot #3 - The Single
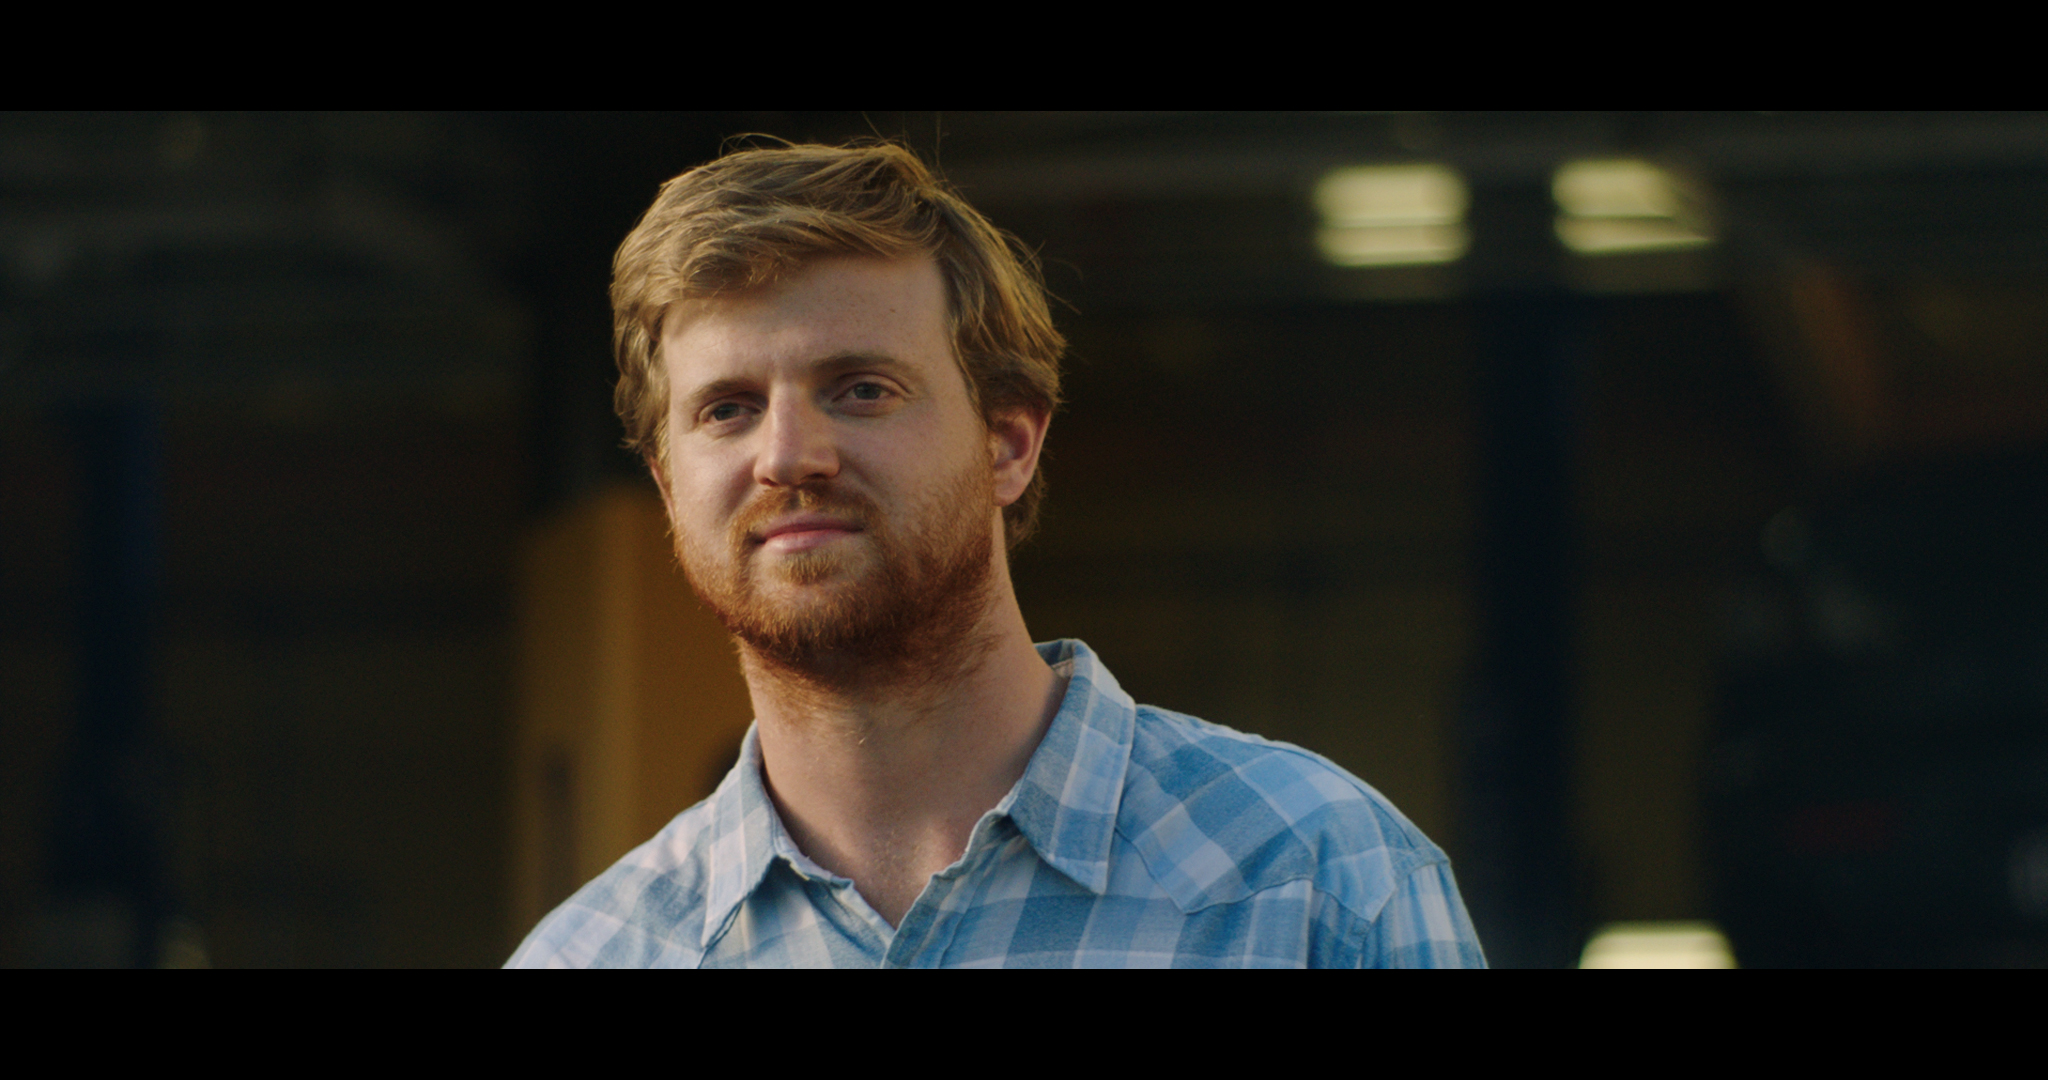
The Shot
Now we were running to get this shot before the sun completely dipped behind the building.
The Lighting
We re-arranged a few items and added a bit of neg fill but the rest was near identical to the previous shot.
The Result

Shot #4 - The Rain Shot
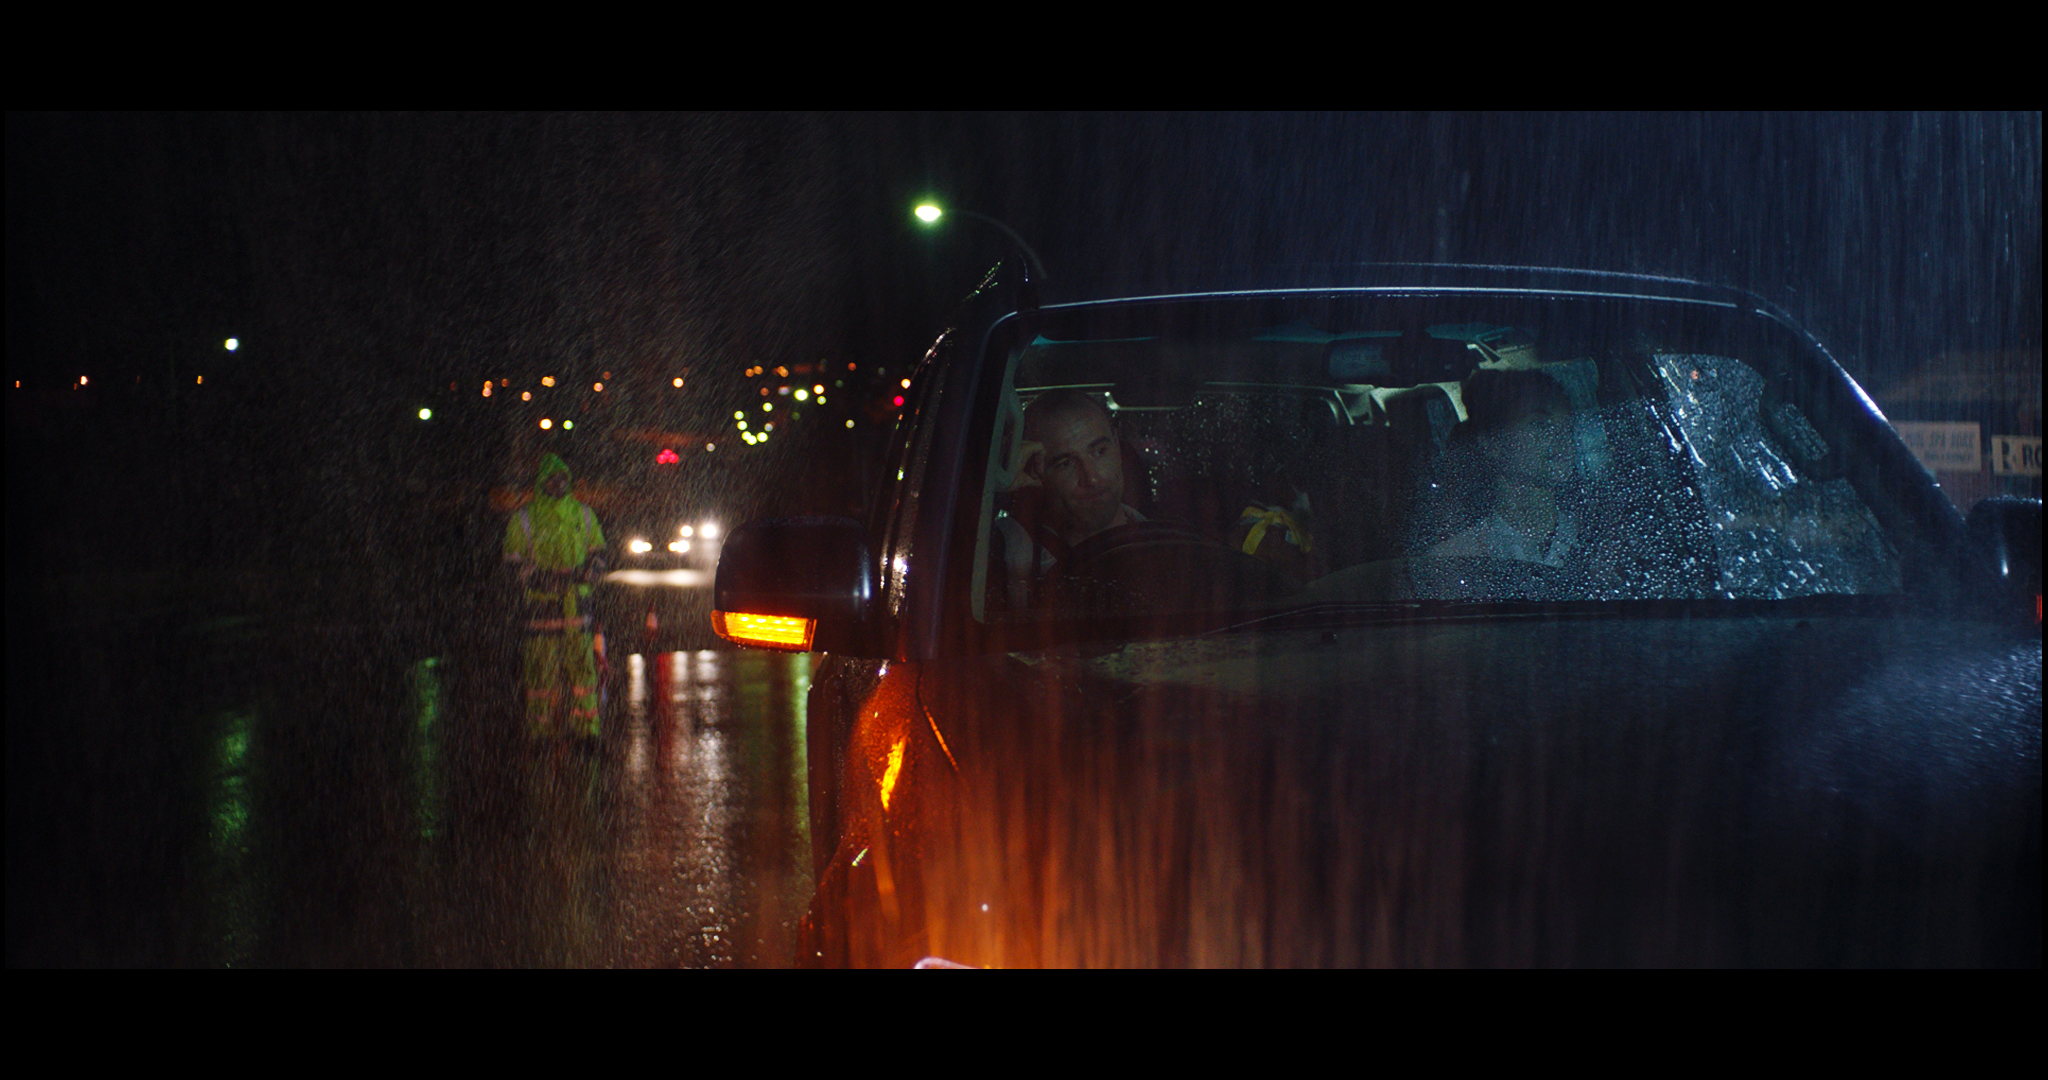
The Shot
The hardest part of this shot was getting the rain to feel natural and then balance the various colors in the shot to give it a polished feel.
The Lighting
We used a 1.2k HMI as the key for the talent inside the car. It was softened through two different frames of diffusion. It was gelled to match the street lights visible in the background.
The back light is an Arri M18 with 1/4 CTO on it to give it a bit more grey than blue.
Inside the car is a small Lite Mat to give it just a bit of ambient.
The Result
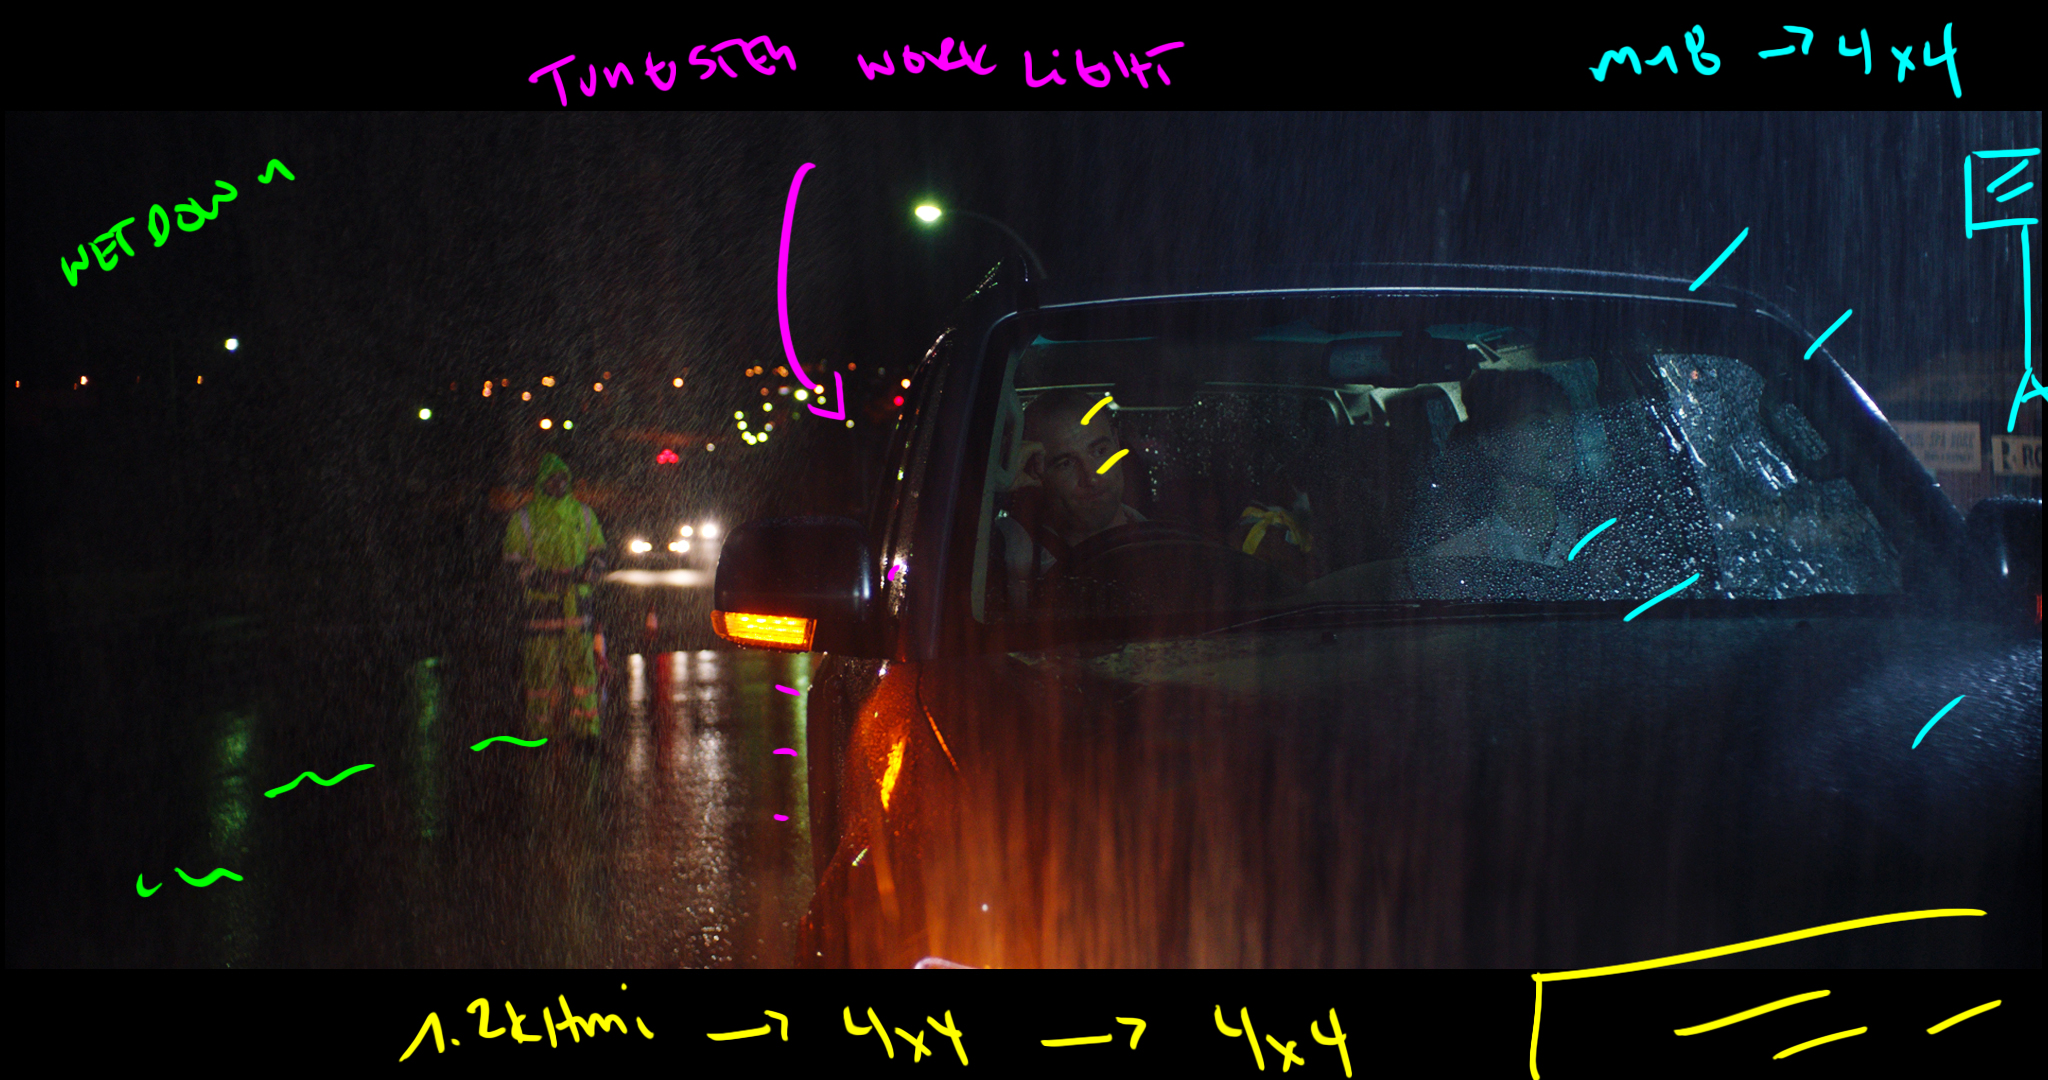
Behind the Scenes
Shot #5 - The Dreaded Garage
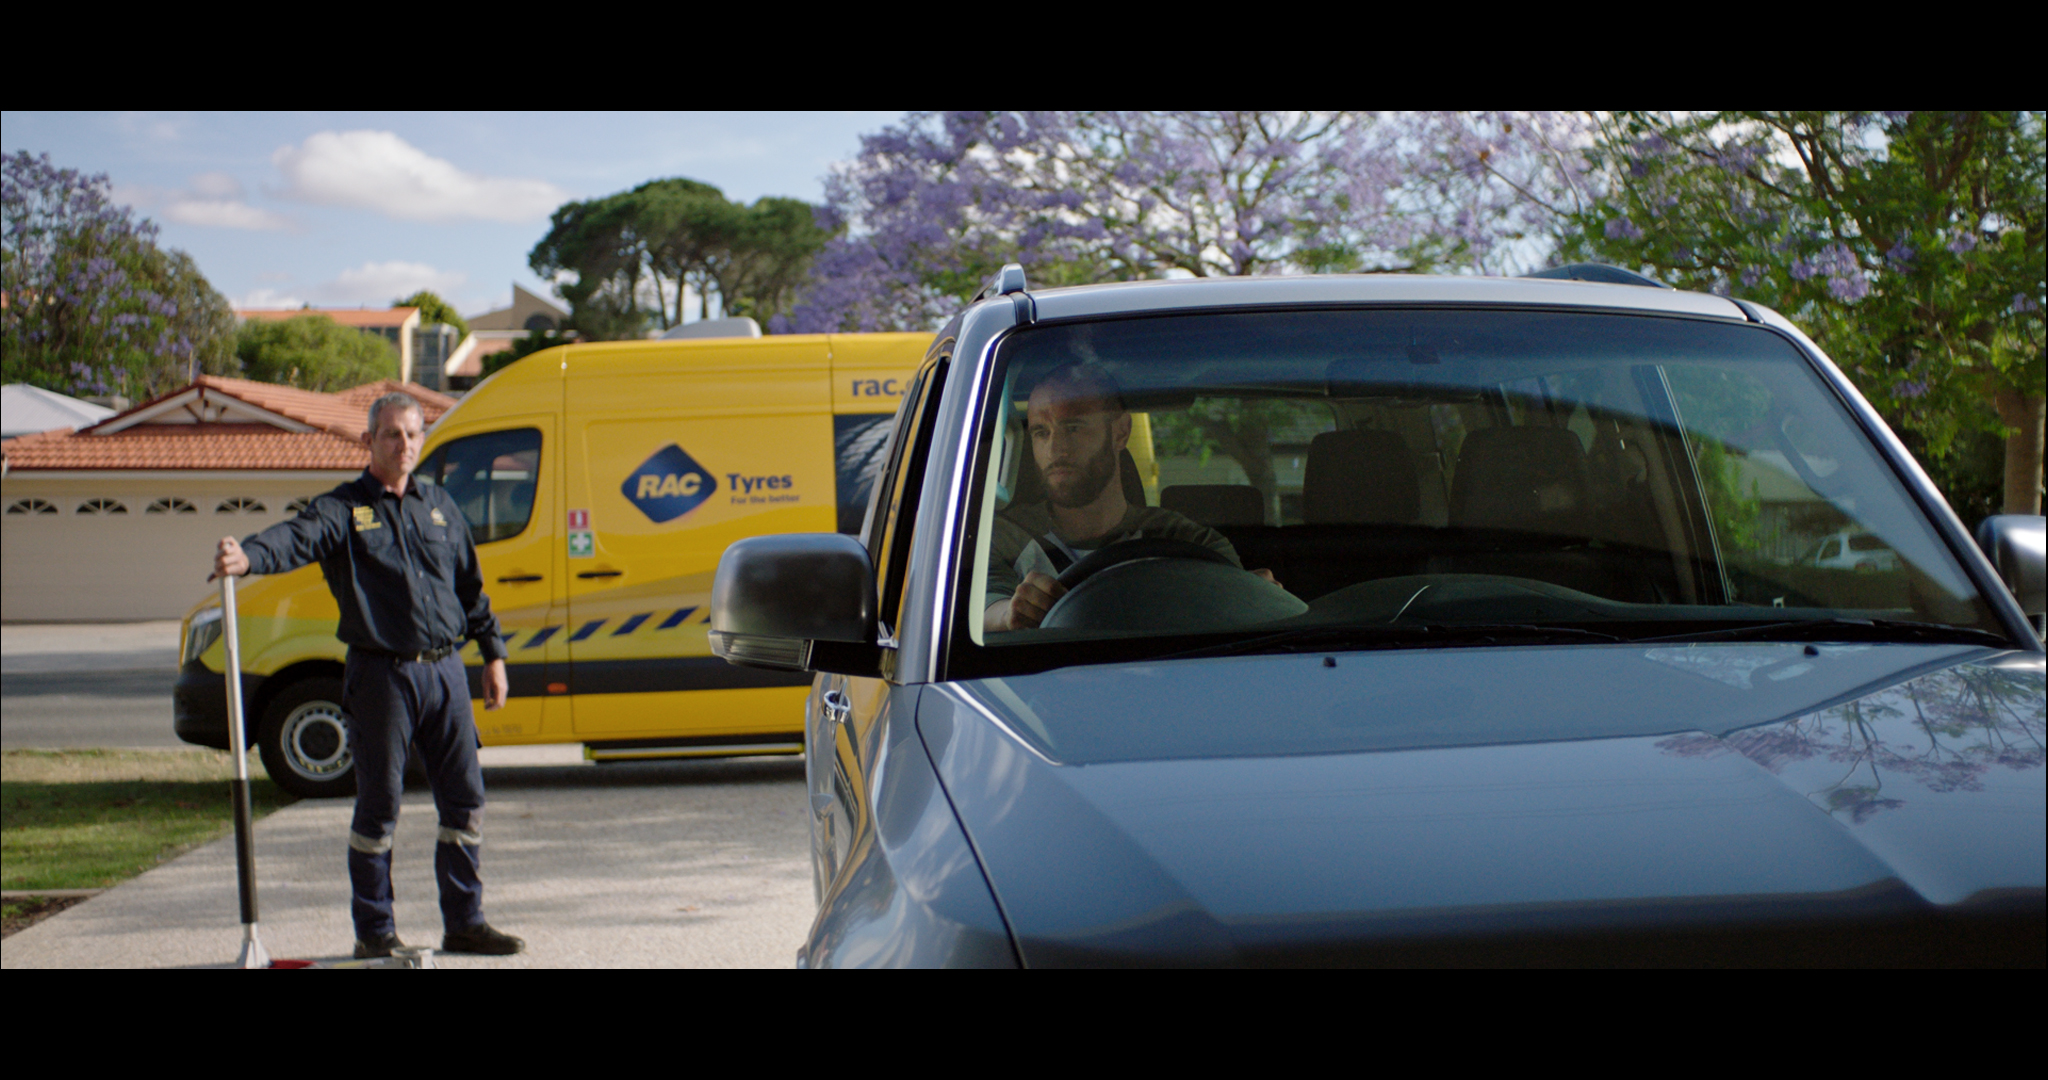
The Shot
The framing and camera position all remain identical to the previous shot but now we are dealing with another nightmare light scenario.
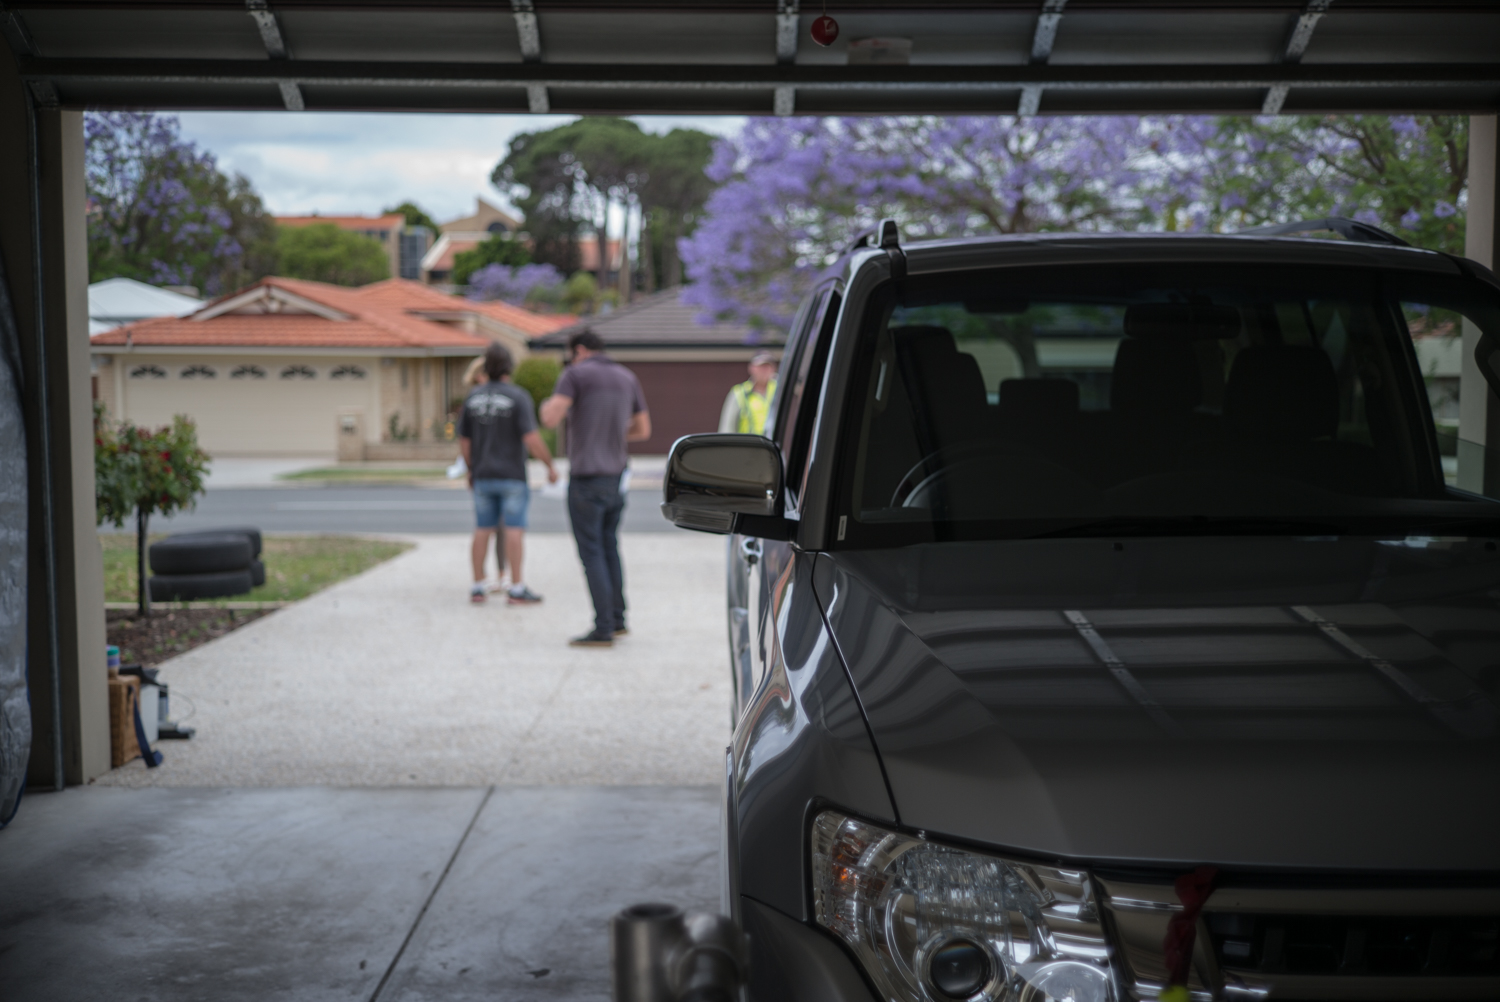
In this shot we go from inside a dark garage to outside on a bright sunny day.
The Lighting
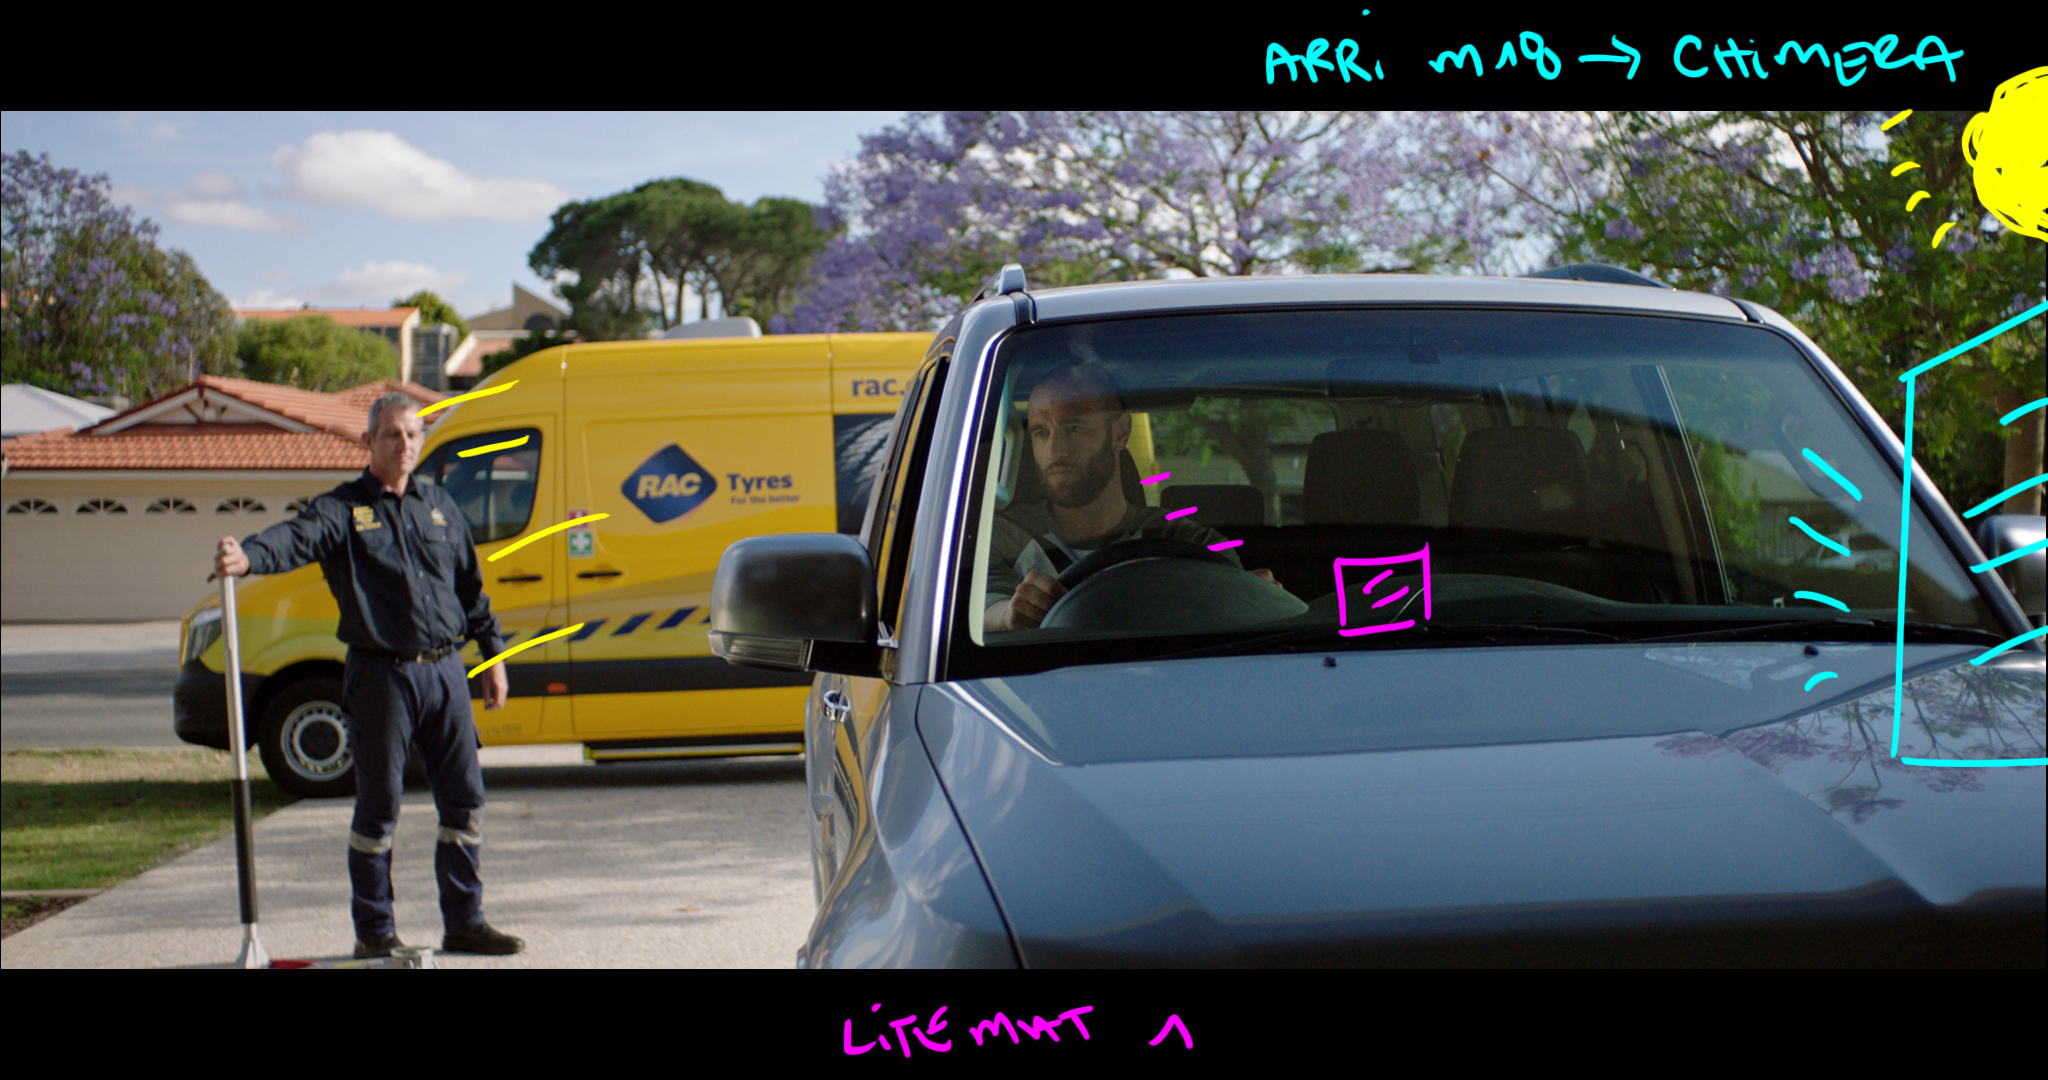
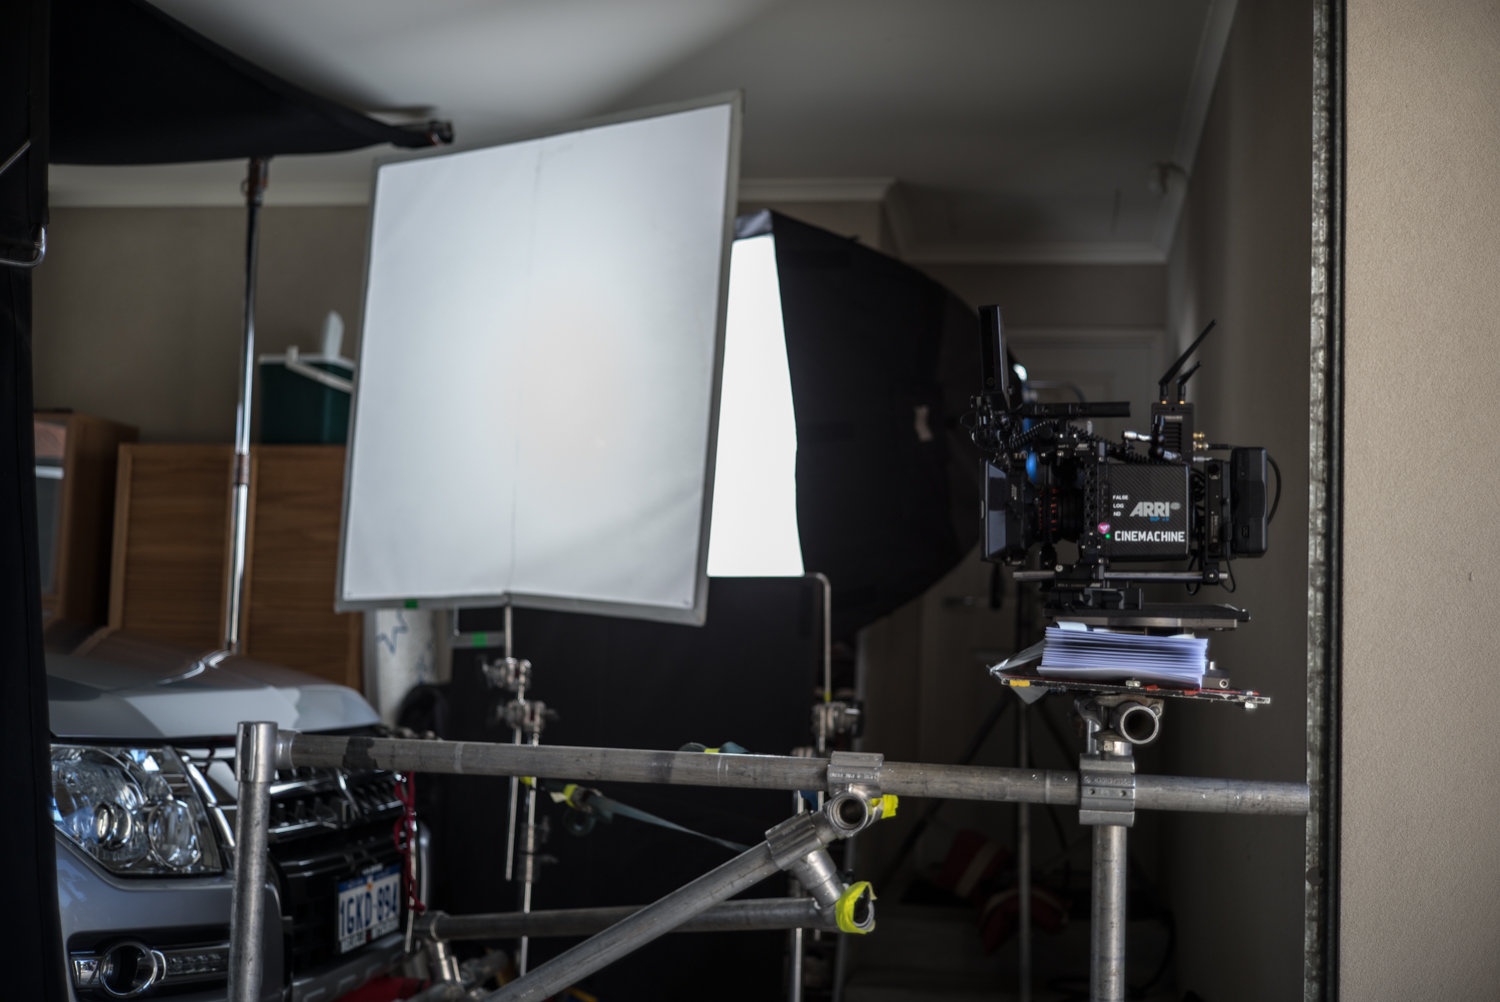
For the lighting we used an Arri M18 in a Chimera through a 4x4 frame of diffusion to key the talent inside the garage. As the car moves back we get less and less level from the lamp as the outside ambient begins to do the heavy lifting inside the care.
We waited for a bit of high cloud to soften the shadows outside and make the contrast just a bit more muted.
Inside the car we played the Lite Mat again as a center console light source. It added just a bit of frontal fill to the equation.
The Result
Behind the Scenes
Lighting References - Conclusion
Every shoot is unique and every director has their own way of working through the pre-production process. Lighting references aren't always the answer but if we understand when and where they cabn be of use than we are all the better for it.
How do you use references? Have you used lighting references in your own work? Did they help the production move closer to where you wanted to go?
Let us know in the comments below.


