The Wandering DP Podcast: Episode #73 – Studio Lighting
In this episode of the podcast it is back to basics as we look at a studio lighting tvc and discuss how we got the project from pre to the finals images.
White cyc and studio lighting can be a bit of a mystery if you aren’t familiar with the techniques but,once you get the hang of it, studio jobs can be a bit of fun once in a while.
Support the Podcast
If you enjoy the show and would like to support it, please click on the Patreon link below. You’ll get exclusive access to Q&A’s, additional podcasts and allow the wonder boy to send postcards to his family back in Wolverhampton.
Patreon Supporters
If you are a Patreon supporter make sure you head over to the Patreon site and listen to the Listener Q&A Podcast. These are becoming a lot of fun to do and we are getting some great topics from listeners.
This week we look at what I am talking about when I say “beating the direction” out of a light/source and how it can help you make images a bit closer to what you want.
The Final Images – Studio Lighting
Spot #1 – The One & Done

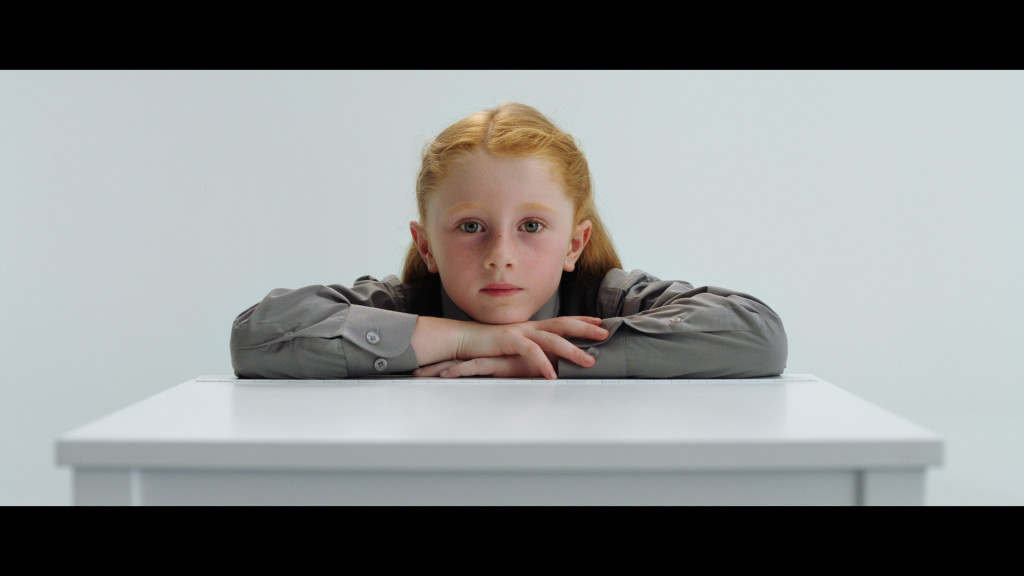
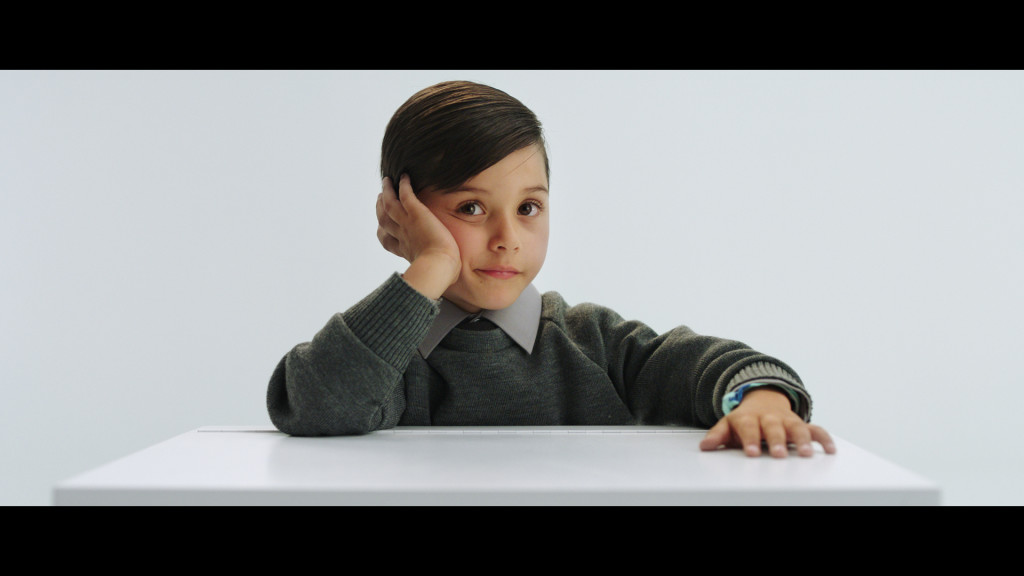
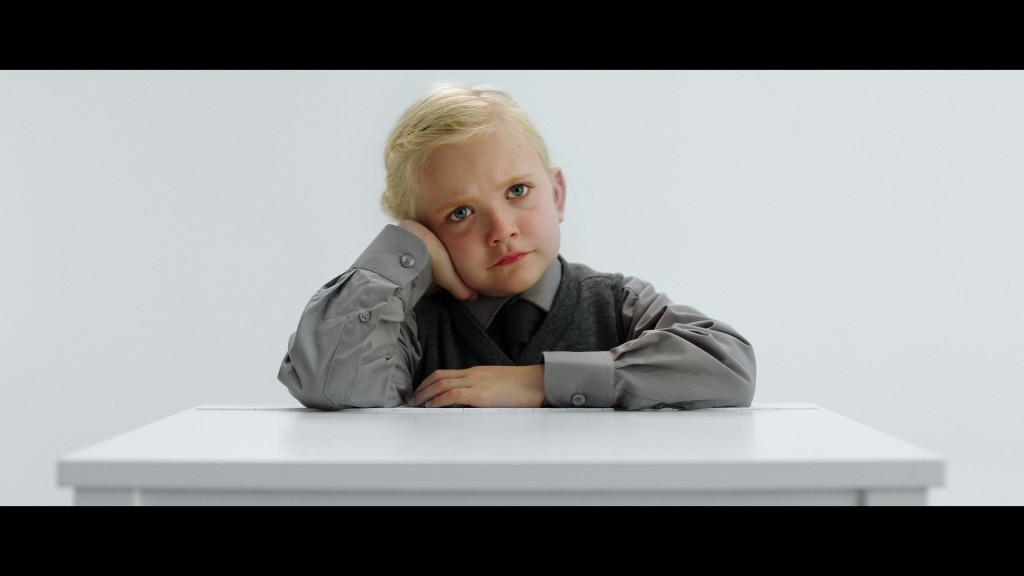
Spot #2: Schools Out
Pre-Production – Studio Lighting
The Location:
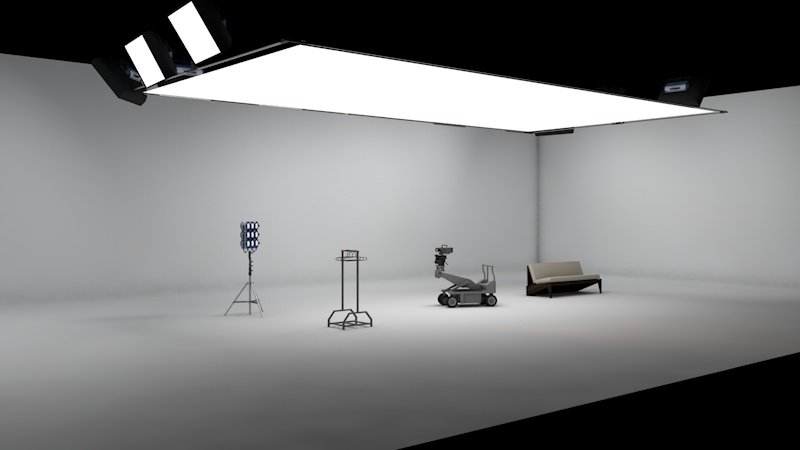
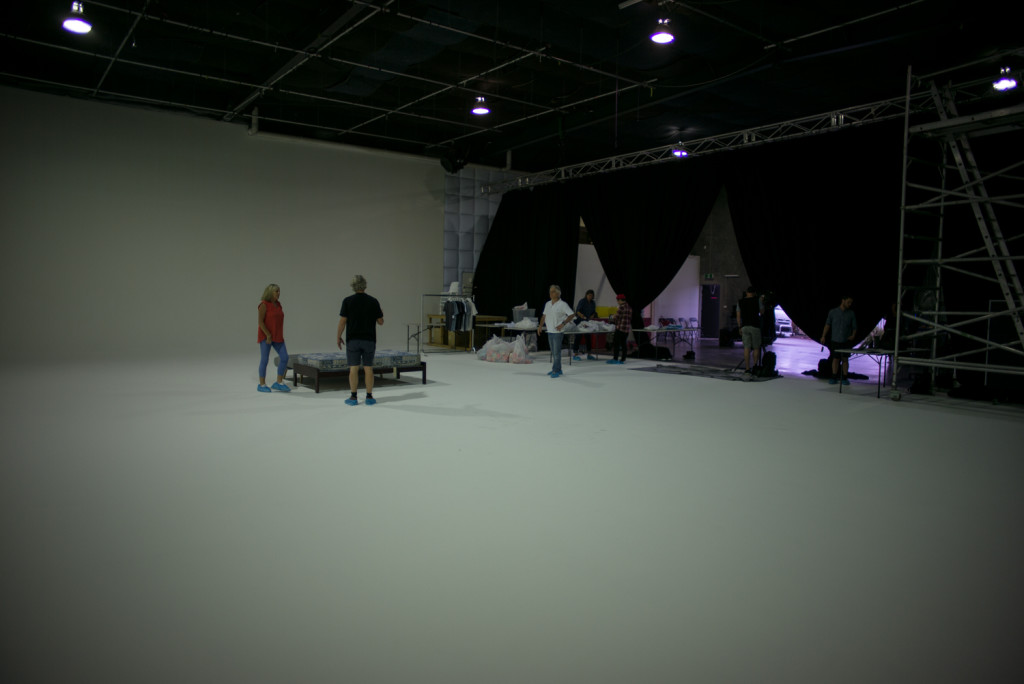
The location was a slightly smaller than normal studio located in Melbourne, Australia.
The Challenges: We needed to keep the commercial dynamic but were prohibited from using any colored lights or gels. Oh and we couldn’t really dim the levels too low because we needed to see the clothes.
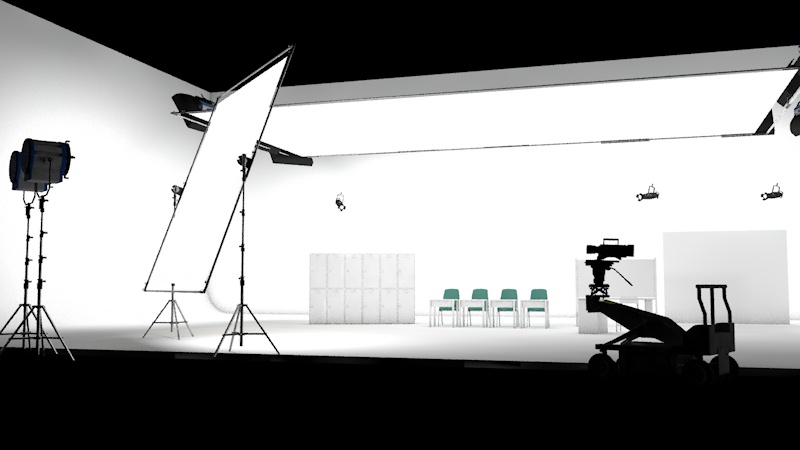
Lighting Pre-Vis:
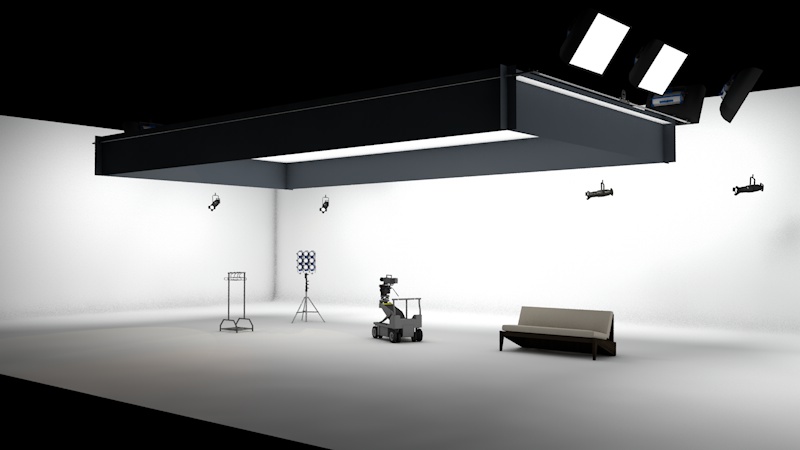
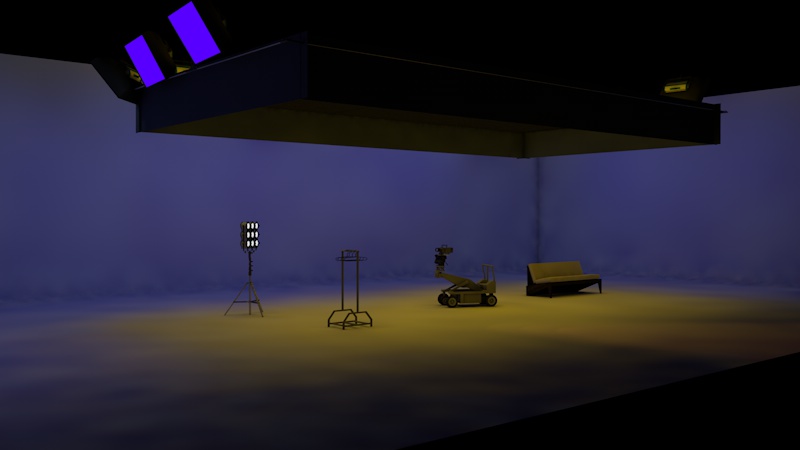
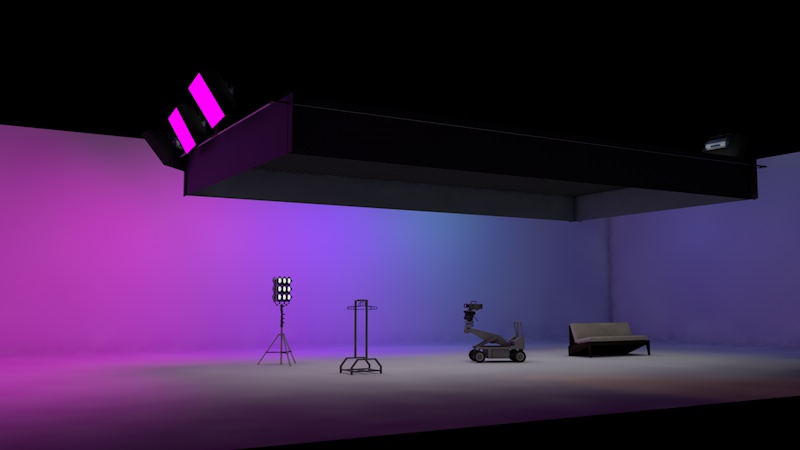
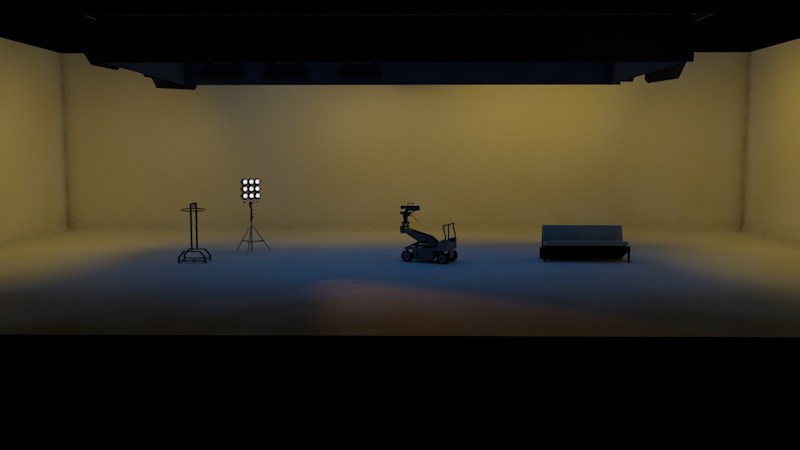
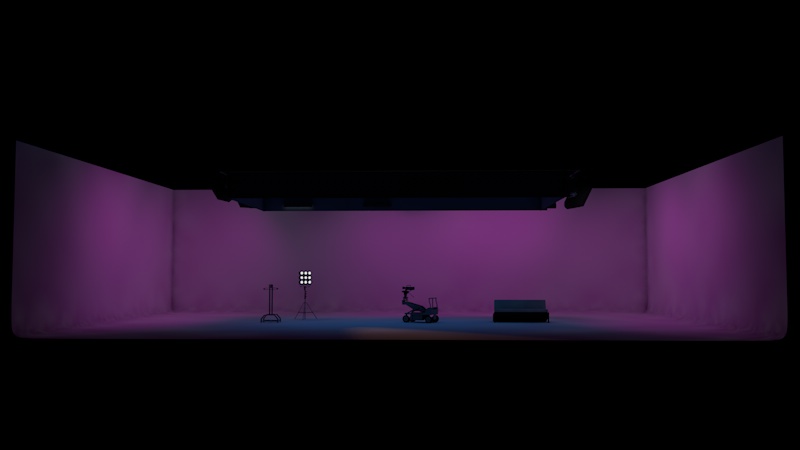
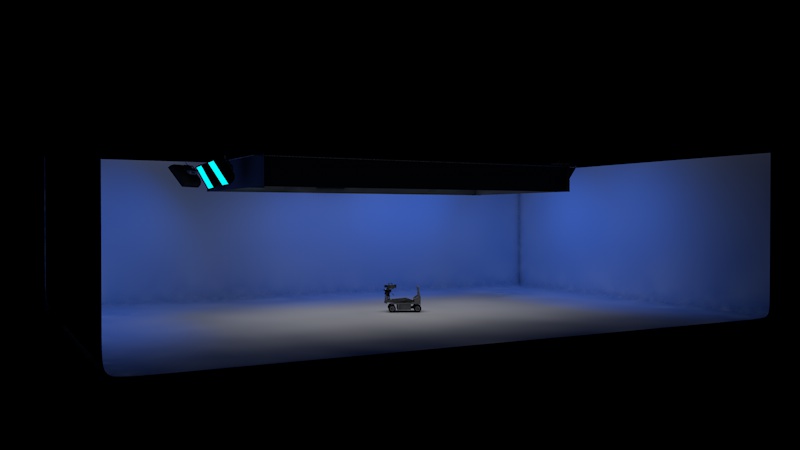
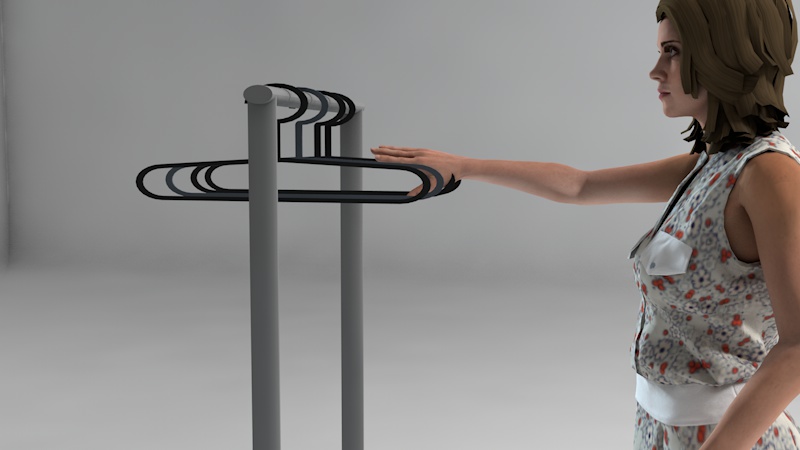
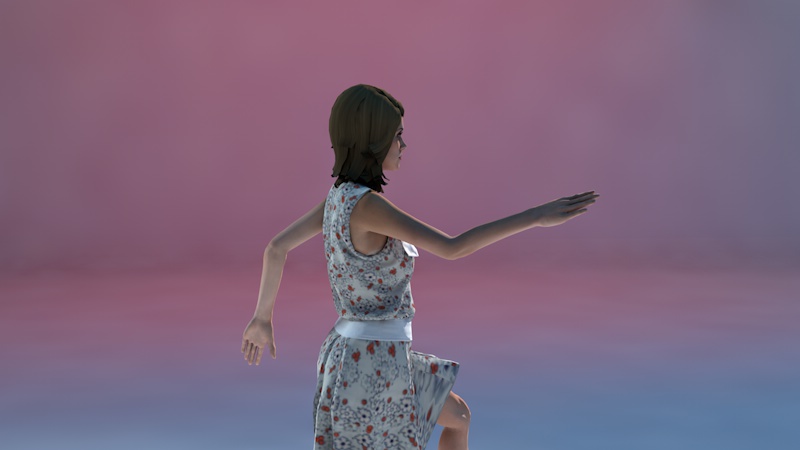
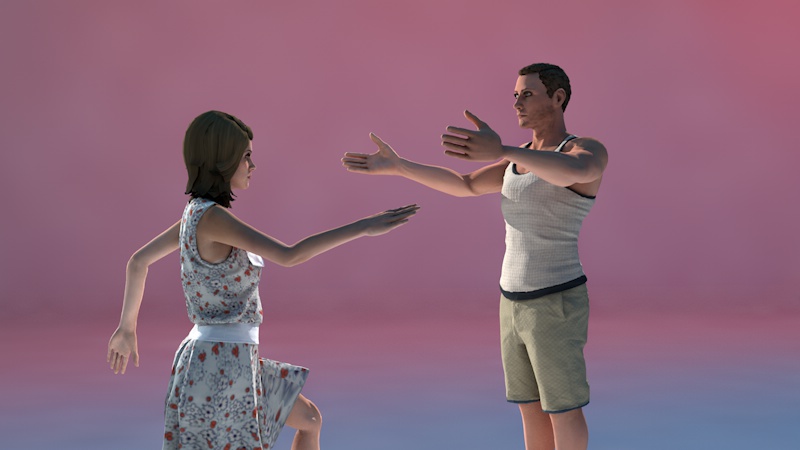
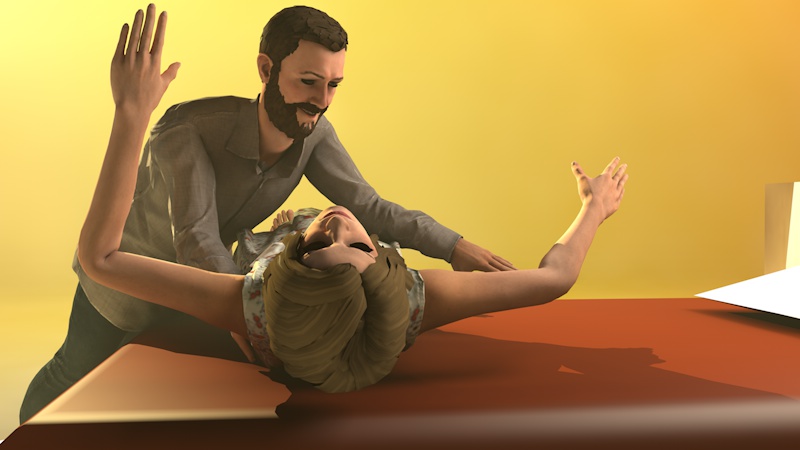
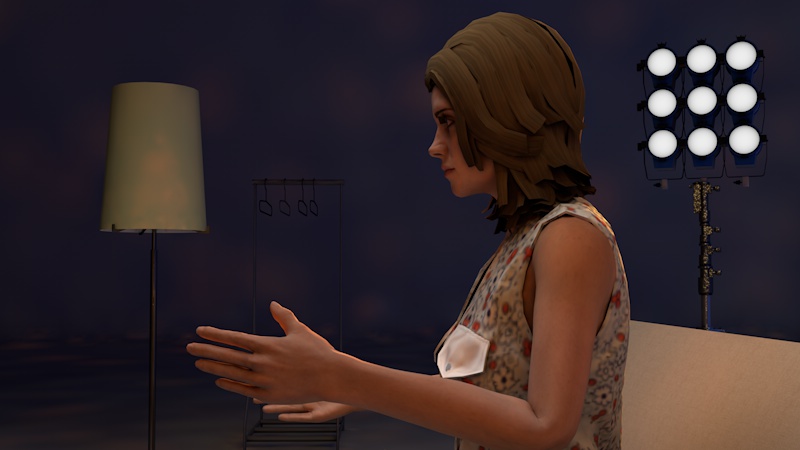
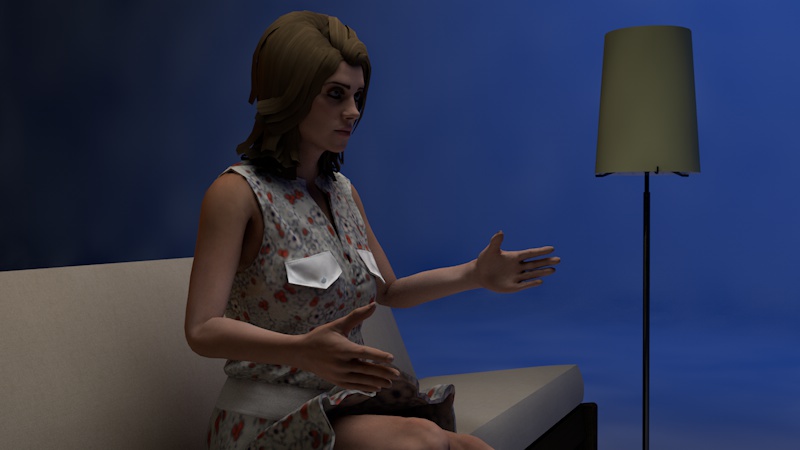
The School Set Up:
Classic White Cyc stuff.
The Challenges: We needed to use the rough skeleton of the same lighting we had set up for day one.
The Solution: Easy.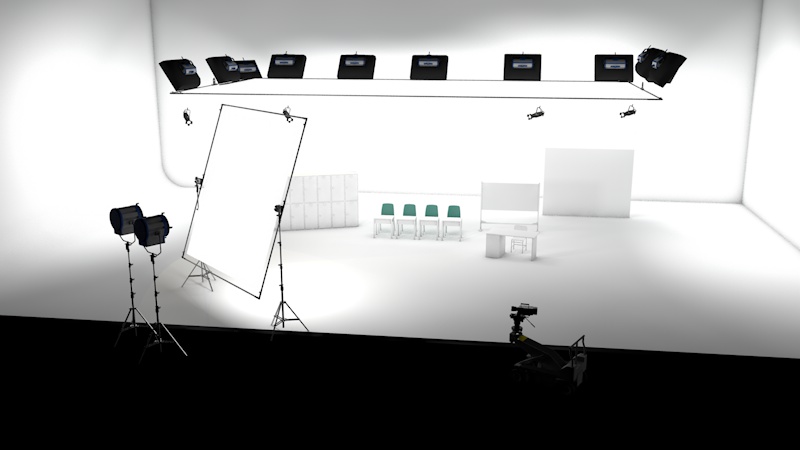
The Shoot: Studio Lighting
Setting the Mood:
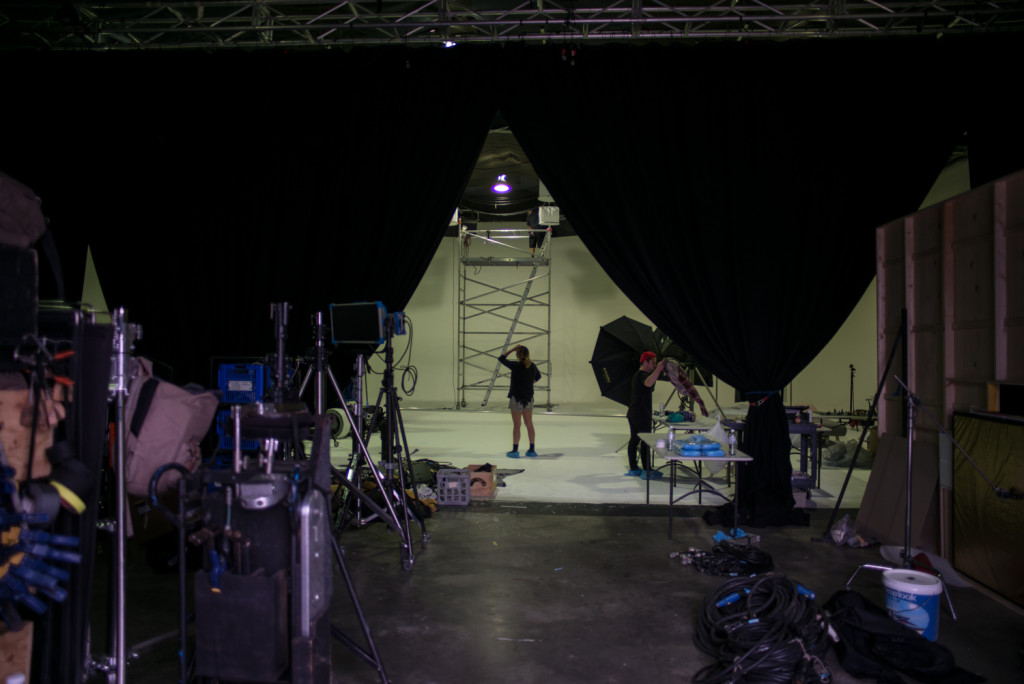
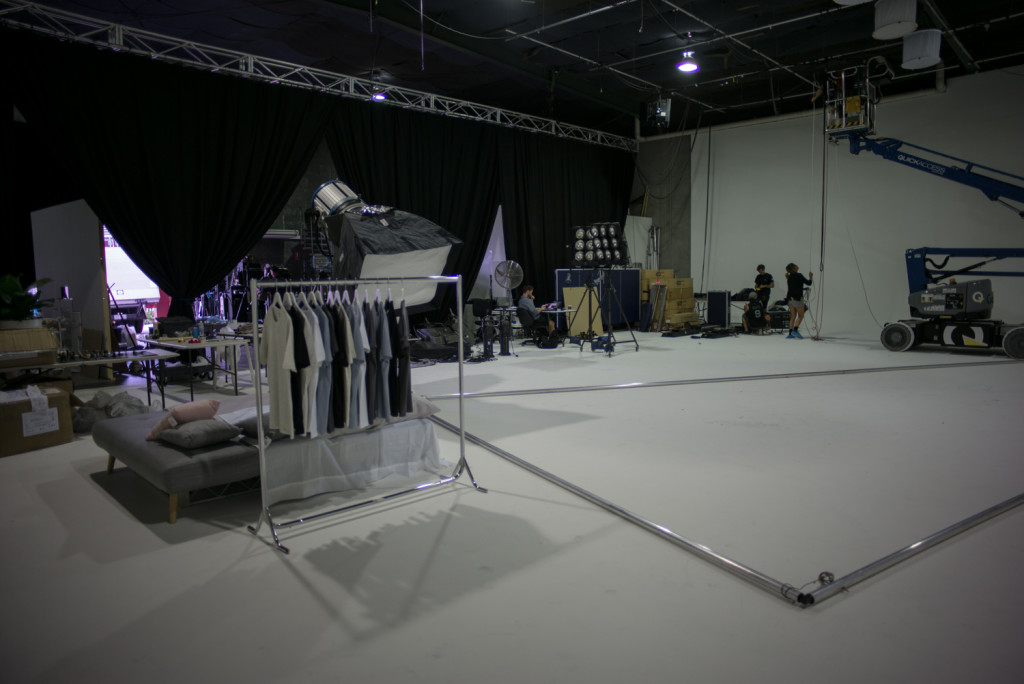
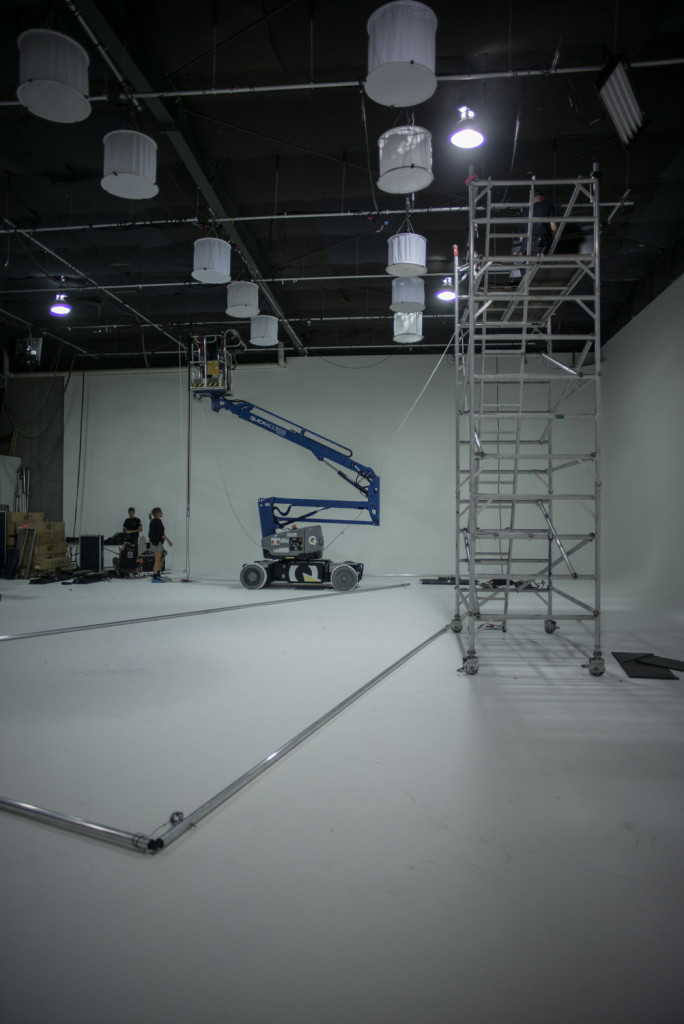
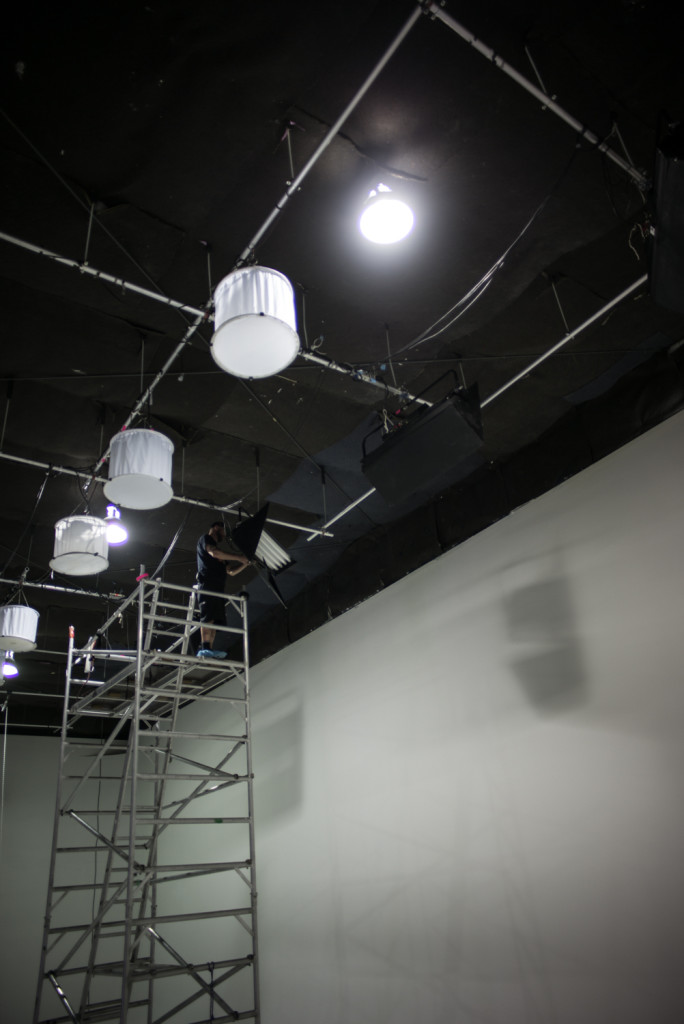
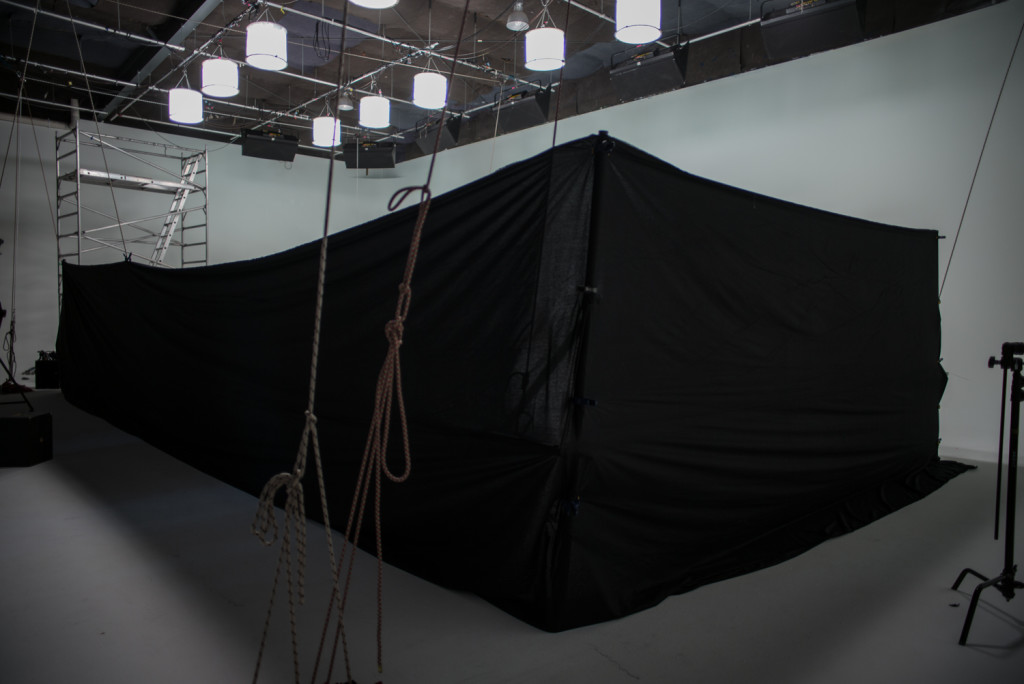
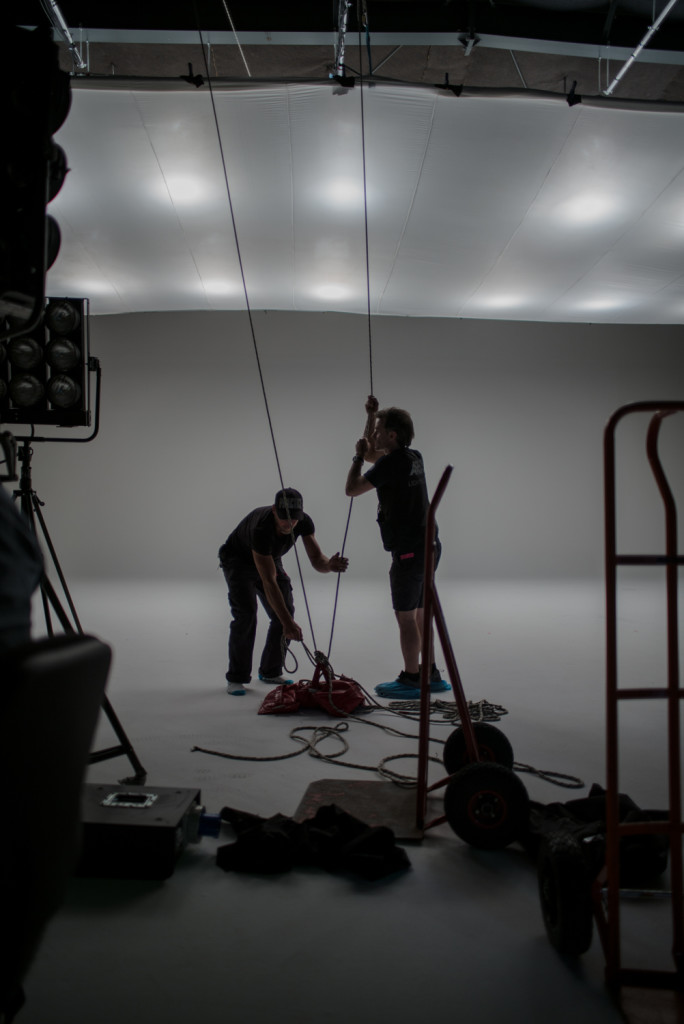
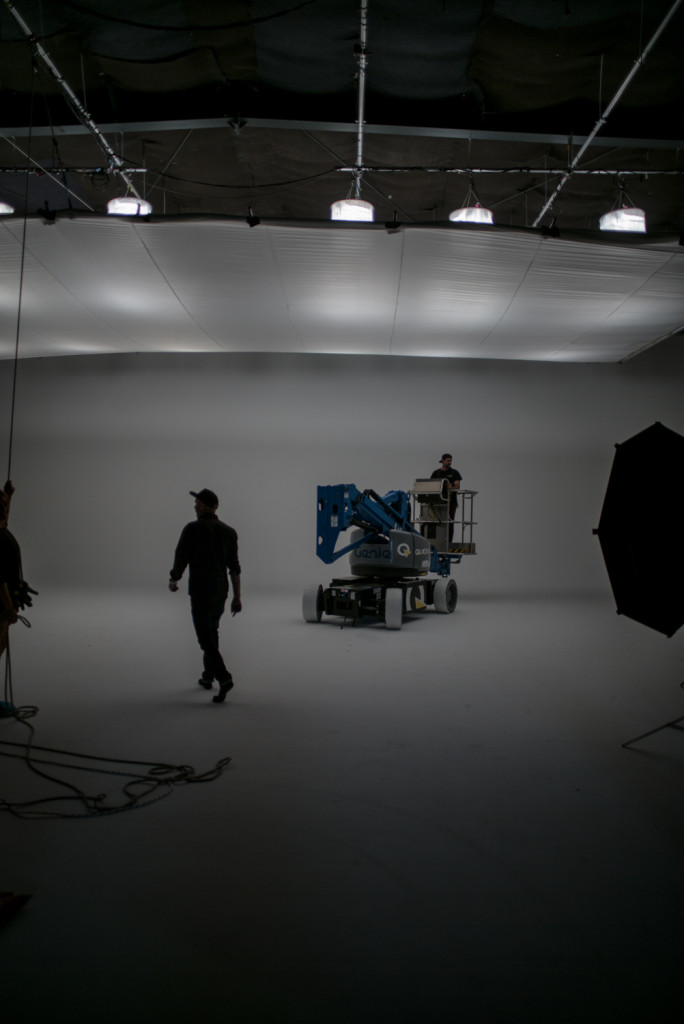
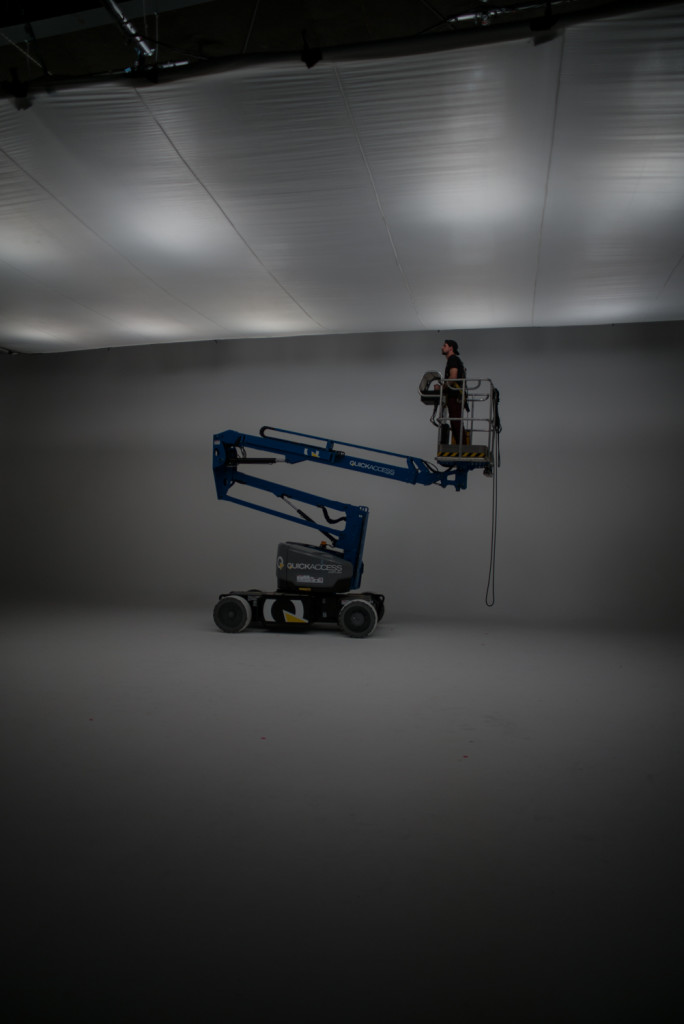
The very first thing to do was to set the studio up for our purposes.
No grid, no fun.
Day One: The Oner
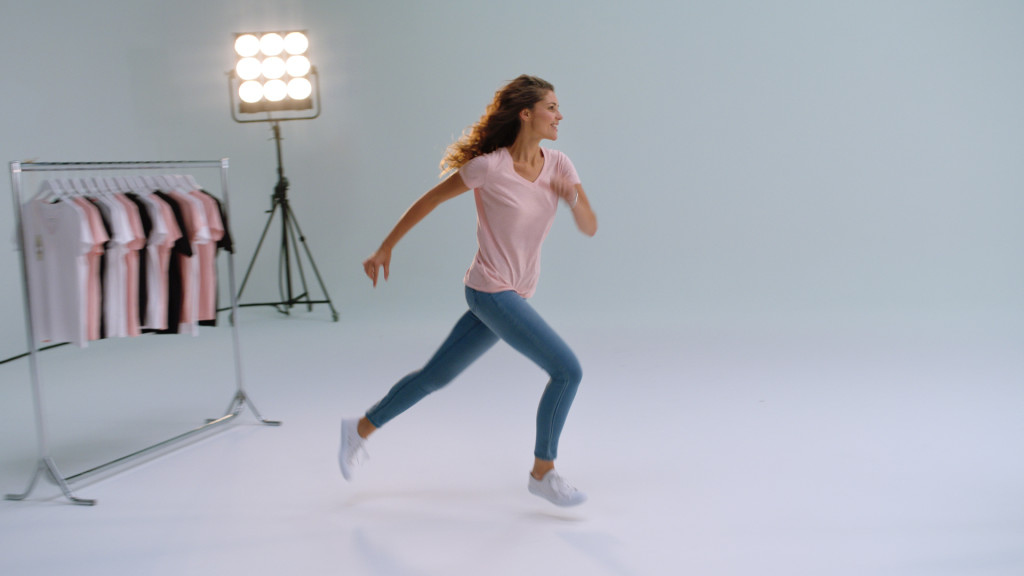
Shot #1: The Open

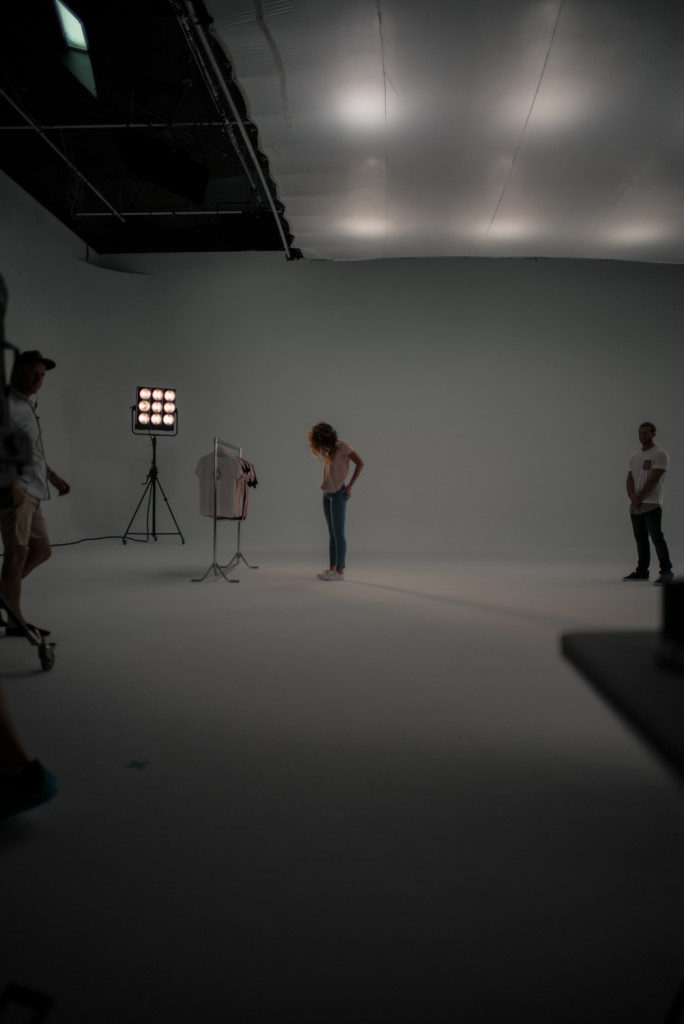
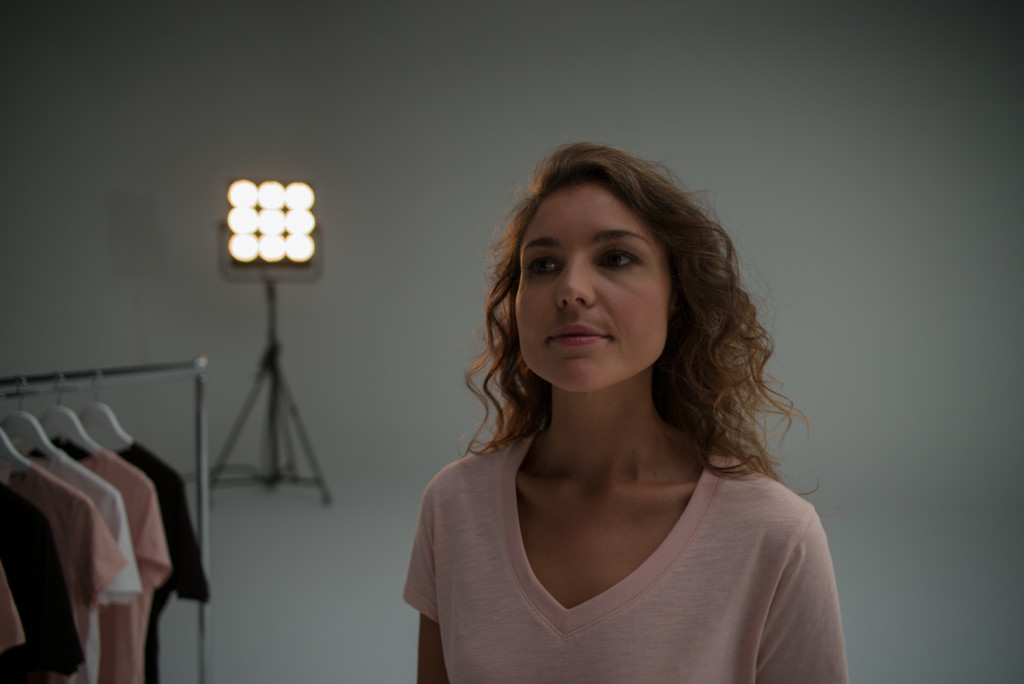
Set Up: We wanted to start on high key white as that is the brand signature and as the woman ran across the studio we would drop the overhead lights and keep the cyc lights on for a silohuette look.
Challenges: We couldn’t go too dark on the silohuette and we didnt want things looking flat. The balance between too flat and high key was the important struggle.
Lighting: We went all lights up to start then dropped the overhead halfway through the shot.
Gear:
27mm Panavision Primo Spherical Lens
Settings:
27mm @ T2.0
ISO – 800
White Balance – 3200k
FPS – 50
Shutter – 180
BTS:
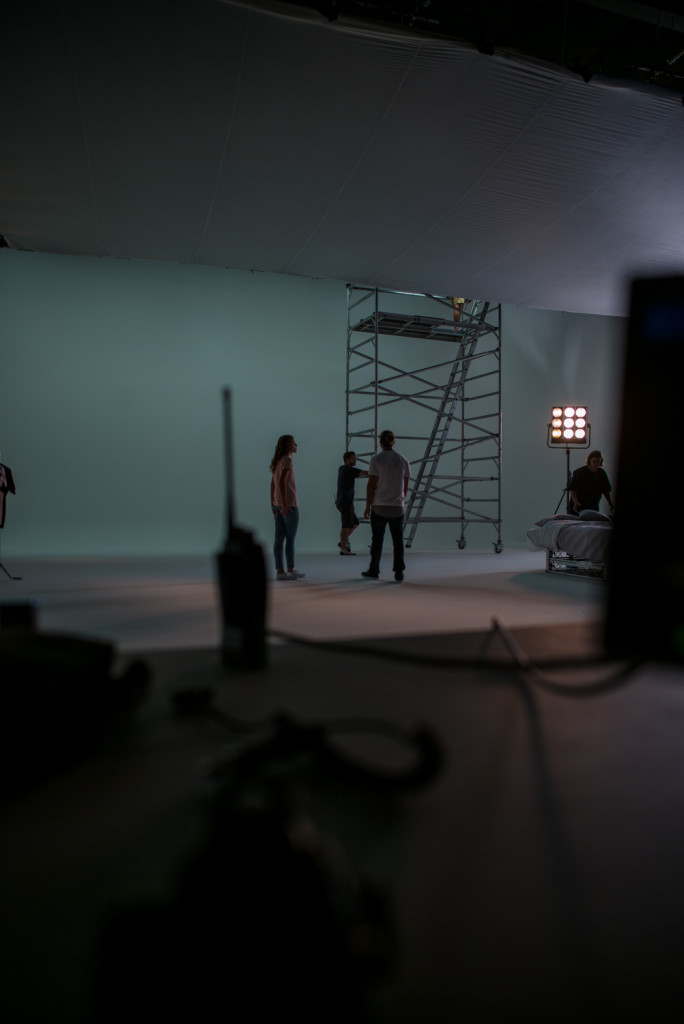
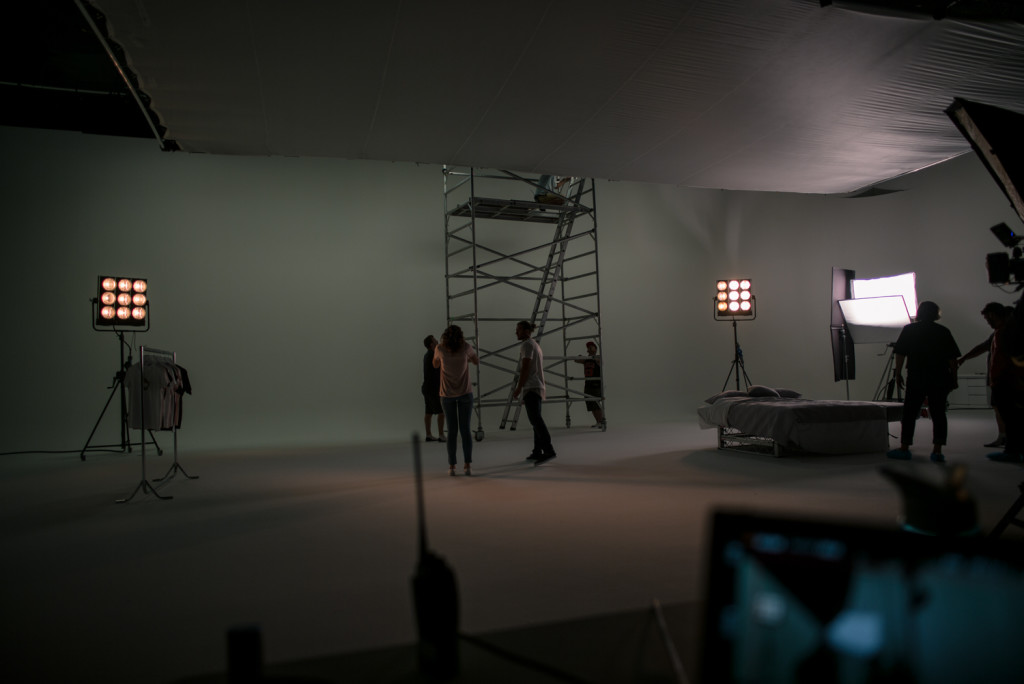
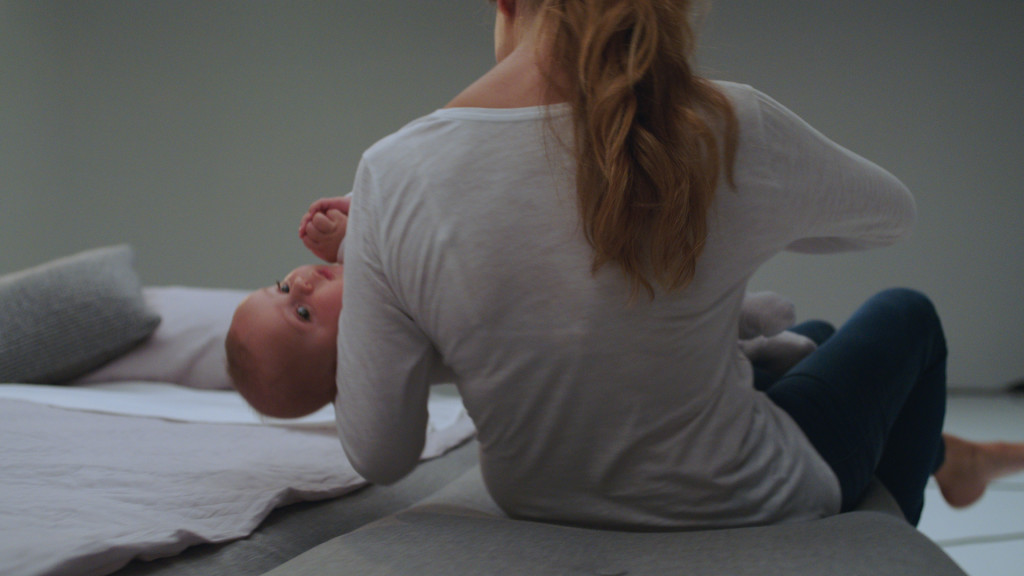
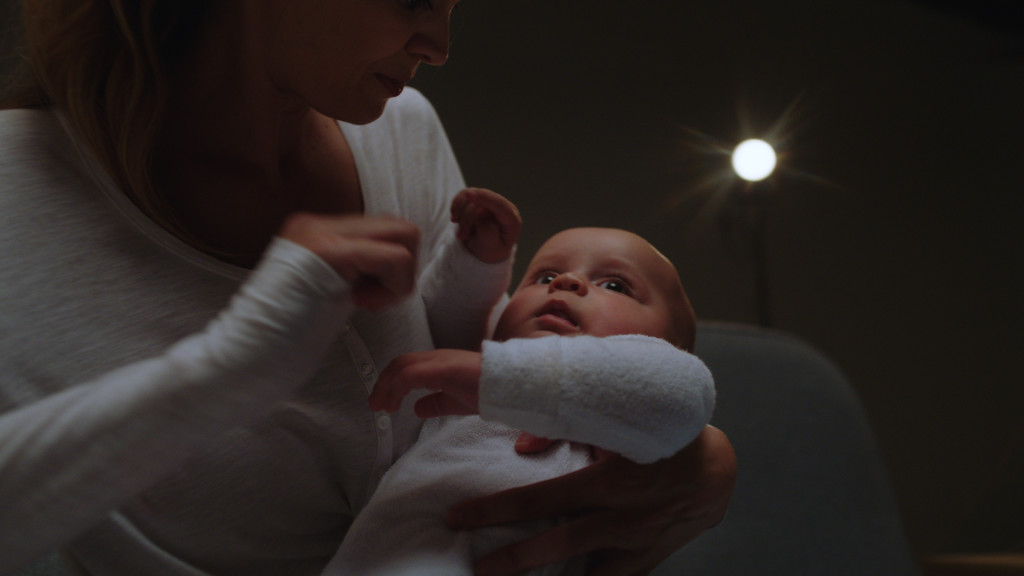
Shot #2 – #4: The Transition


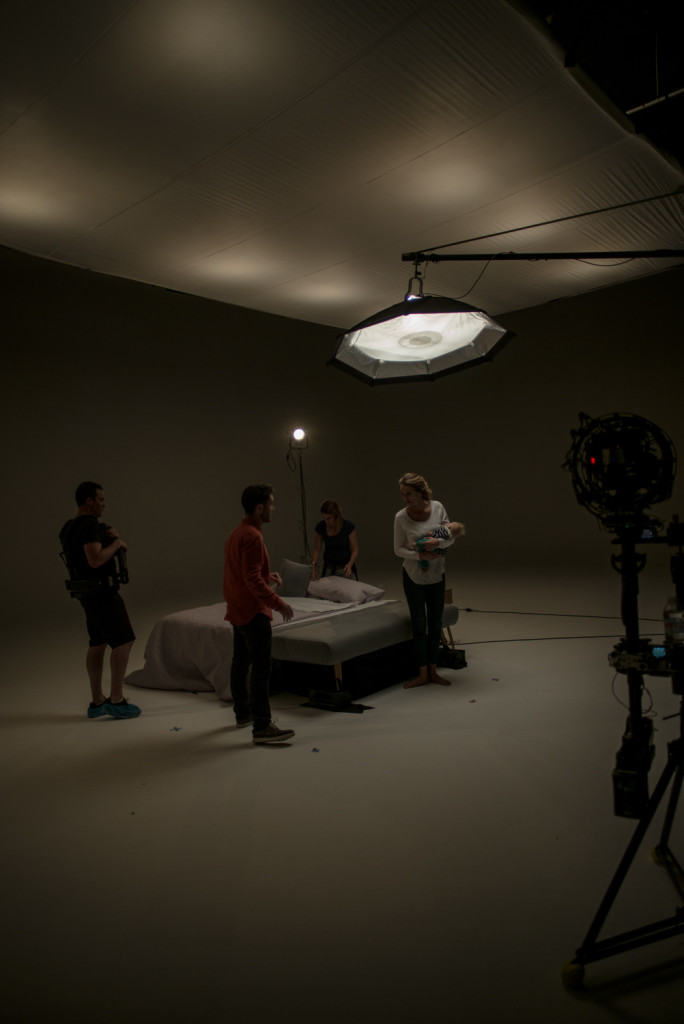
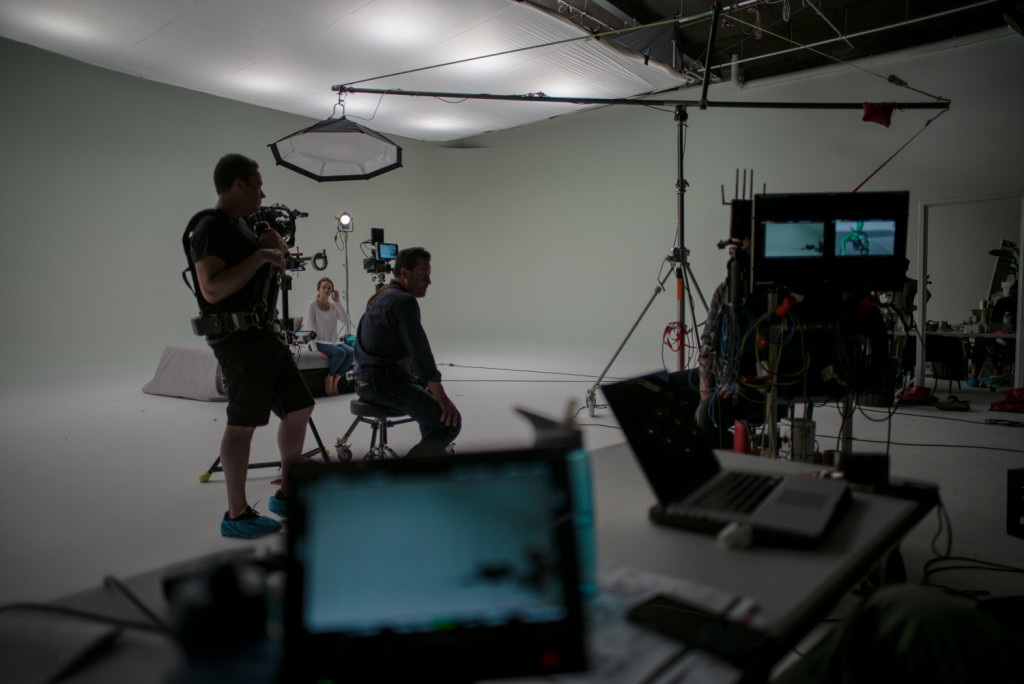
Set Up: A mother transitions from sleeping in her bed to feeding a young child in one continuous shot.
Challenges: The issue was we needed to go from light to dark but maintain some exposure on the mother and child. We also needed to not go fully black as the studio started to look a little bleak.
Lighting: We used everything that was in the last shot to start with our all white studio look but as the lights go down we brought in a Dedolight Octobox on a menace arm and hung it over the talent to create a nice controlled (slightly warmer) down light.
Gear:
27mm Panavision Primo Spherical Lens
Settings:
27mm @ T2.0
ISO – 800
White Balance – 3200k
FPS – 50
Shutter – 180
BTS:
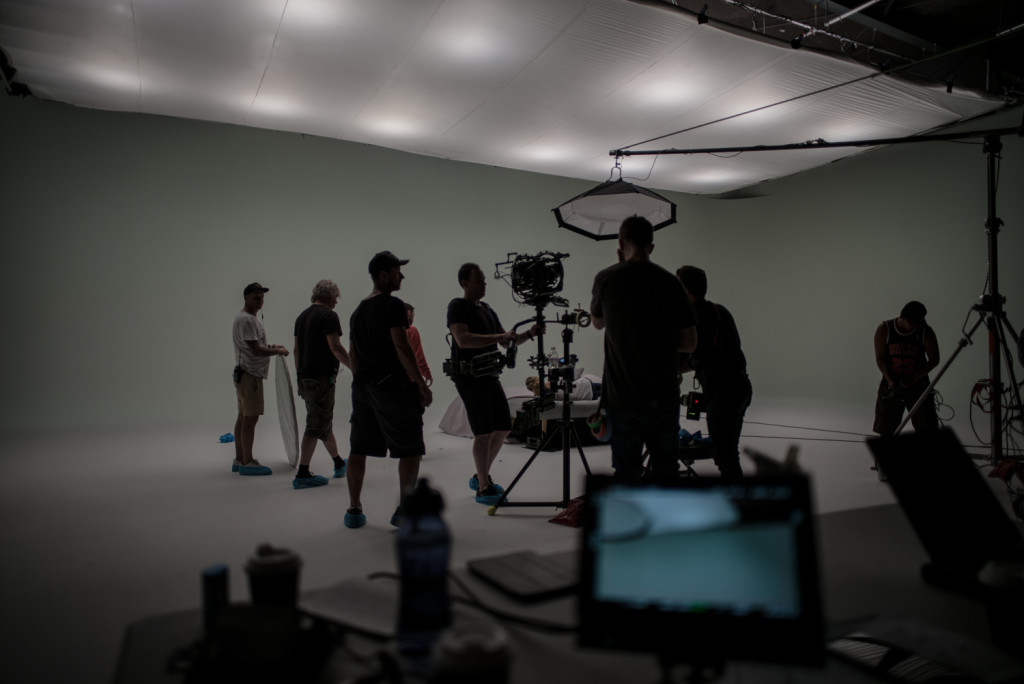
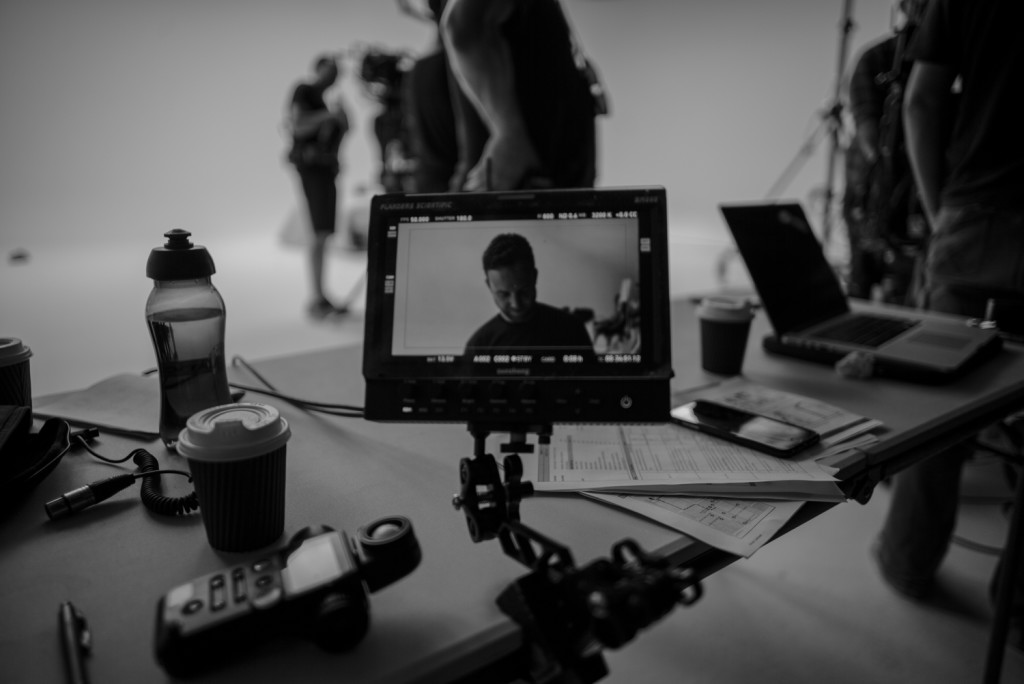
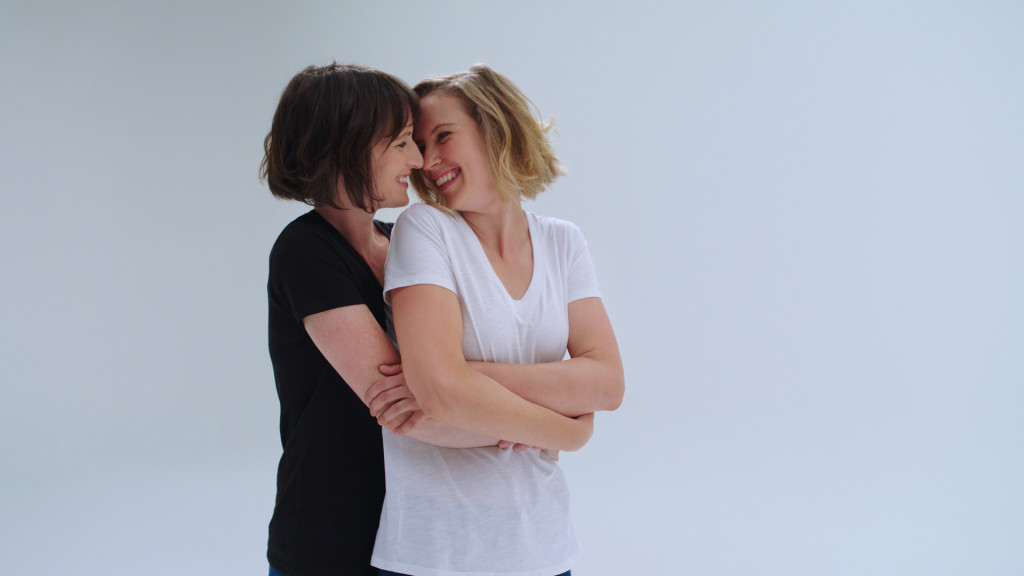
Shot #5: The Wrap

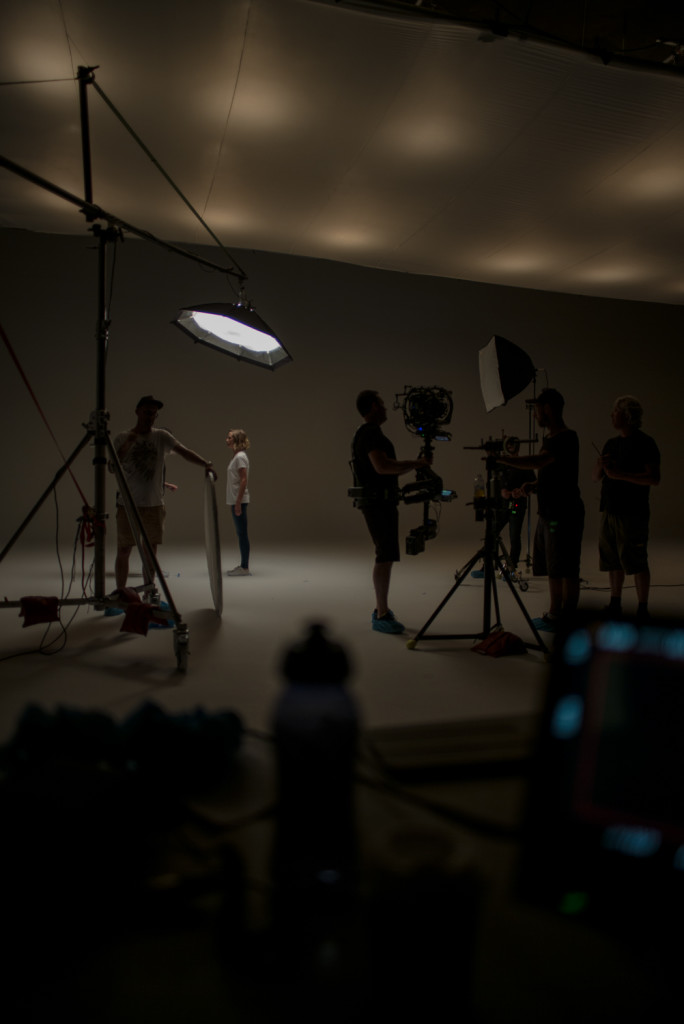
Set Up: A couple embraces and as the pull away from one another the lights transition from light to dark again.
Challenges: Not really a challenge now. We are pretty use to this formula by now.
Lighting: The same as the previous set up. The only change was we flicked a few of the over head spacelights off at the beginning to give some shape to the talent.
Gear:
27mm Panavision Primo Spherical Lens
Settings:
27mm @ T2.0
ISO – 800
White Balance – 3200k
FPS – 50
Shutter – 180
BTS:
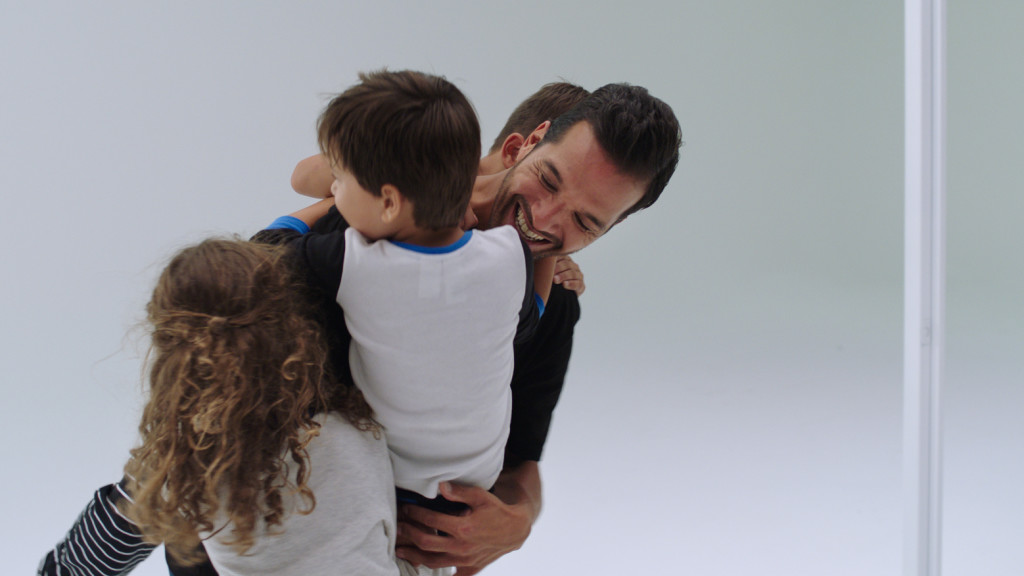
Shot #6: All Up

Set Up: A father comes home to greet his children.
Challenges: Nothing strange here. This is all white all lights up.
Lighting: Again all the lights are up in the studio the only addition is some neg fill behind camera to ever so slightly add some interest.
Gear:
27mm Panavision Primo Spherical Lens
Settings:
27mm @ T2.0
ISO – 800
White Balance – 3200k
FPS – 50
Shutter – 180
Day #2: School’s Out
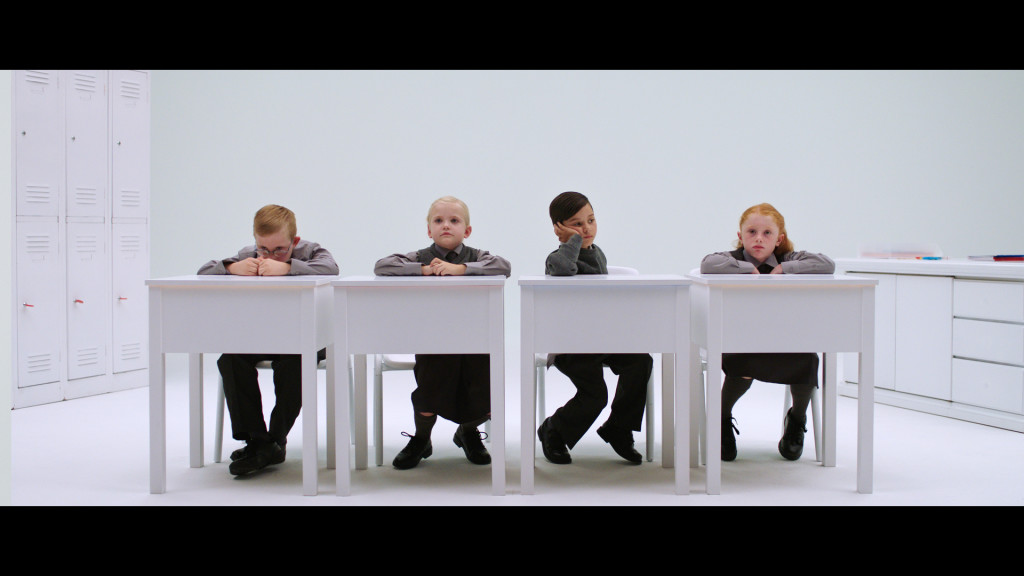
Shot #1: The Classroom

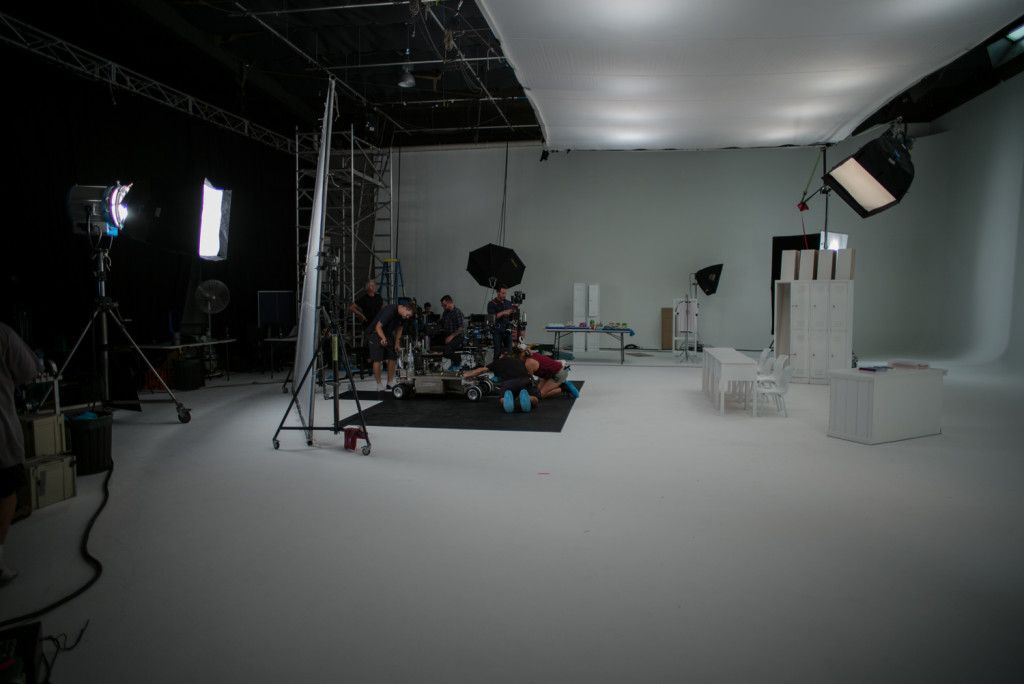
Set Up: A group of children in a white out environment. The goal was to have it look as boring and dull as possible.
Challenges: We needed to use the same basic lighting instruments and plan that we had used for Day 1. We also needed to set the look for the entire spot in this wide set up.
Lighting: We kept our overhead full grid with the 2k space lights but we selectively turned off a few of the lamps on camera right to give it some shape. We then brought a 12k tungsten unit through a 12×12 of 1/4 grid to give the kids a bit of shape and contrast from camera right. The last element was a 5k tungsten light just above the frame to give a little backlight. It was also dimmed down to warm it up and was pushing through a big softbox.
Gear:
35mm Panavision Primo Spherical Lens
Settings:
35mm @ T2.0
ISO – 800
White Balance – 3200k
FPS – 50
Shutter – 180
BTS:
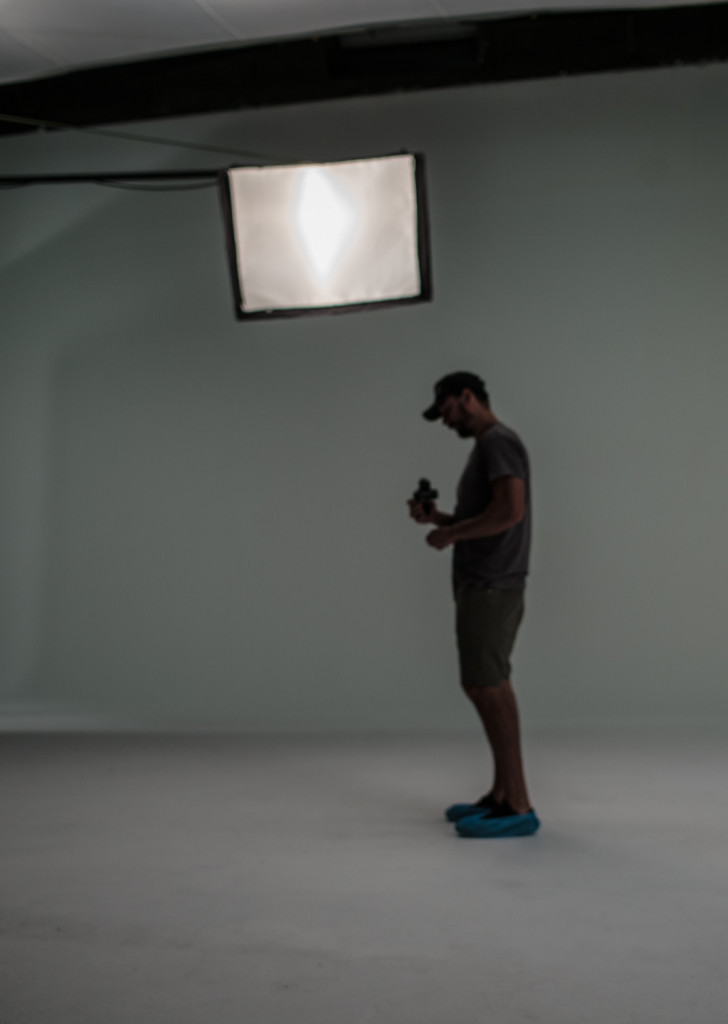
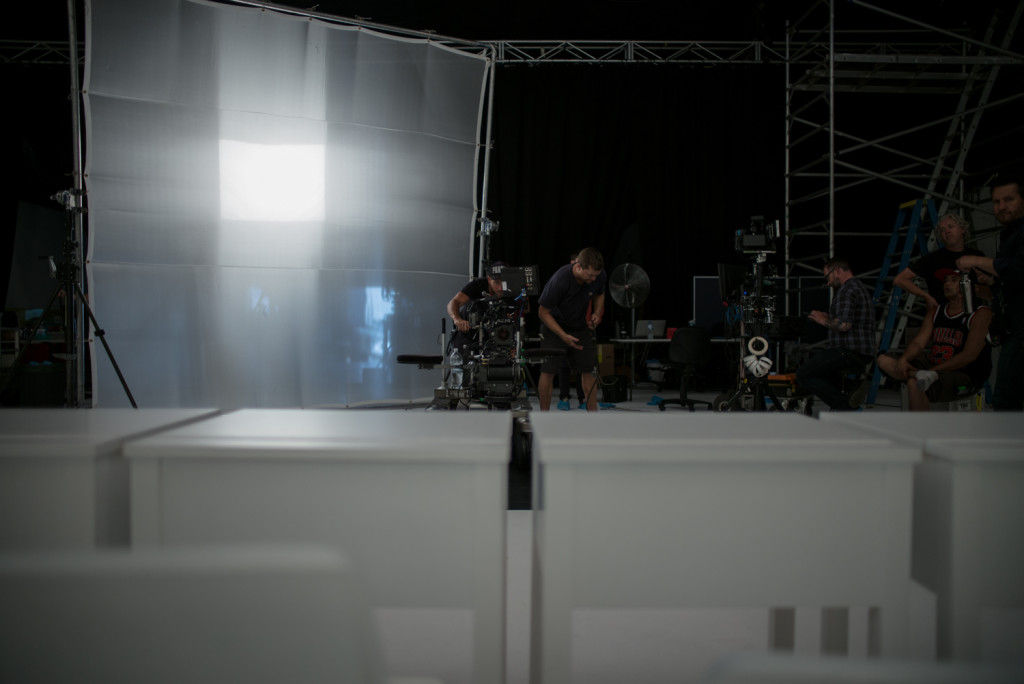
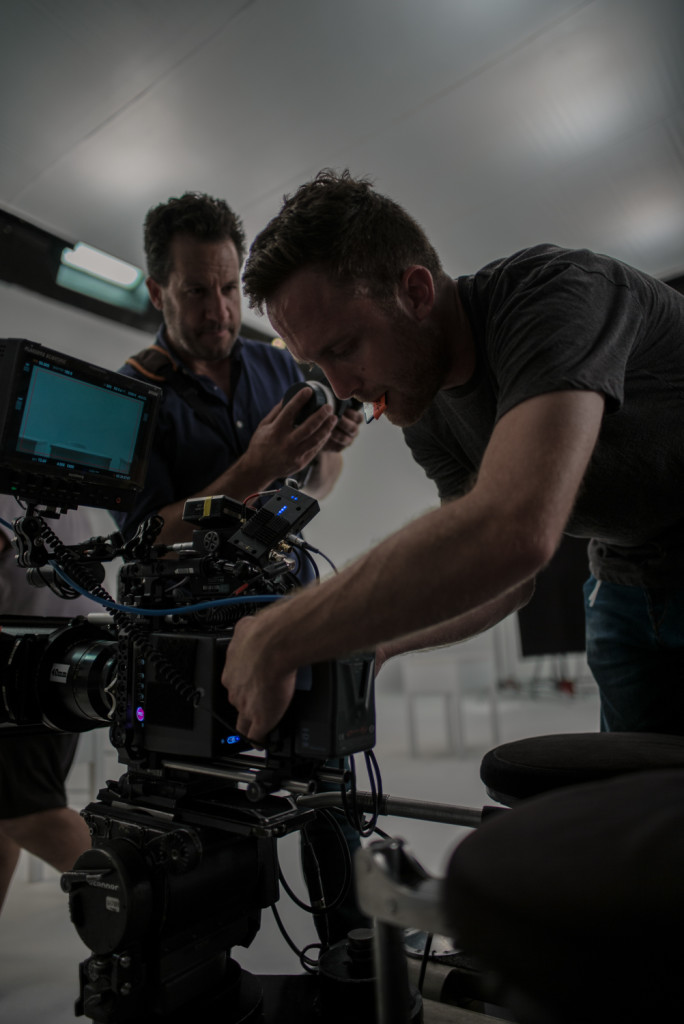
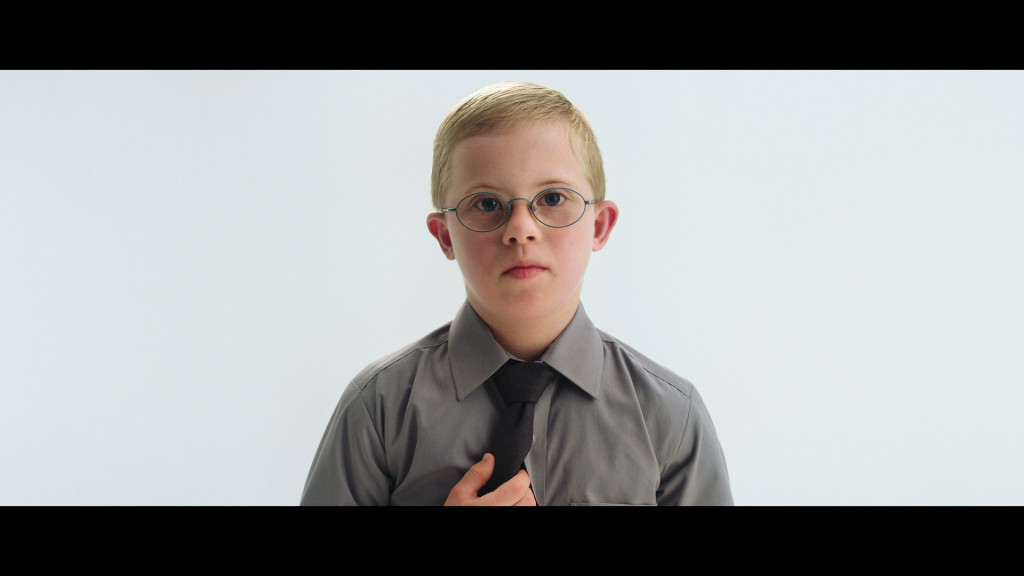
Shot #2 – #5: The Singles


Set Up: This series of shots were just punched in singles of the same angle as the wide.
Challenges: Adding just enough shape to the individual skin tones and faces while still feeling the same as the light in the wide.
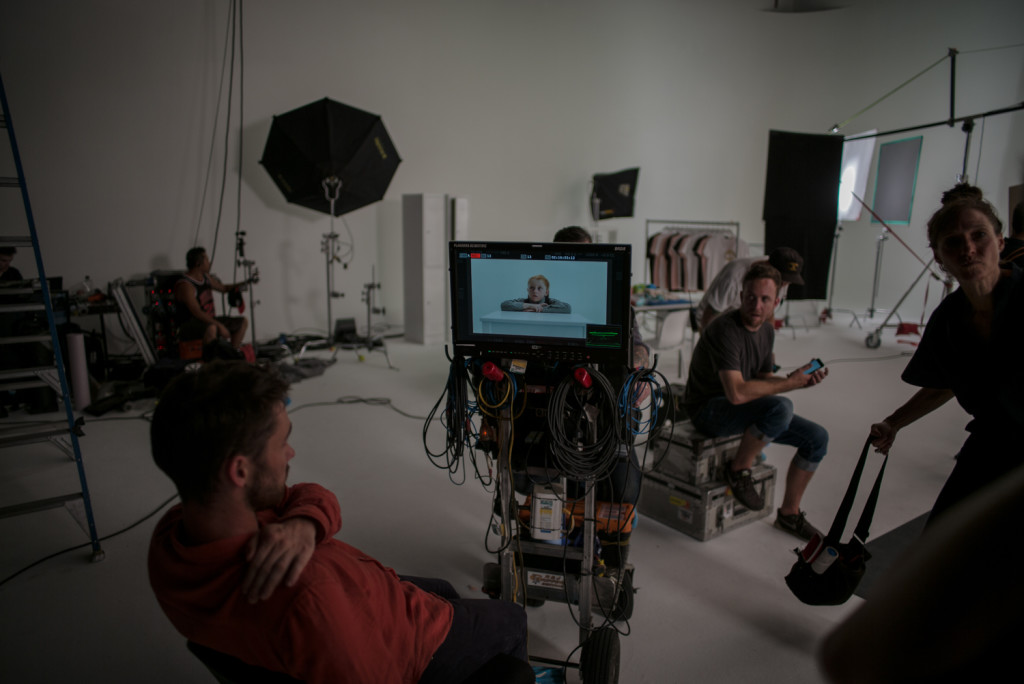
Lighting: The lighting was almost the same as the wide. We just moved the 12×12 closer to wrap the light around the face a bit more and we lowered and dimmed the 5k hair light to work for each child’s hair color and texture.
Gear:
35mm Panavision Primo Spherical Lens
Settings:
40mm @ T2.0
ISO – 800
White Balance – 3200k
FPS – 50
Shutter – 180
BTS:
Help Create More Episodes
If you enjoy the show and would like to support it, please click on the Patreon link below. You’ll get exclusive access to Q&A’s, additional podcasts and allow the wonder boy to send postcards to his family back in Wolverhampton.


I enjoy these podcasts, learn a LOT from them and proud to be a patreon supporter. Are you able to link to videos of the finished projects? The podcast BTS and explanations are great, but I would really enjoy seeing the finished results.
Ack! Found ’em on your vimeo channel. Keep up the amazing work and informative podcasts!
Link please 🙂