
The Power of Dynamic Range
In this episode of the Wandering DP Podcast we are going to take a detailed look at a recent commercial I shot on the RED Epic Dragon paired with Arri Master Primes.
We are going to go all the way through pre-production from getting the job, location scouting, tech scouting, through to the shoot day and the final grade.
This is a style of podcast that a lot of you have asked for so hopefully we get to touch on lots of topics of interest.
The Process
The basic timeline for a commercial cinematographer on a project like this goes as follows:
1. Get the Job
2. View the treatment/boards and discuss with Director
3. Location Scout or see the stills from the Location Scout
4. Give Feedback
5. Tech Scout
6. Come up with a Plan
7. Shoot Day – Execute
8. Grade
9. Done & Dusted
So let’s get started looking at each stage. Getting the job isn’t really a stage as it is more of a kicking off point so we will start with the Treatment and defining the look we are going after.
The Treatment
The treatment is obviously a very important document. It is what got the director/production company the job in the first place and it is a great jumping off point for a cinematographer coming on to a job.
The treatment will usually detail moods, the overall style of the spot, and the pacing. There will be some broad reference images and maybe some technical details as well if the job requires that.
Once I get the treatment and see the story boards I go into look mode. I want to find out what the director is looking for. I start to bombard them with reference imagery.
Here is a sample of the document(s) I generally start with:
#1
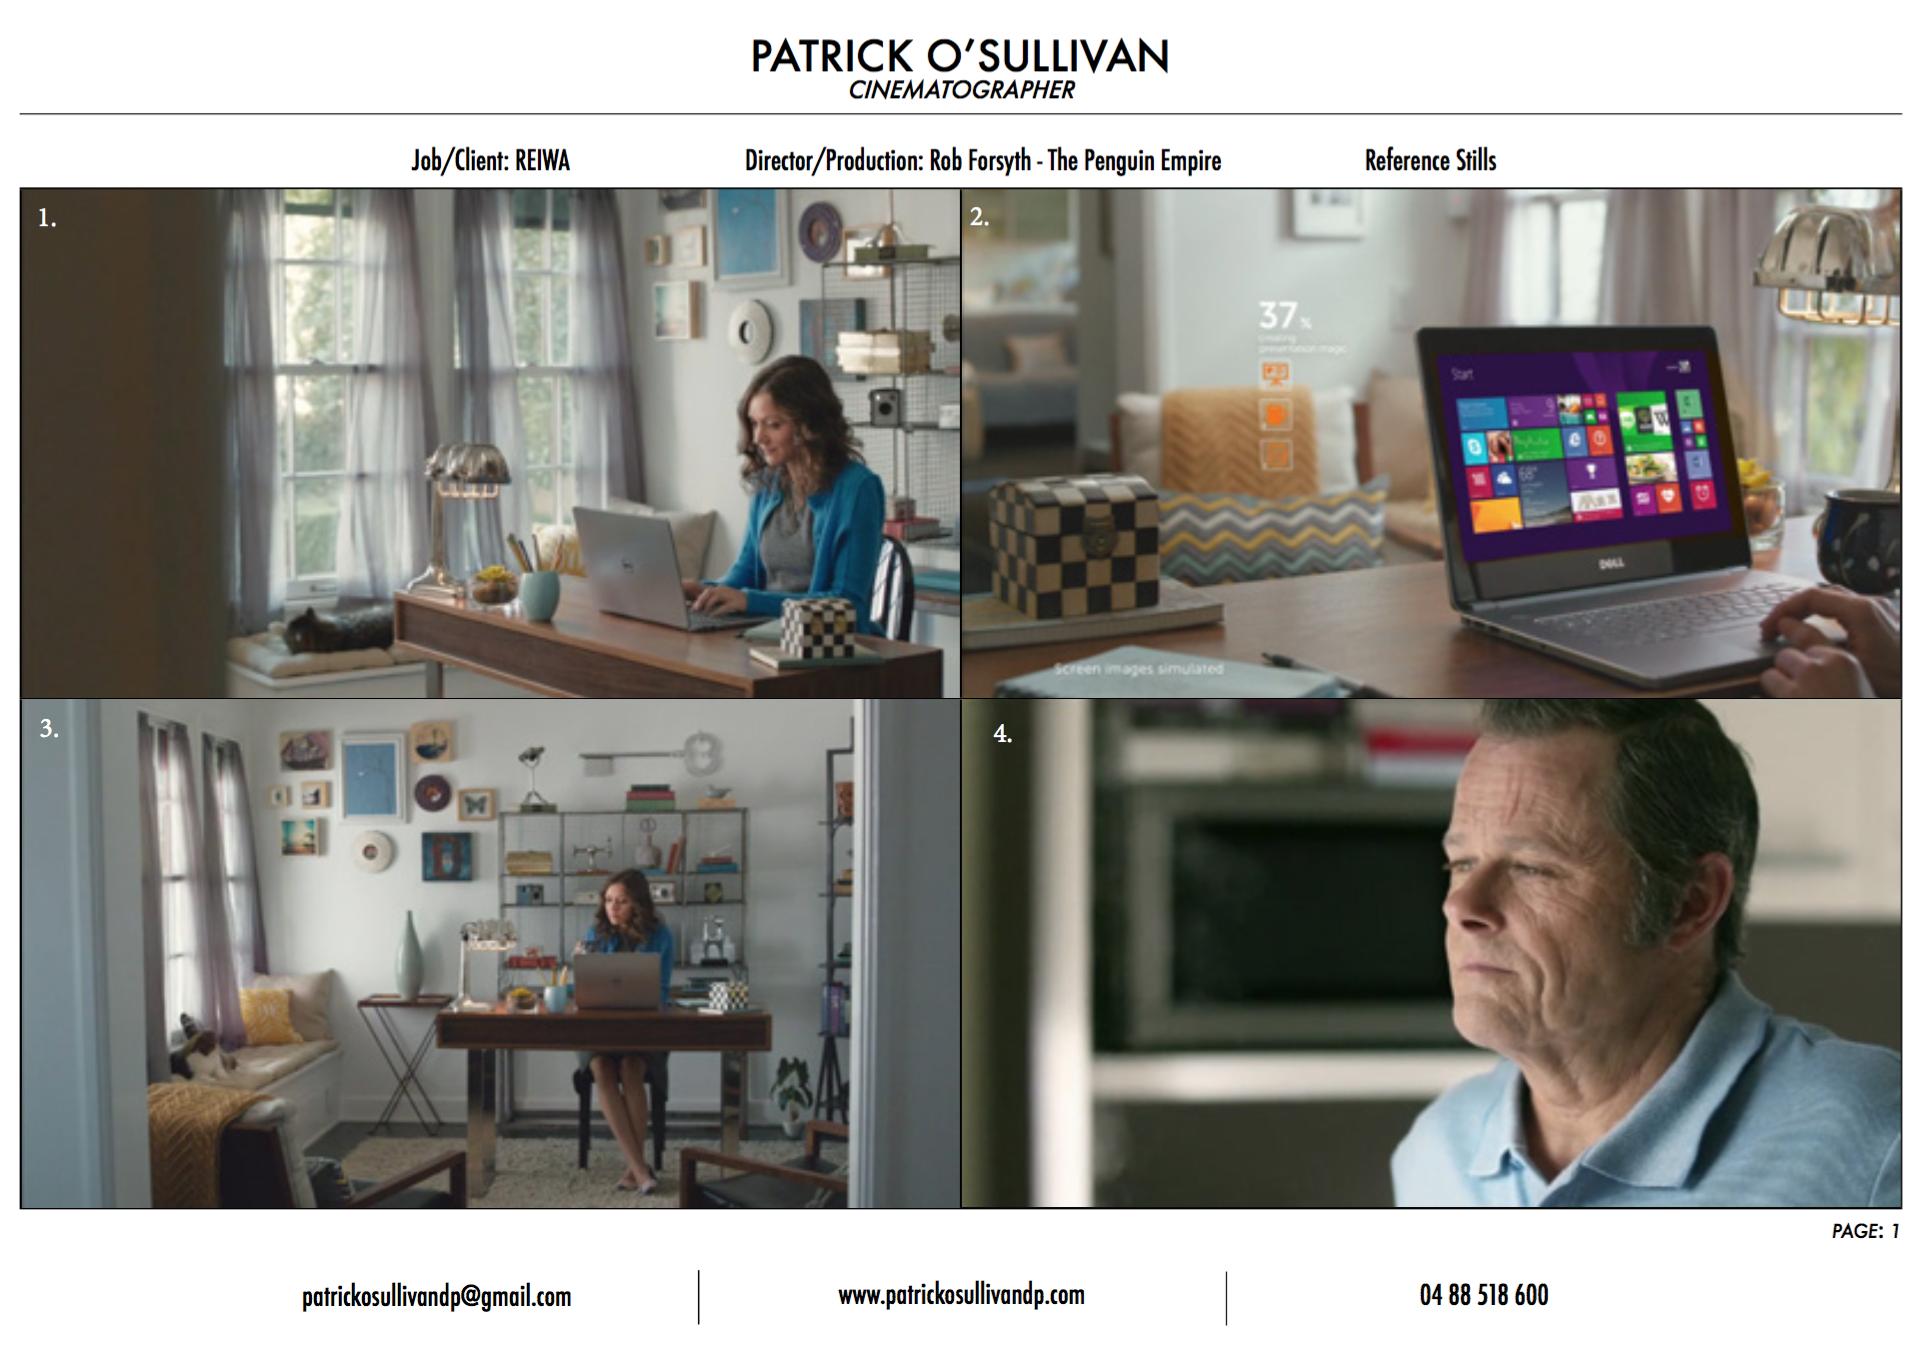
The more options I give the better quality feedback I usually get.
#2
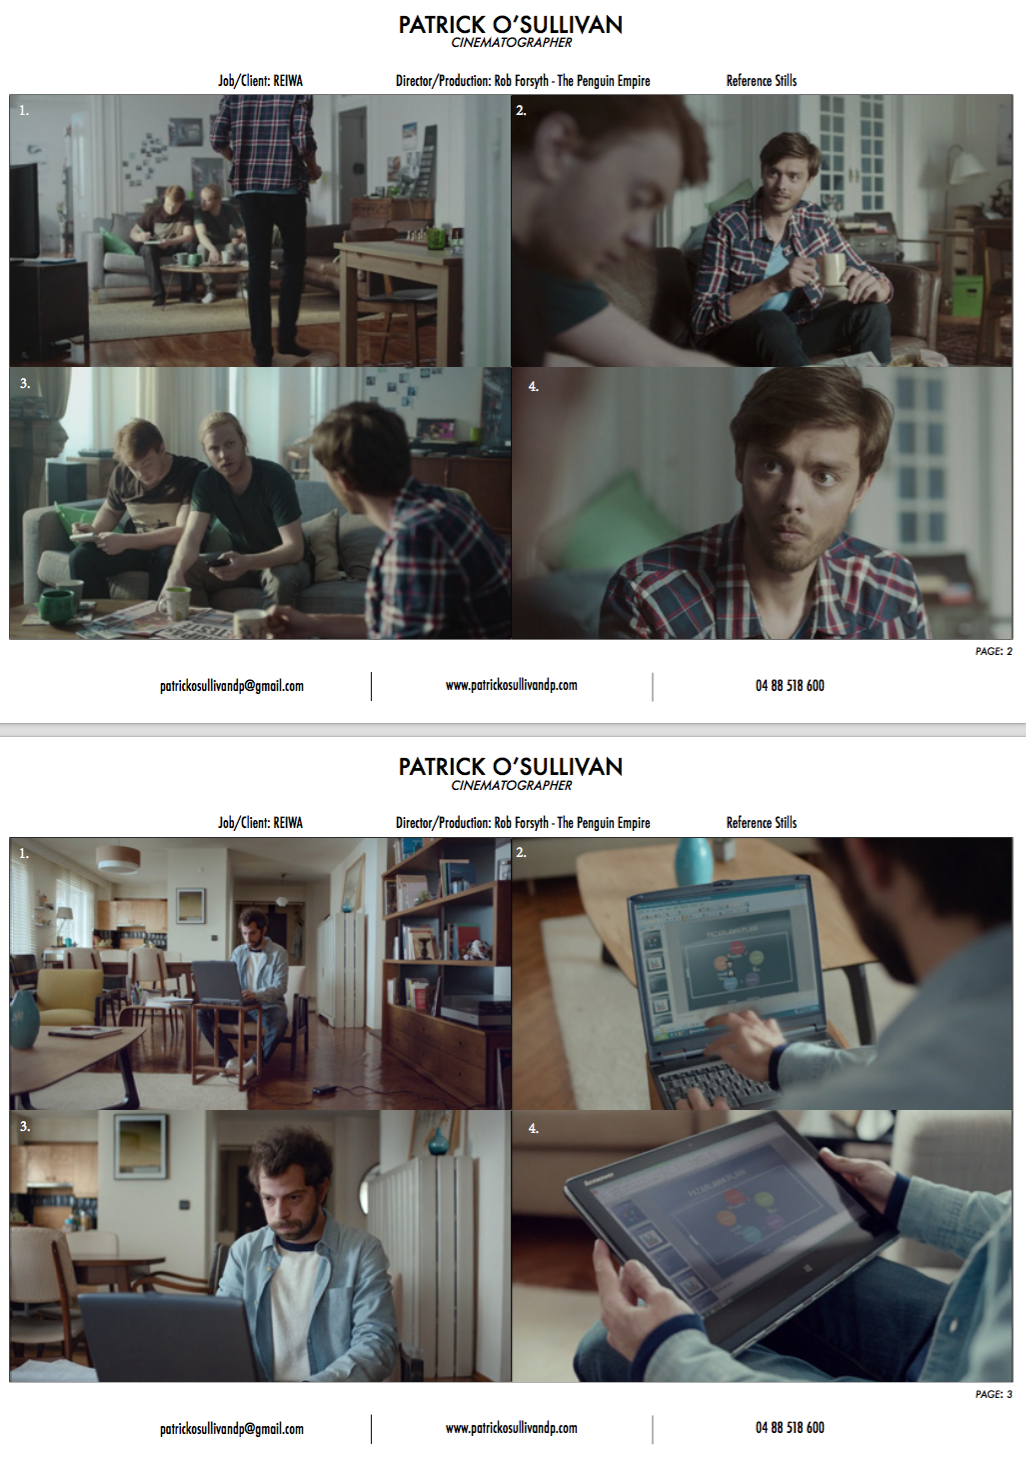
This document can vary in length depending on the number of set ups and the complexity of the job. Here is a screen shot of the entire document I sent through for the references to the director.
#3
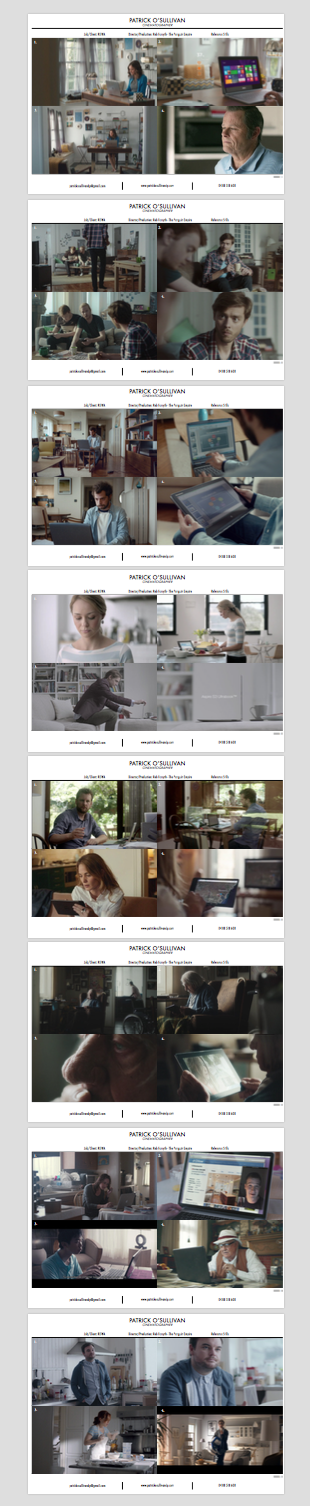 I will throw in lots of different imagery with varying styles but I am also carefully curating the images to make sure the choices I put forth are in line with what I am thinking. Obviously I am not going to put in stuff that I don’t like or think might work. At the early stages it is all about options.
I have tailored this document over time to what I feel is the most effective layout and system. I number the references for easy feedback notes and make sure the images are large enough for the directors to get a good read on what I am talking about.
Once I get feedback and we start to narrow the look it is on to the Location Scout.
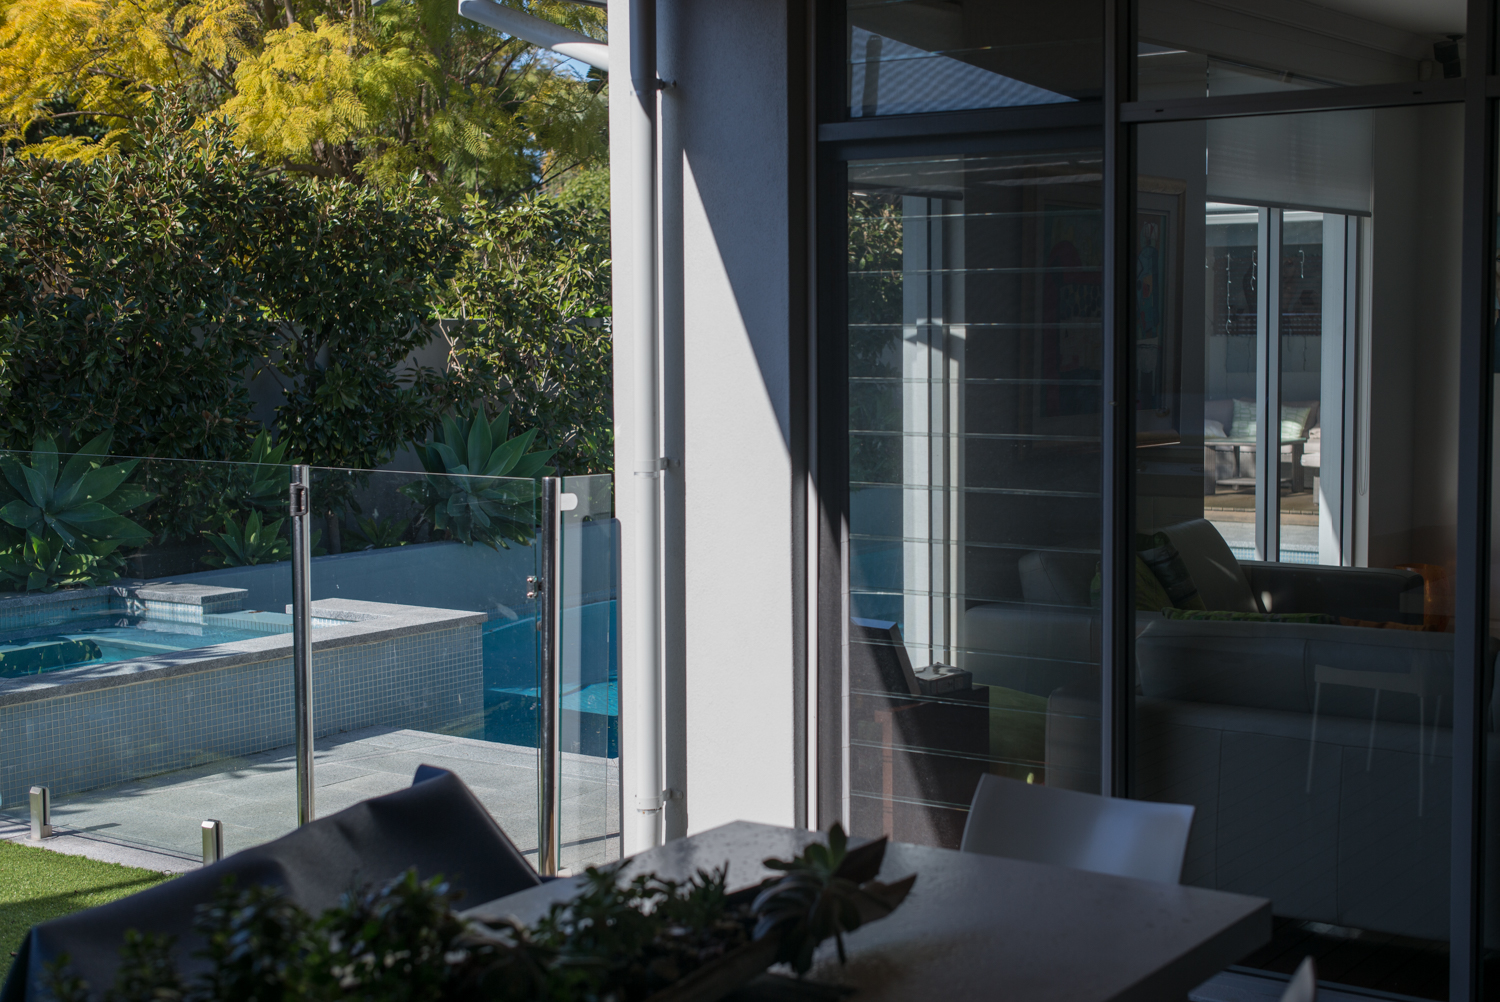
The Location Scout
#4
Sometimes the schedule works out so you can tag along on the initial location scout and sometimes you just have to follow along virtually.
On this job the director had already been on the location scout before I came on board so I had to quickly review his notes and shots and give my feedback.
The majority of time I am looking for gotchas or technical things that may pose a problem or a challenge.
I give my preference and than wait to hear back on the decision.
The Tech Scout
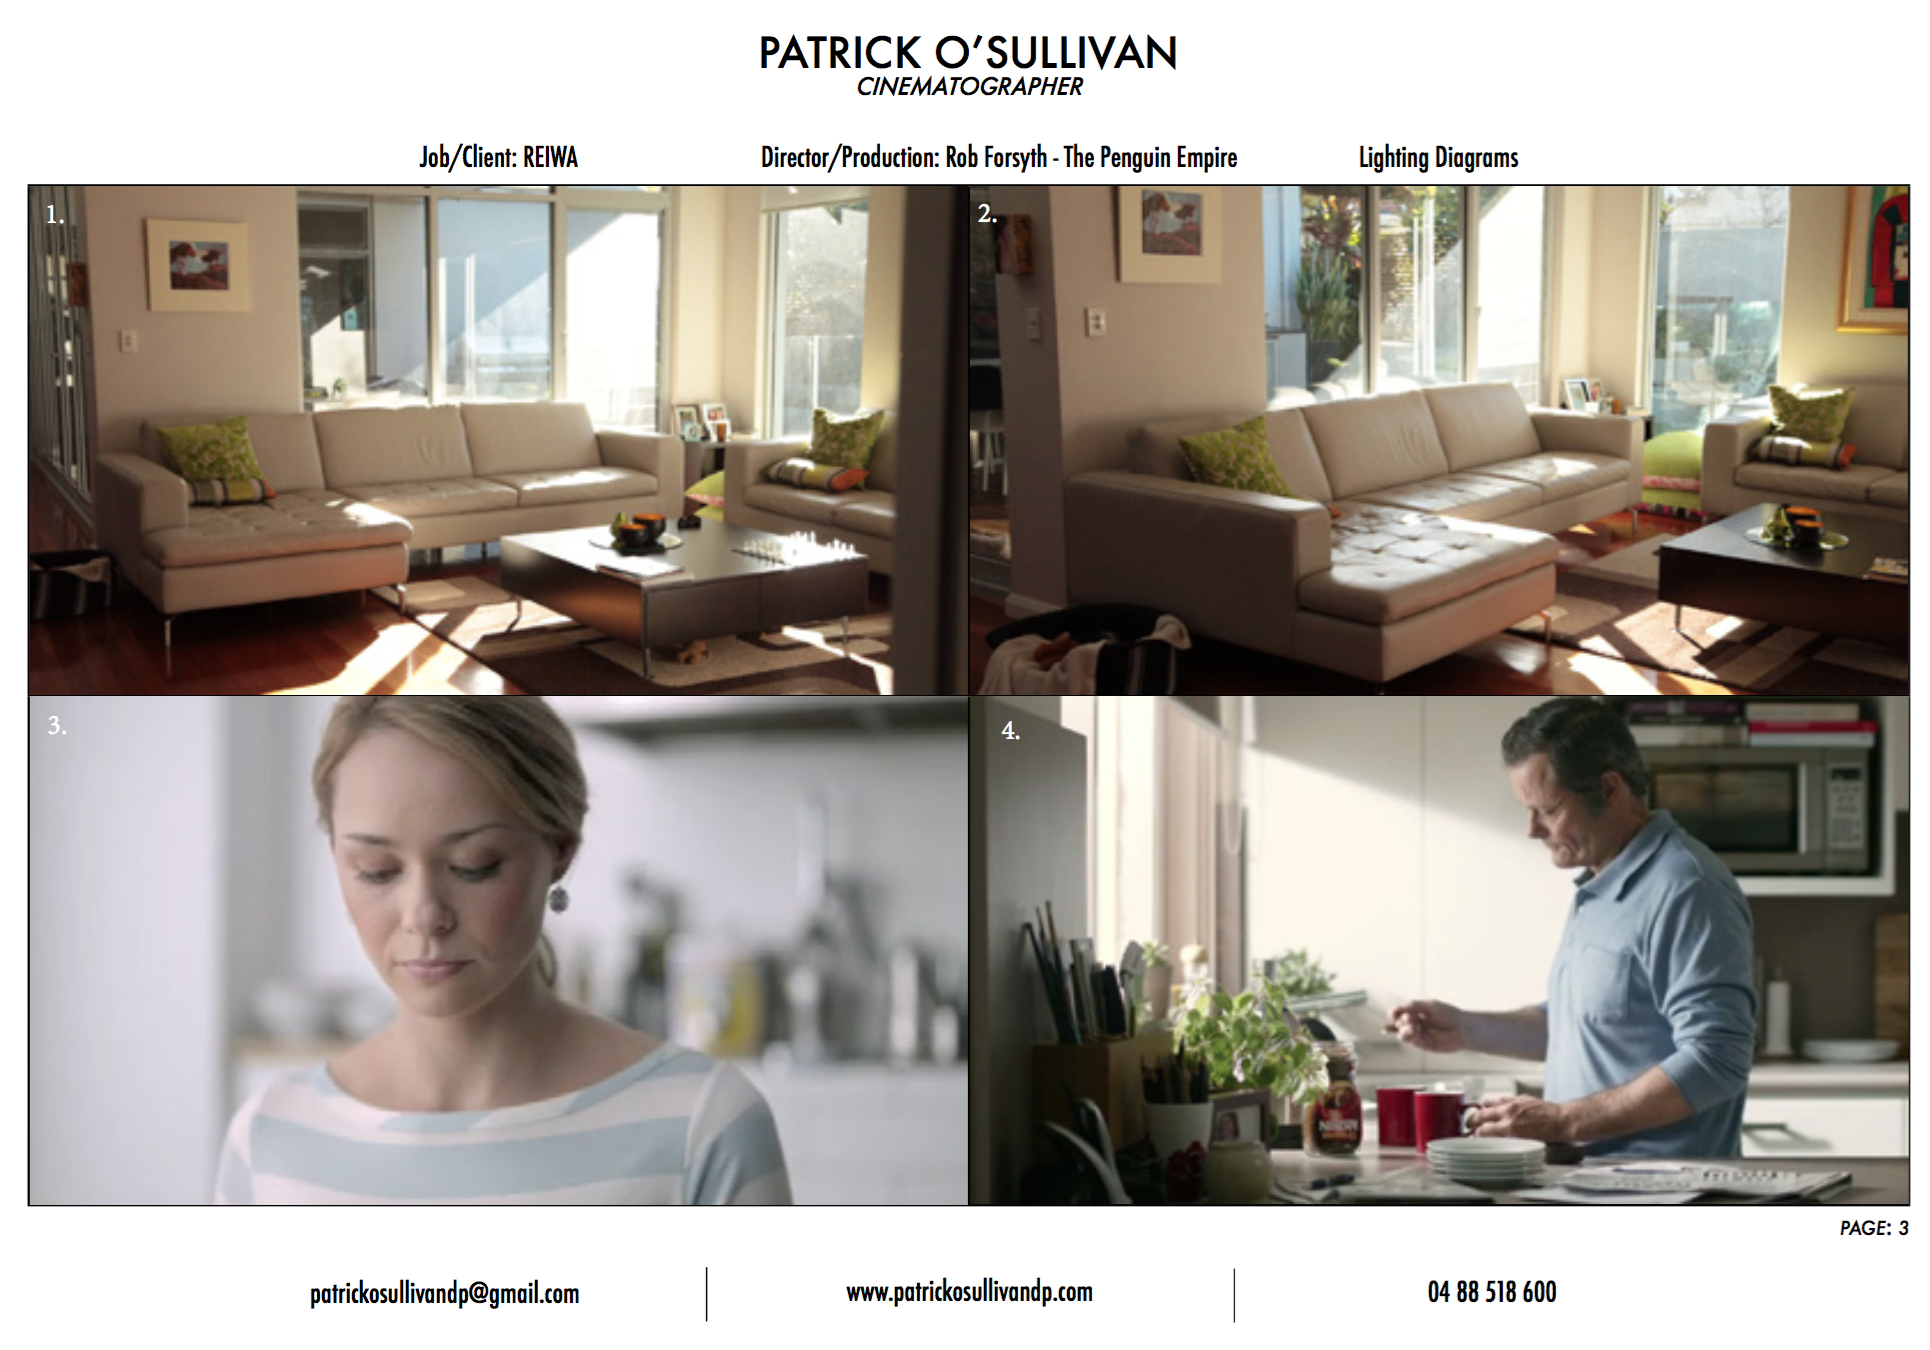
#5
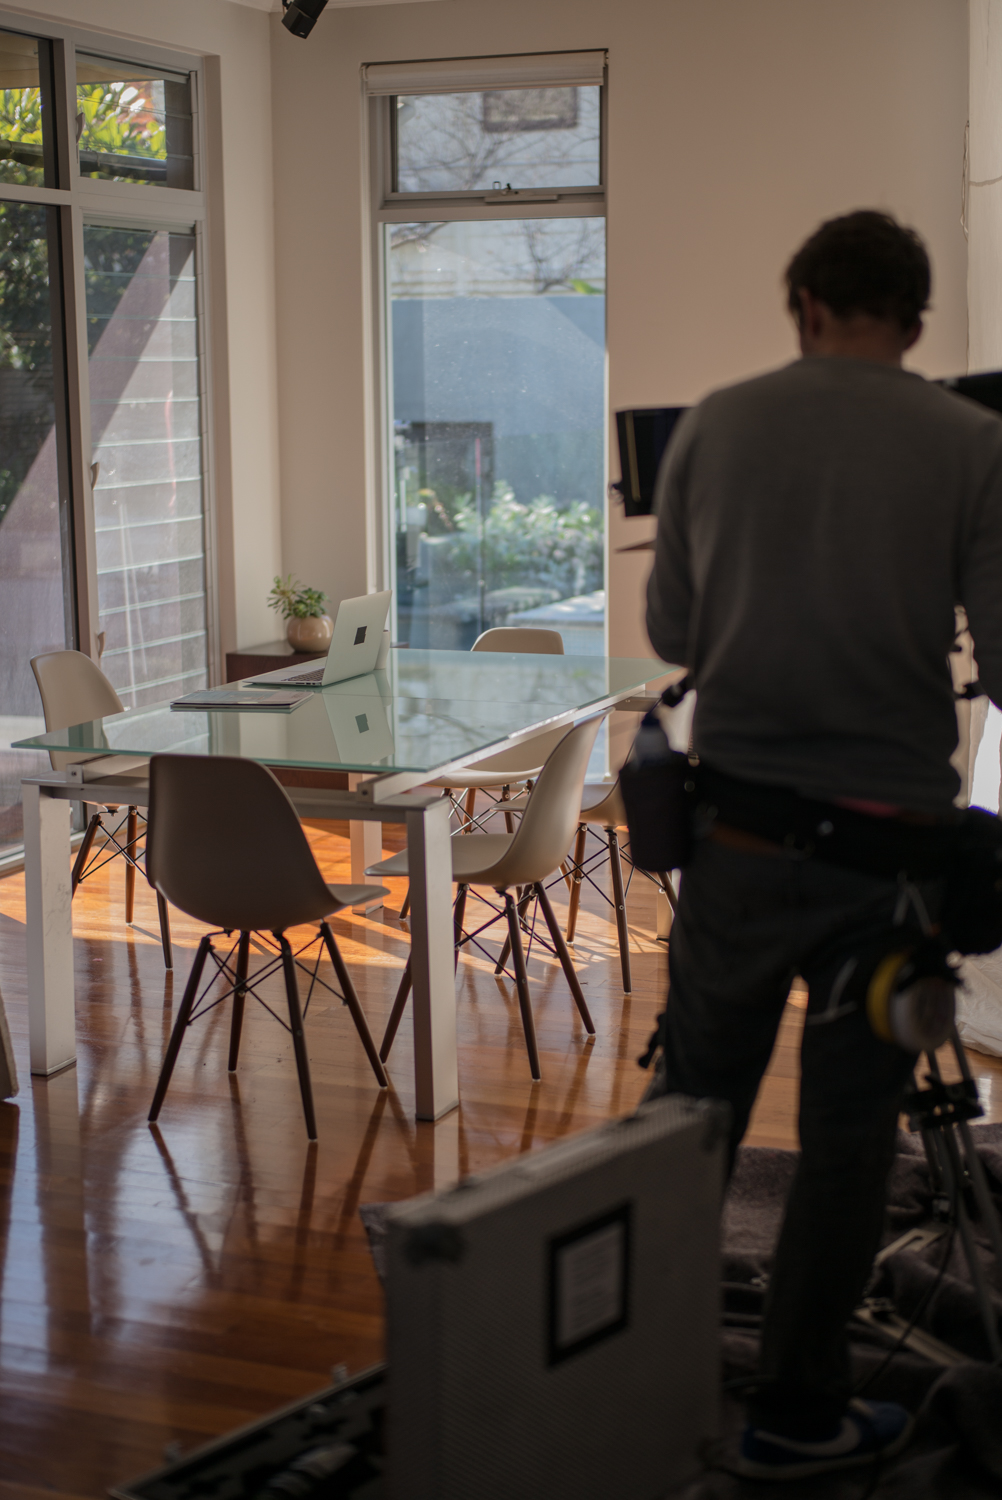
The tech scout is probably the most important day to ensure that the production gets off to a smooth start and, as a DP, I get the look that is in my head.
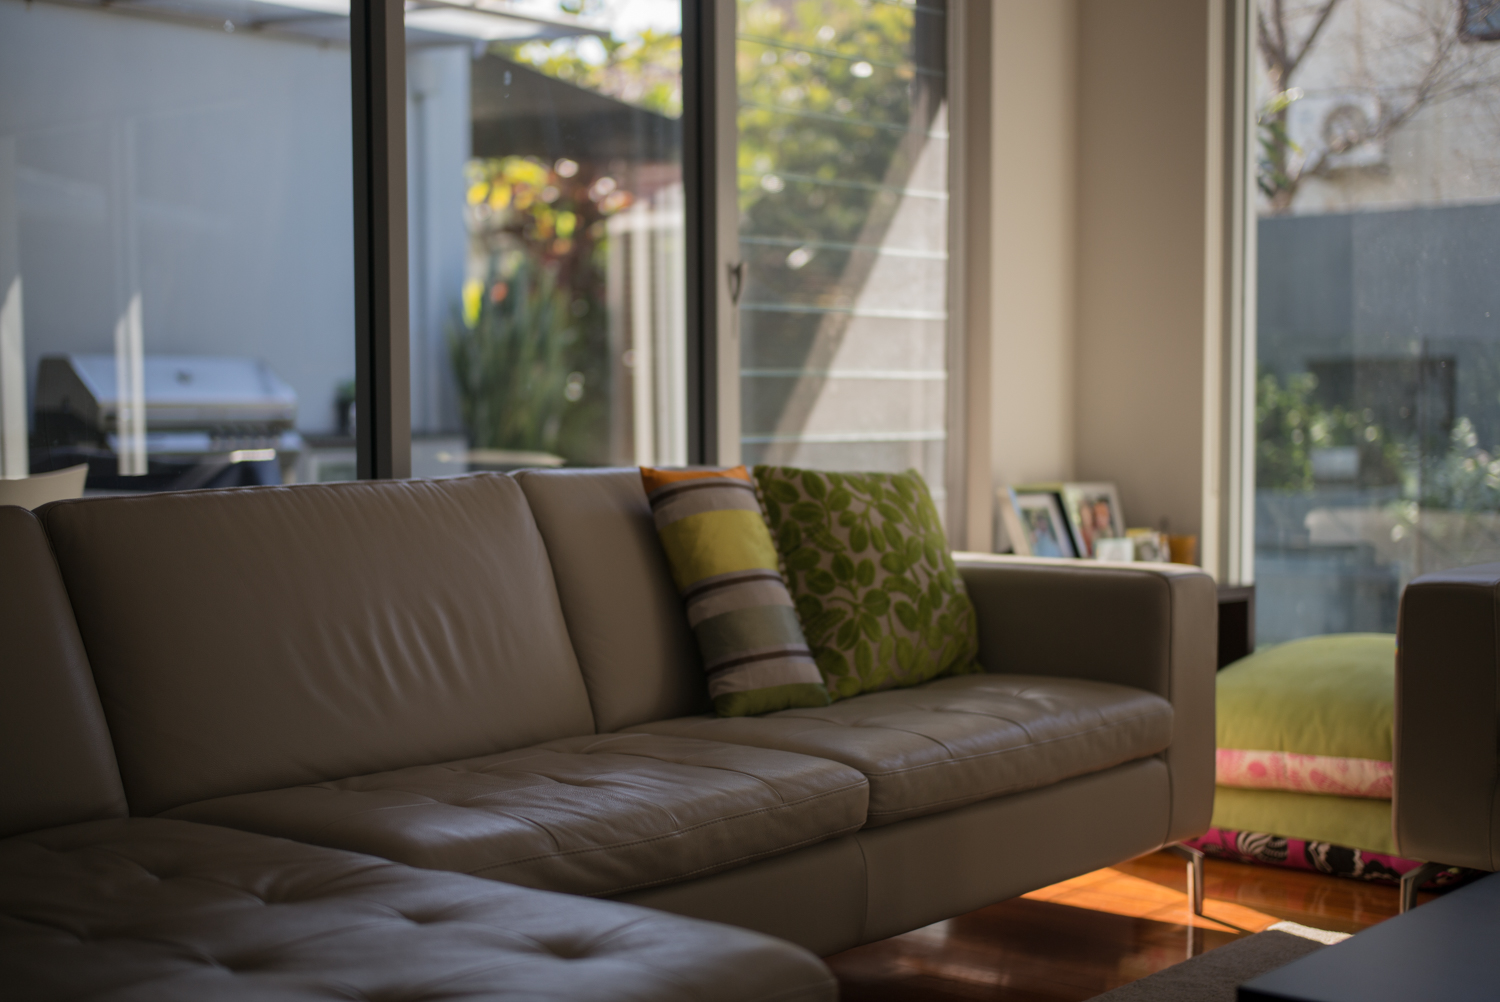
Here below you can see the lighting that is naturally in the room:
#6
I will take a bunch of different angles so I can go away and create a lighting diagram for the crew. The diagram isn’t meant to be a set in stone thing but it is a great jumping off point to get started.
#7

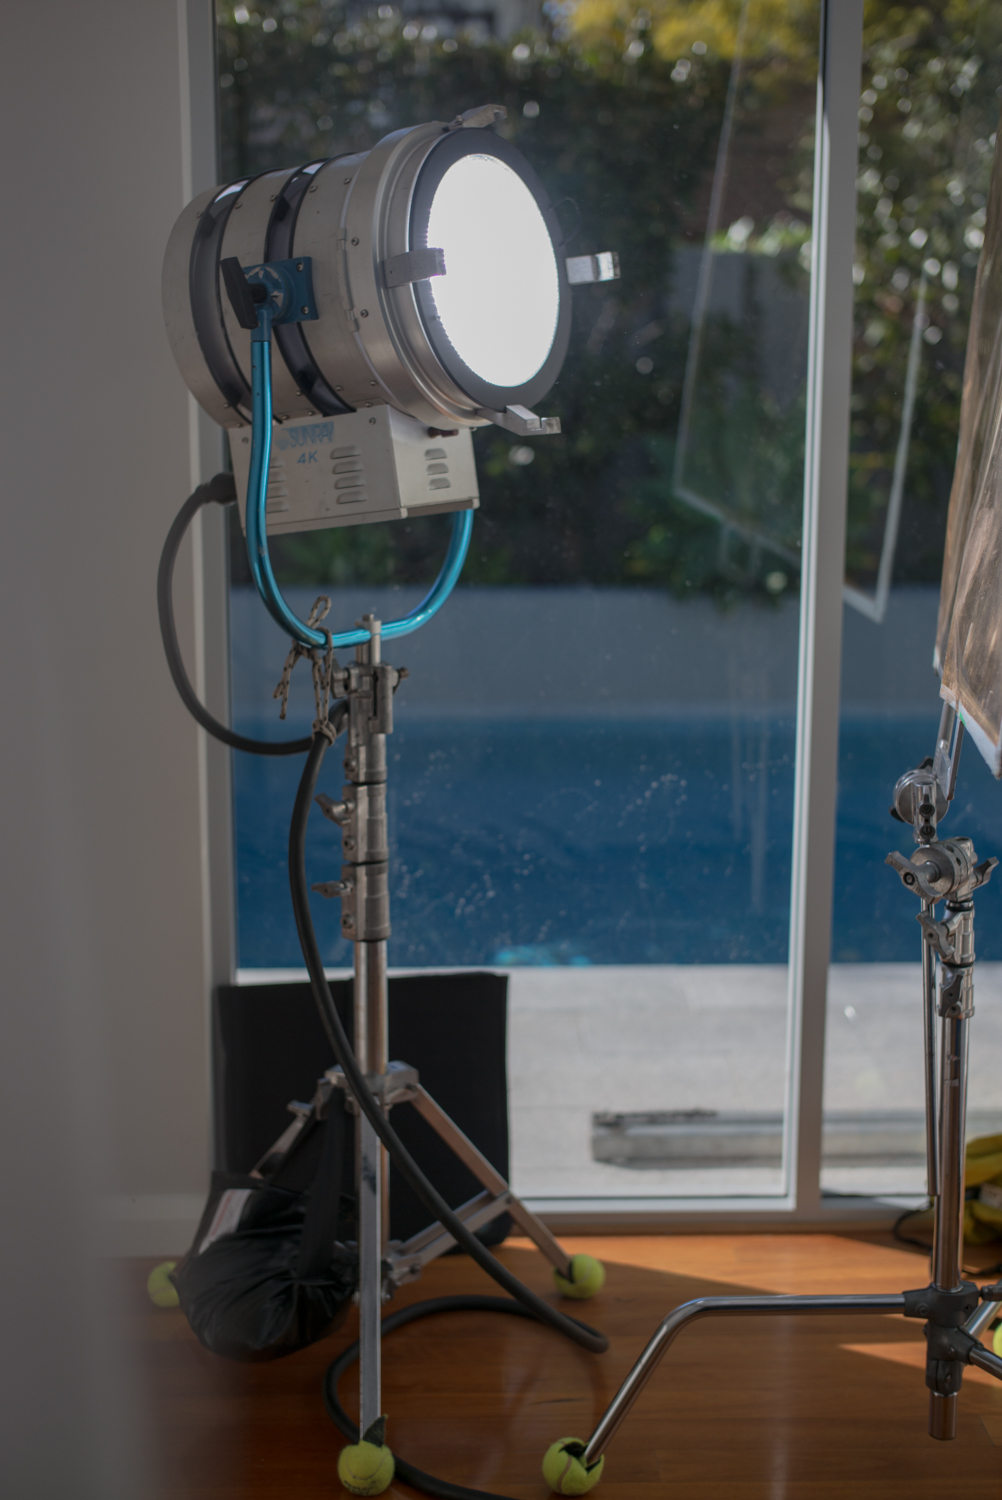
The Lighting Plan
#8
 The lighting Plan I will send through to the Gaffer along with a bucn of references so he can get a feel of the quality of light I am looking for. Once you start to work with the same folks over and over again they get to know what fixtures you like and the kind of source you are after.
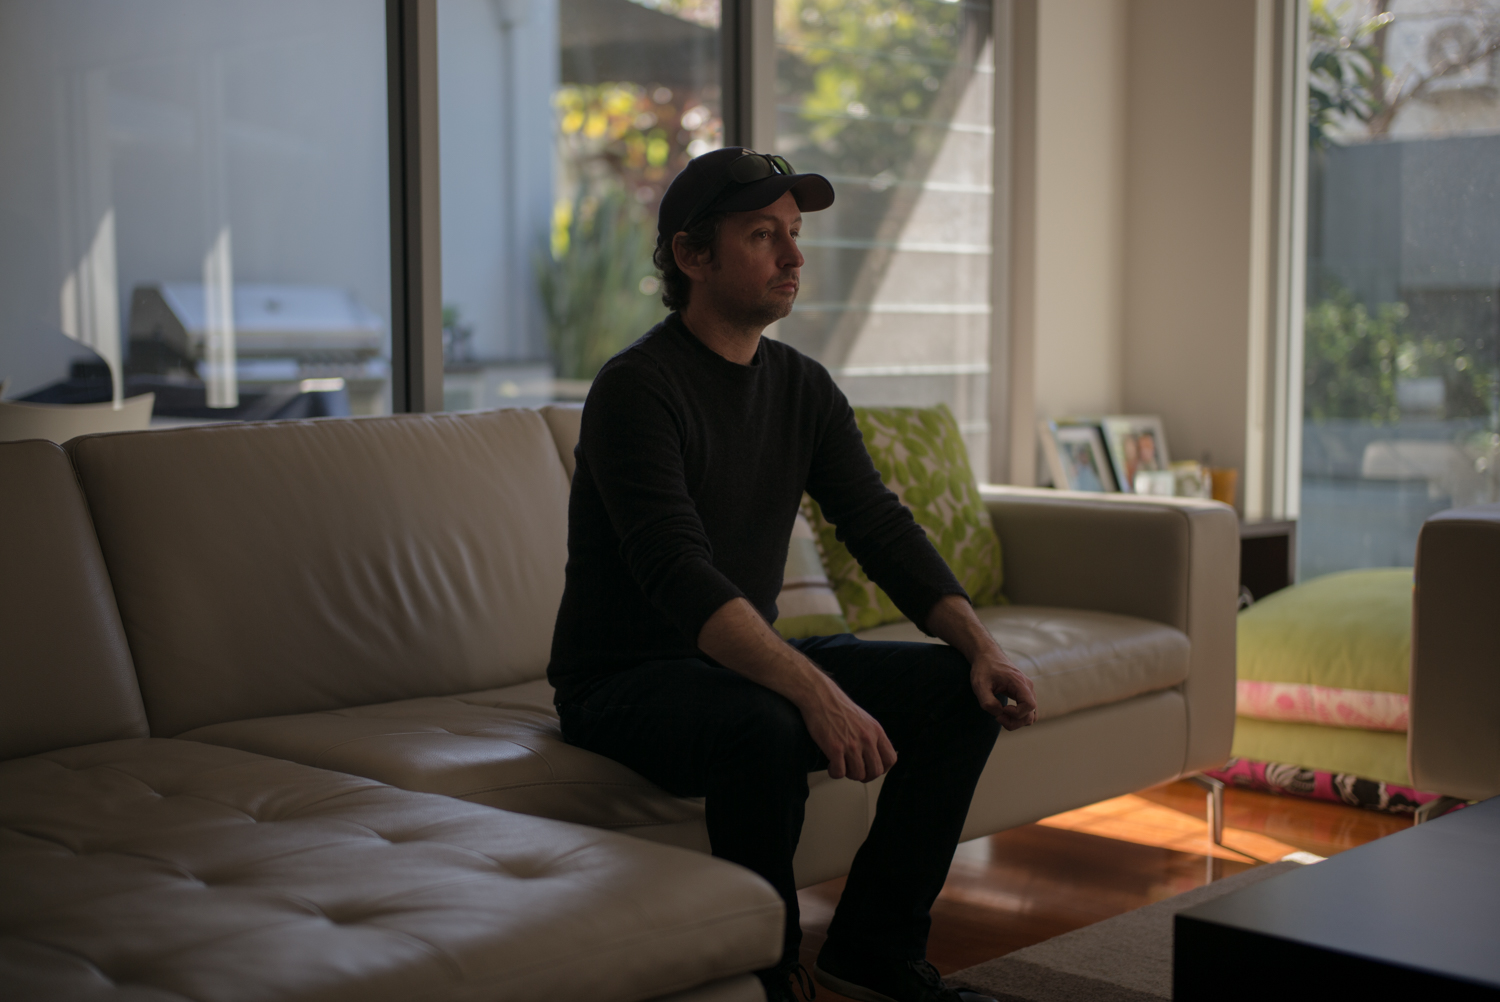
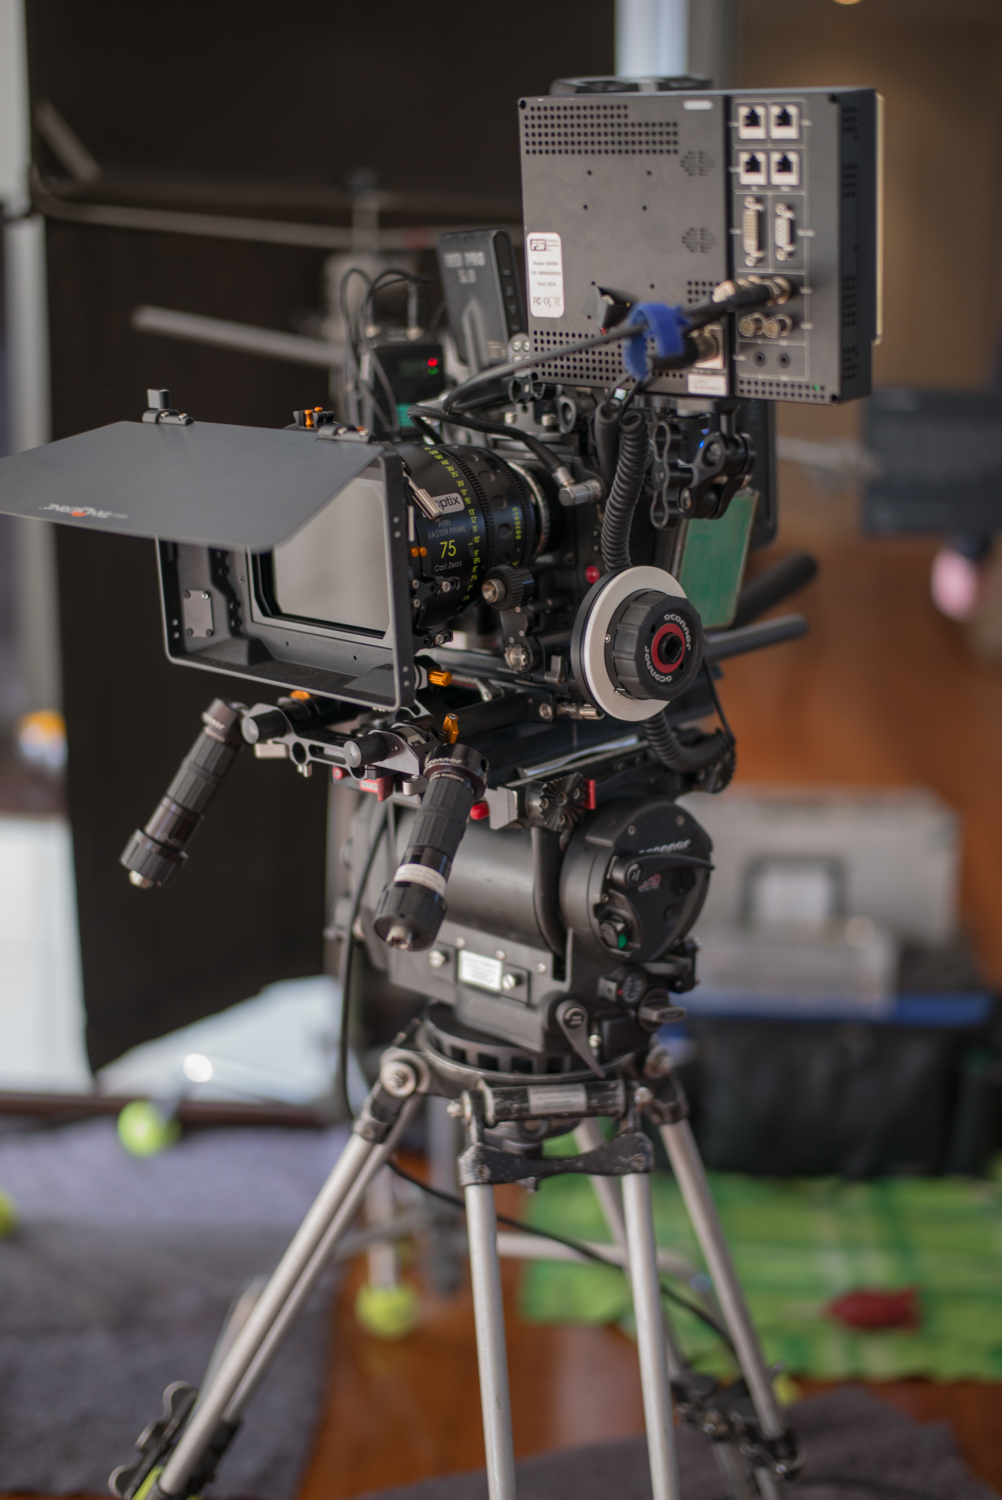
The Shoot
#9
 #10
#10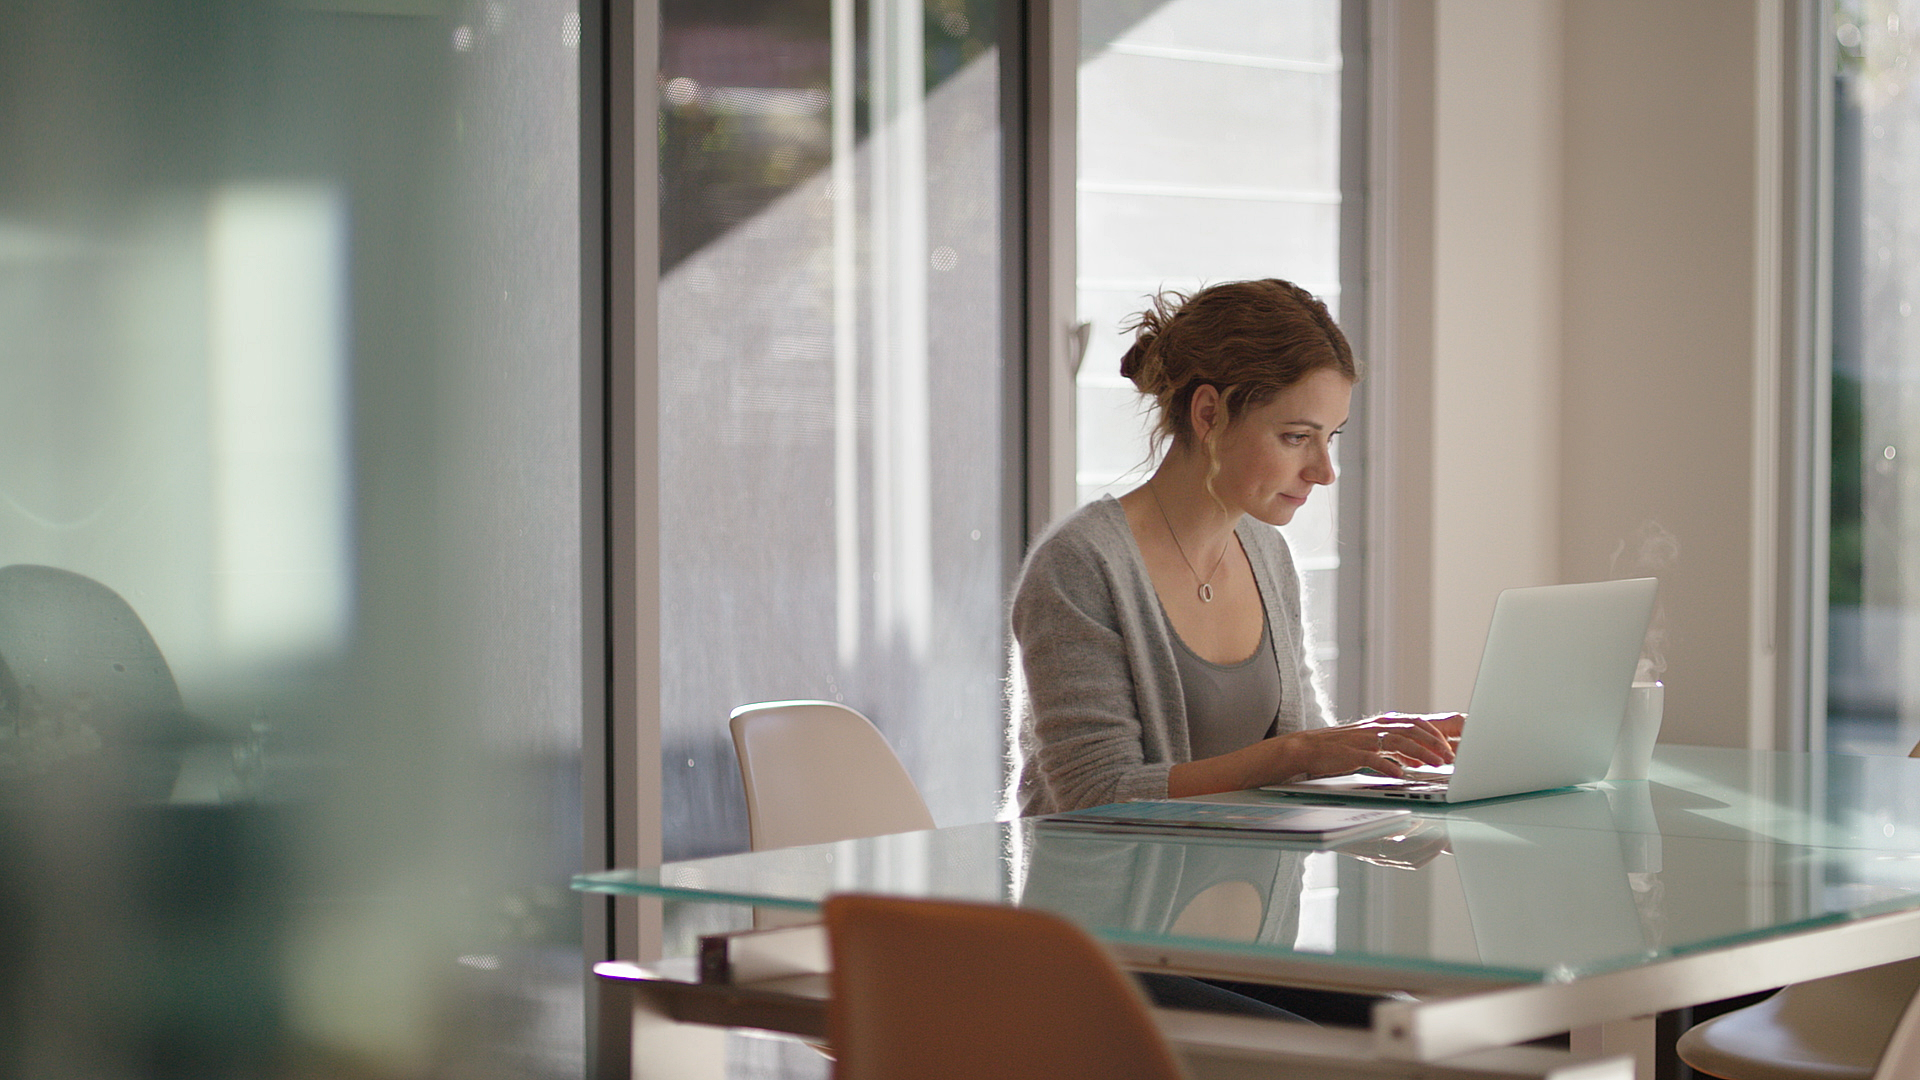 #11
#11 #12
#12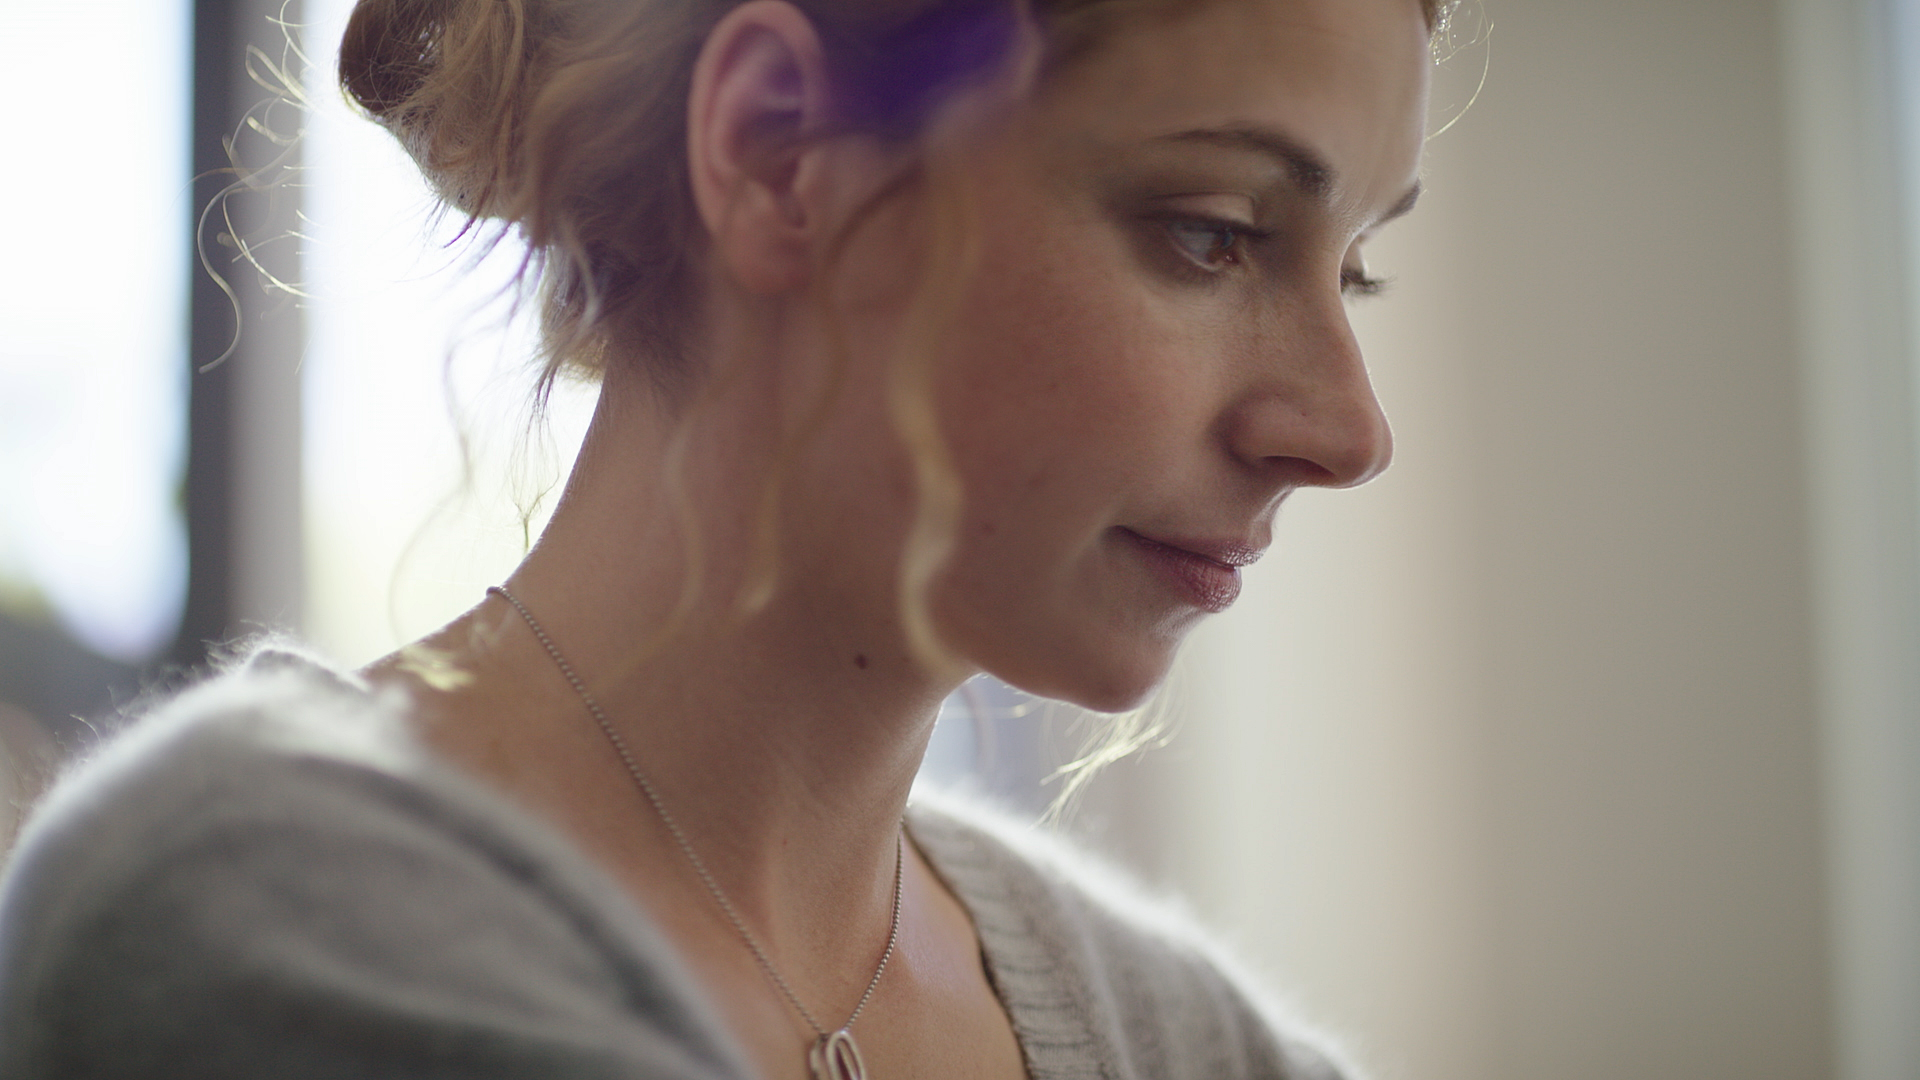
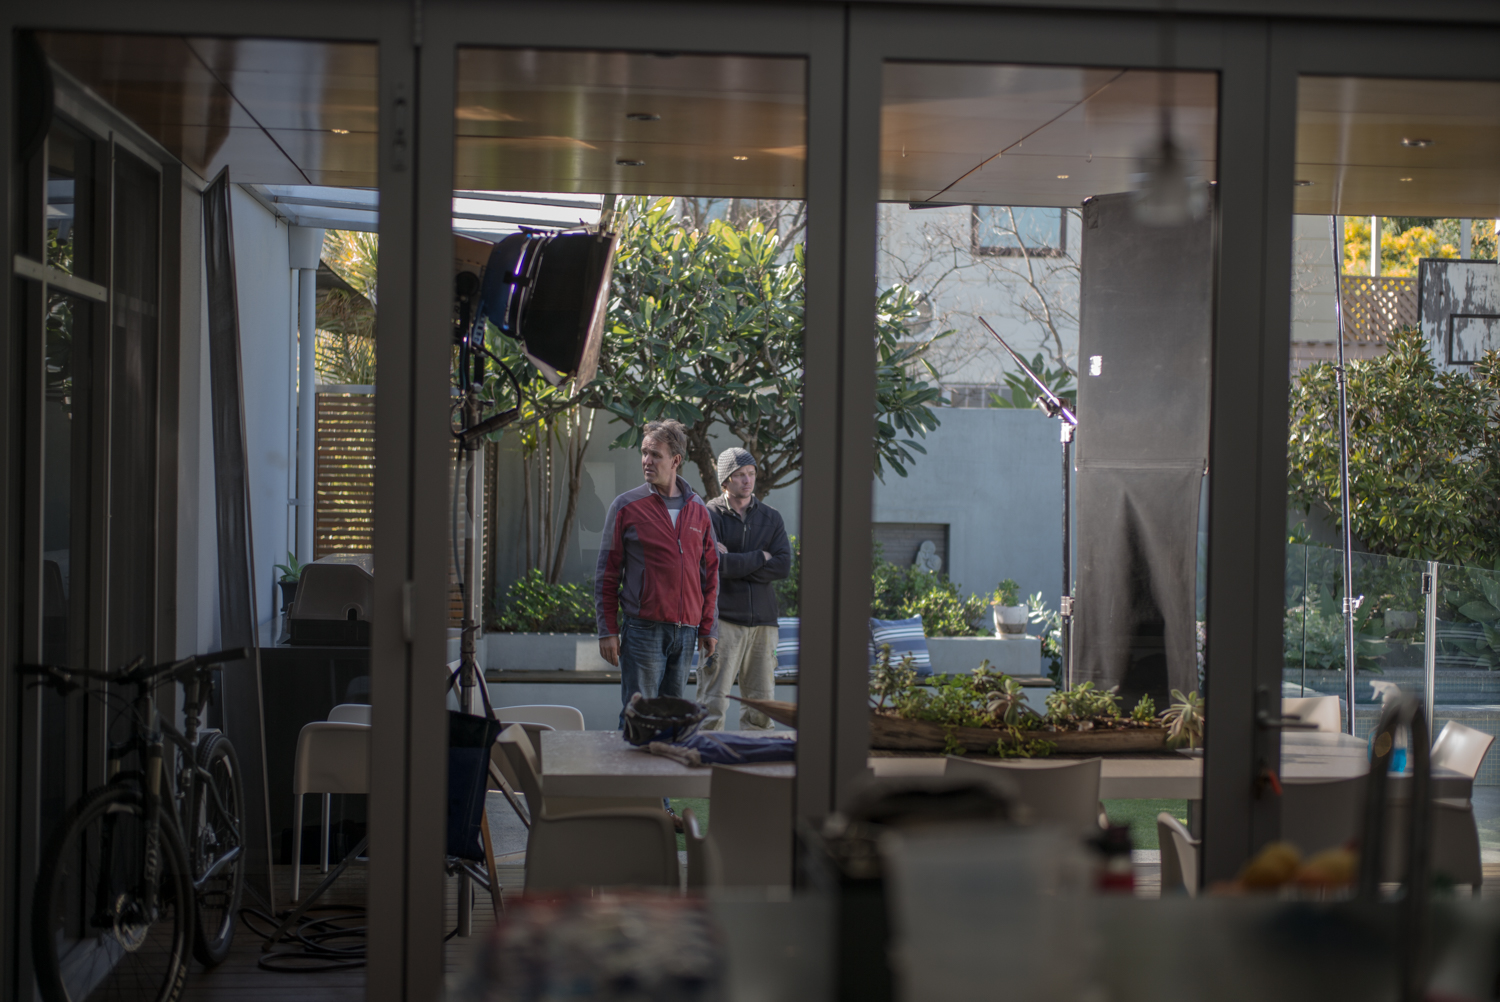
Behind the Scenes
#13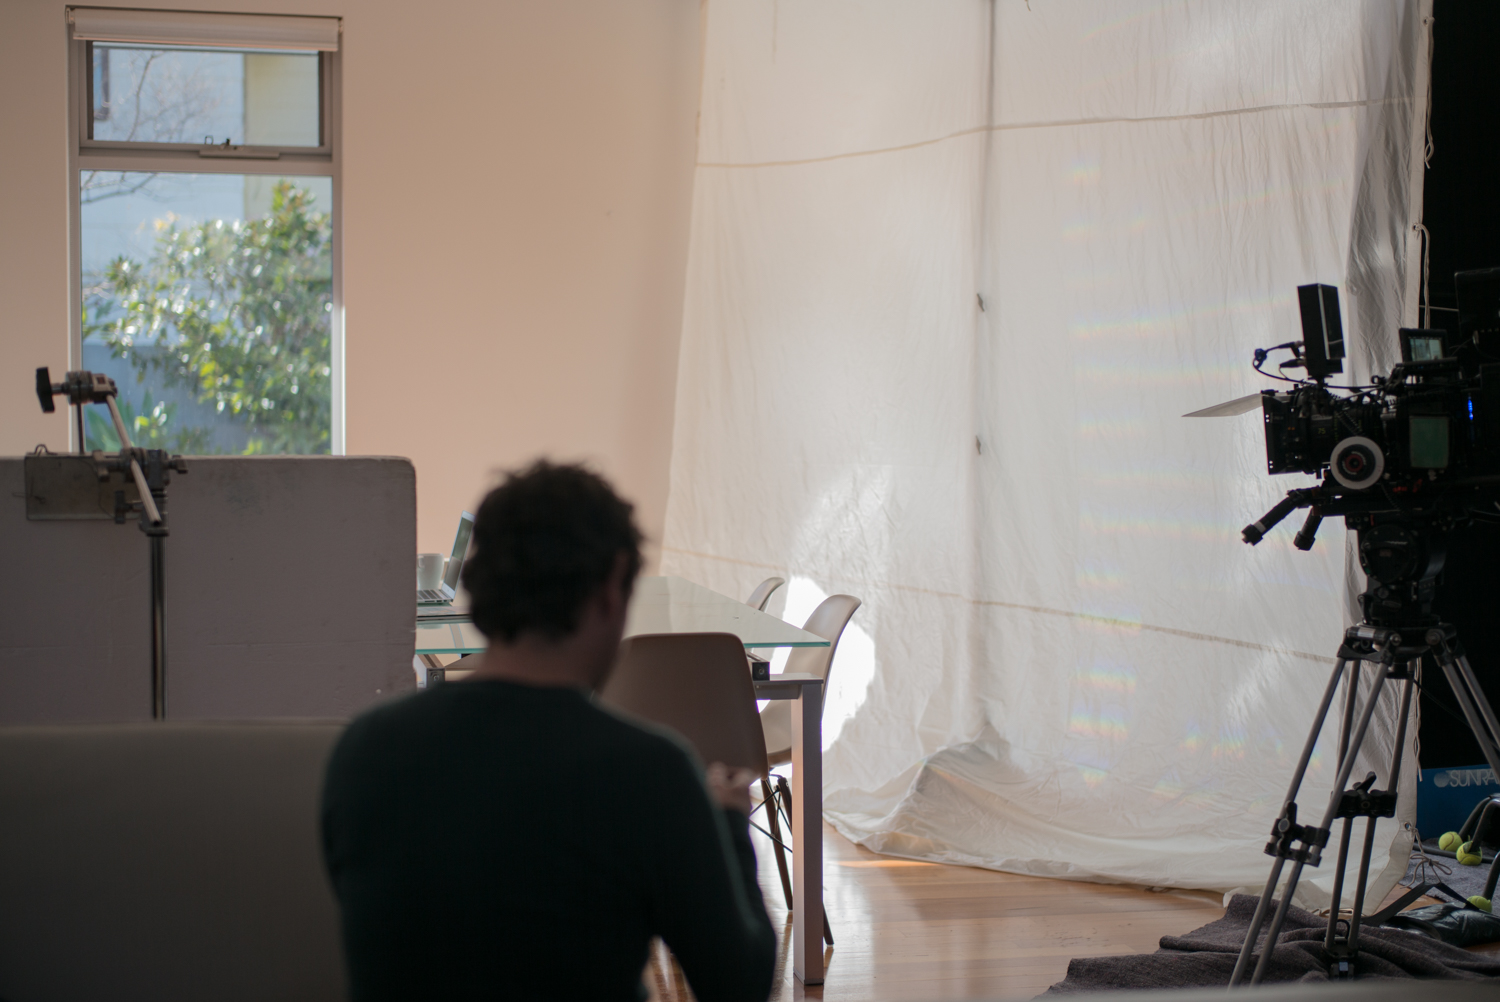
#14
#15
#16
#17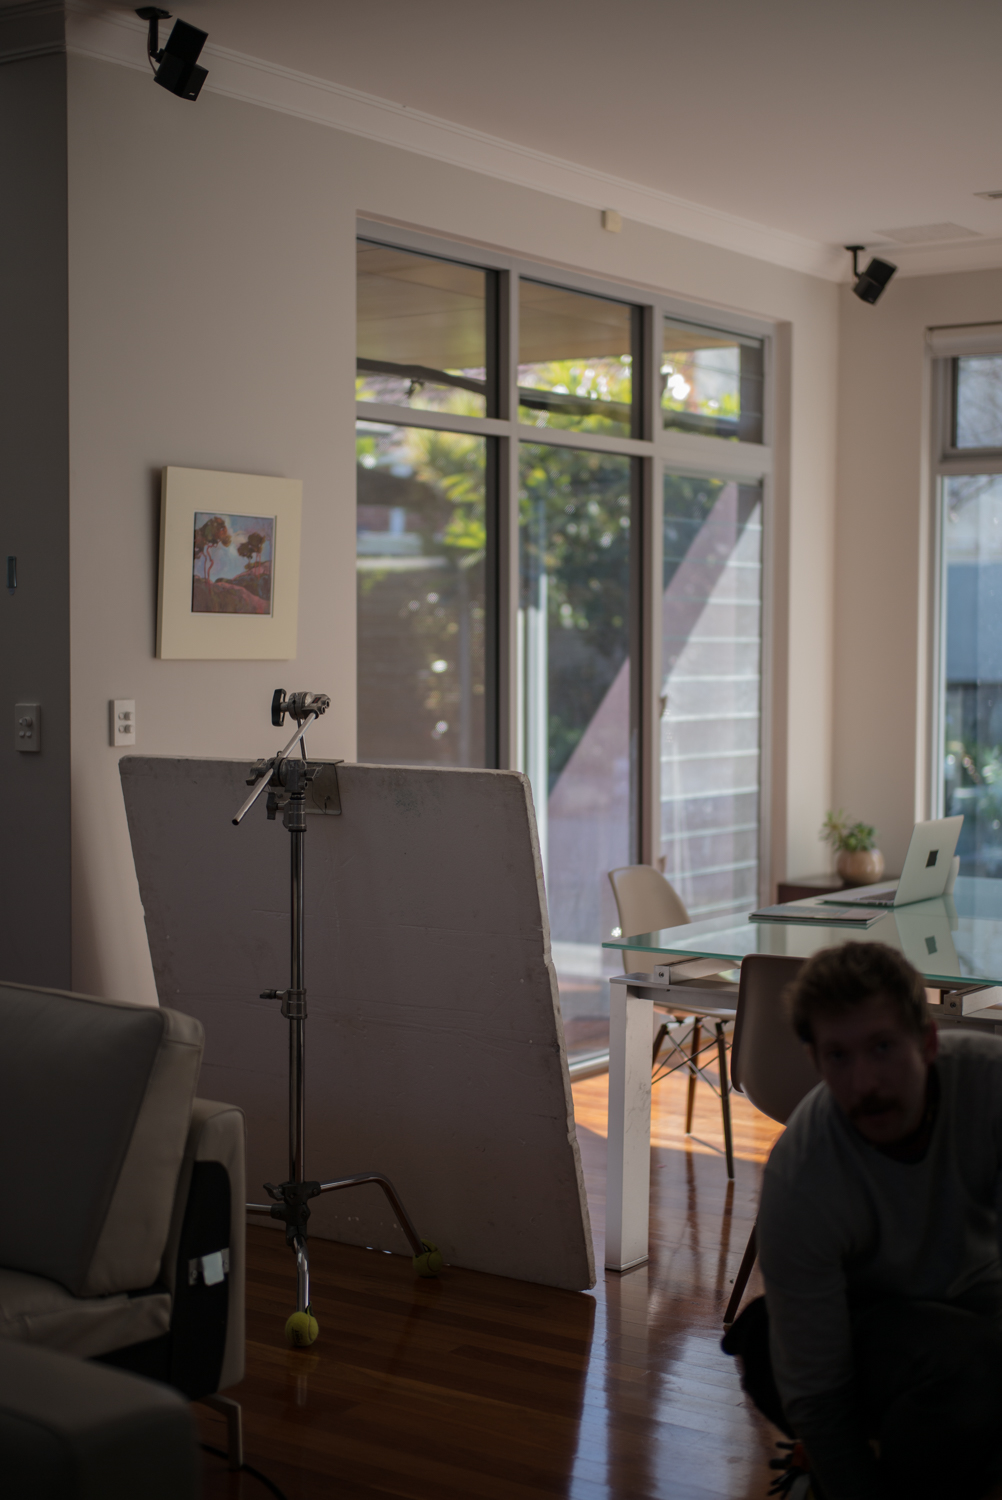
#18
The Grade
Once it is all done and dusted the last little bit of work is the DI.
As the DP you generally provide feedback and can send through screen grabs of graded stills so that the director and the colorist have something to work off of.
Done & Dusted
So there you have it. That is basically the entire job process. If you are just reading this page and not listening to the podcast I highly suggest you go back and listen in as I go into a bunch more detail on the actual shoot and lighting process.
Hopefully that gave you some insight into what it takes to DP a commercial like this.
Another brilliant breakdown. This is truly a fantastic resource. Thanks so much for sharing and please do keep it up. Your reference docs should become a defacto standard as well. Much cleaner and more straightforward than most I’ve seen.
Hey Patrick,
Good work with this one. It’s nice to have your process broken down. Two quick questions.
1) Were you exposing her key side at middle grey?
2) When you send notes to the colorist, do you include the desired IRE light levels or any scopes along side?
Thanks.
M
Hey Patrick! it’s such a treat to have these podcasts back! I enjoyed this one a lot, your methodology from preprod till finish is very eyeopening to me! thank you for sharing such valuables ressources!