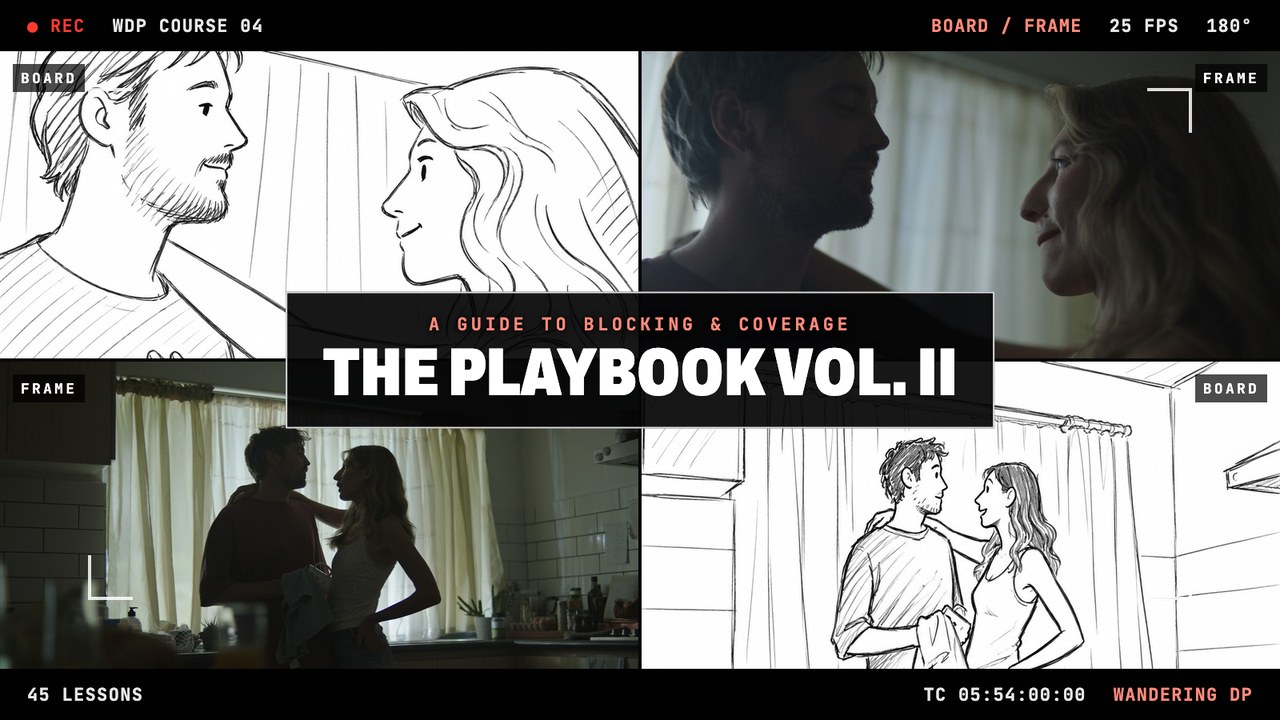
The Playbook Approach, Volume II
Blocking & Coverage
It can look like every job brings a new setup. There are really only five, and this volume takes the most common of them, the Office scenario, from the scout to the last piece of coverage.
Where the camera sits against the talent, the perpendicular and parallel approaches, the wides, the reverse, inserts and budget options, worked through on a virtual set in CineDesigner so you can watch each decision play out.
You can’t light what you can’t block.
Once you recognize which of the five scenarios you’re standing in, you know where the path leads. If you know the destination, you can work backwards and make every decision with it in mind.
That means deciding where the camera goes relative to the talent, what the wide has to do, which coverage you’ll need, and what problems the cast and crew are about to create before they create them.
I spent years of my career without these techniques, and my progress was slower because of it. This is the system I use every day on a job. None of it depends on specific gear, so you can try it on your very next project.
- Why work from a system at all?2.1 A system overview · 2.2 Define the goal · 2.4 The big decisions
- What are the five scenarios?2.3 BODVO basics · 2.5 The Playbook approach
- How should the camera face the talent in an office scene?3.1 The office basics · 3.3 The classics · 3.5 Alternatives
- What do I shoot after the wide?4.3 The wides · 4.4 Traditional coverage · 4.5 Shooting inserts · 5.8 The reverse
- What if the budget is small?5.3 Budget option · 5.4 Budget option (part 2)
The wide, then the reverse.
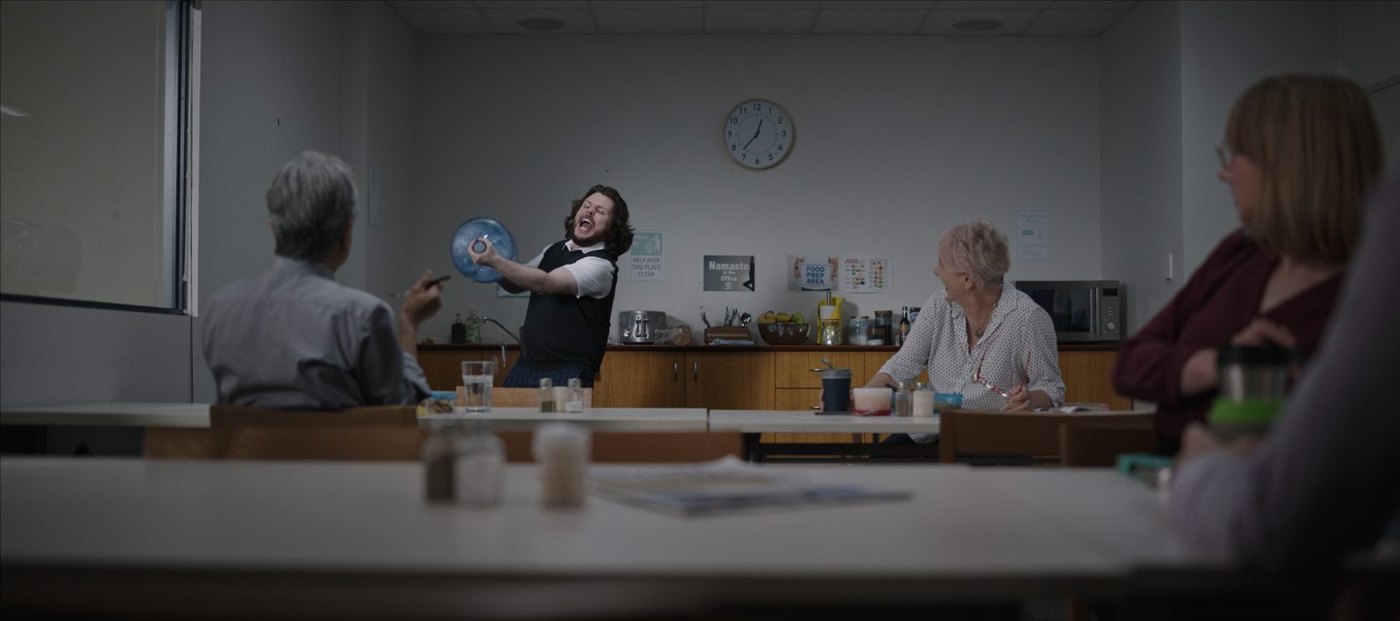
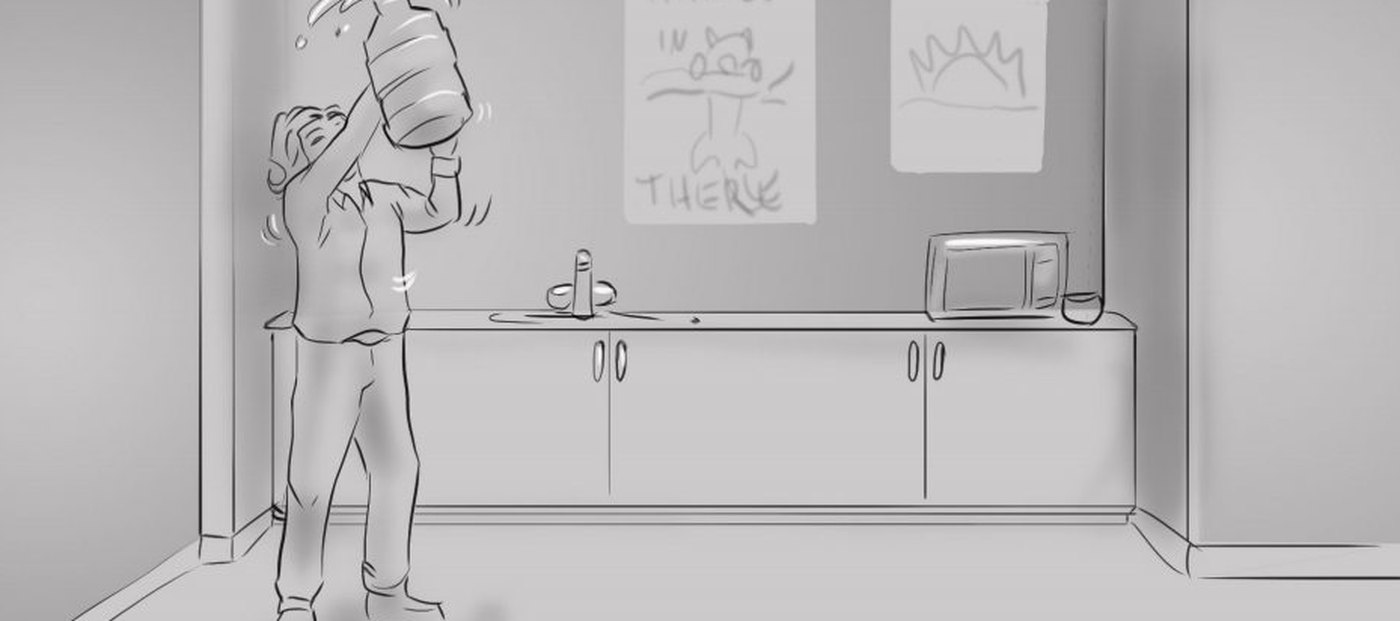
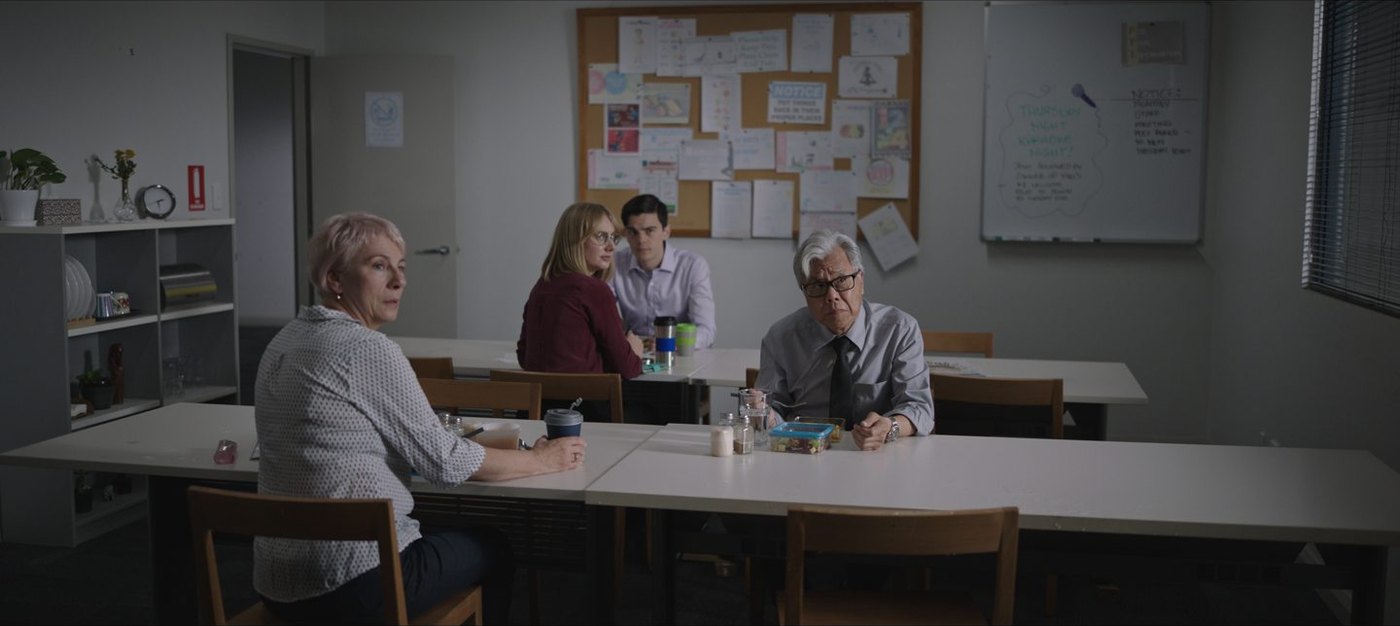
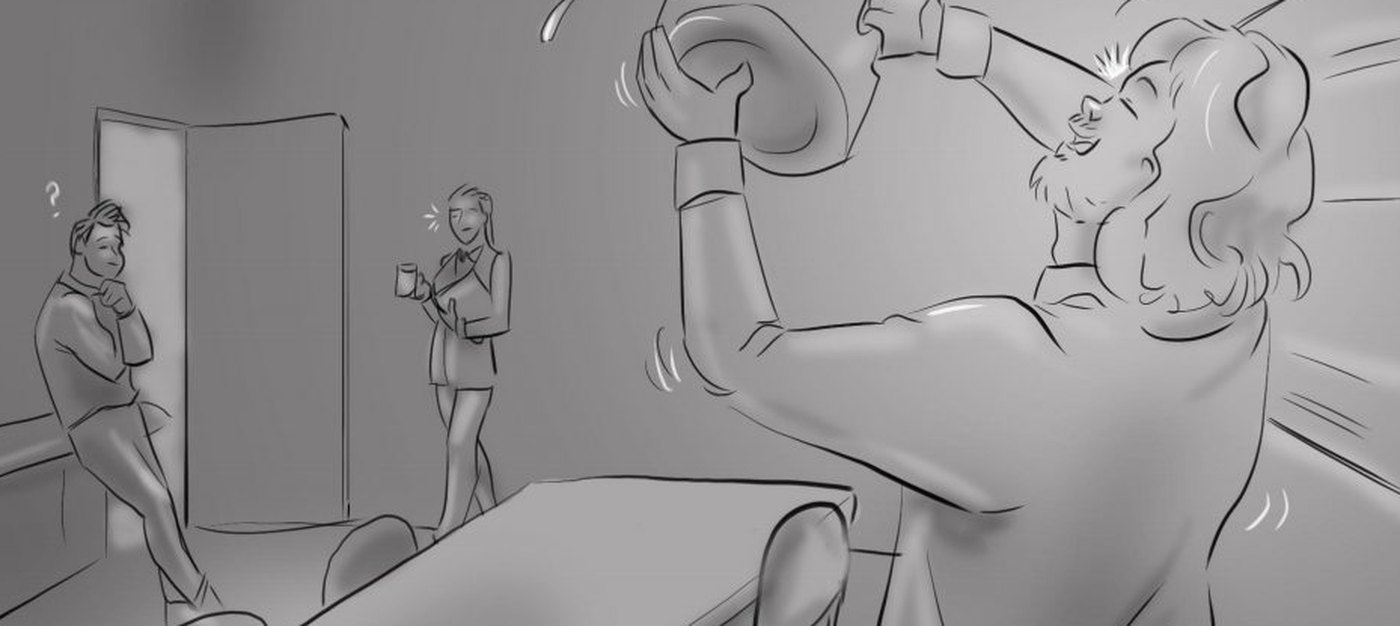
An office lunch room from a comedy spot I shot, broken down on the podcast. The wide reveals the celebration; the reverse turns around to the people watching it.
Each frame sits against its storyboard. The course works through this order on the virtual set: the wides, traditional coverage, inserts, then the reverse and the profile shot.
 BOARDFRAME
 BOARDFRAME
Cinematographers who want a system.
Built for DPs of any experience level who want a repeatable way to block and cover the scene they’ll face most often. Experienced DPs still get something from seeing a different approach.
Take it if
- You walk onto each location and work out the camera placement from scratch.
- You want the wide and the coverage planned before the lights go up.
- You want to see the problems a blocking choice will cause while there’s still time to change it.
- You took Volume I and want the next scenario in the system.
Start elsewhere if
- You want lighting and exposure technique. That’s Mastering Exposure and the free breakdowns on the podcast.
- You want the business side: finding work, rates and prep. That’s The Foundation.
- Your next job is car work. That’s The Vehicle Series.
- You need live, one-to-one coaching. This is a self-paced video course.
Every lesson, in order.
From why a system works, through the Office scenario and its coverage, to the perpendicular and parallel approaches on the virtual set and the alternatives: overhead, outdoors, and placement versus location.
Two lessons are free previews on Teachable, so you can see the course before you buy.
01Course Introduction
- 1.1 Course Introduction6:24
- 1.2 The Platform1:26
02Leveraging SystemsFREE PREVIEW
- 2.1 A System Overview2:51
- 2.2 Define the Goal6:15
- 2.3 BODVO BasicsFREE PREVIEW ↗5:38
- 2.4 The Big Decisions7:55
- 2.5 The Playbook Approach5:01
03The Office Scenario
- 3.1 The Office Basics13:01
- 3.2 The Office Basics (Part #2)10:05
- 3.3 The Classics9:48
- 3.4 The Classics (Part #2)6:00
- 3.5 Alternatives9:31
- 3.6 Alternatives (Part #2)10:41
- 3.7 Parallel Examples12:41
04CoverageFREE PREVIEW
- 4.1 The Next Step3:13
- 4.2 The Mood DialFREE PREVIEW ↗8:34
- 4.3 The Wides13:03
- 4.4 Traditional Coverage8:31
- 4.5 Shooting Inserts4:28
- 4.6 Shaping with the Angle5:11
05The Perpendicular Approach
- 5.1 The Virtual Set3:55
- 5.2 The Location Scout11:46
- 5.3 Budget Option12:27
- 5.4 Budget Option (Part #2)10:40
- 5.5 Additional Layers11:22
- 5.6 Additional Layers (Part #2)8:18
- 5.7 Coverage Options11:57
- 5.8 The Reverse9:02
- 5.9 The Profile Shot7:05
- 5.10 Removing Variables7:23
- 5.11 Tips & Tricks6:23
06The Parallel Approach
- 6.1 Going Parallel1:43
- 6.2 Parallel Scout12:55
- 6.3 Parallel Wide10:45
- 6.4 Parallel Wide Part 29:58
- 6.5 The Alternative Wide7:34
- 6.6 Down the Line4:29
- 6.7 The Flop11:38
- 6.8 Back of Mind5:19
07Alternatives
- 7.1 Open Your Mind1:25
- 7.2 The Overhead Scenario9:53
- 7.3 Placement vs Location8:32
- 7.4 The Great Outdoors9:59
- 7.5 Taking It Further7:06
08Conclusion
- 8.1 Final Thoughts2:39
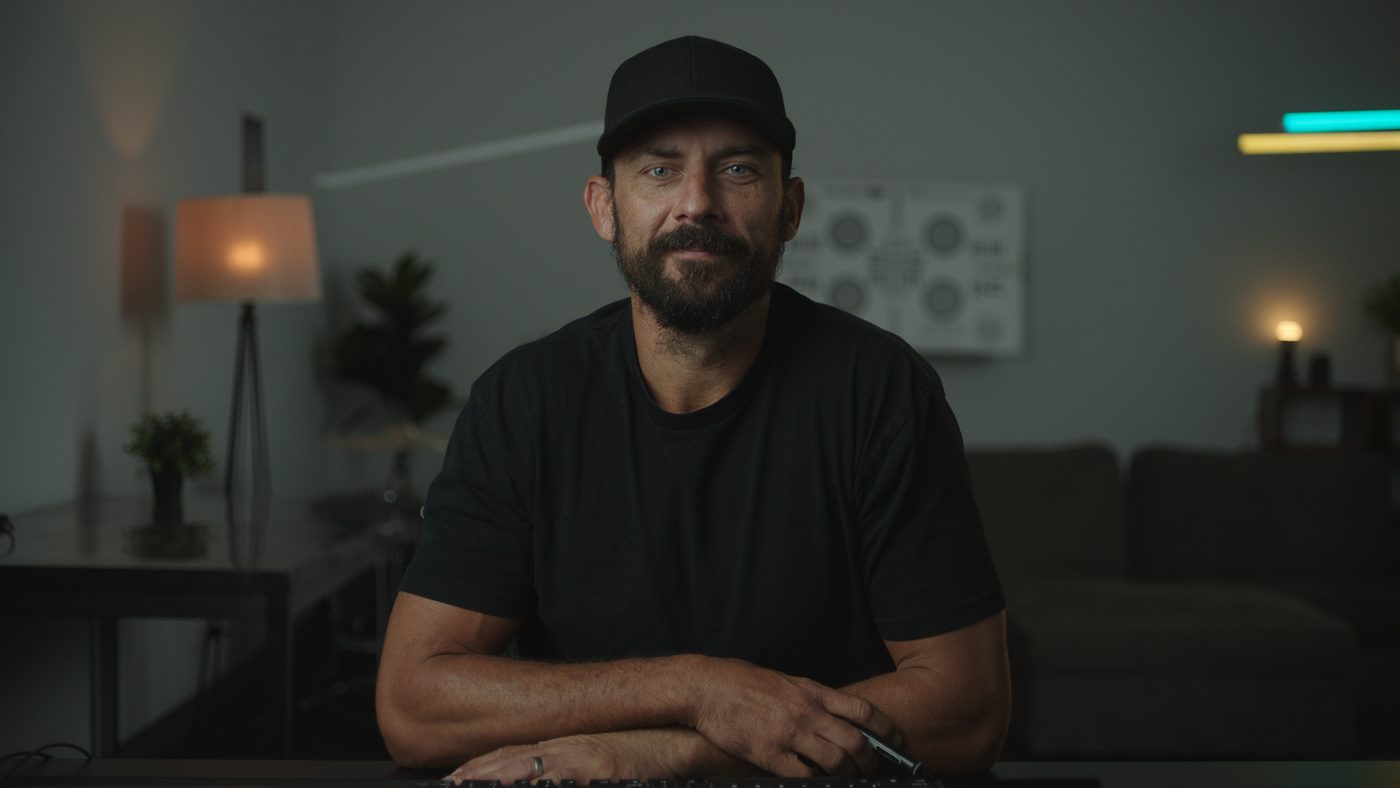
Patrick O’Sullivan, working DP.
I’ve been a cinematographer for more than a decade and have shot hundreds of commercial projects. Landing, prepping and shooting those jobs taught me a lot about the different ways a DP can approach the role.
Since 2014 I’ve shared that on The Wandering DP Podcast, breaking down real jobs with the frames, diagrams and decisions behind them. This course is the system underneath those breakdowns, applied to the Office scenario: how I block it, plan the wide and build the coverage before a light goes up.
Everything in Volume II.
One payment, then it’s yours to work through at your own pace and come back to whenever a job puts you in the Office scenario.
- The course45 video lessons, 5h 54m in all, from why a system works to the Office scenario covered on a virtual set.
- AccessLifetime access on any device.
- Guarantee30 days. If the course isn’t right for you, let us know within 30 days for a full refund.
30-day money-back guarantee. If it isn’t right for you, email within 30 days of enrolling for a full refund.
Before you enroll.
How is this different from the podcast and Patreon breakdowns?
Which course should I take first?
Are there lighting examples in the course?
Do I need years of experience?
How long do I have access?
What if the course isn’t right for me?
When does it start and finish?
Can I pay with PayPal?
Where do I watch the lessons?
Every scene is a chance to put it into practice.
These techniques have changed the quality of my professional work many times over. Nothing here needs special gear or circumstances, so once you understand how the system is structured you can use it on your next shoot and build on it to suit your own style. I look forward to seeing you in the course.