Listen to the Podcast
On the podcast this week we are breaking down several different night interior cinematography set ups. The commercial we will be looking at featured a number of different night time bedroom scenes and it gives us a good look at different ways to treat this scenario.
There are endless ways to shape the light for night work and today we look at a few of the most common methods.
The Wandering DP Patreon - Listener Projects
Over on Patreon this week we are continuing our video series breaking down future projects and also looking at listener work. I am still away on a job so no live stream but I still break down a project I am about to shoot.]
We look at the storyboards and location pictures and go over the exact plan I think will work for the budget, schedule, and of course the desired look of the job.
To watch the video head over to Patreon by click ing on the link below:
The Job - Night Interior Cinematography
The job this week is centered around night interior set ups and the challenge was in moving fast enough to get all the shots we needed while also maintaining a certain look to the footage.
The Gear - Camera & Lighting Packages
The gear list was fairly simple as we needed to move so quickly and with such a small crew we didn't have time for complicated set ups or camera moves.
Camera Gear List:
- Arri Alexa XT - 800 ISO, 25fps, 180 degree shutter
- Arri Zeiss Master Primes (18, 25, 35, 50, 75, 100)
- Arri WCU-4 Follow Focus System
- Bright Tangerine VIV Matte Box
- Formatt Hitech Firecrest IRND - (.3 - 2.1)
- Oconnor 2575C Fluid Head + Sticks
- SmallHD 703 High Bright On Camera Monitor
- FSI CM240 - Director's Monitor
- Tiffen Glimmer Glass - 1/8 Strength
Lighting Package:
- Arri M18 HMI + Chimera
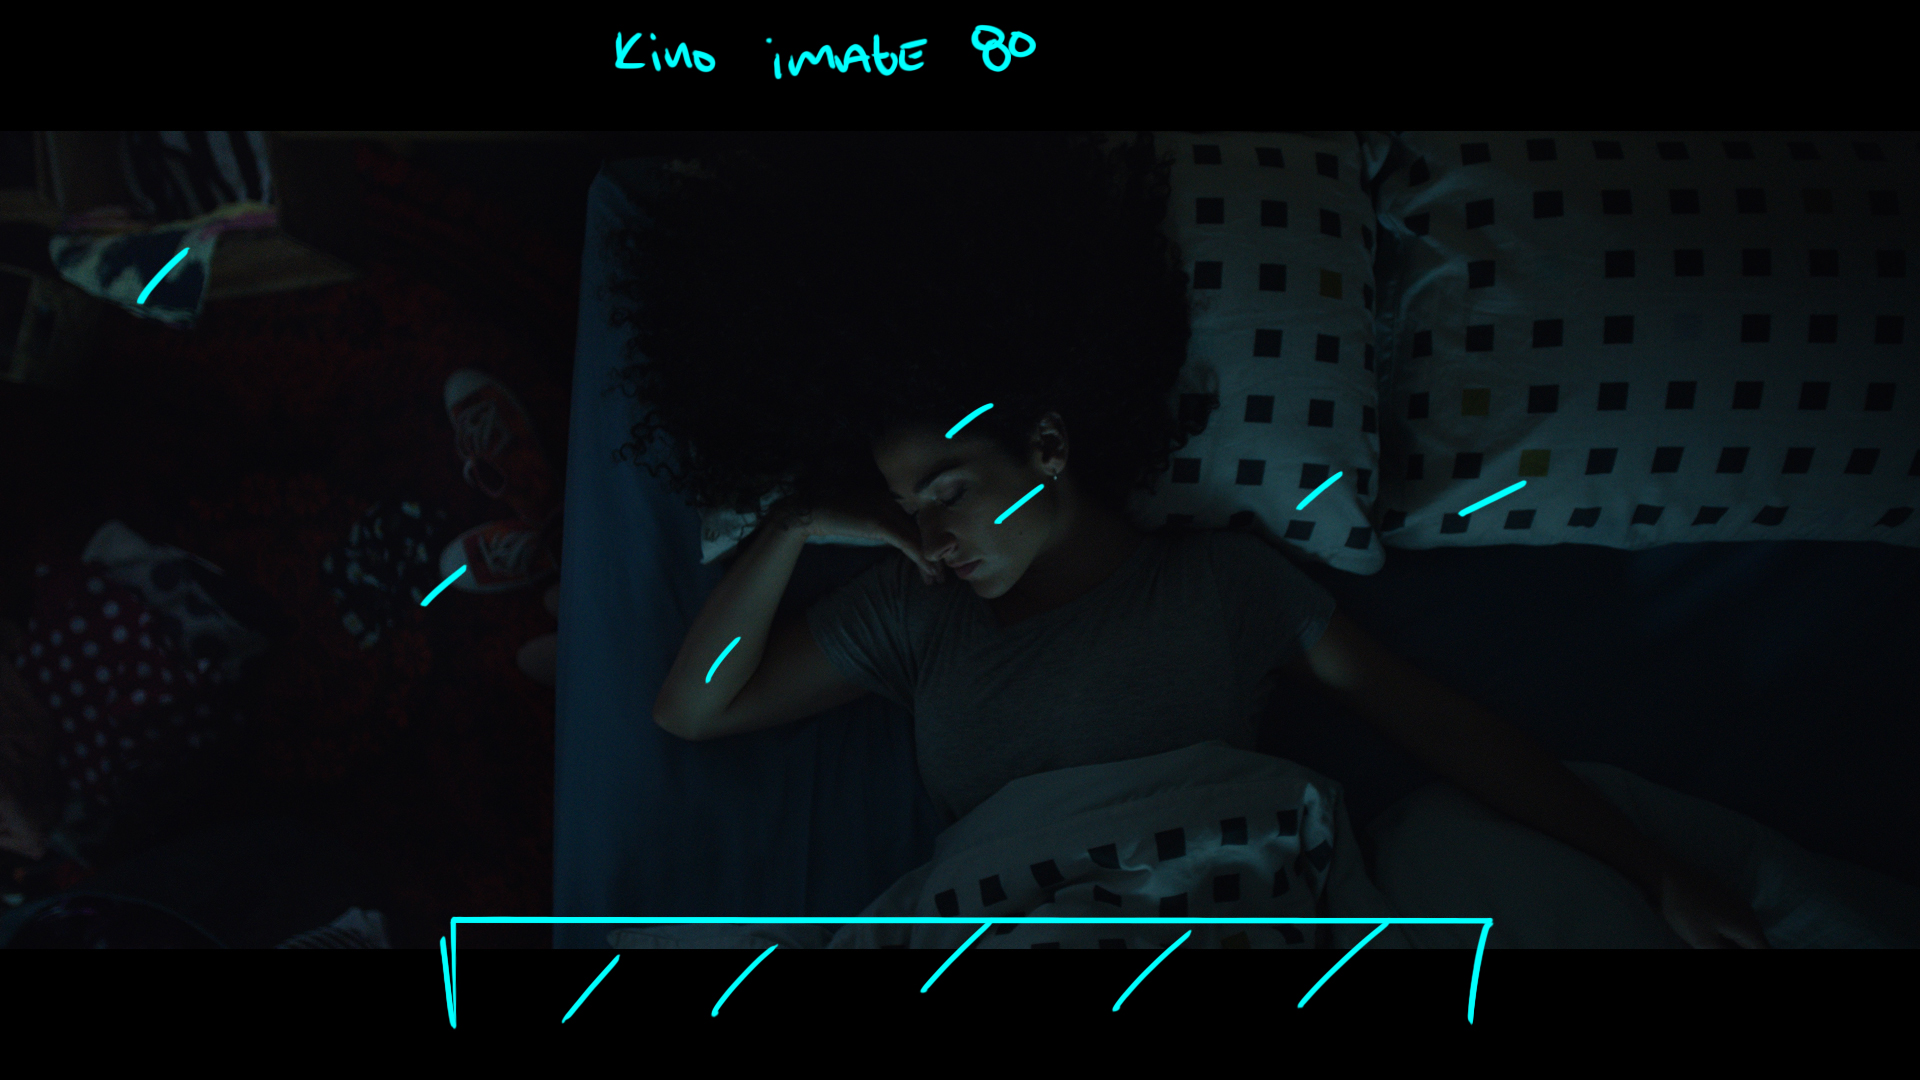
- Kino Flo Image 80
- Litemats 2L & 1
- ETC Source 4
- Various practical bulbs & dimmers
- Various diffusion frames
The Set Ups - Night Interior Cinematography
Shot #1 - The Family Wide

The Shot
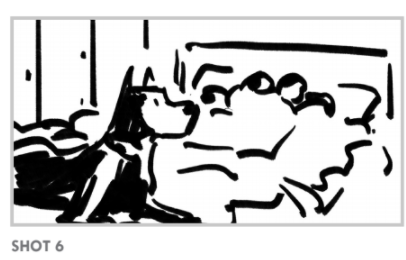
This was our very first shot in the house location. The camera tracks forward as we see the dog lie down at the foot of the bed.
The Lighting
We could have oriented the bed in any position to the window but knowing that the moon light was going to be the main light in this set up we angled the bed accordingly. We used the moonlight to rake across the faces then added the tungsten practicals in the background and dimmed to taste.
Finally we had a small Litemat to add some push from camera left specifically for the dog.
The Result

Shot #2 - The Family Medium

The Shot
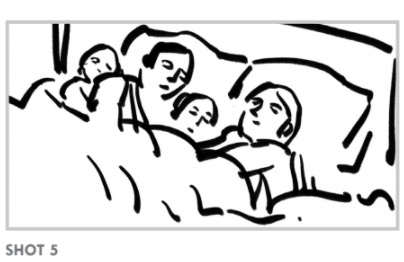
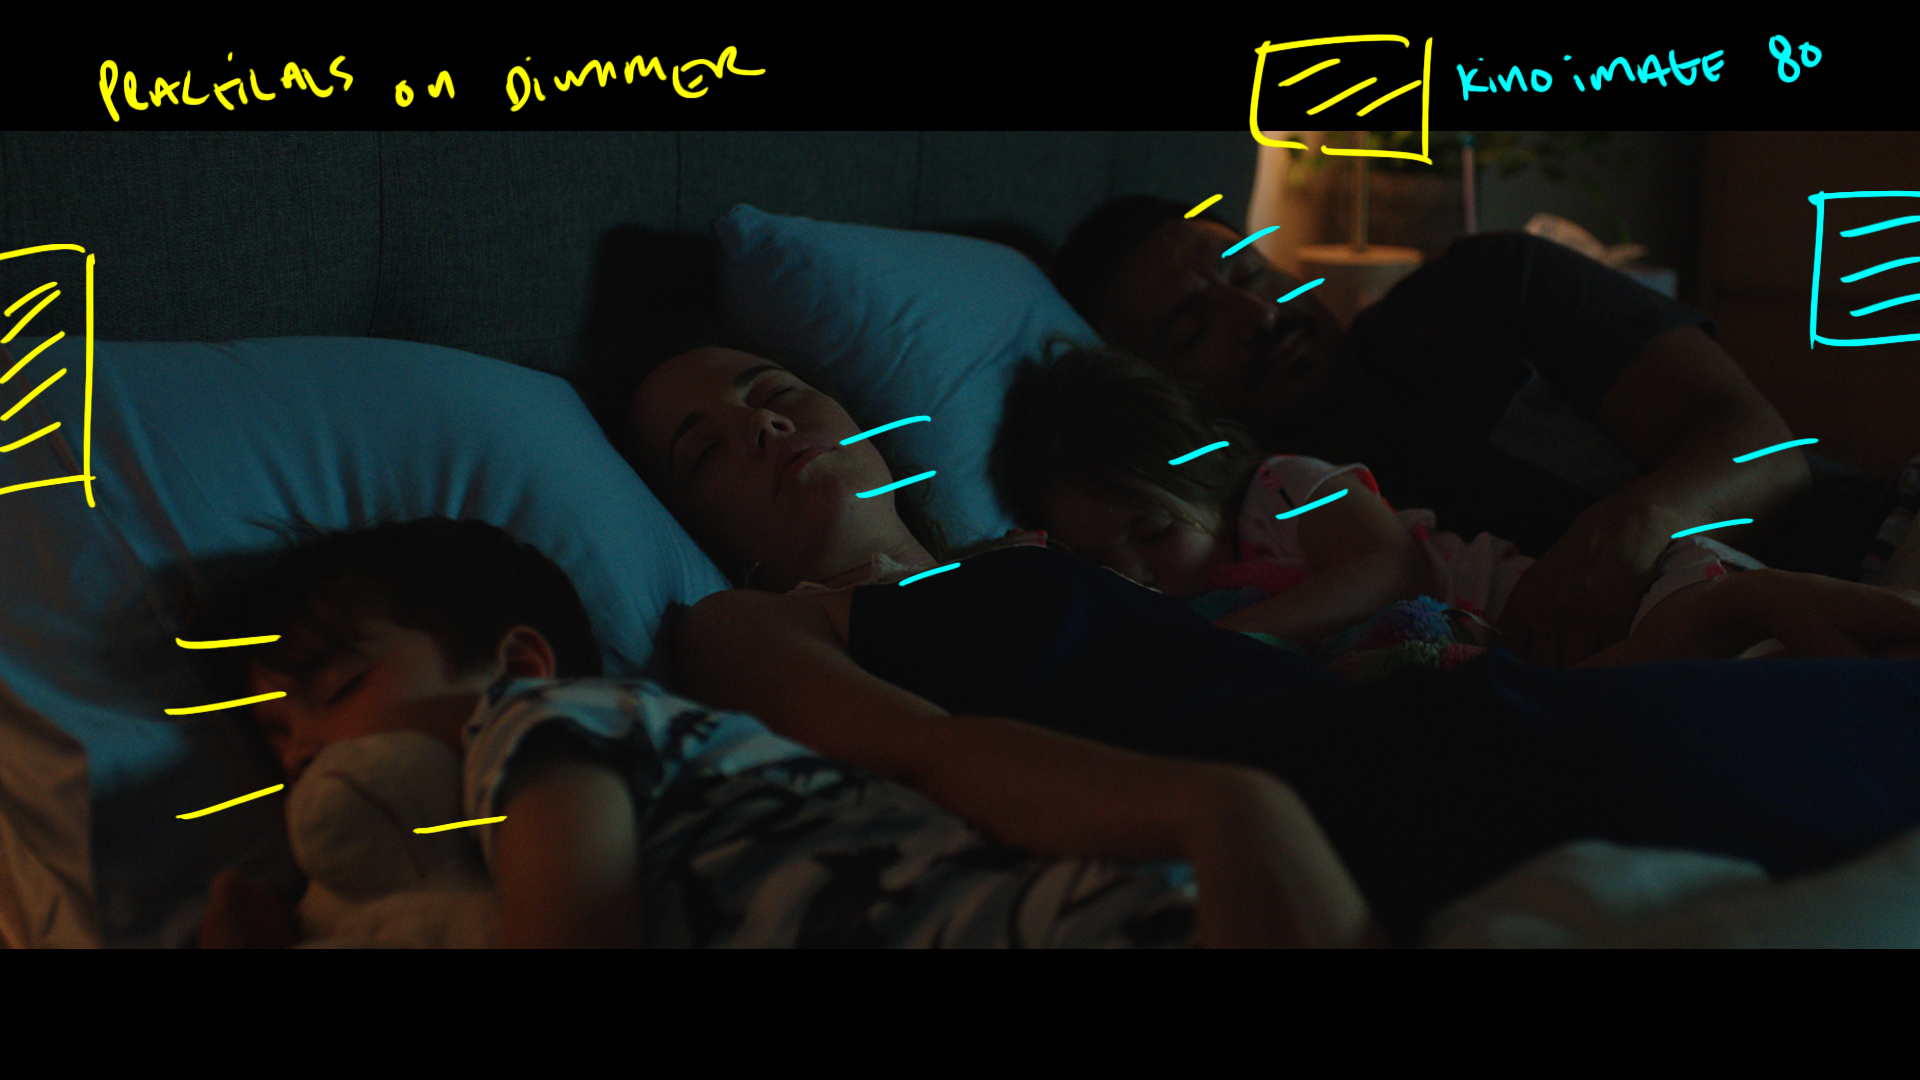
This shot was just a tighter version of the previous one. We track forward as the camera finds the faces of the sleeping family.
The Lighting
The lighting remained the same but we slightly repositioned the talent so the light was hitting their faces a bit more so that they were then reading better to camera. We added a bit of haze to knock down the contrast and that was it.
The Result
Shot #3 - The Naked Wide

The Shot
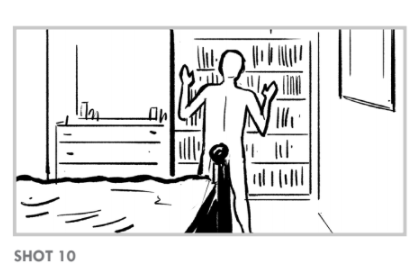
We needed to see a naked guy stumbling towards the bathroom door. We needed to use an item to cover up enough of him to get it through the censors but still reveal enough that the audience gets the idea that he is not wearing any clothes.
The Lighting
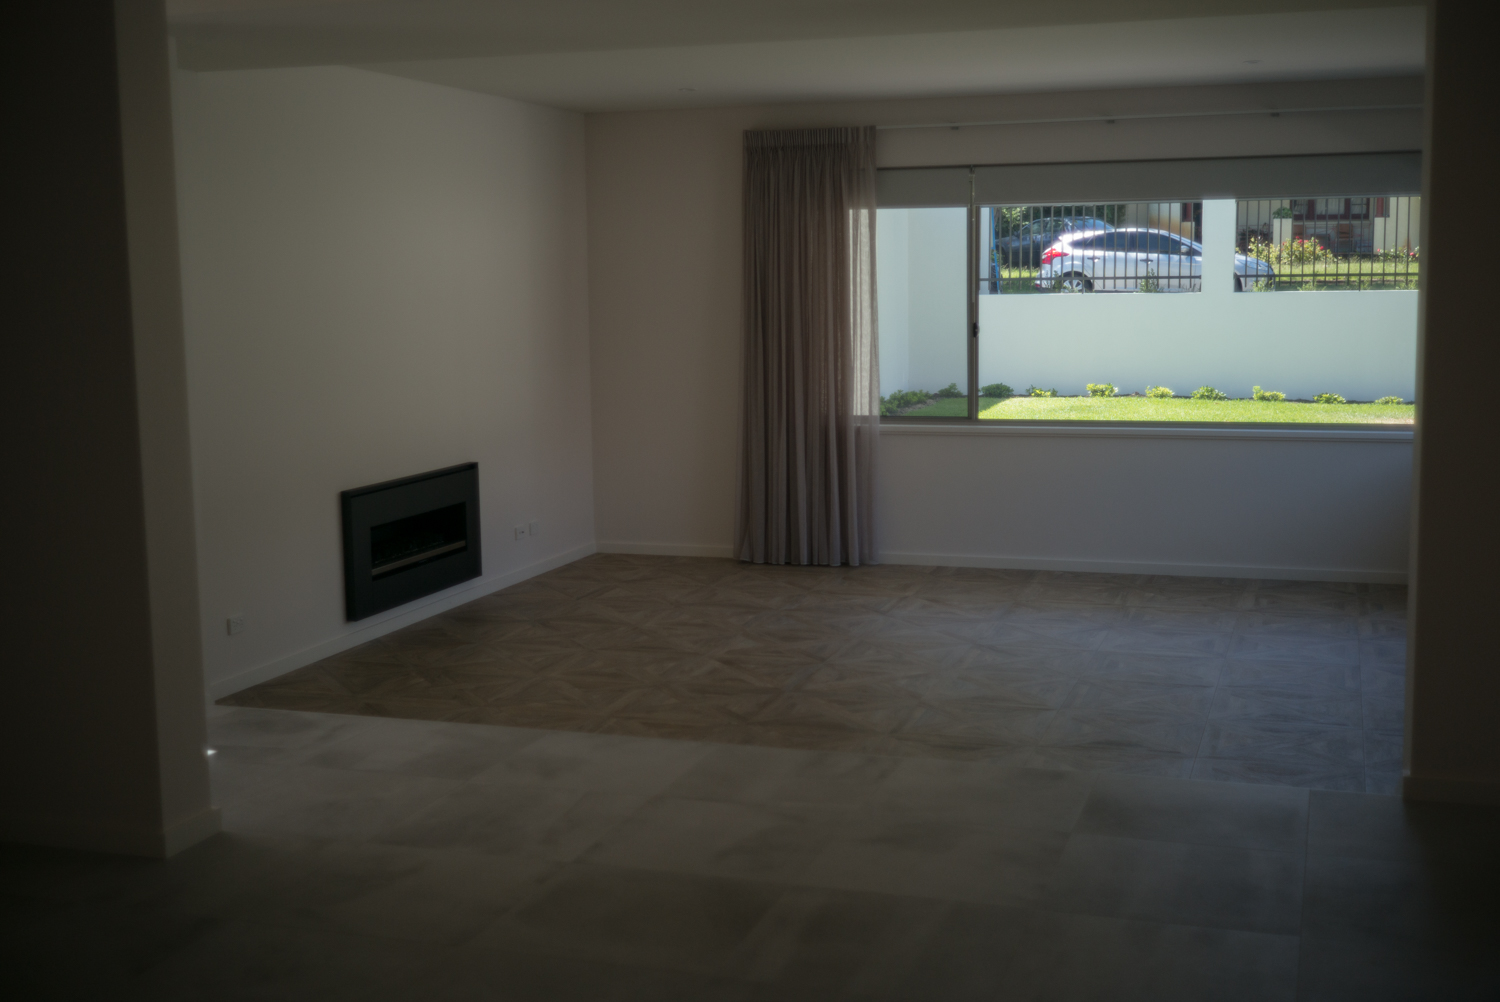
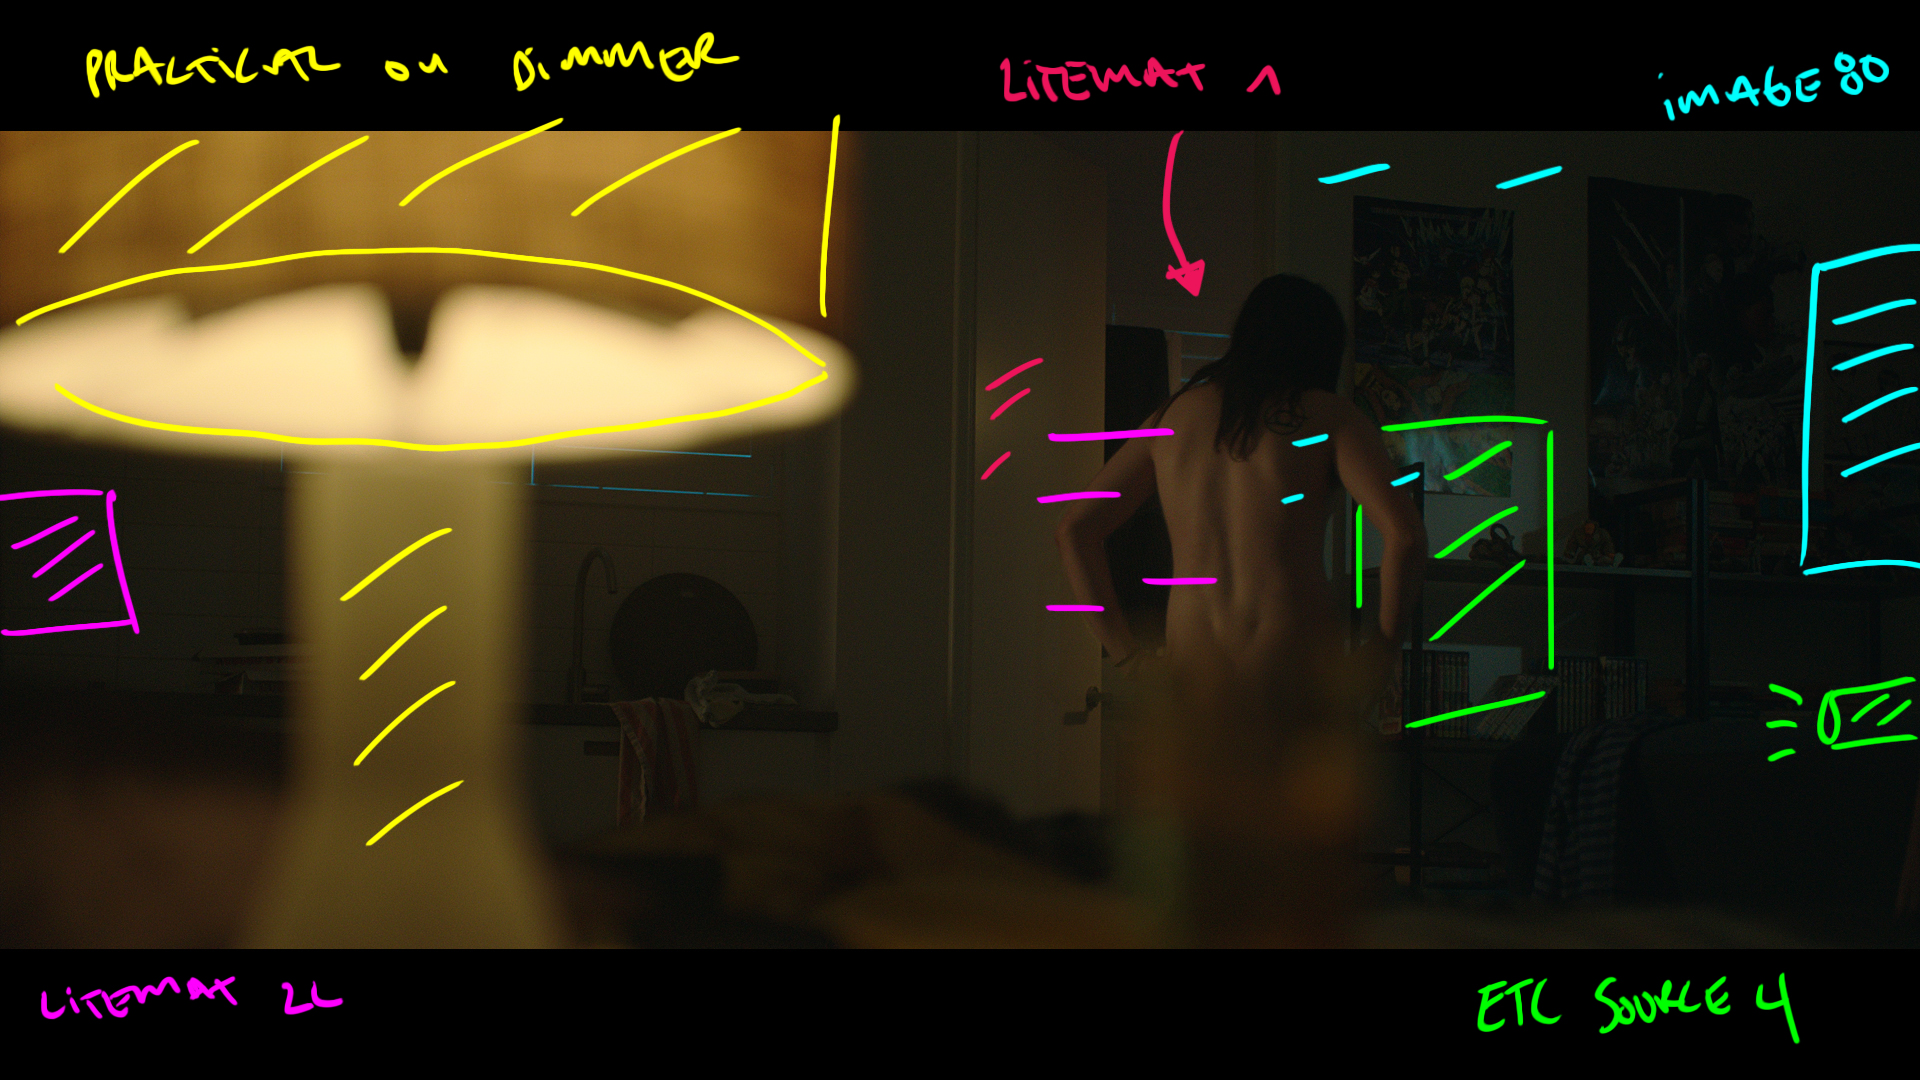
This was the most extensive lighting set up of the shoot as we had a larger space to give the night time feel to.
Outside camera right was a Kino Image 80 combined with an ETC Source 4 for the hard and soft moonlight effect. Inside the practical in the foreground does the heavy lifting combined with litemats camera left and inside the bathroom just out of frame.
The Result
Shot # 4 - The Tracking Shot

The Shot
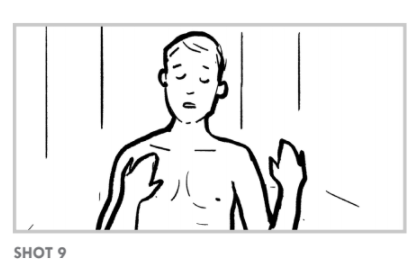
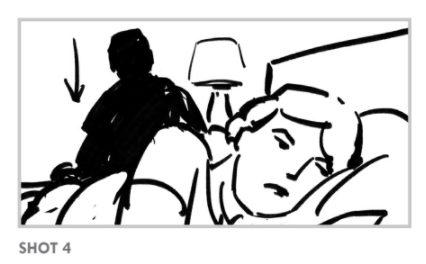
The sleepwalking man stumbles forward as he finds his way to the bathroom.
The Lighting
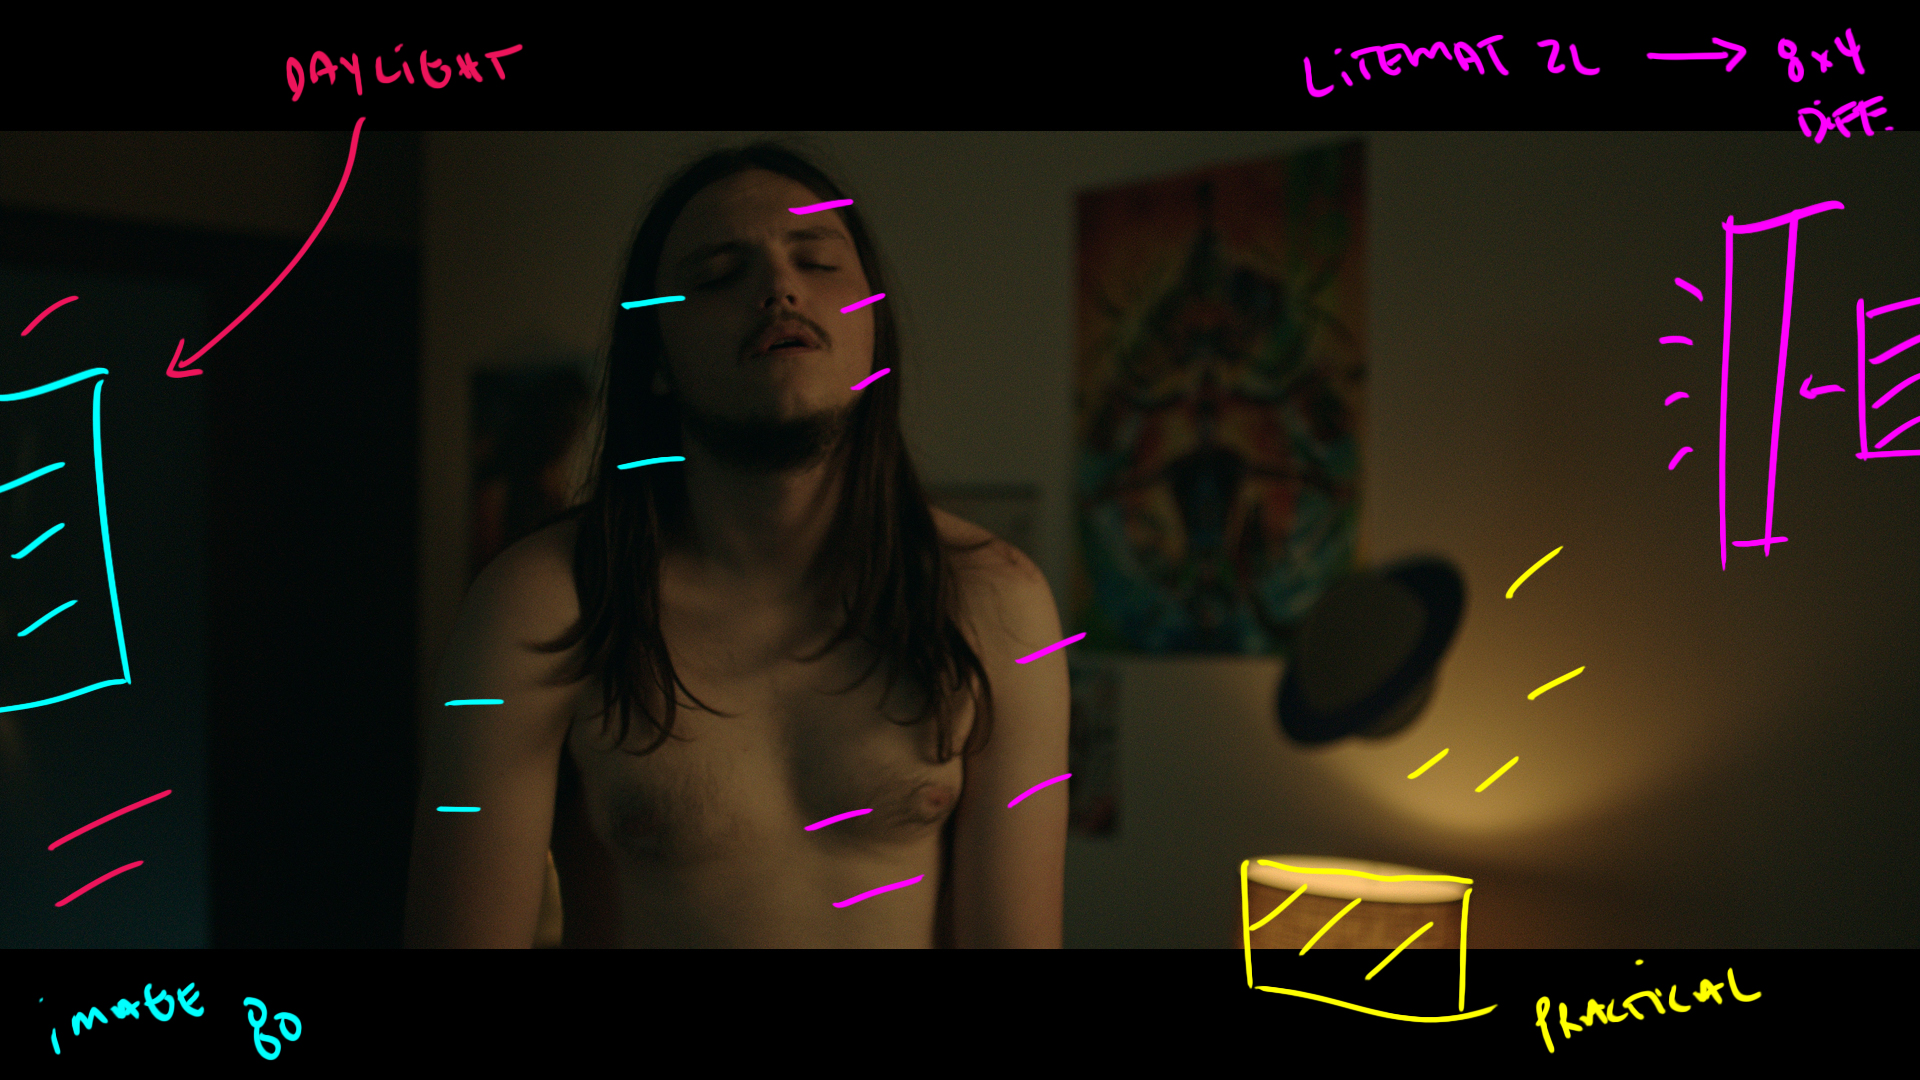
We needed to read his eyes closed and we had set up the motivation from a hallway light in the wide. We used the same set up as the previous shot and added some various diffusion to the Litemat to control for exposure changes during the walk and that was it.
The Result
Shot #5 - The Inverted Couple

The Shot
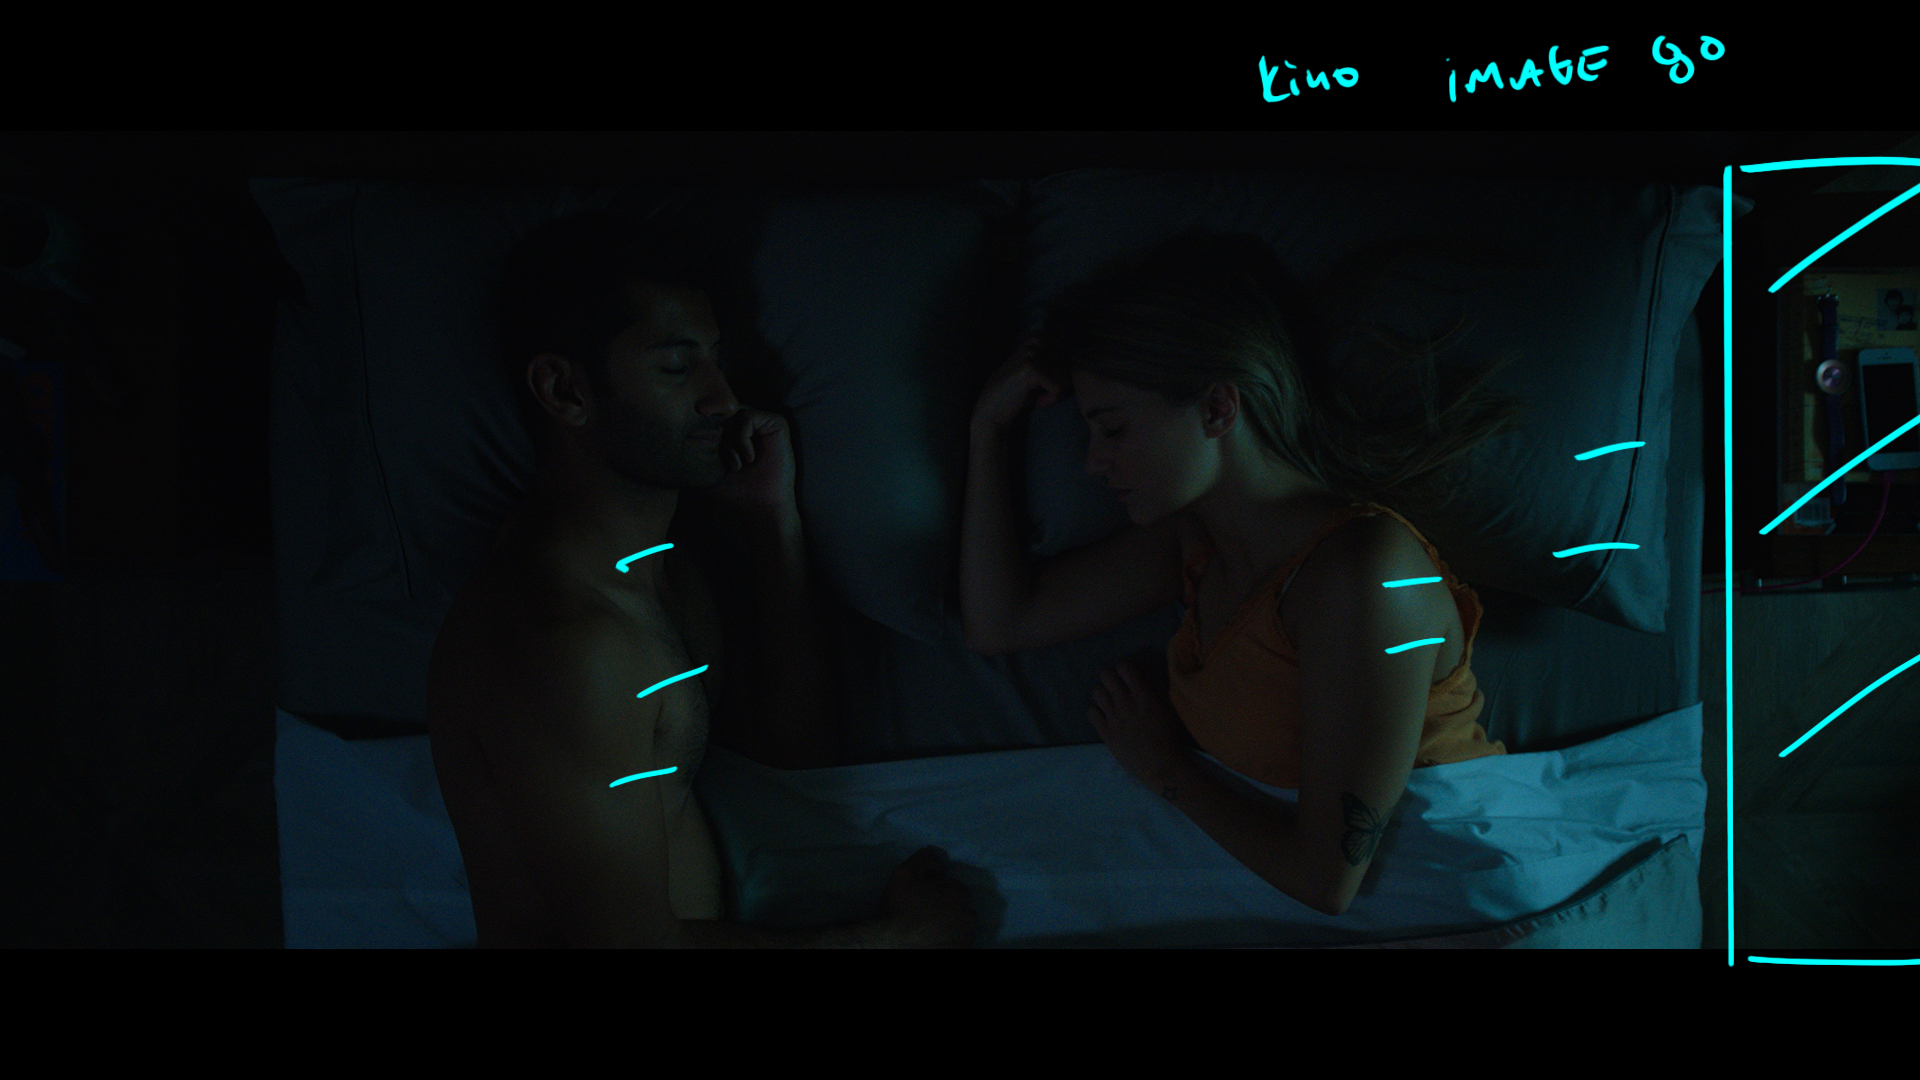
This shot was in the same room as shot #1 & #2 so to give it a different feel we used an inverted camera to look straight down on the couple.
The Lighting
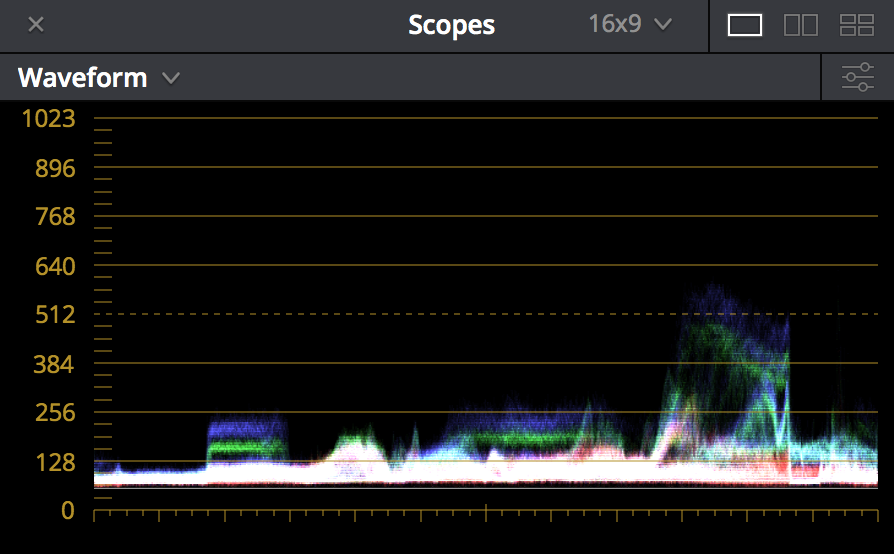
For lighting we had a very basic set up with the Kino Image 80 parked outside the window camera right. It was focused on the ground camera right so we got a skip bounce effect. Inside there is a bit of haze to help carry the light and that was all.
The Result
Shot #7 - Woman in Bed

The Shot
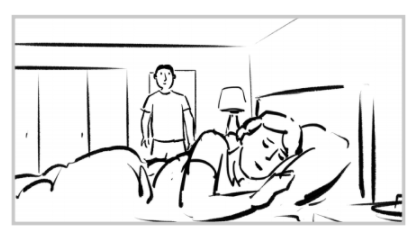
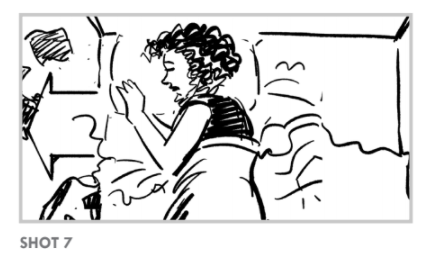
We see a woman sleeping in bed and as her husband awkwardly sits down her eyes pop open annoyed at the disturbance.
The Lighting
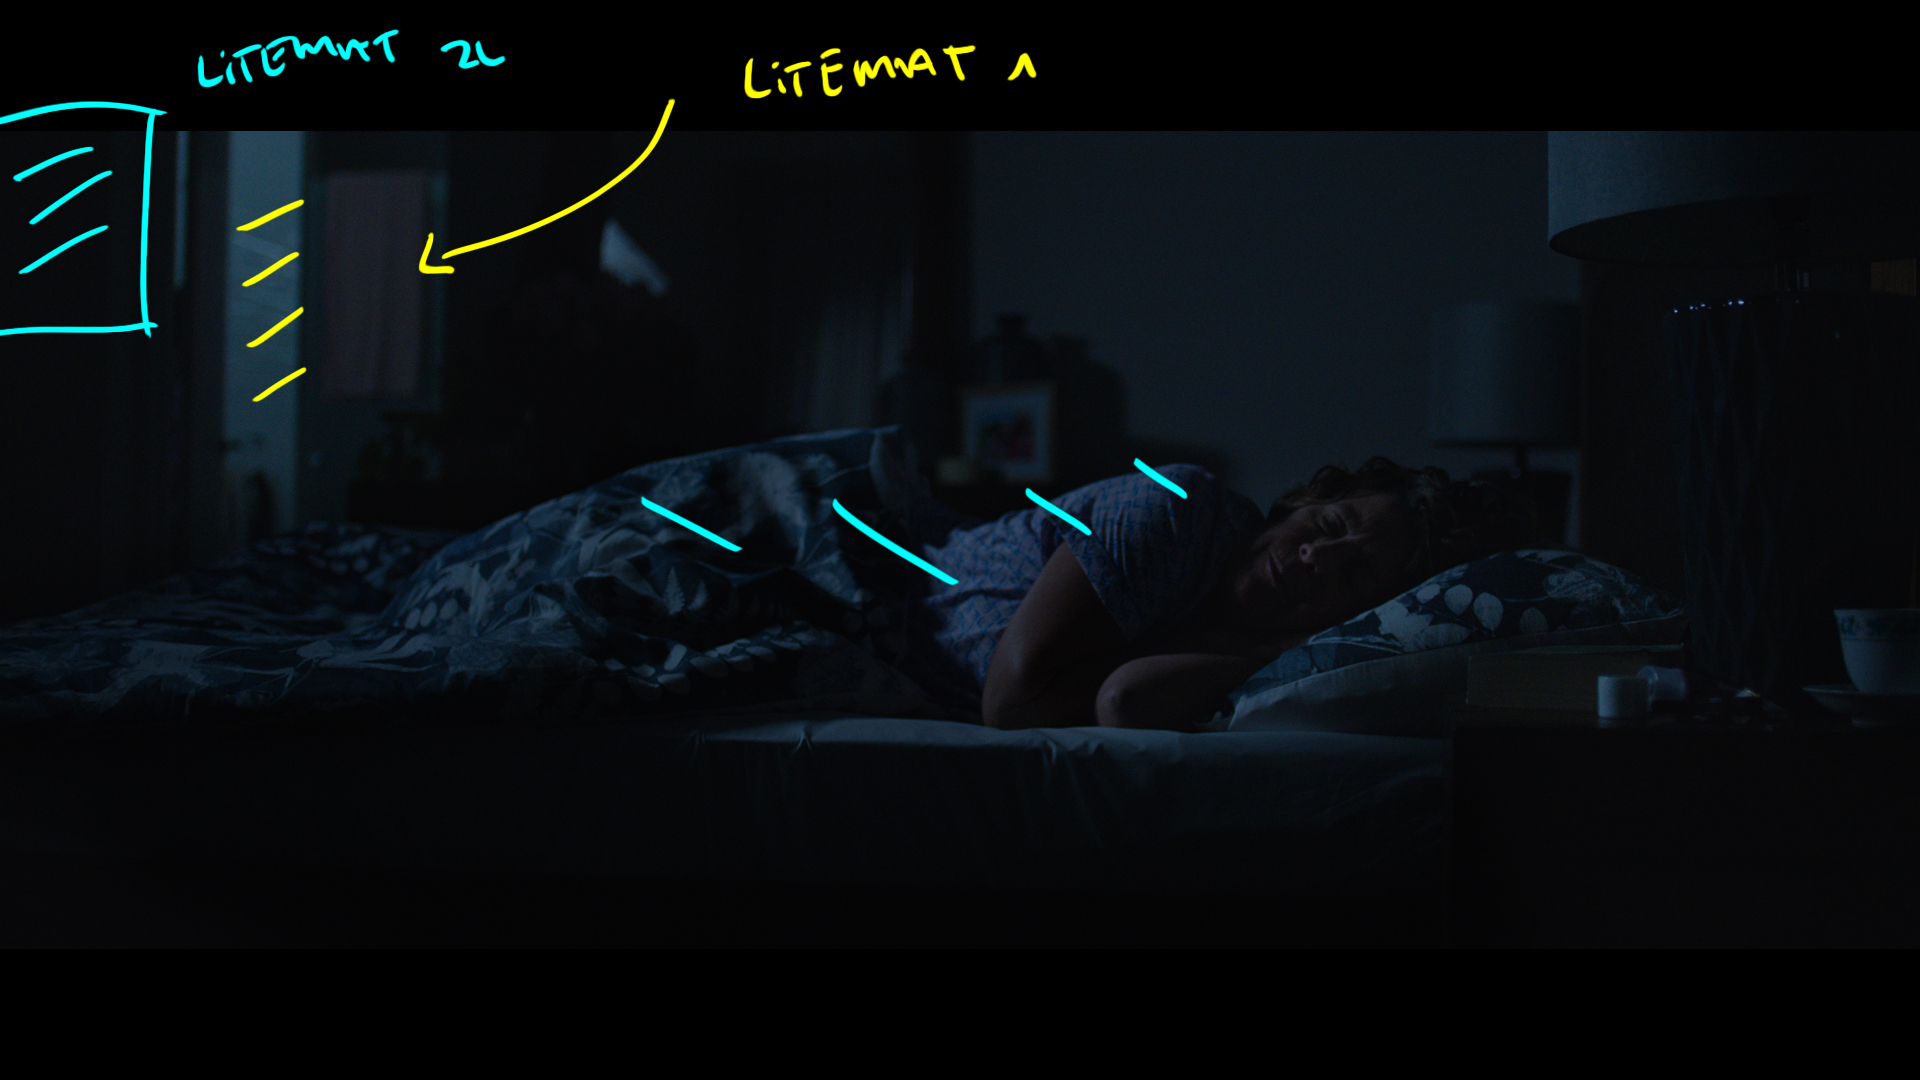
We originally had a much different look for this scene but by the time we got to this set up on the day we were sick of the "practical on" look.
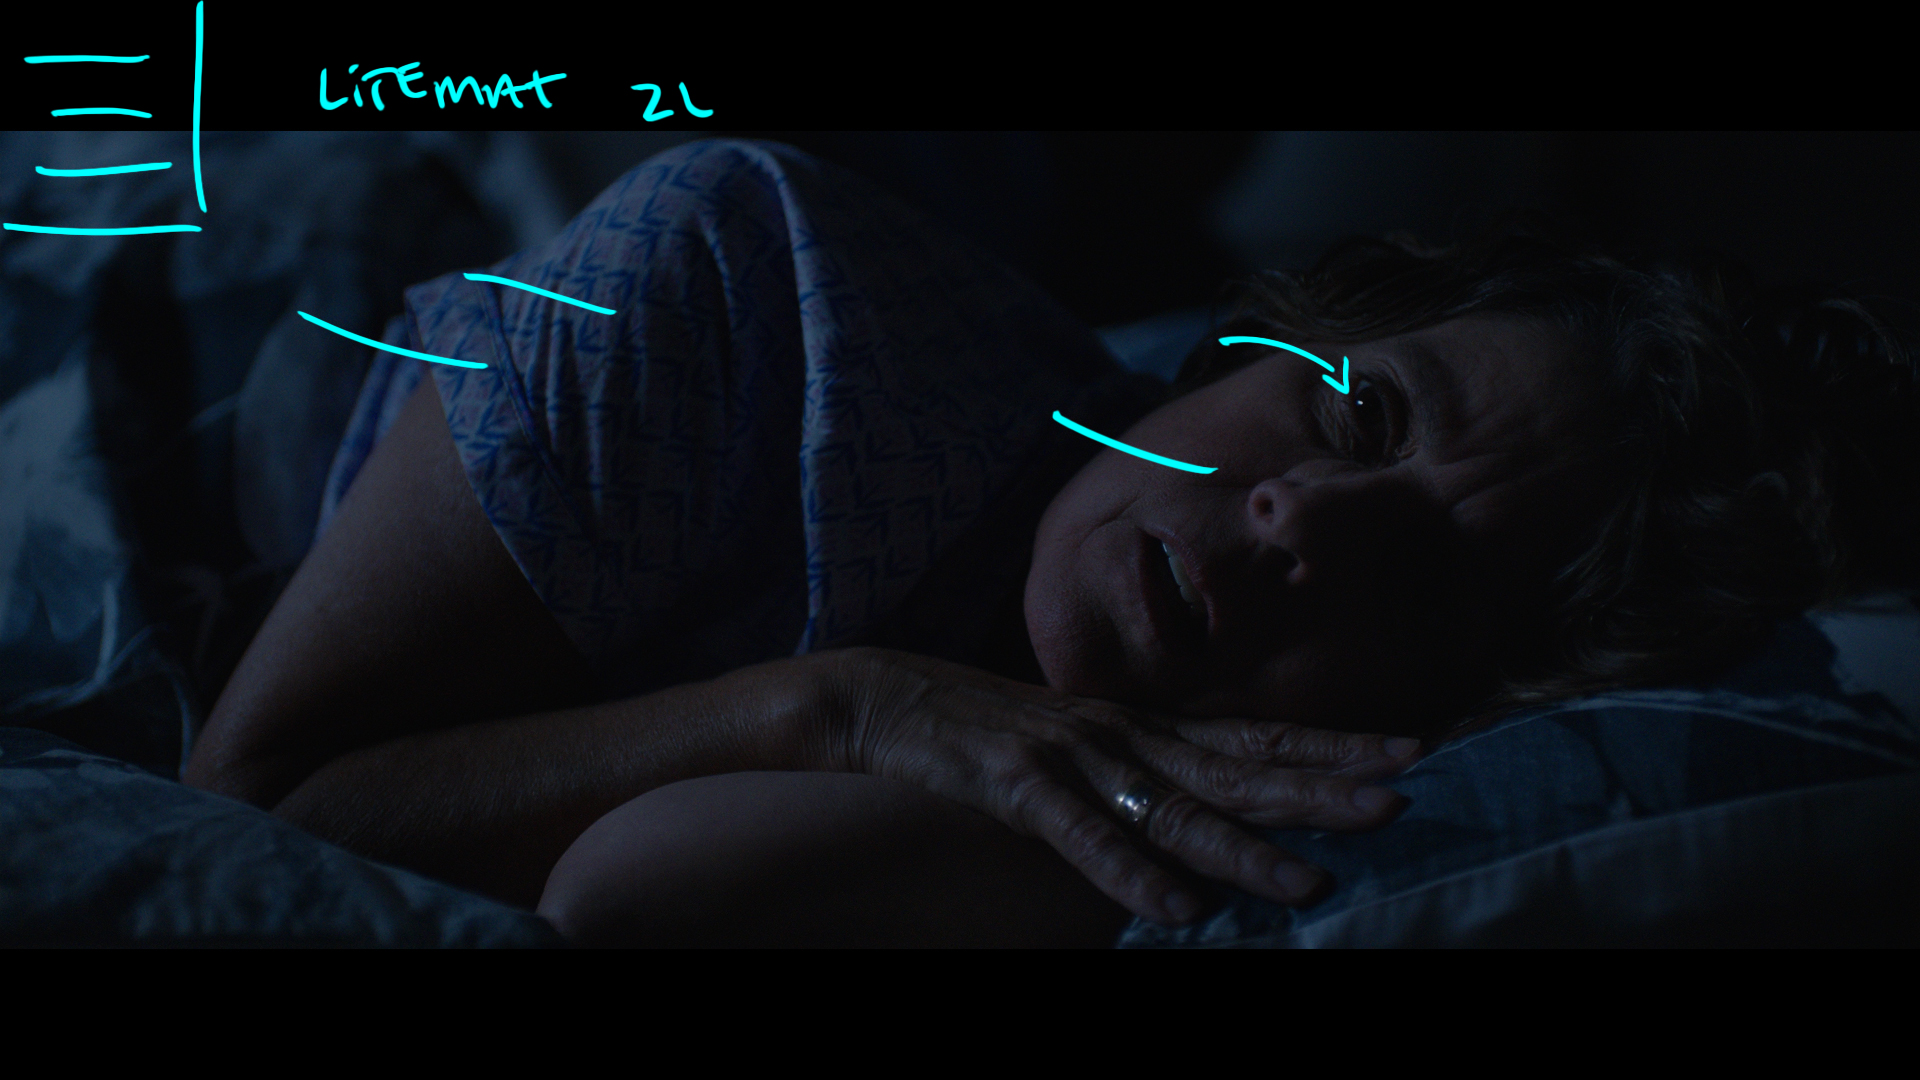
We left the practicals off and played it straight moonlight with a Litemat for the Key and a smaller one in the bathroom for the BG moonlight.
The Result
Shot #8 - Down the Line

The Shot
A Close Up of the eye opening reaction from the previous shot.
The Lighting
We used the exact same set up but changed the shoulder angle of the talent so her eyes caught a nice catch light and helped to make the scene pop a bit more.
The Result
Shot #9 - Same Room, Different Look

The Shot
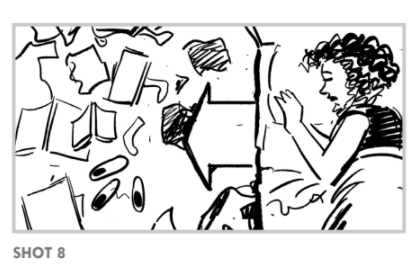
A tracking shot overhead as we reveal the floor completely covered in dirty clothes.
The Lighting
This was in the same room as the shot before and using the same tools we simply rotated the bed orientation by 90 degrees so that the light was coming from the foot of the bed. We played with the angle and placement of the sheets to make sure some level was reaching our talent and that was all.
The Result
Shot #10 - Switch it Up

The Shot
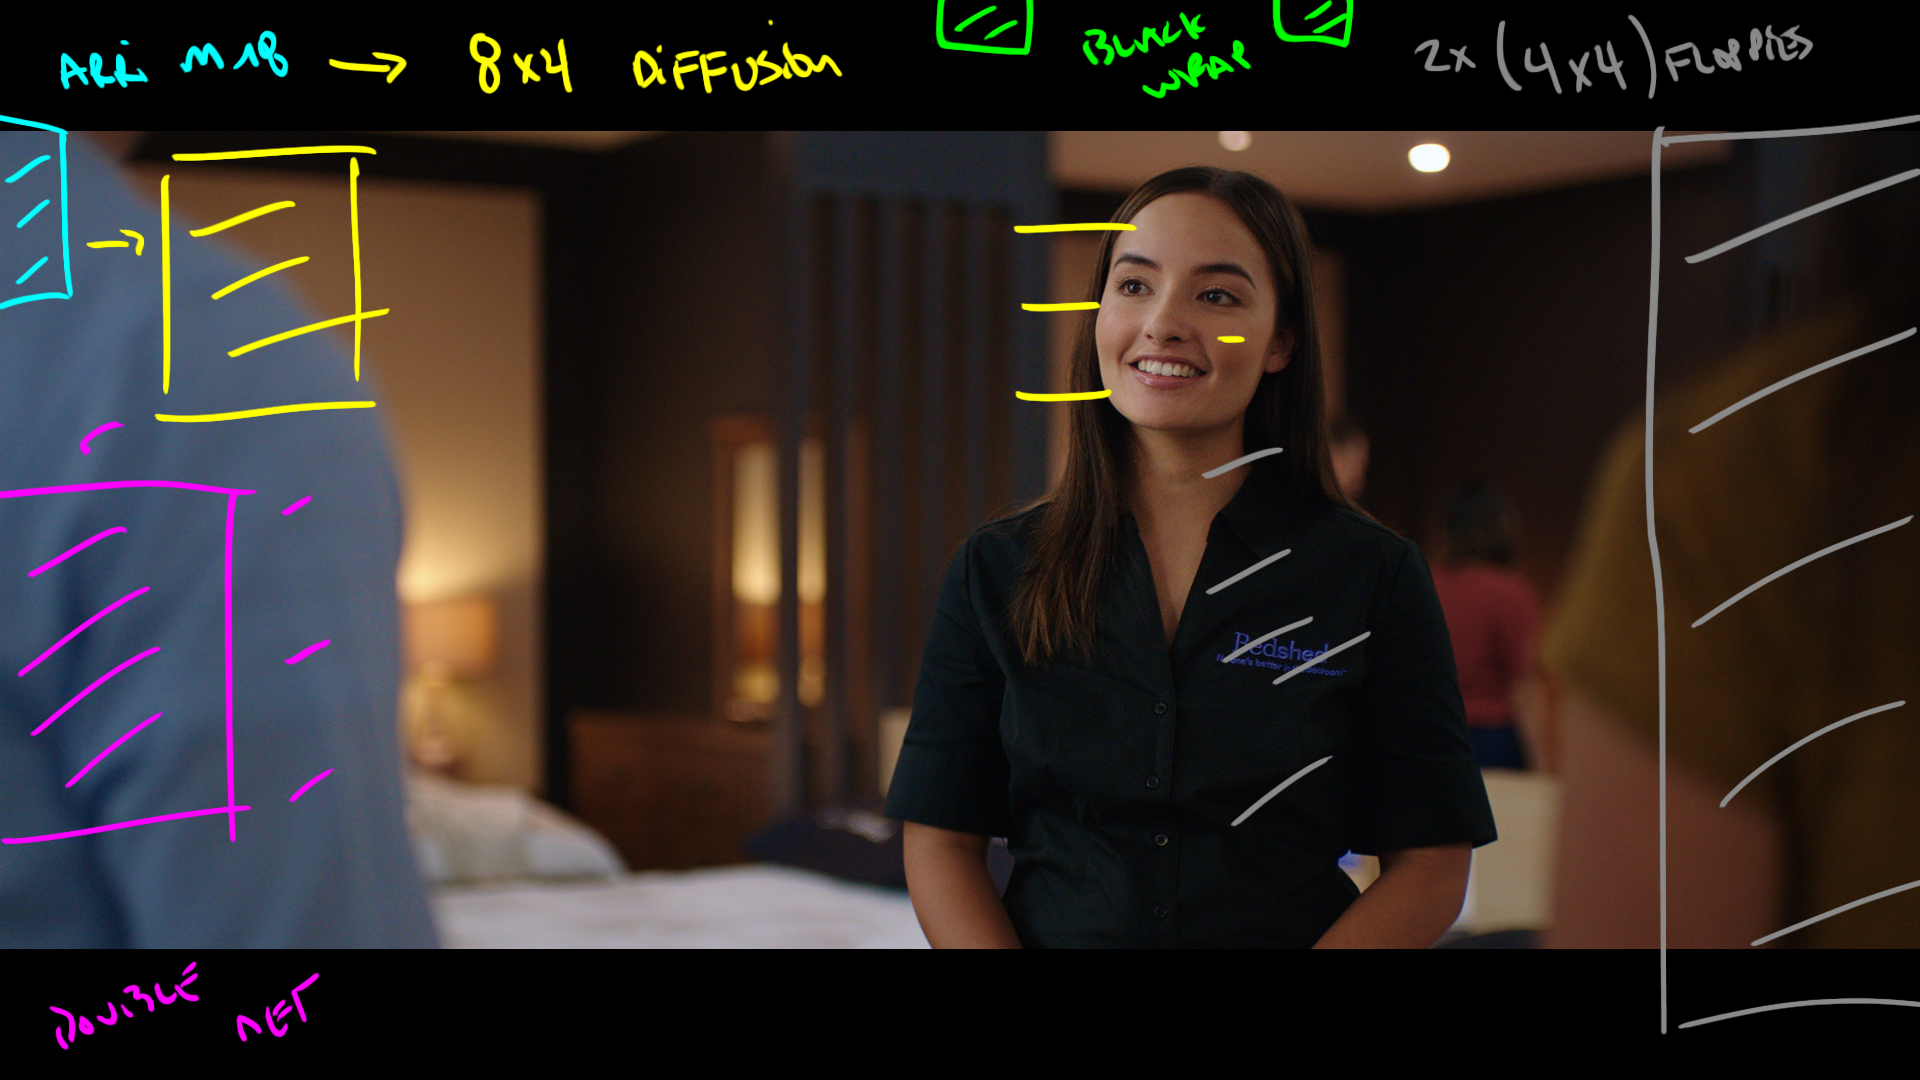
Our pack shot of the friendly staff inside the store and our only non-nighttime shot for the ad.
The Lighting
We had to balance to the existing shot lights and then started to shape things by black wrapping or flagging any existing lights in the foreground.
We used an M18 through a chimera then through 2 4x4 frames of diffusion oriented side by side to create a single 4x8 wall of light. The large diffusion source created the nice soft shadows on the left hand side of the talent then we used 2 4x4 floppies to take light away from camera right.
We finished up by placing the BG practicals on dimmers and dimmed them to taste.
The Result
Behind the Scenes
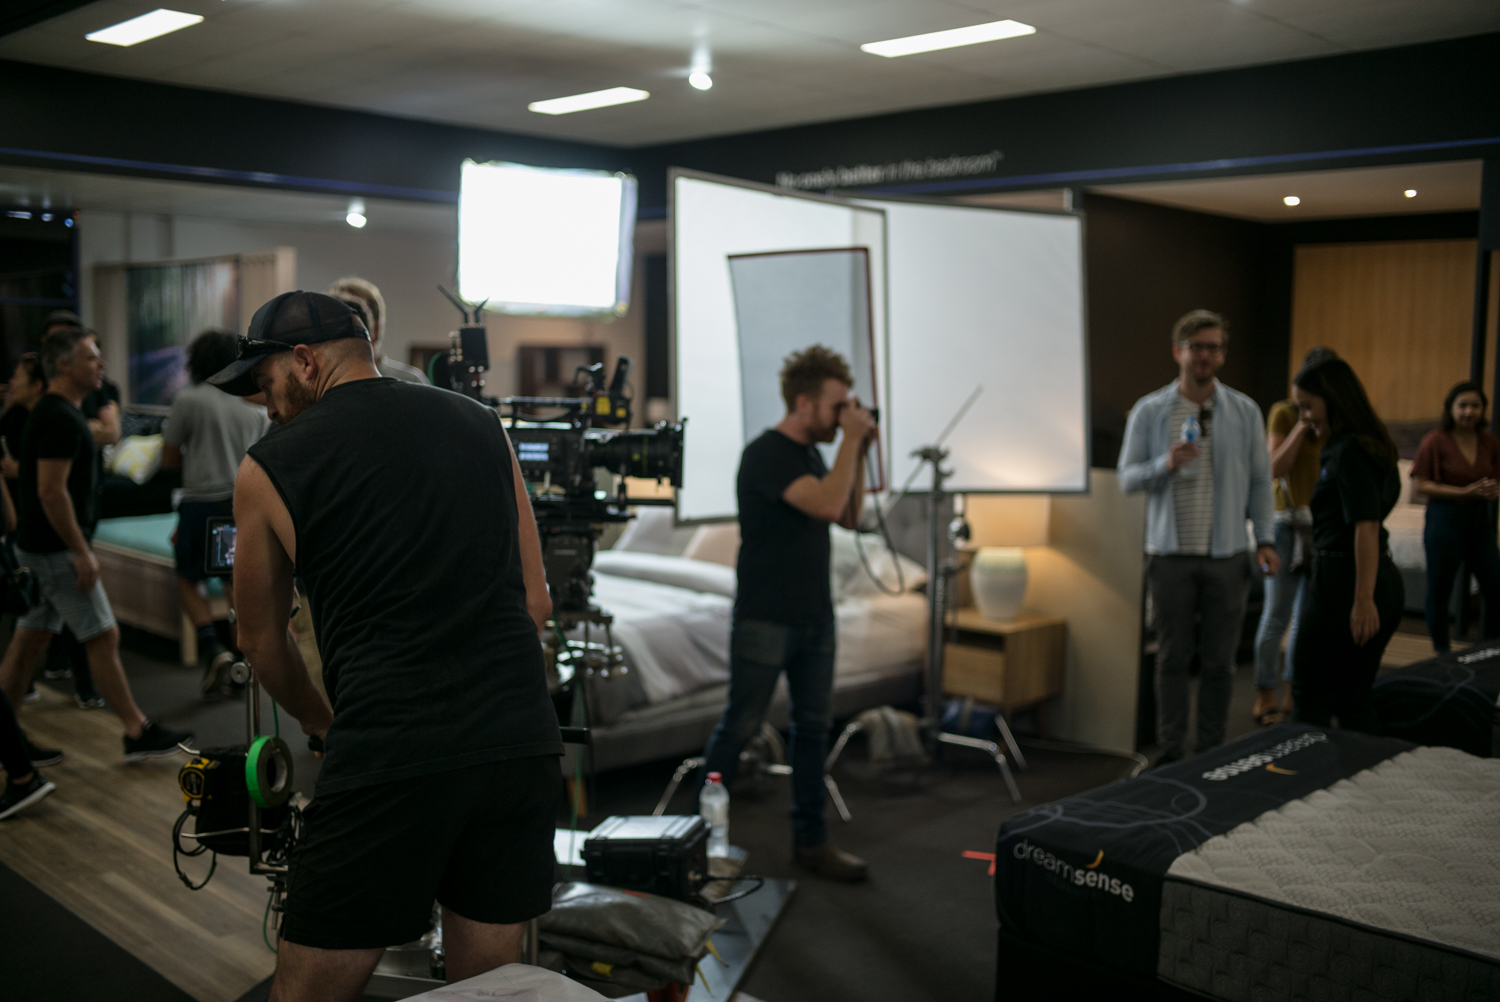
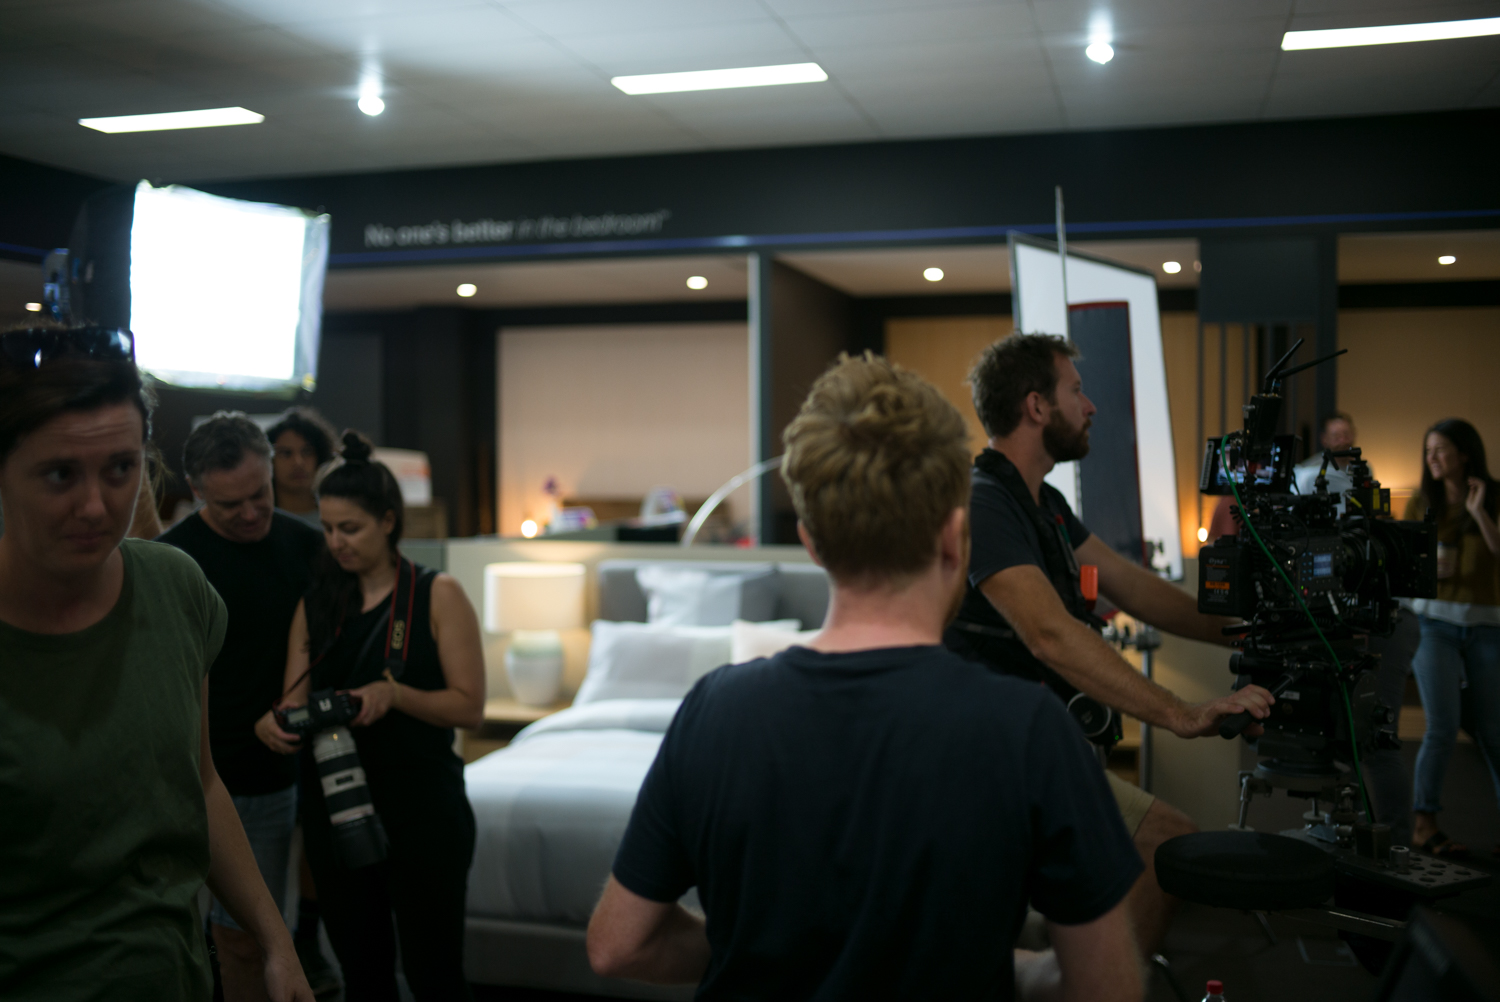


I would never be a DP but its so damn cool to see the process of lighting. Love the behind the scenes pic on these podcasts.
Hi Patrick,
Great article as always. One basic query though
In shot #7, how many stops under the opening do you go for the key. Or do you expose at key and bring the whole thing down in post
Another great one Patrick! would be nice to have some more details on the gels you used for the moon light and the desaturation process. Thanks for all the info keep up these amazing breakdowns!