Alright good people of the podcast world today we are breaking down a commercial that had us pressed for time and resources.
This spot is for a home builder and we had lots to get through without a ton of support. We used shallow depth of field and some interesting angles to help get us out of a few less than ideal situations.
Enjoy the behind the scenes look!
Patreon Podcast: The Shape of No Fill
Over on the Patreon podcast this week we are looking at one of the best looking films I have come across in the last year.
The Shape of Water is gorgeous with some very challenging scenarios and environments. We take a deep dive in to the approach for night lighting throughout the movie and discuss how working on a set has extreme advantages.
You can find this week's Patreon content by clicking the link below:
If you are a fan of the podcast and want more video content the patreon group is the place to be. Each and every week I release an exclusive podcast, video, or live stream just for the Patreon members.
Patreon members also get access to the Private Facebook community for the show. The podcast couldn't exist without the Patreon support and I do my best to take care of the supporters.
Our Sponsor:
Shot Lister are generously giving away 50 free downloads to the Wandering DP Podcast community. All you have to do to claim your copy is email wanderingdp@shotlister.com. Get in before they are all gone!
The Cooke Look - Gear List
All the gear for this was standard issue for a TVC. The only added elements were the Ronin 2 and the Master Wheels which performed flawlessly.
Camera Gear:
Check out the gear I use on all of my commercial shoots by clicking the link below:
Wandering DP Commercial Cinematography Gear
The only kit not listed on that page is the set of 2x Cooke Anamorphics.
The Spot - A Little Something
Set Up #1 - Doughnuts
The Shots
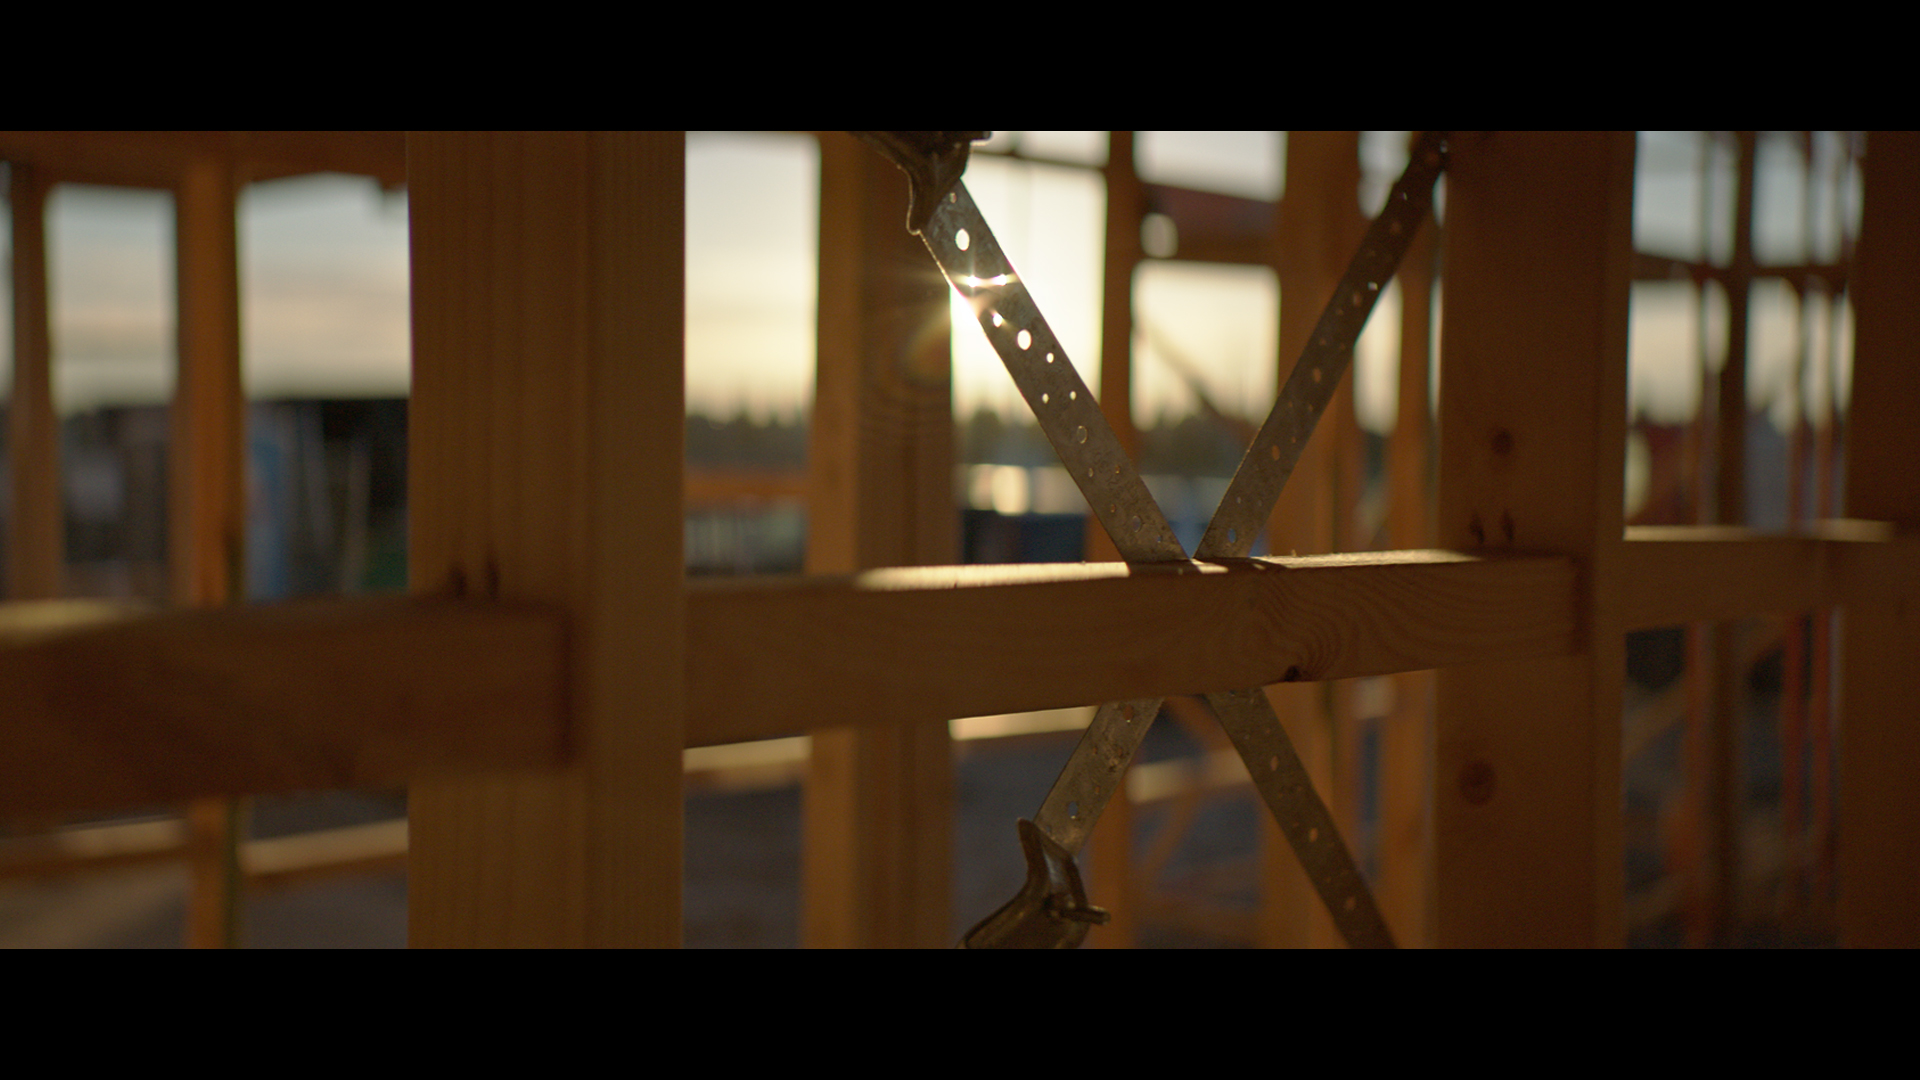
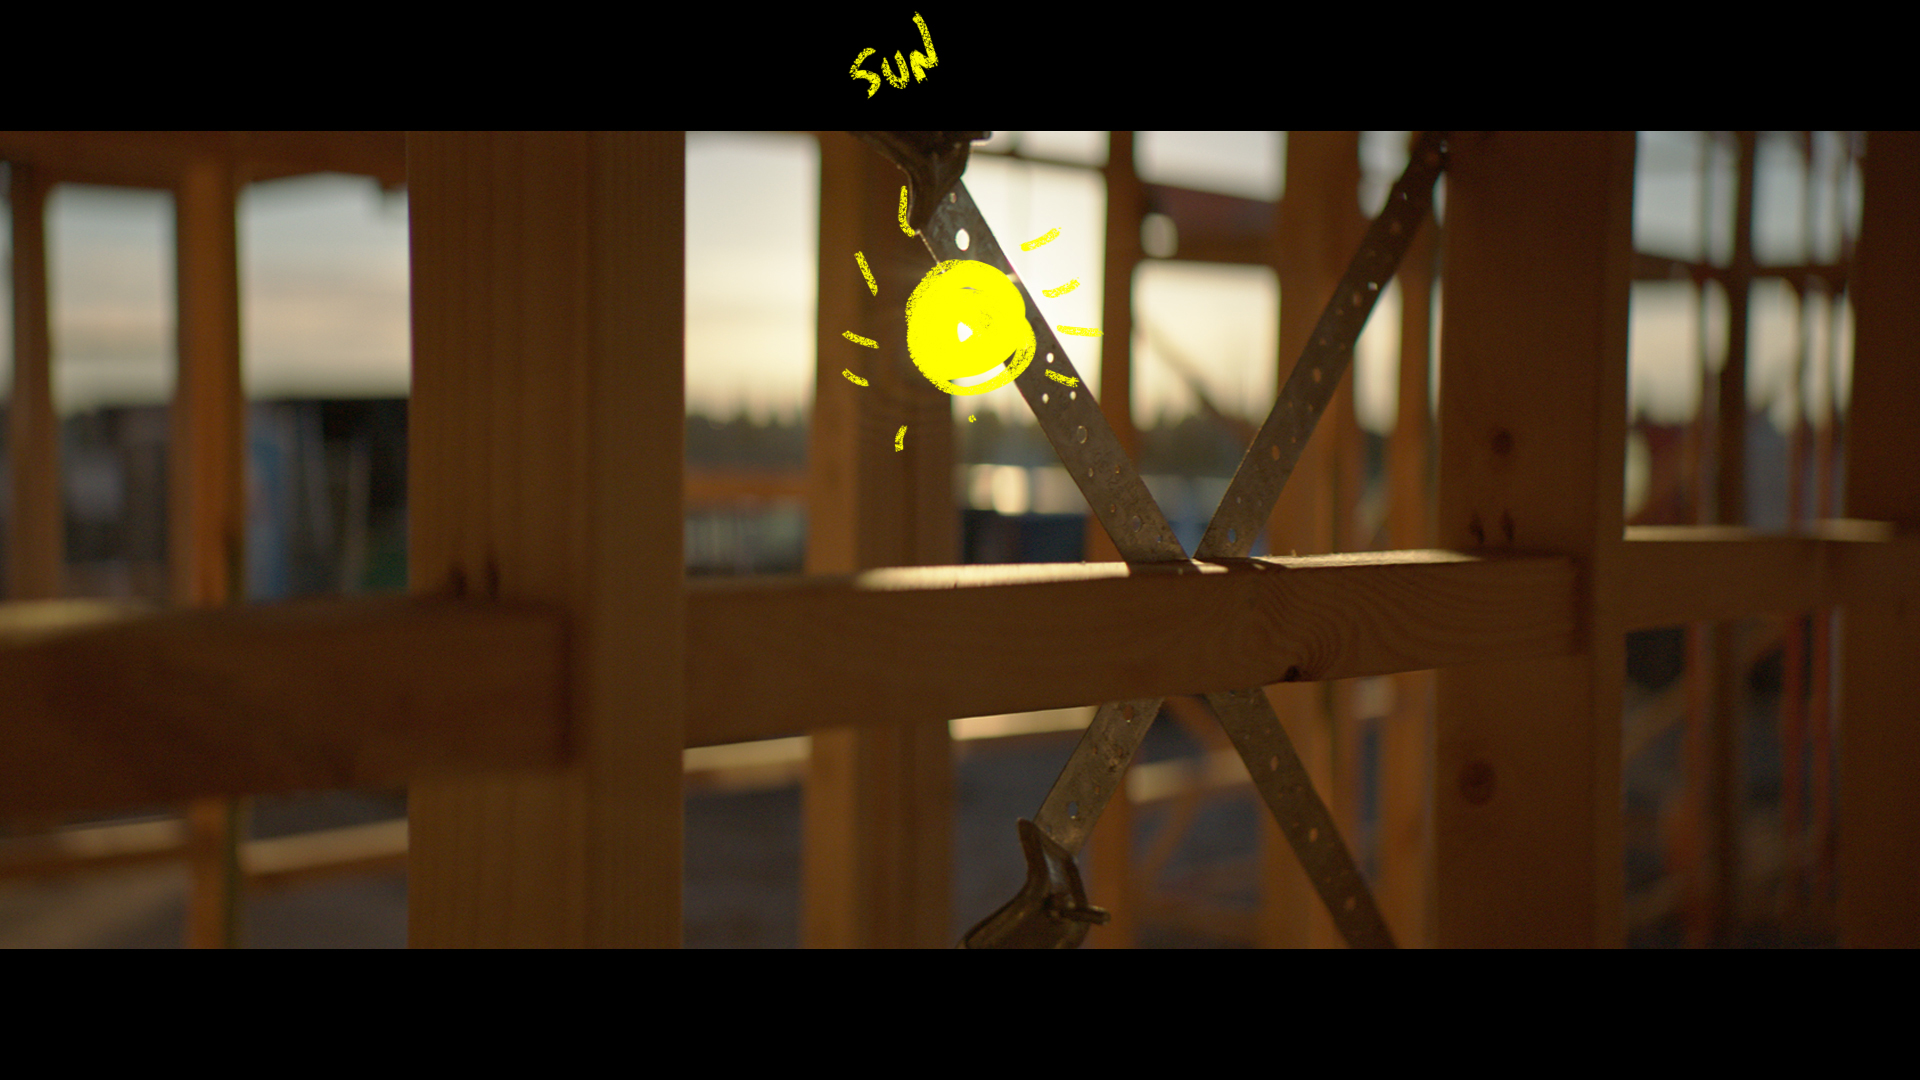
At each location we needed an intro detail shot to help change scenes. We set up first thing on day 1 with this shot to help sell the environment of the building site.
The Lighting
This was all natural. Backlight and a little bounce from the operator's t-shirt.
The Result
Set Up #2 - The Walk Through
The Shots
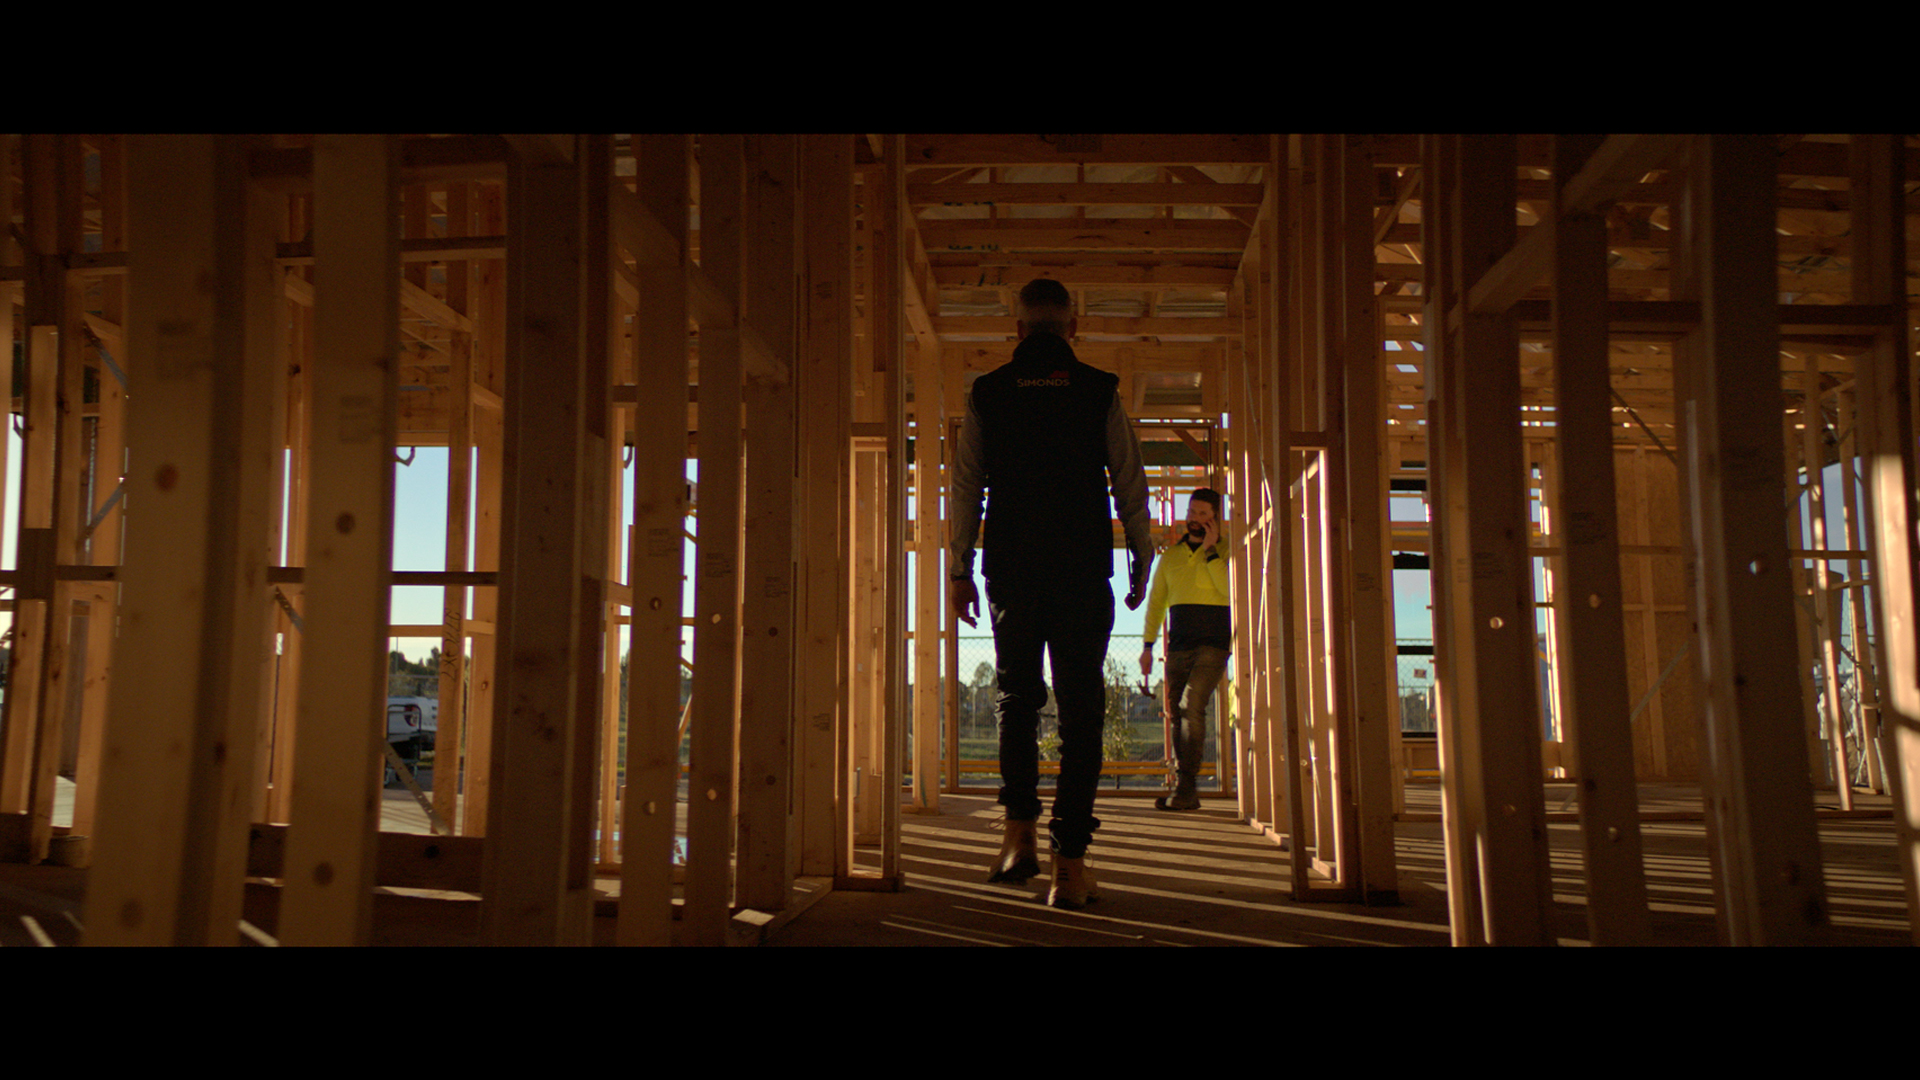
The talent walking inside the nearly constructed home.
The Lighting
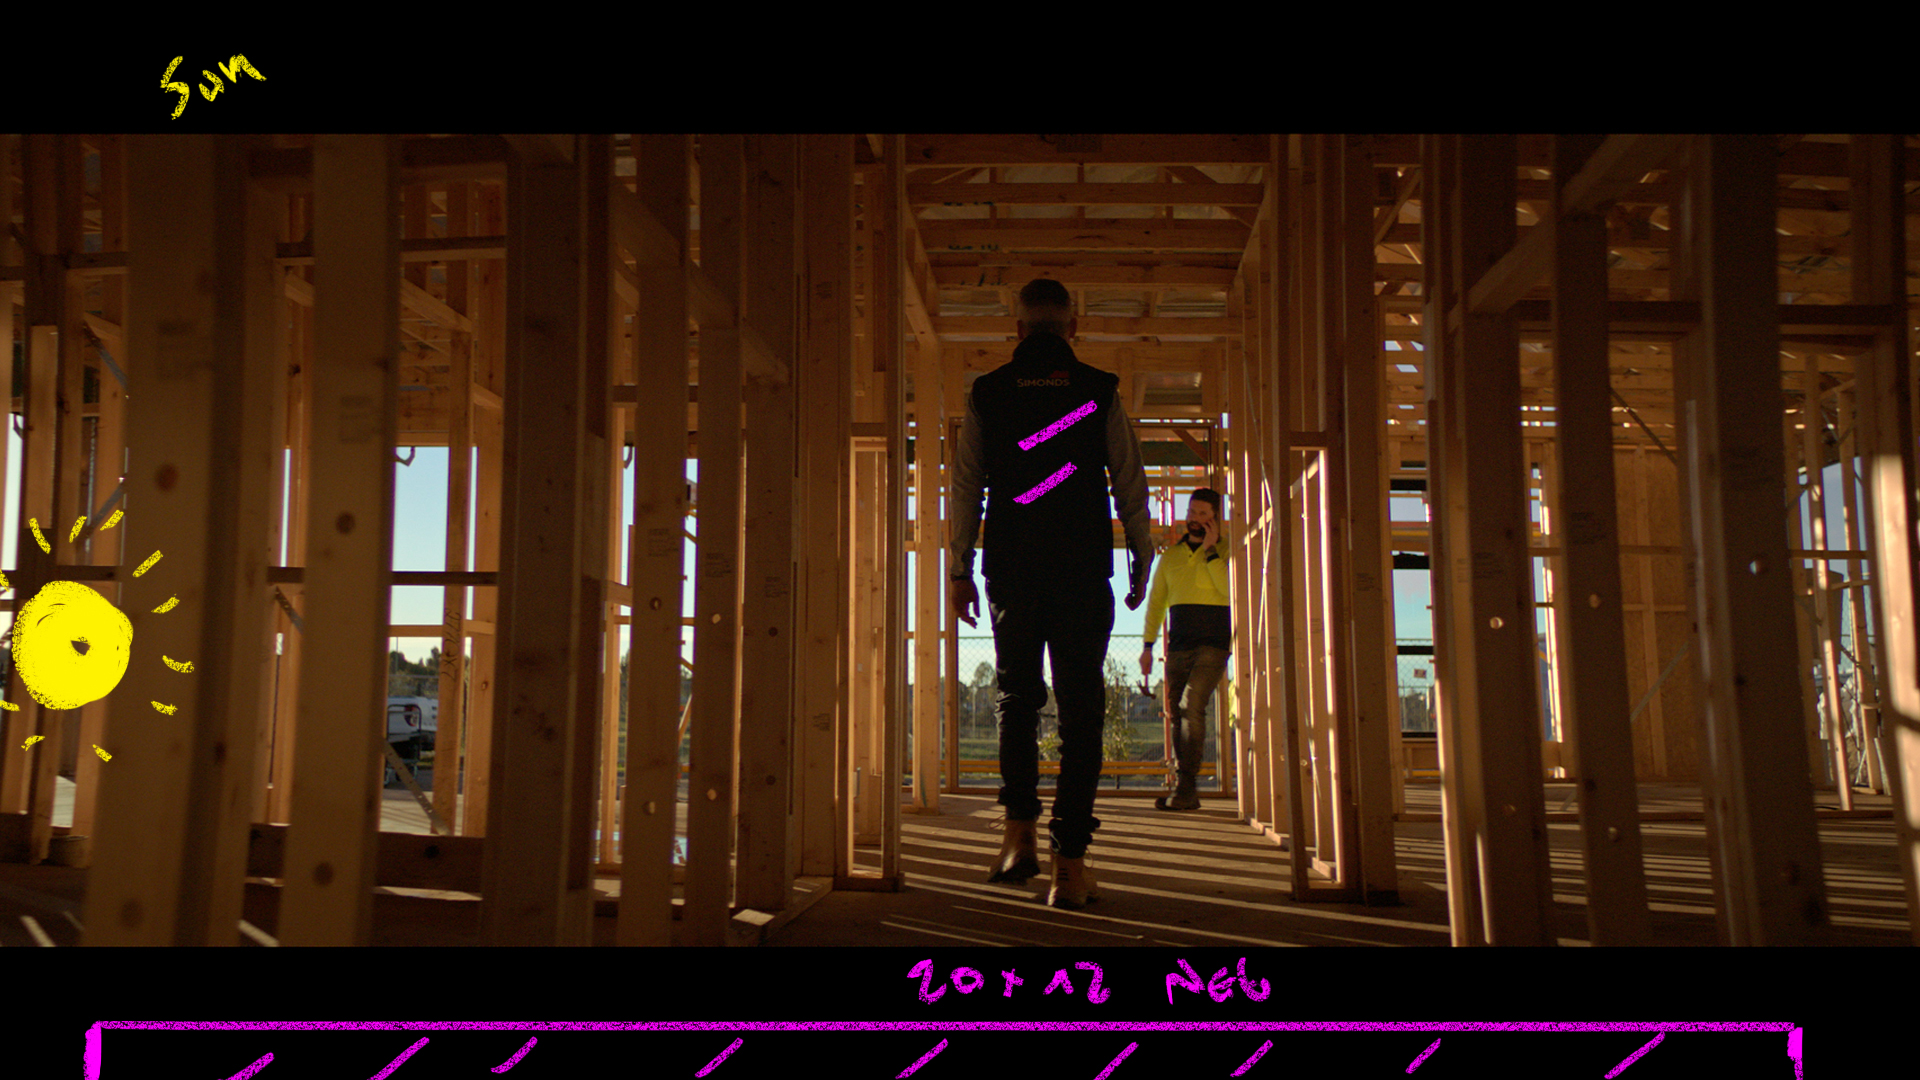
Again with the time we had in the location we used the backlight from the sun in combination with some large neg to help get the contrast to where it needed to be. A single 20x20 Black did the trick.
The Result
The Storyboard
Set Up #3 - The Detail
The Shot
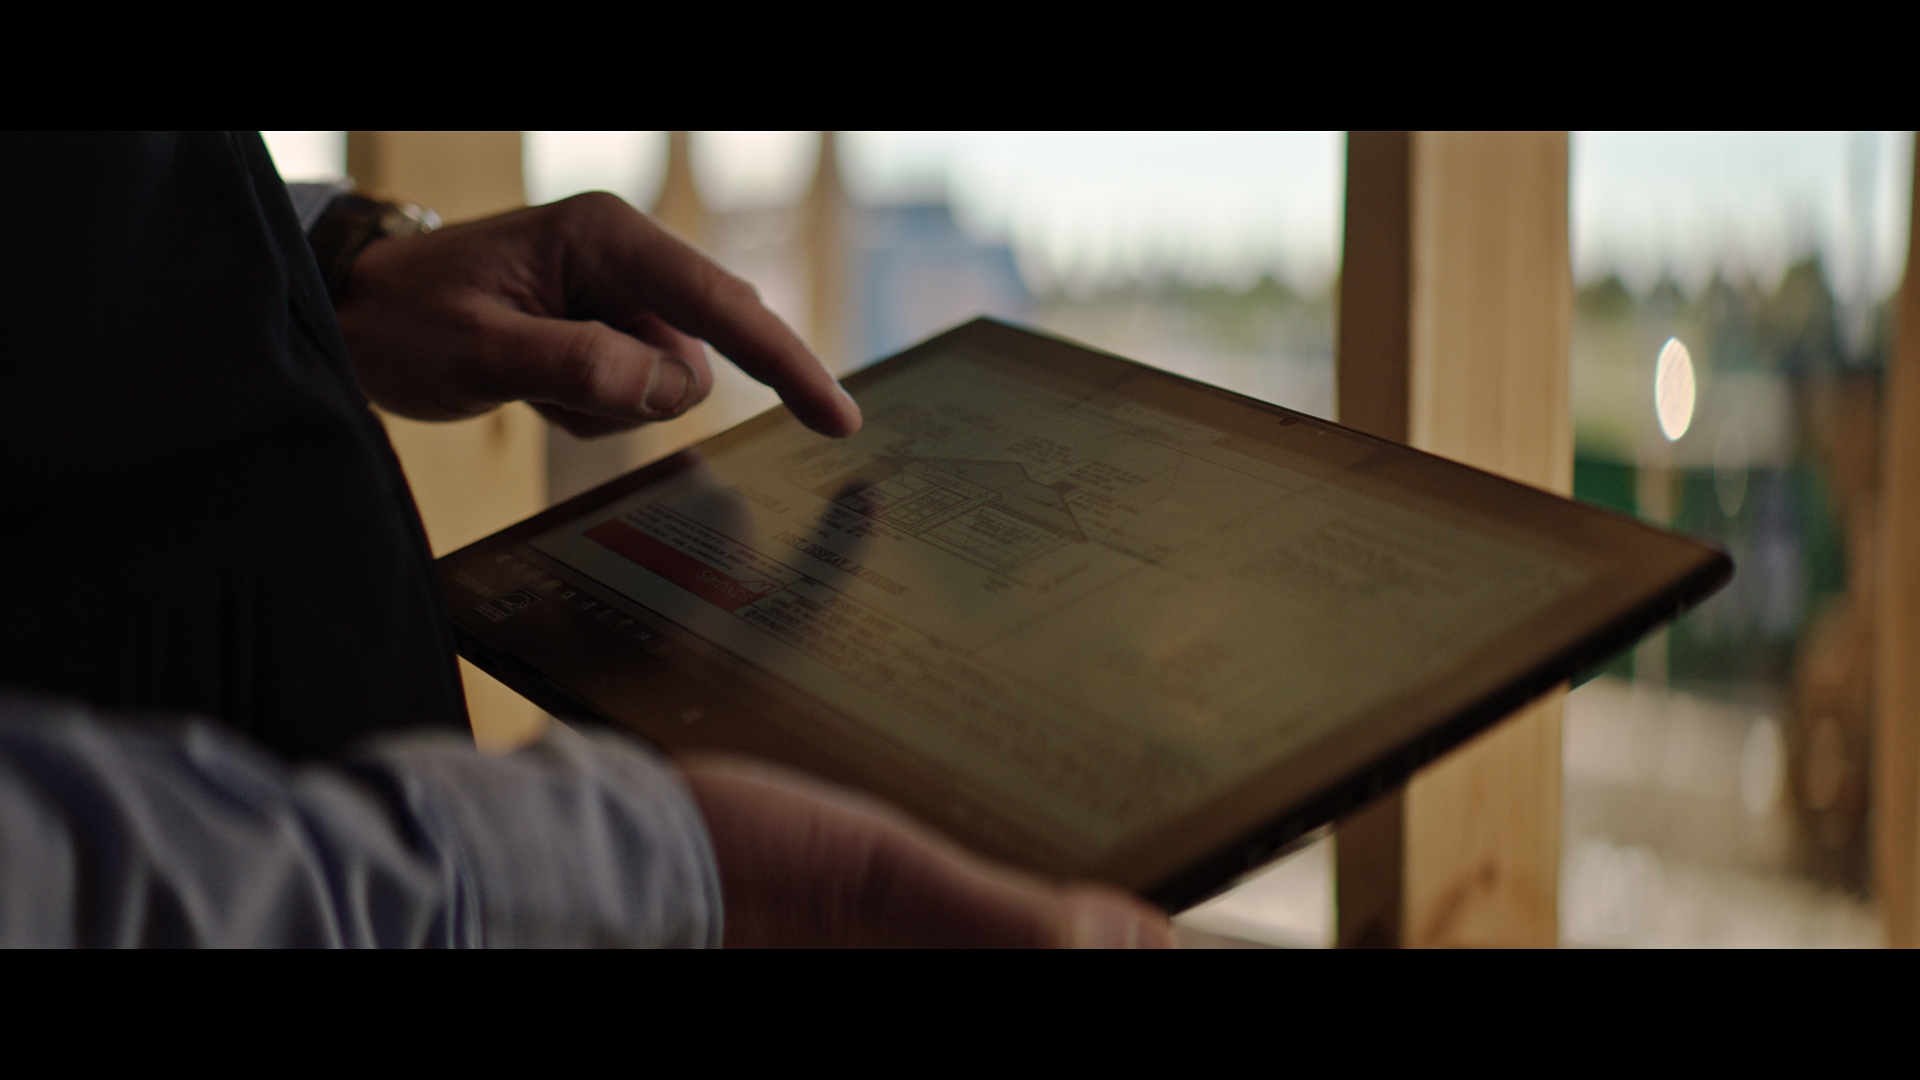
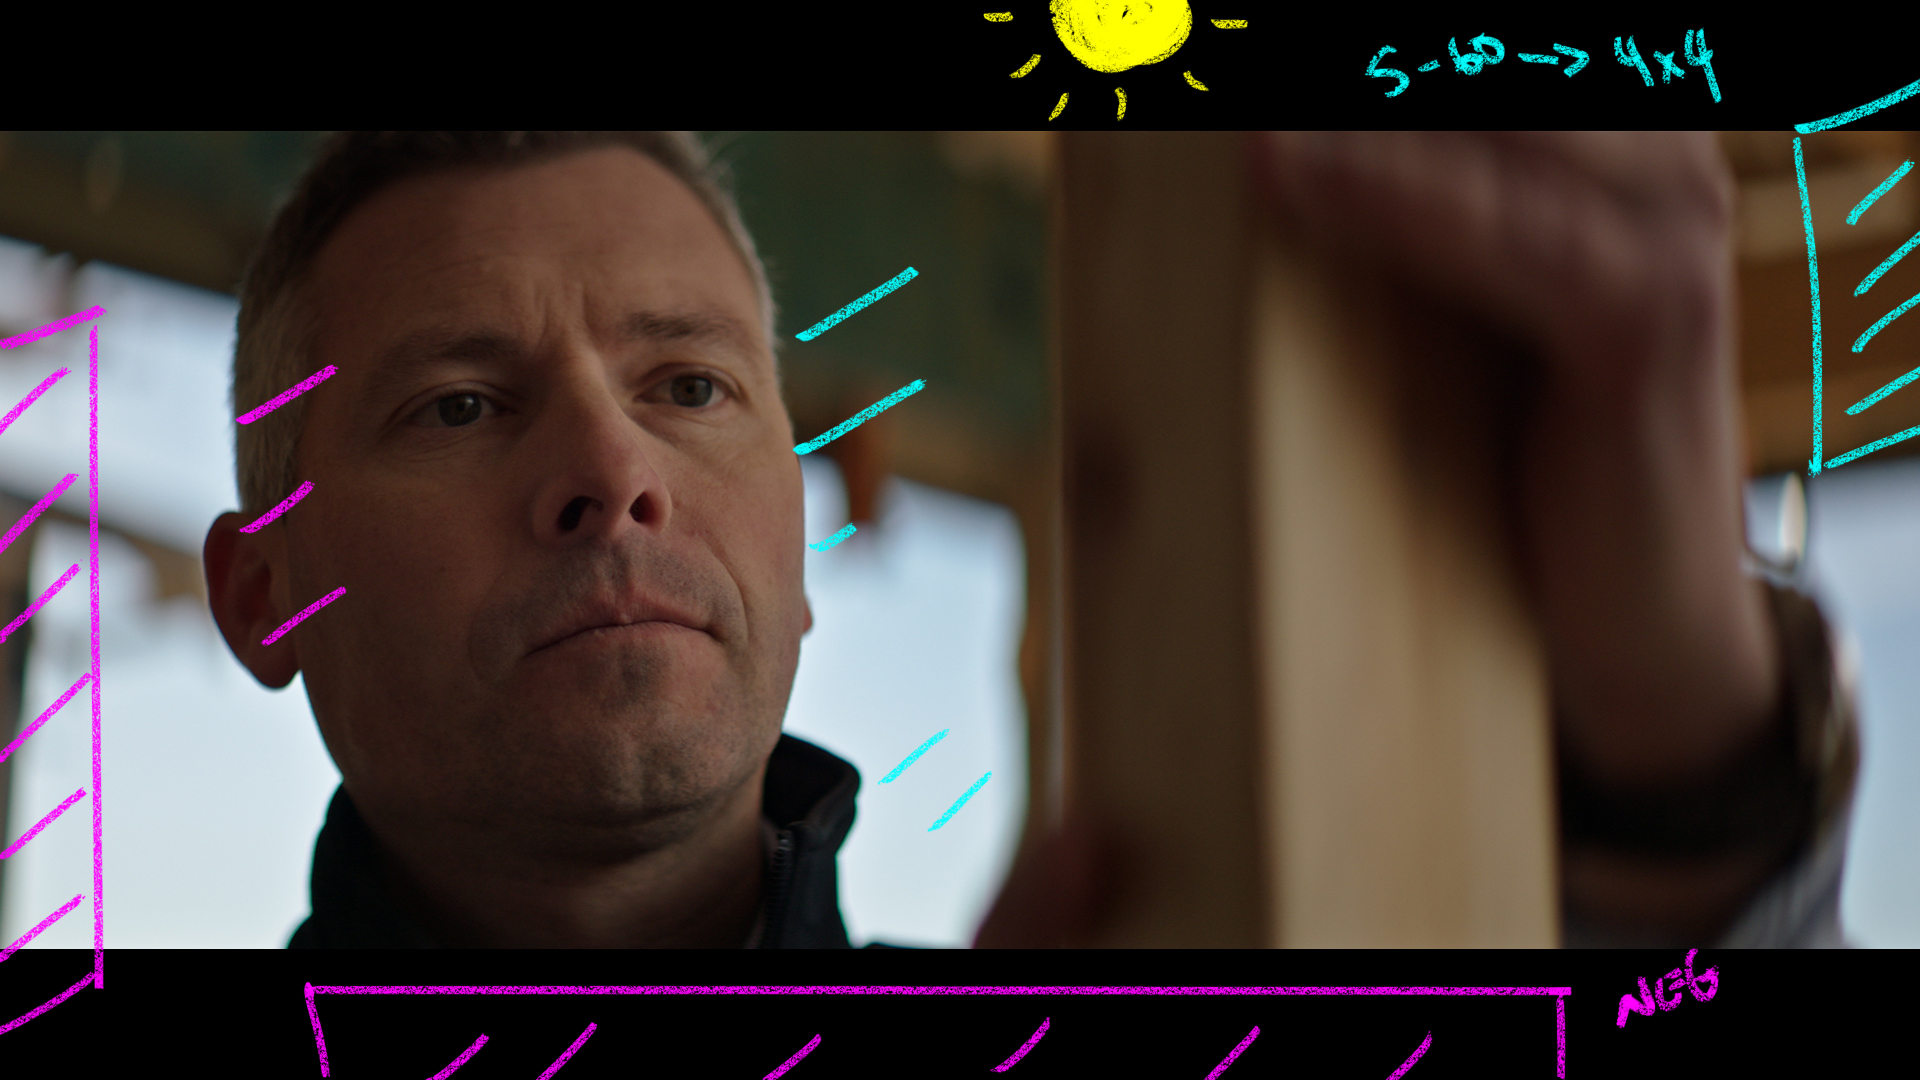
A close up of the builder in action reviewing plans on his ipad.
The Lighting
Here the challenge was we needed to move quickly but the sun was above the roofline on the house so we weren't getting as much backlight as before.
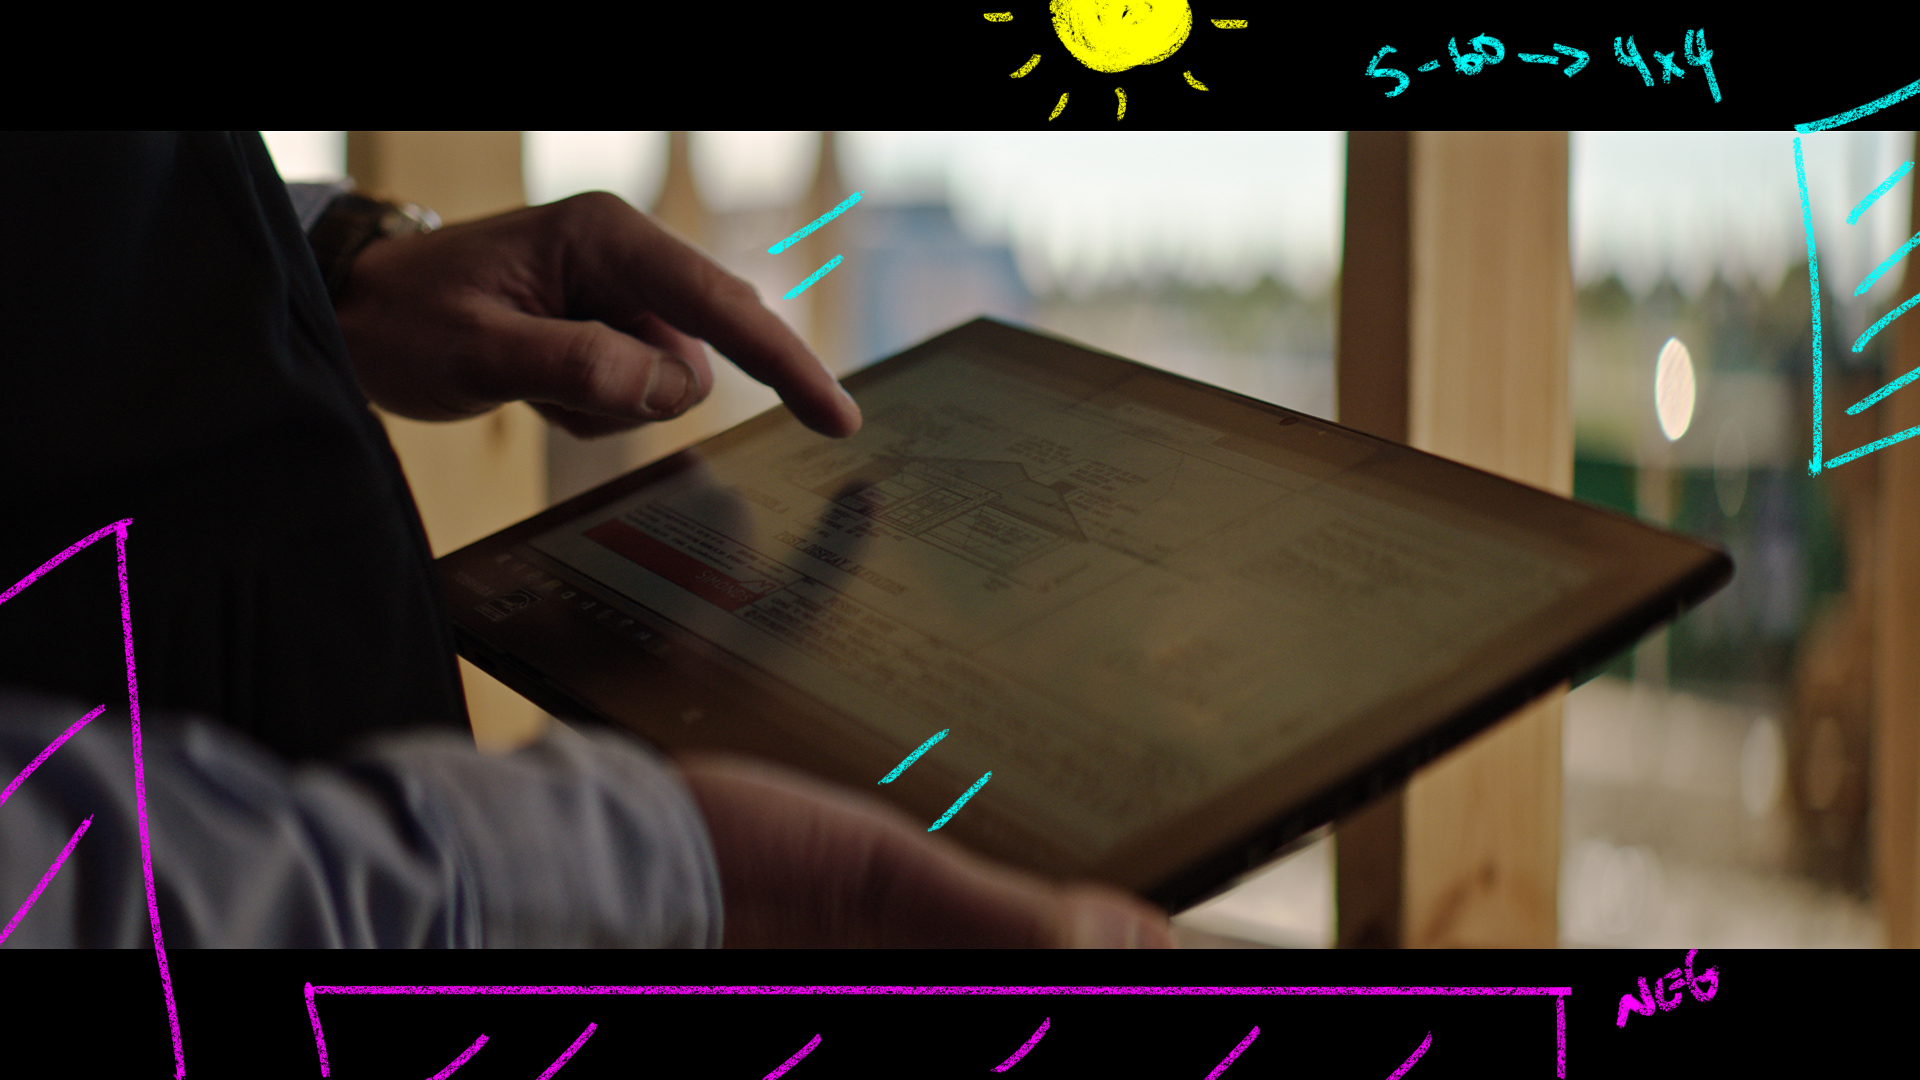
To help balance out the levels from outside in the BG to inside with the talent we added an Arri Skypanel S-60 through a 4x4 frame.
Then to the left of frame and behind the camera we added two 4x4 floppies to help shape the shadows.
The Result
Set Up #4 - The Close Up

The Shots
A close up shot of the builder at work inside the house.
The Lighting
We used the exact same set up as before to save time and to keep moving quickly.
The Result
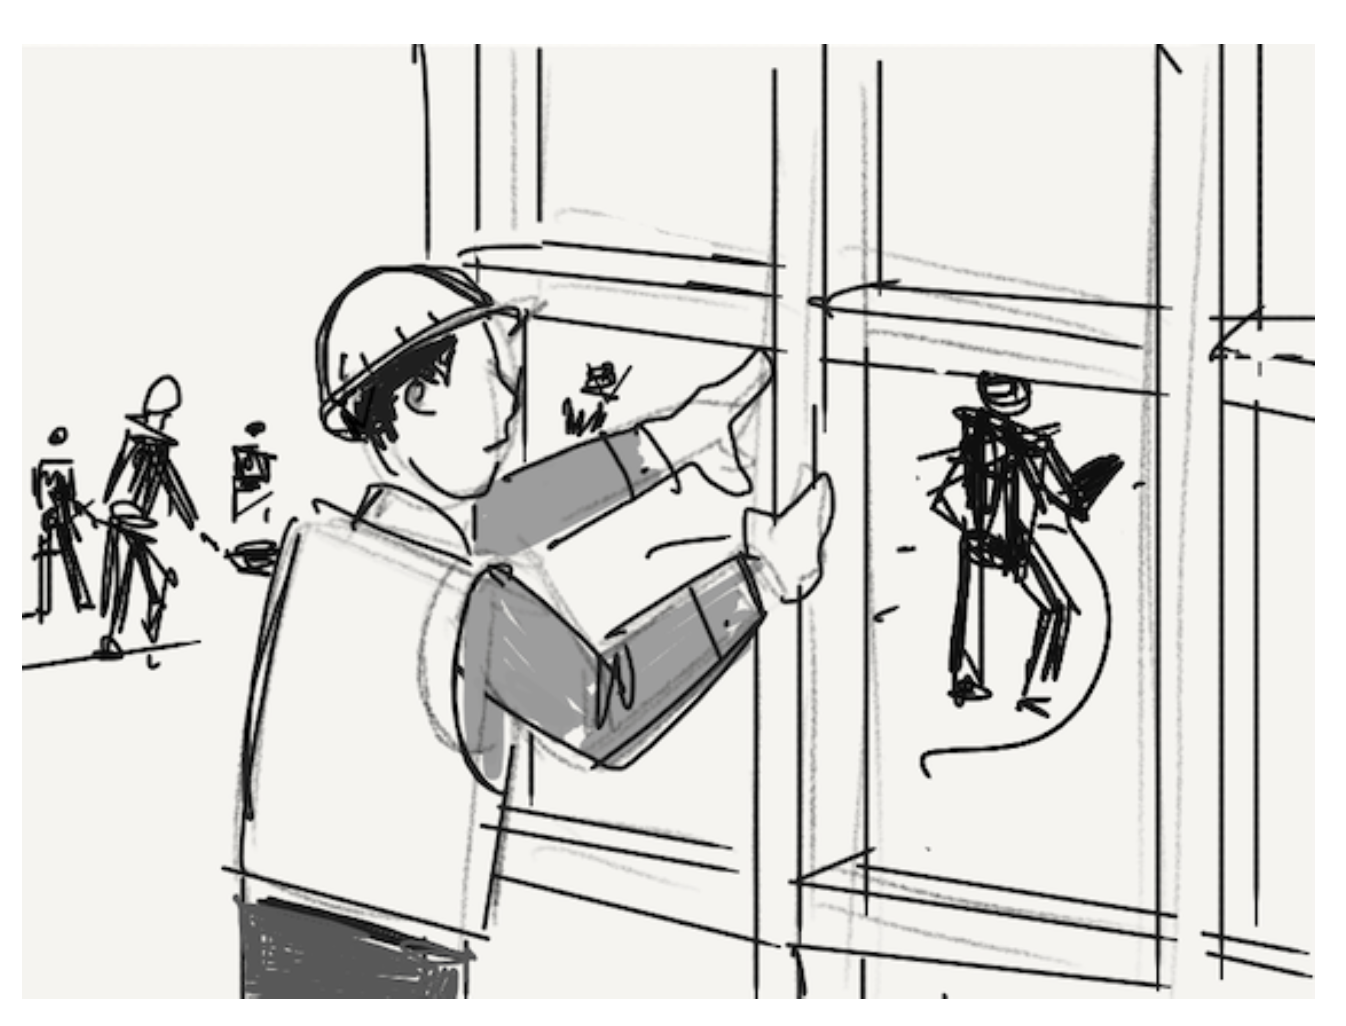
The Storyboard
Set Up #5 - The Walk
The Shots
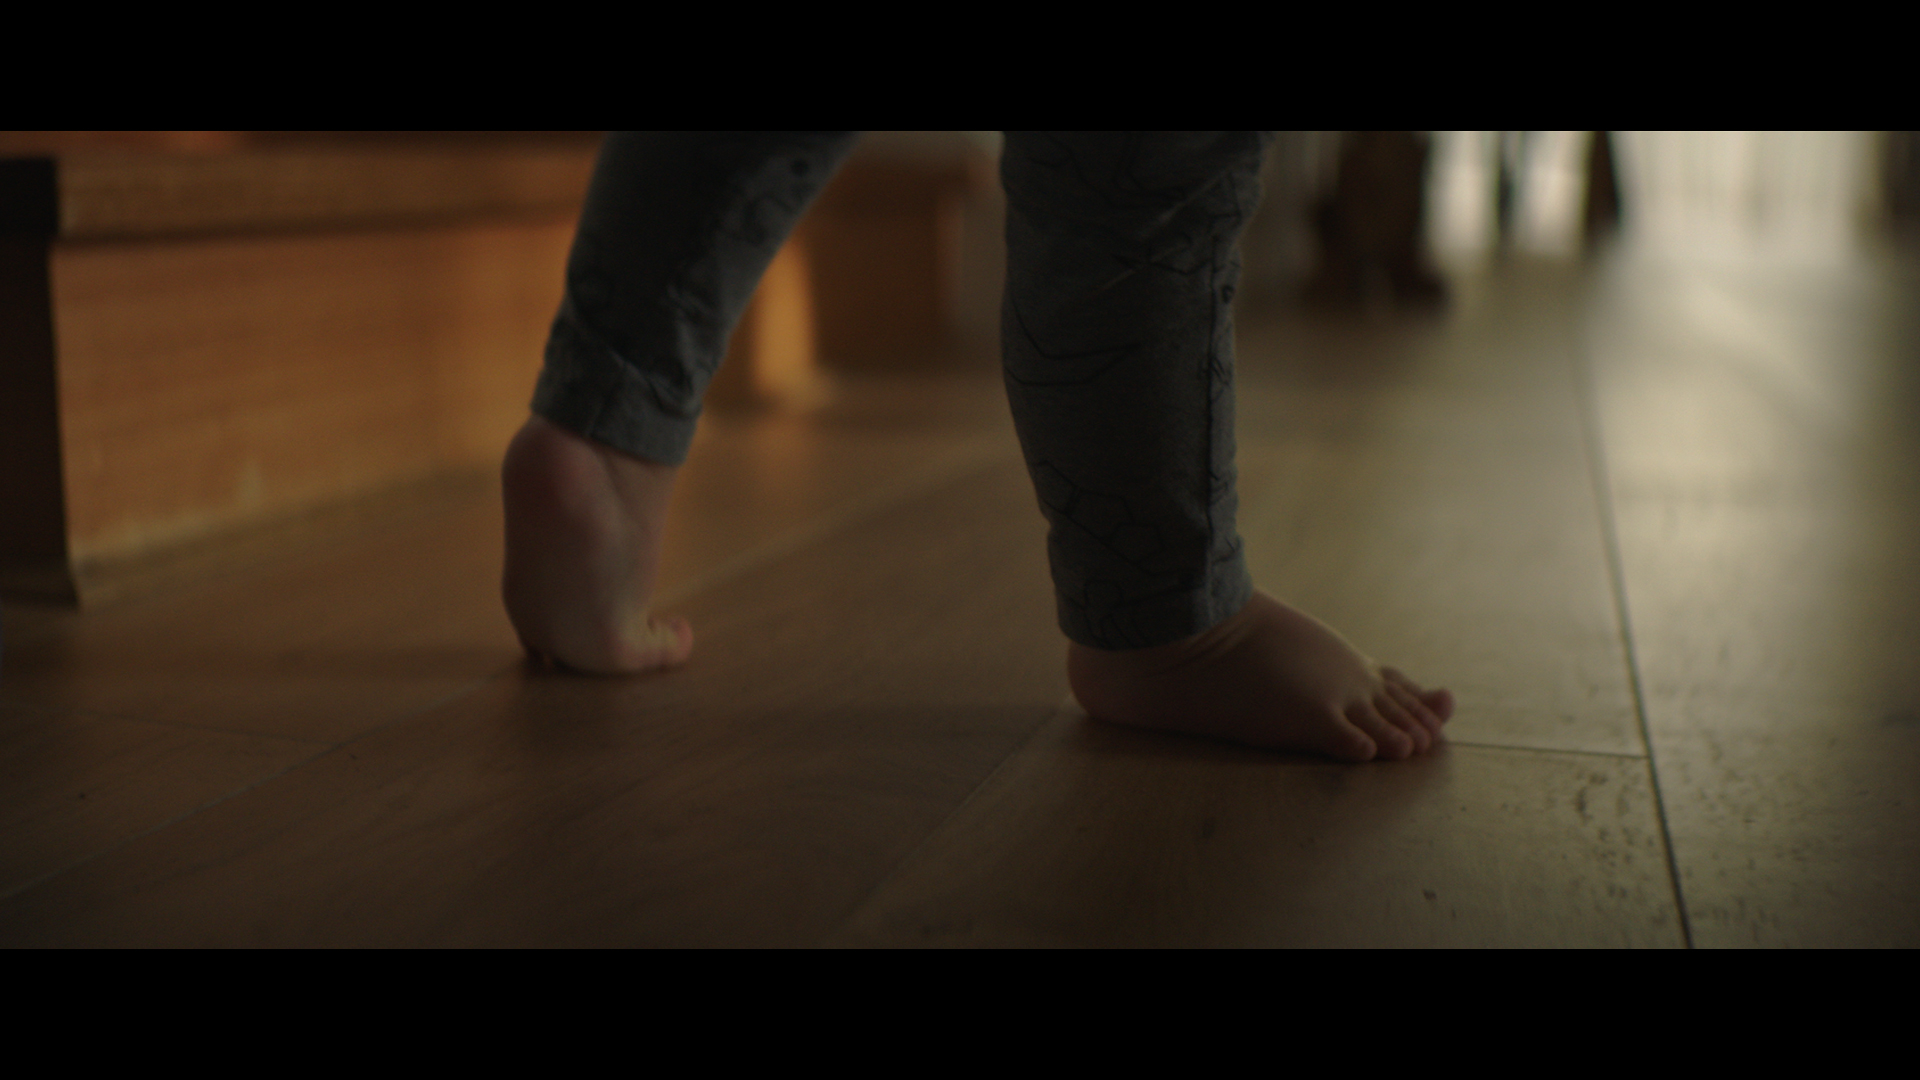
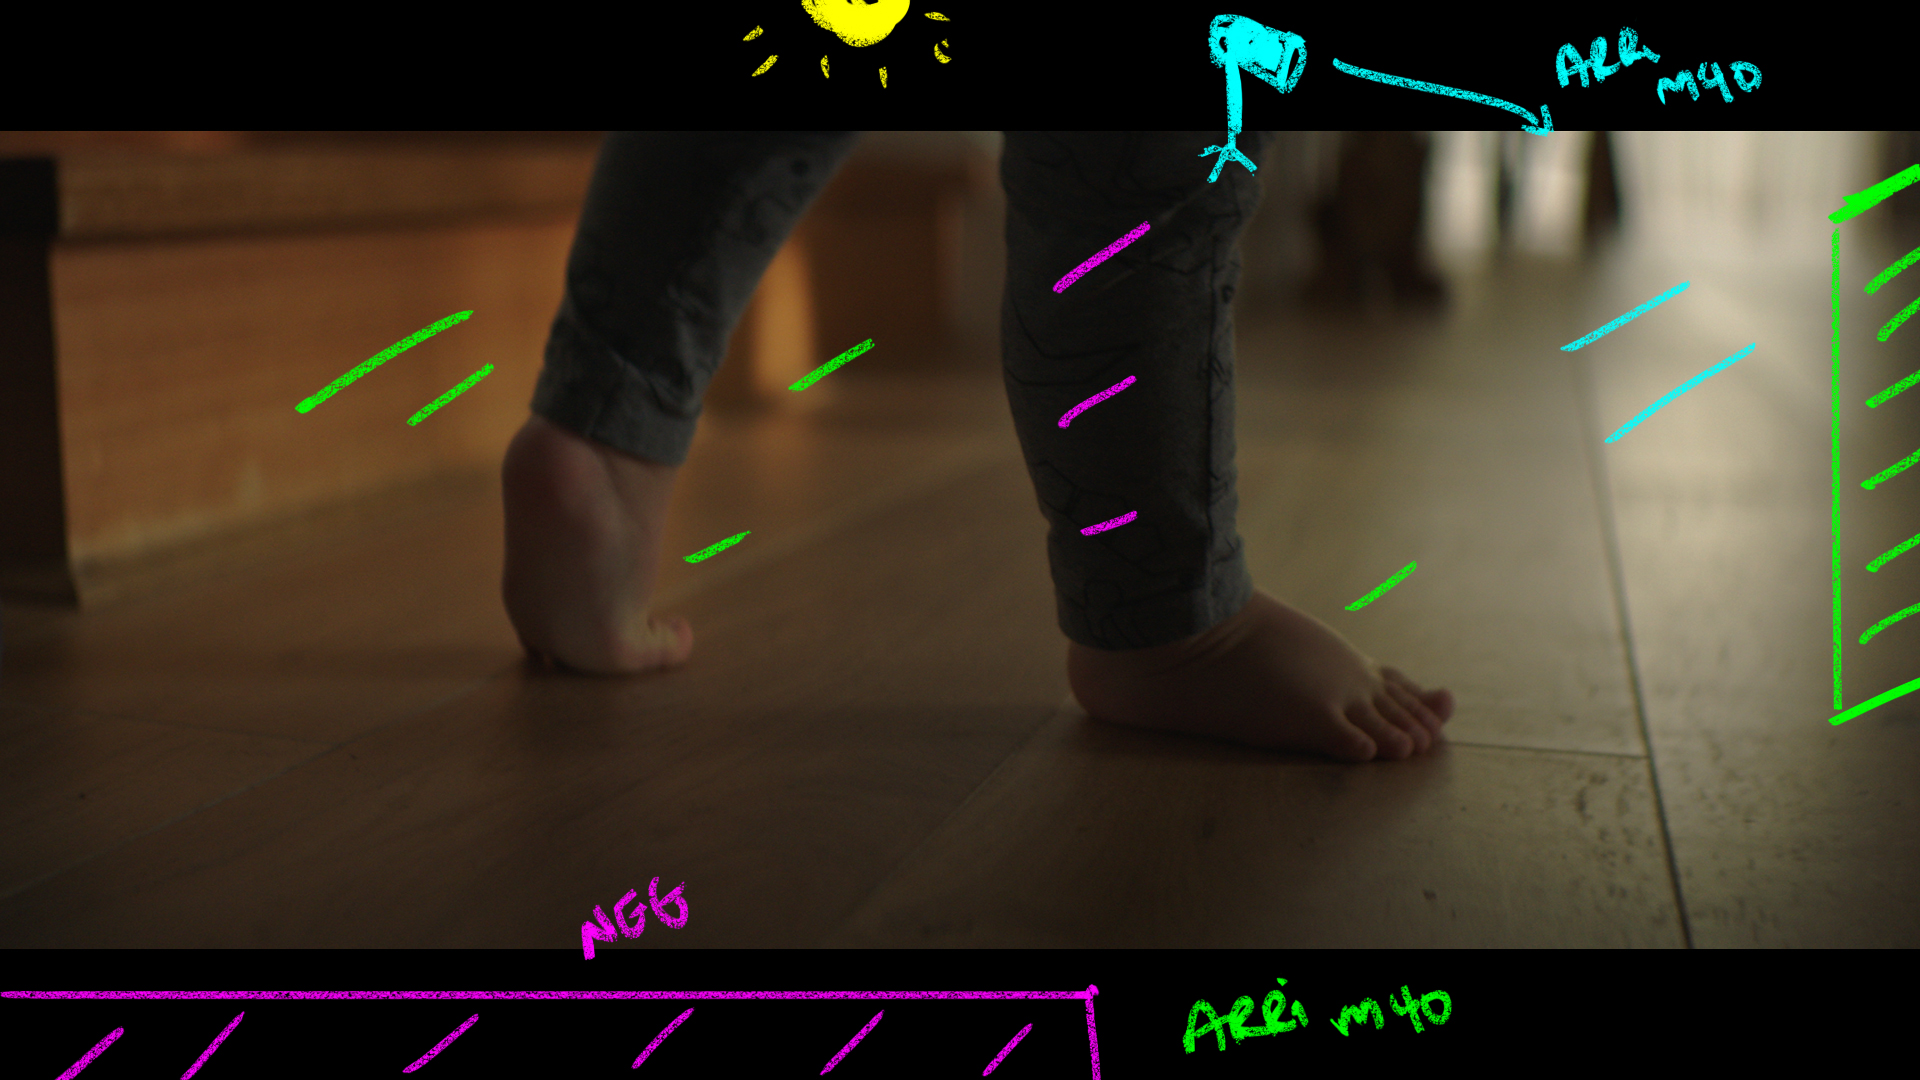
Back to our scene intros with this detailed tight shot of a baby's foot as he walks for the first time.
The Lighting
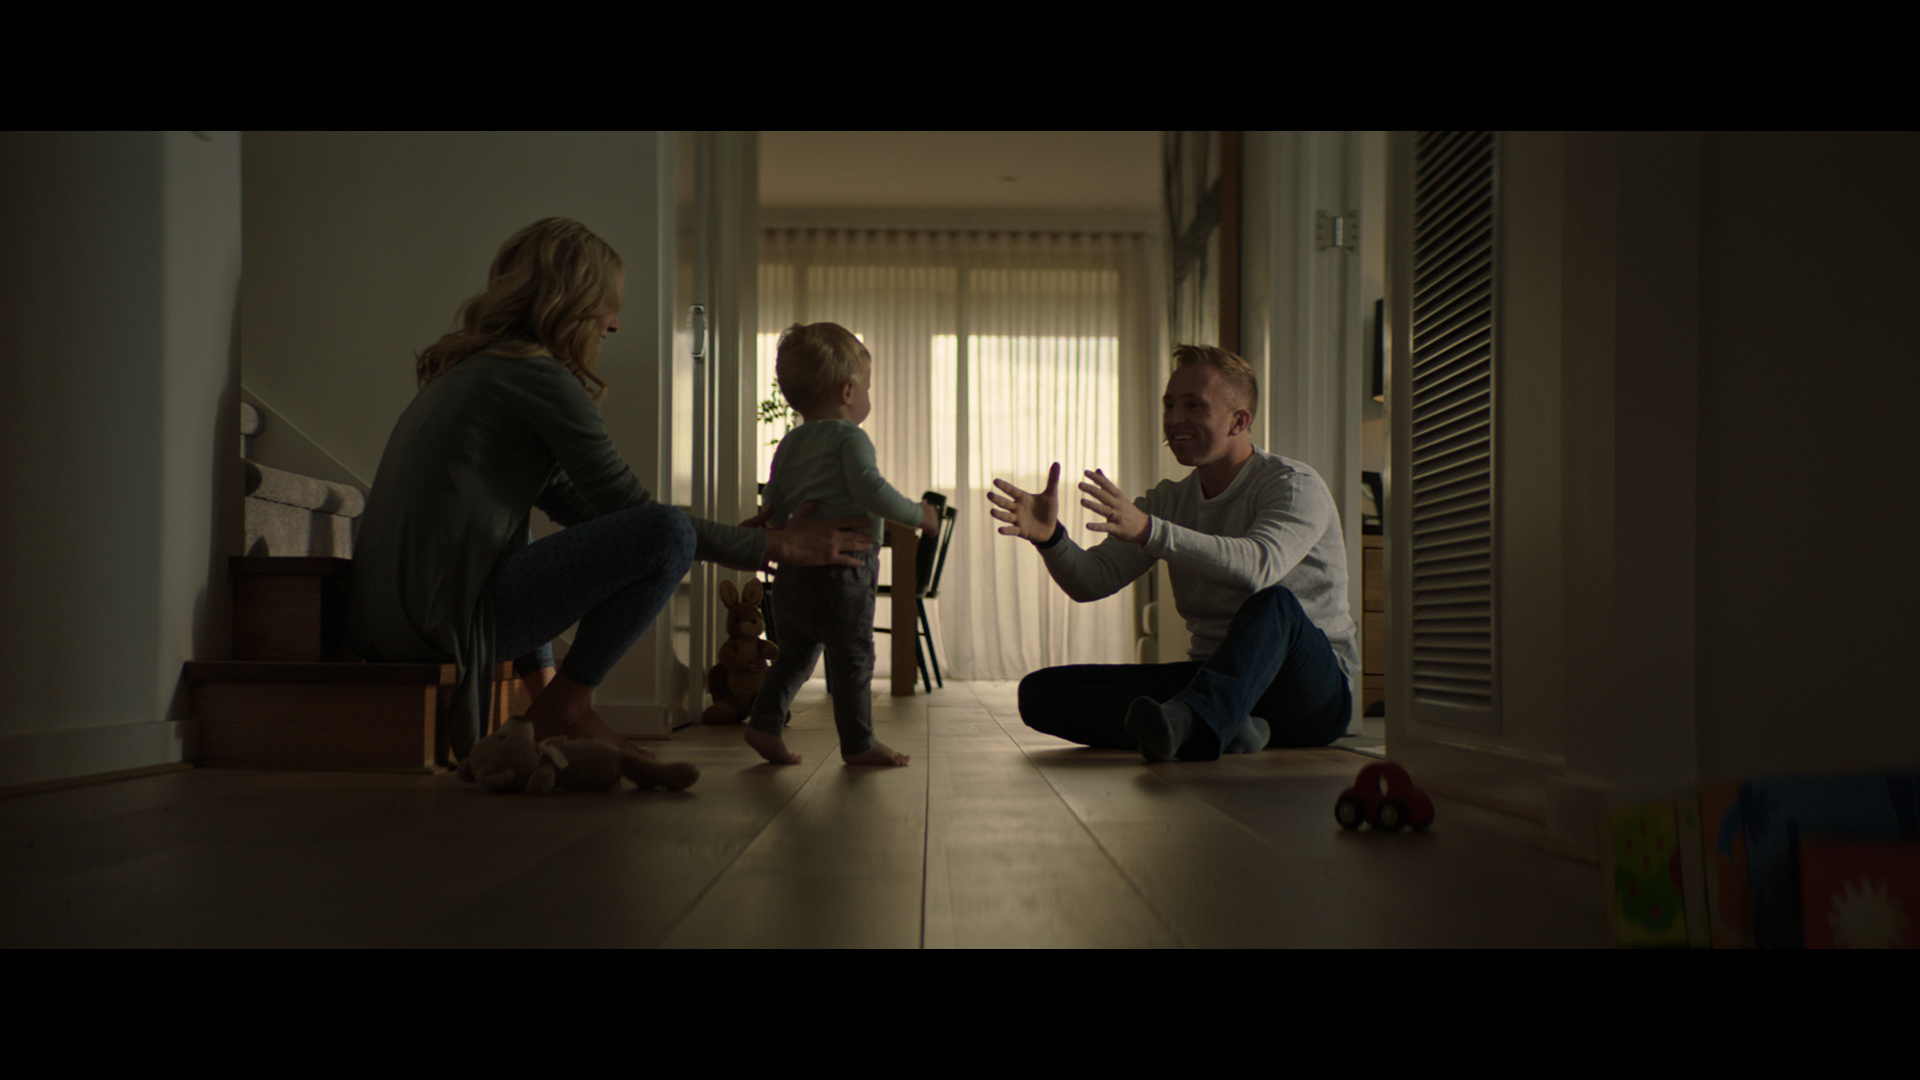
Inside this narrow hallow way we used 2 4k HMI's to help create our pools of interest.
To keep the foreground moody we had blacks behind the camera stopping any return fill from the 4ks.
The 4ks were used to light up the scene well past ambient levels so the darkness was easier to work with and adjust.
The Result
Shot #6 - The Wide
The Shots
A Wide of the exact same set up as before.
The Lighting
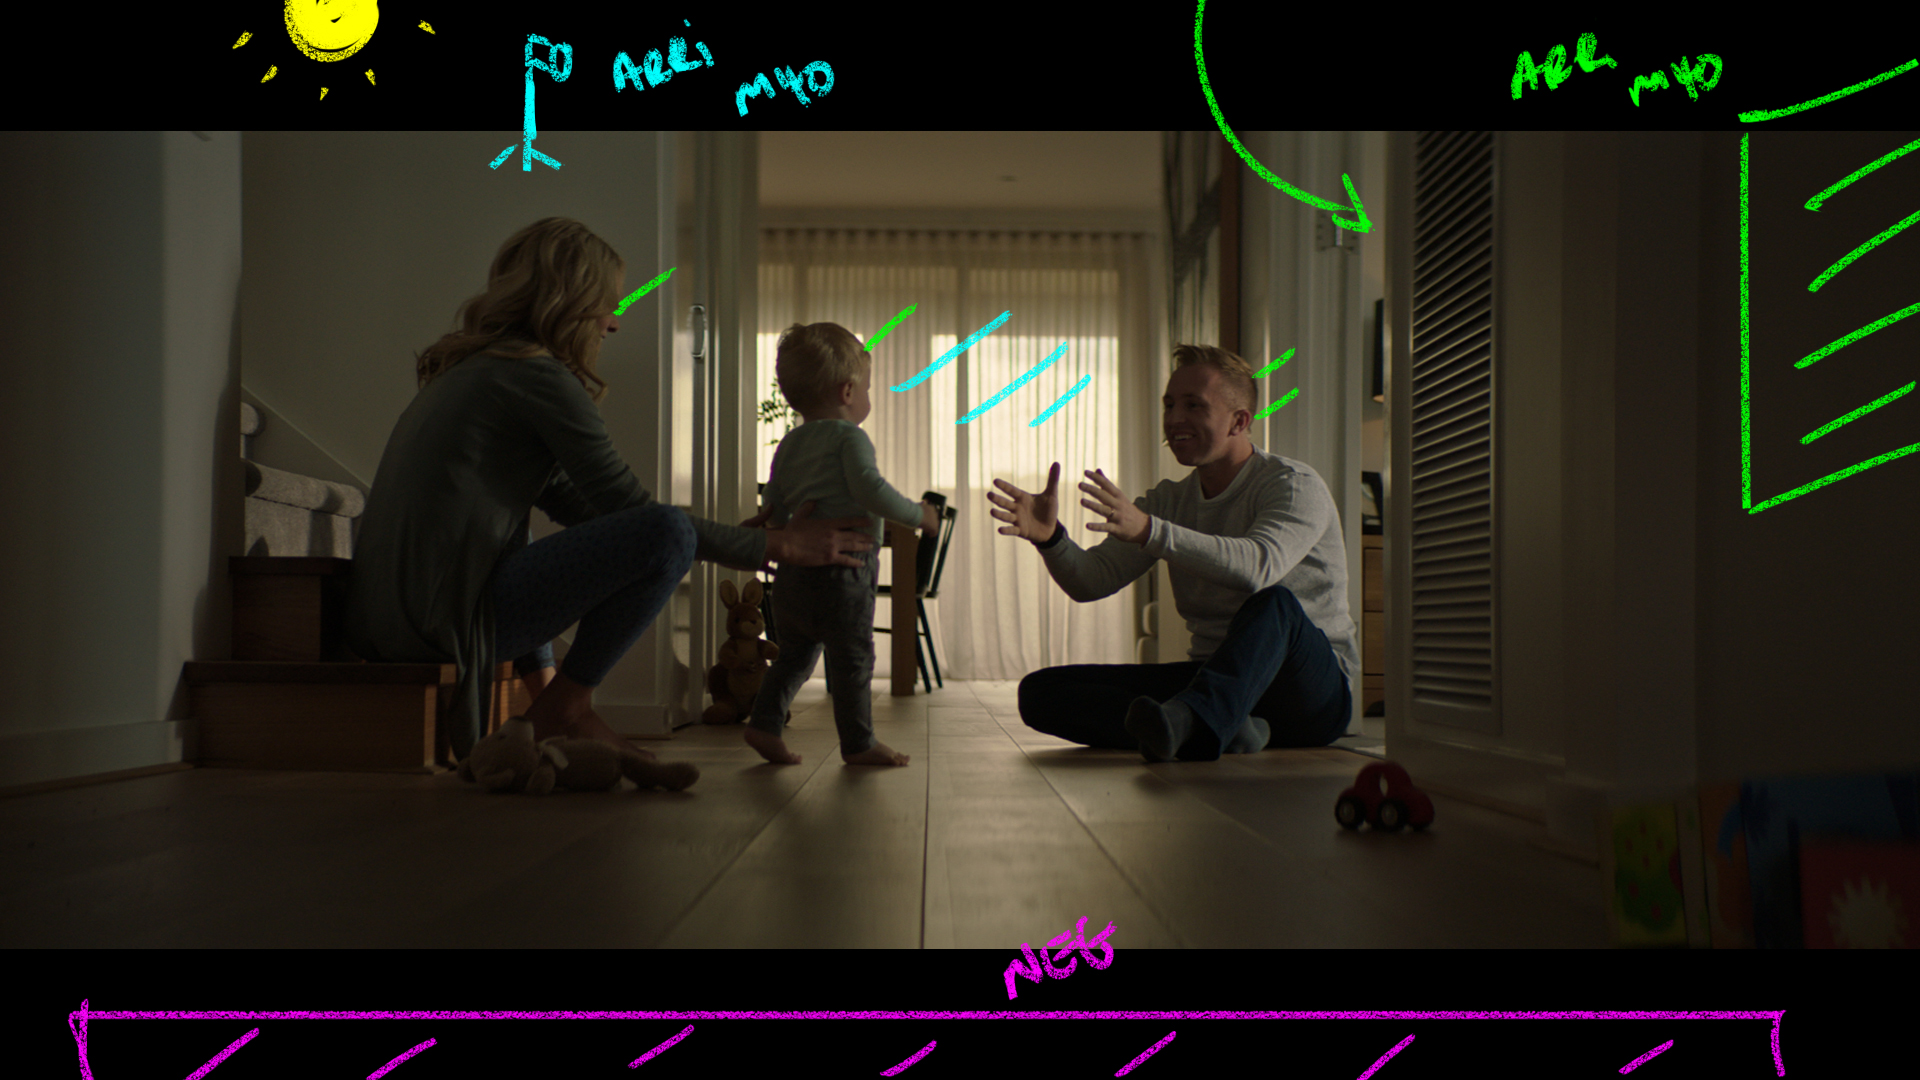
This spot really showcases lighting an area for all angles. We lit the space once (because that is all we had time for) and made it work for all the wides, mids, and CUs.
The Result
The Storyboard
Shot #7 - The Reverse

The Shots
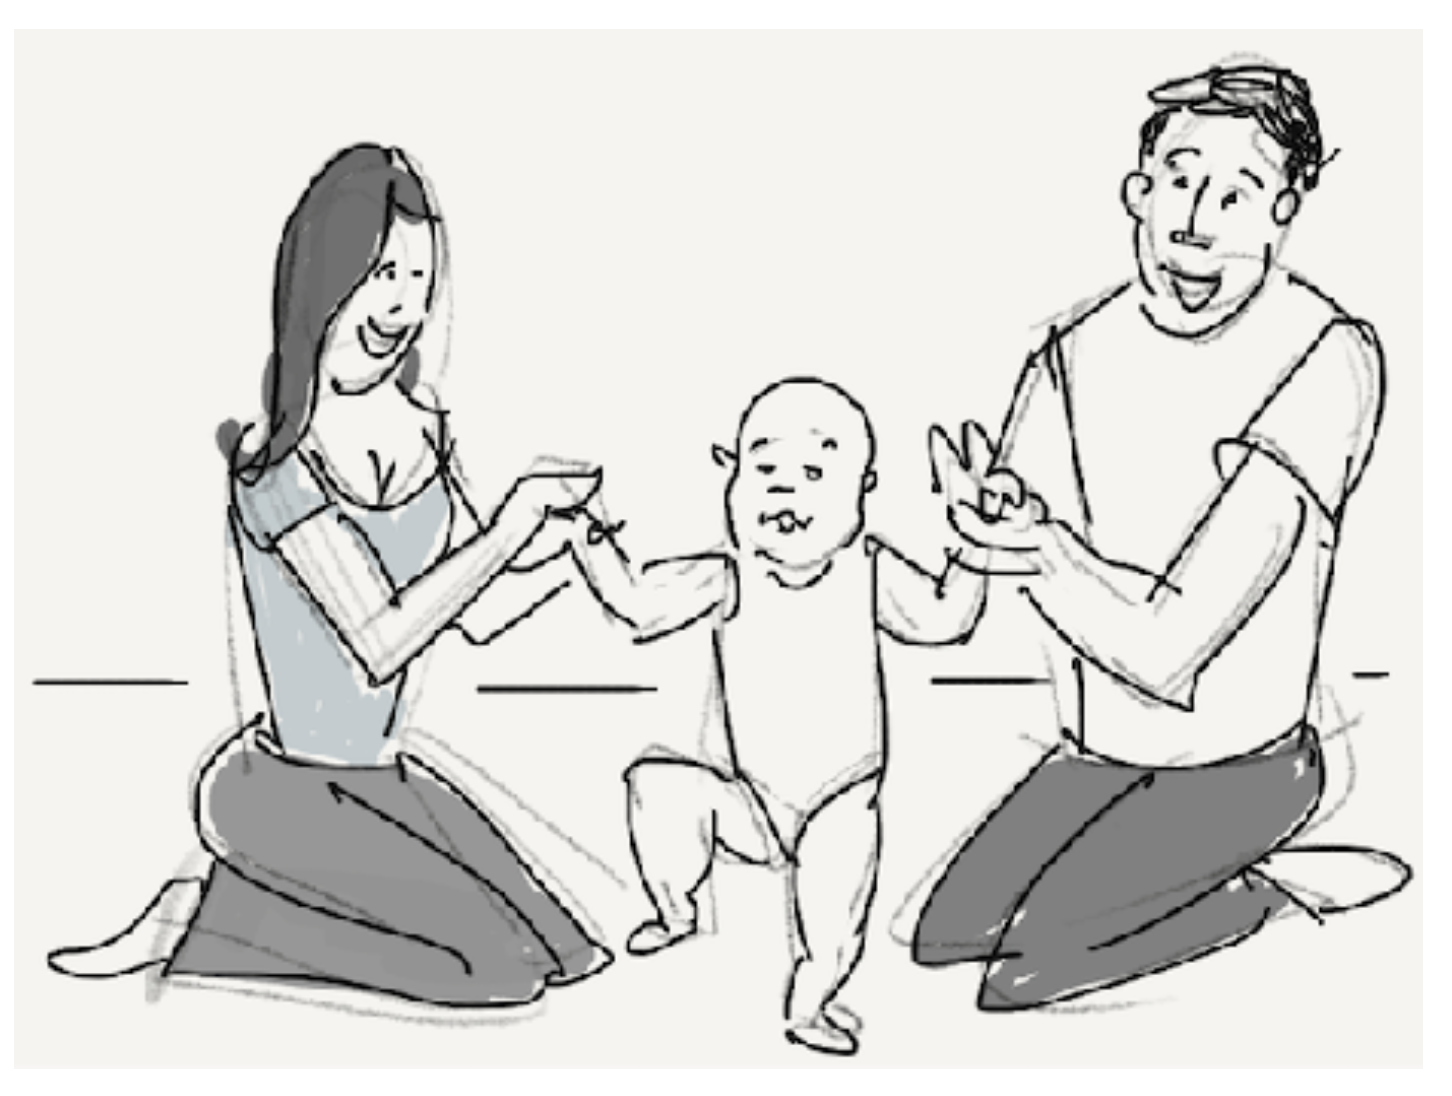
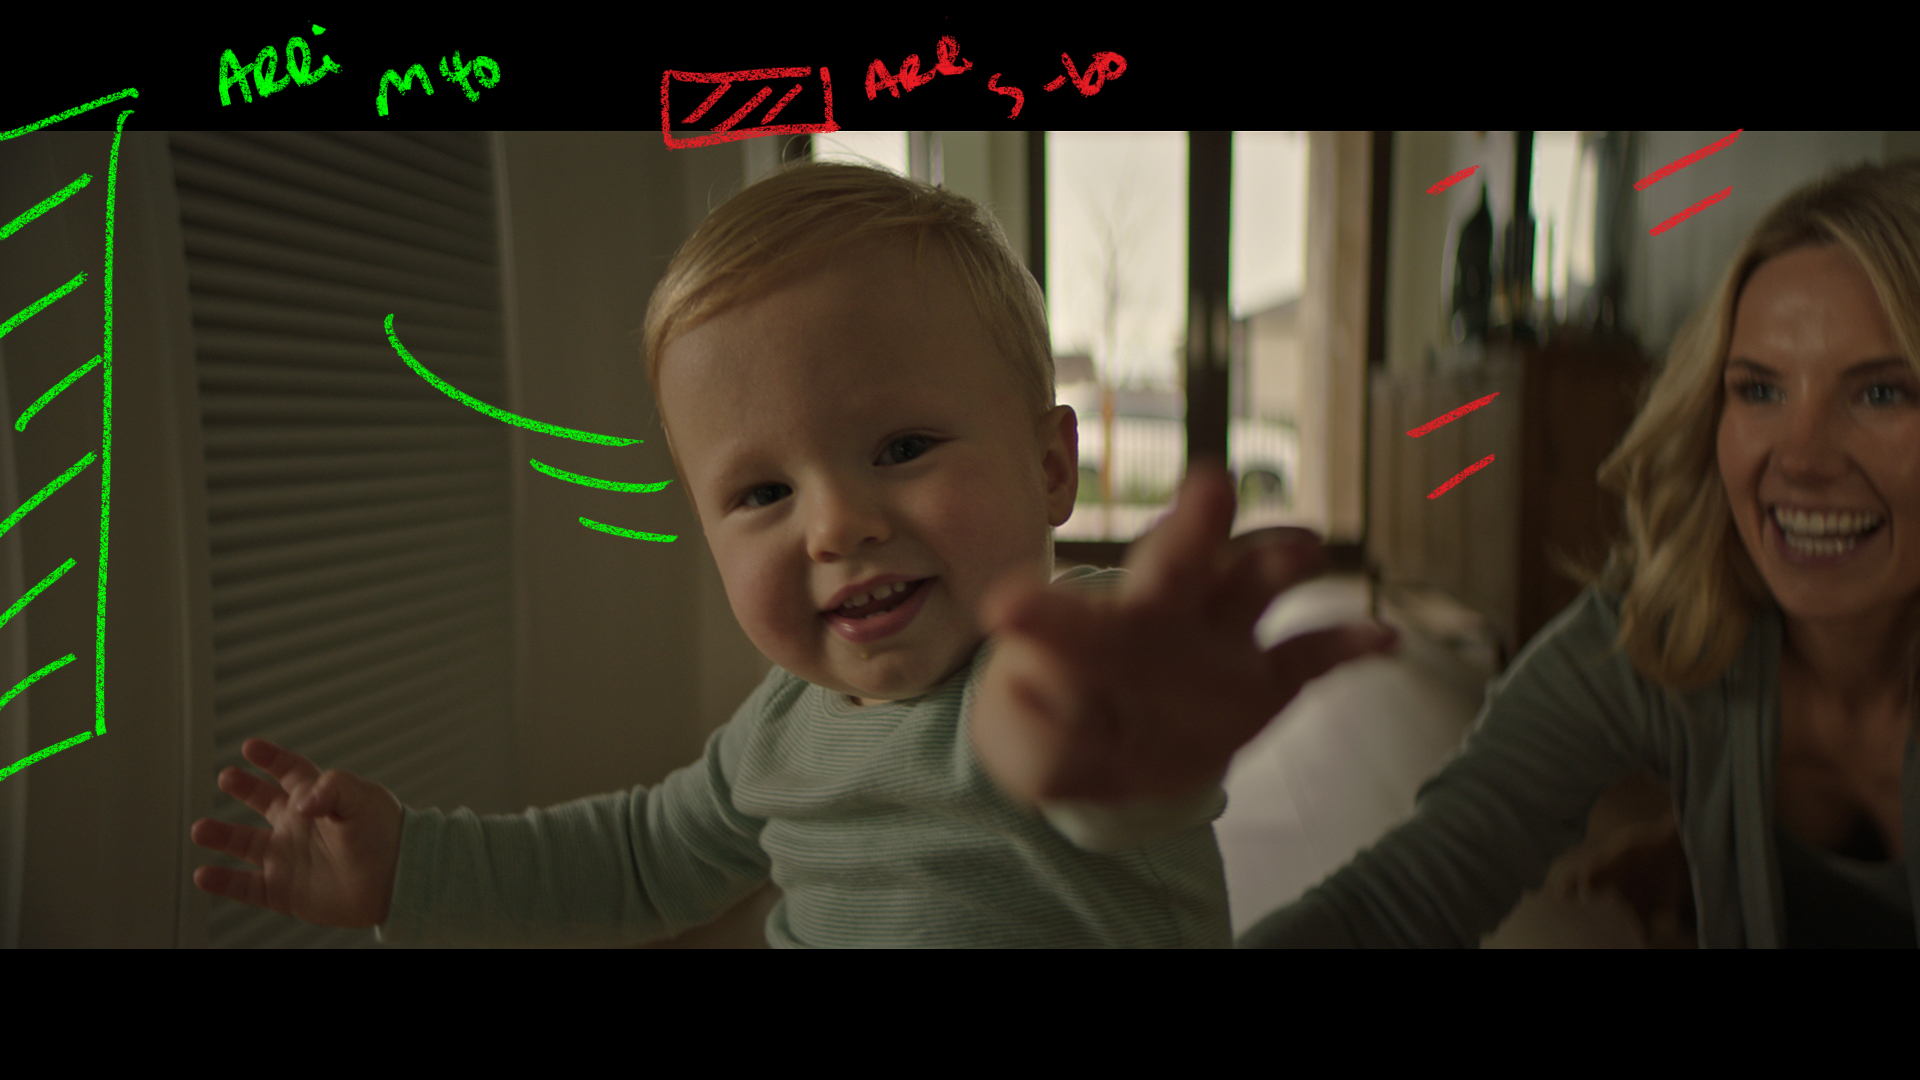
In tight with a CU of the baby as he takes his first step.
The Lighting
The challenge with this one was we had to look the opposite way which meant a near complete relight.
We used the same 4k key from camera left now and added a skypanel in the BG to help balance the levels with the overcast sky outisde.
The Result
Shot #7 - The Eyes
The Shots
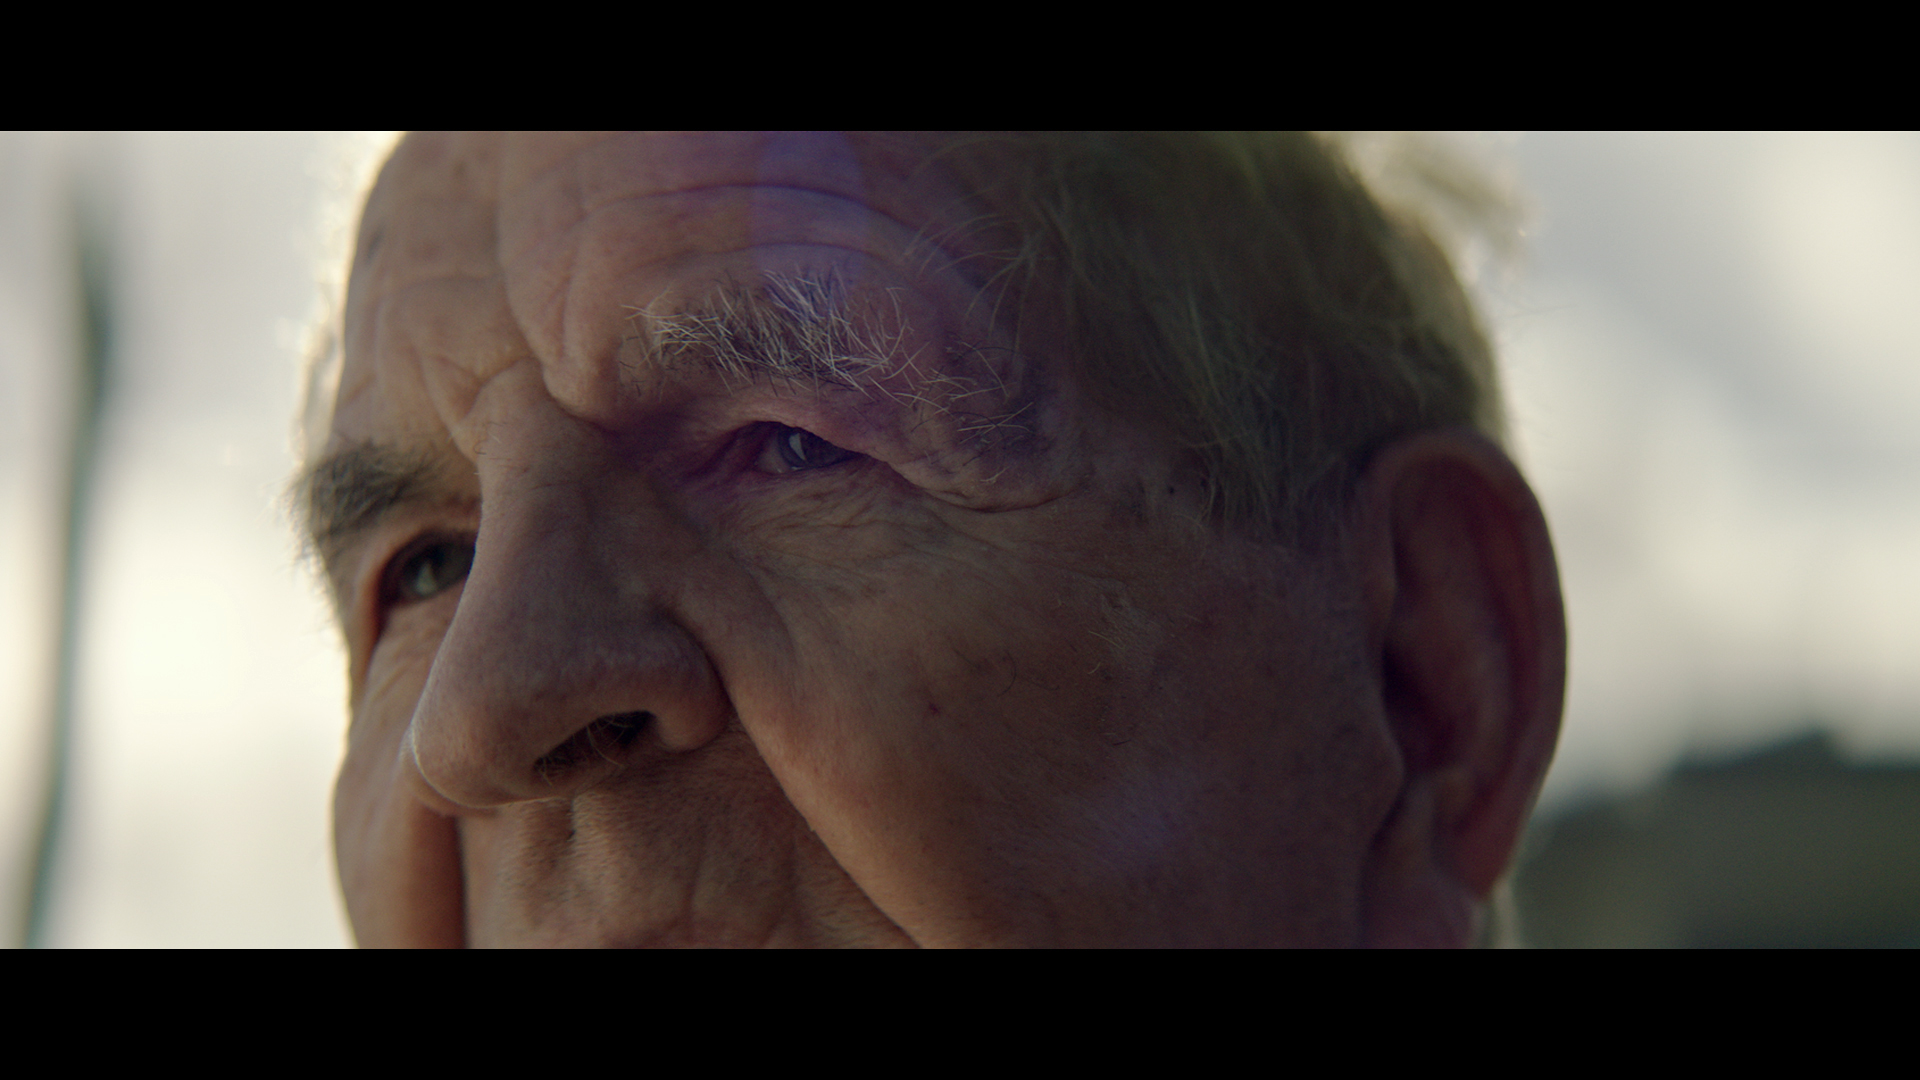
We are now outside to capture a moment of the company's founder reflecting on the first home he ever built. We start close in on the eyes.
The Lighting
The weather on this day was changing non stop. One minute cloud, one minute sun.
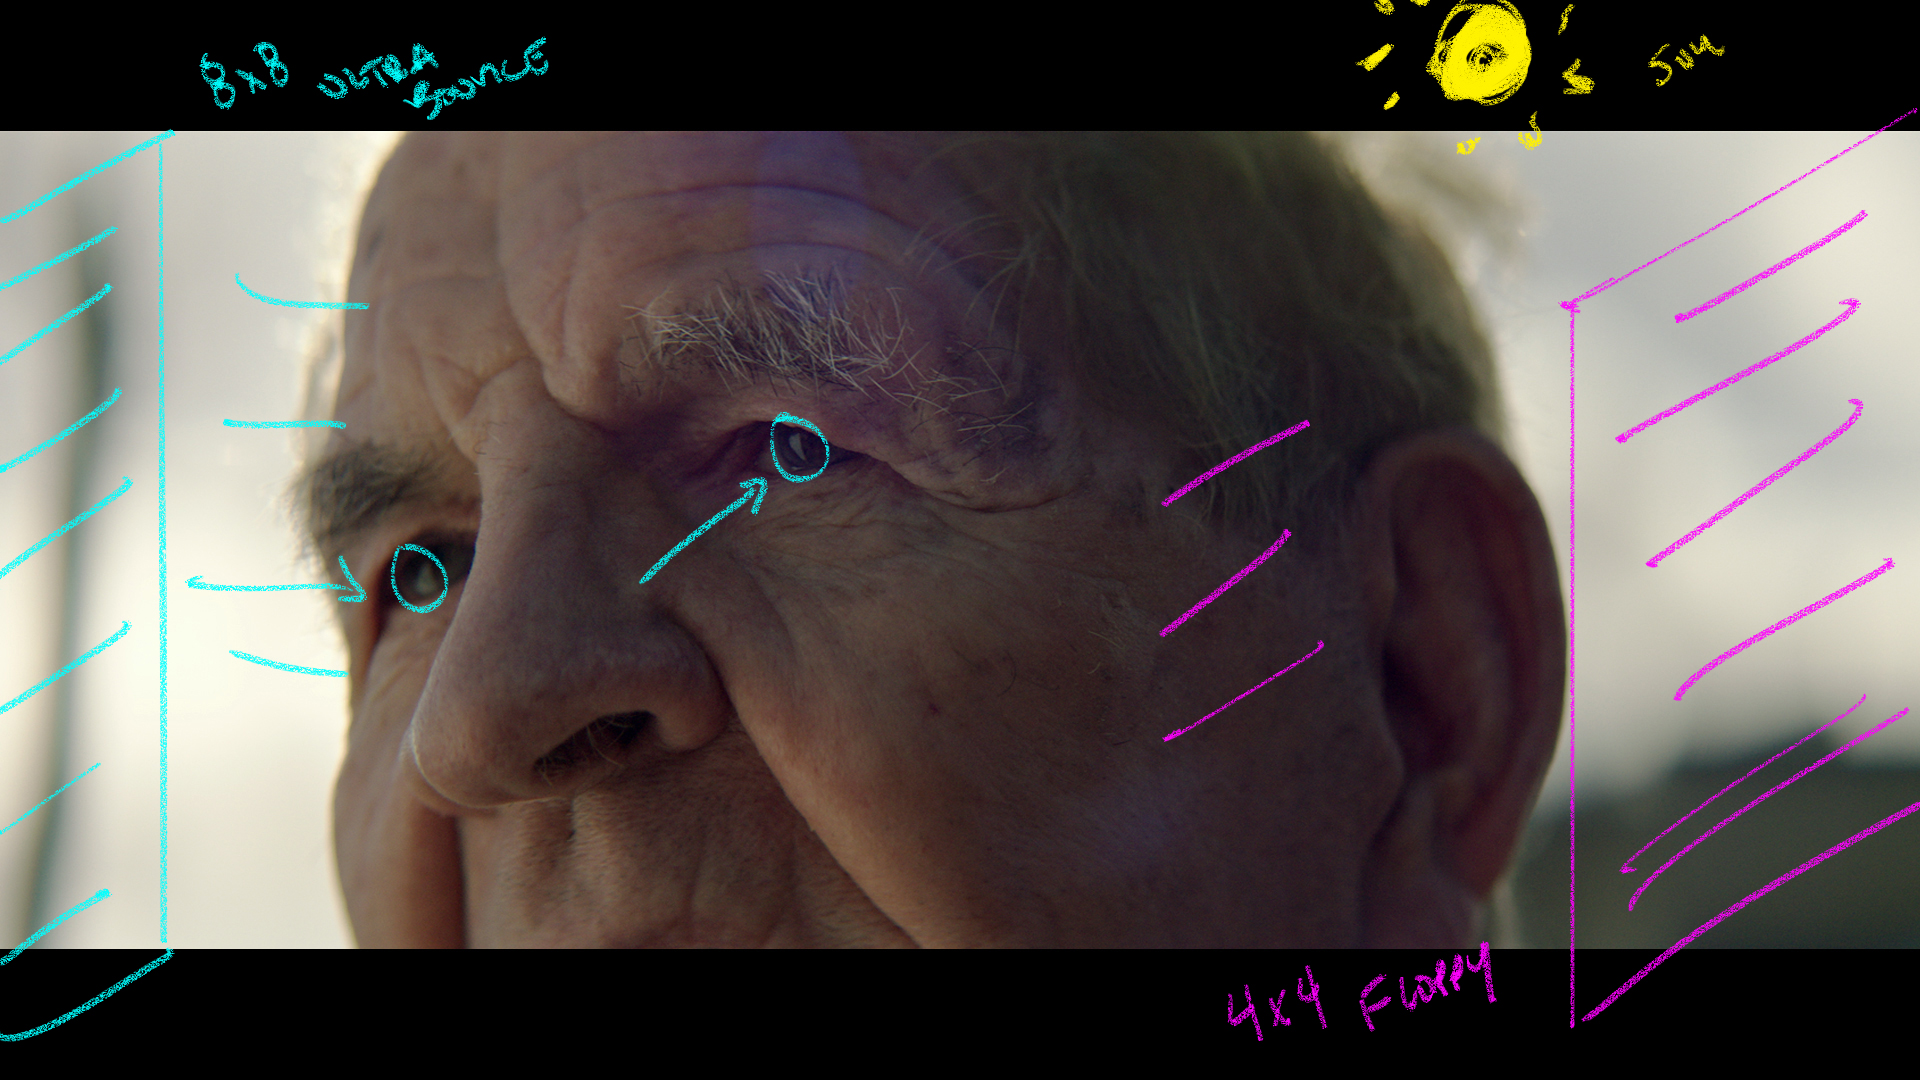
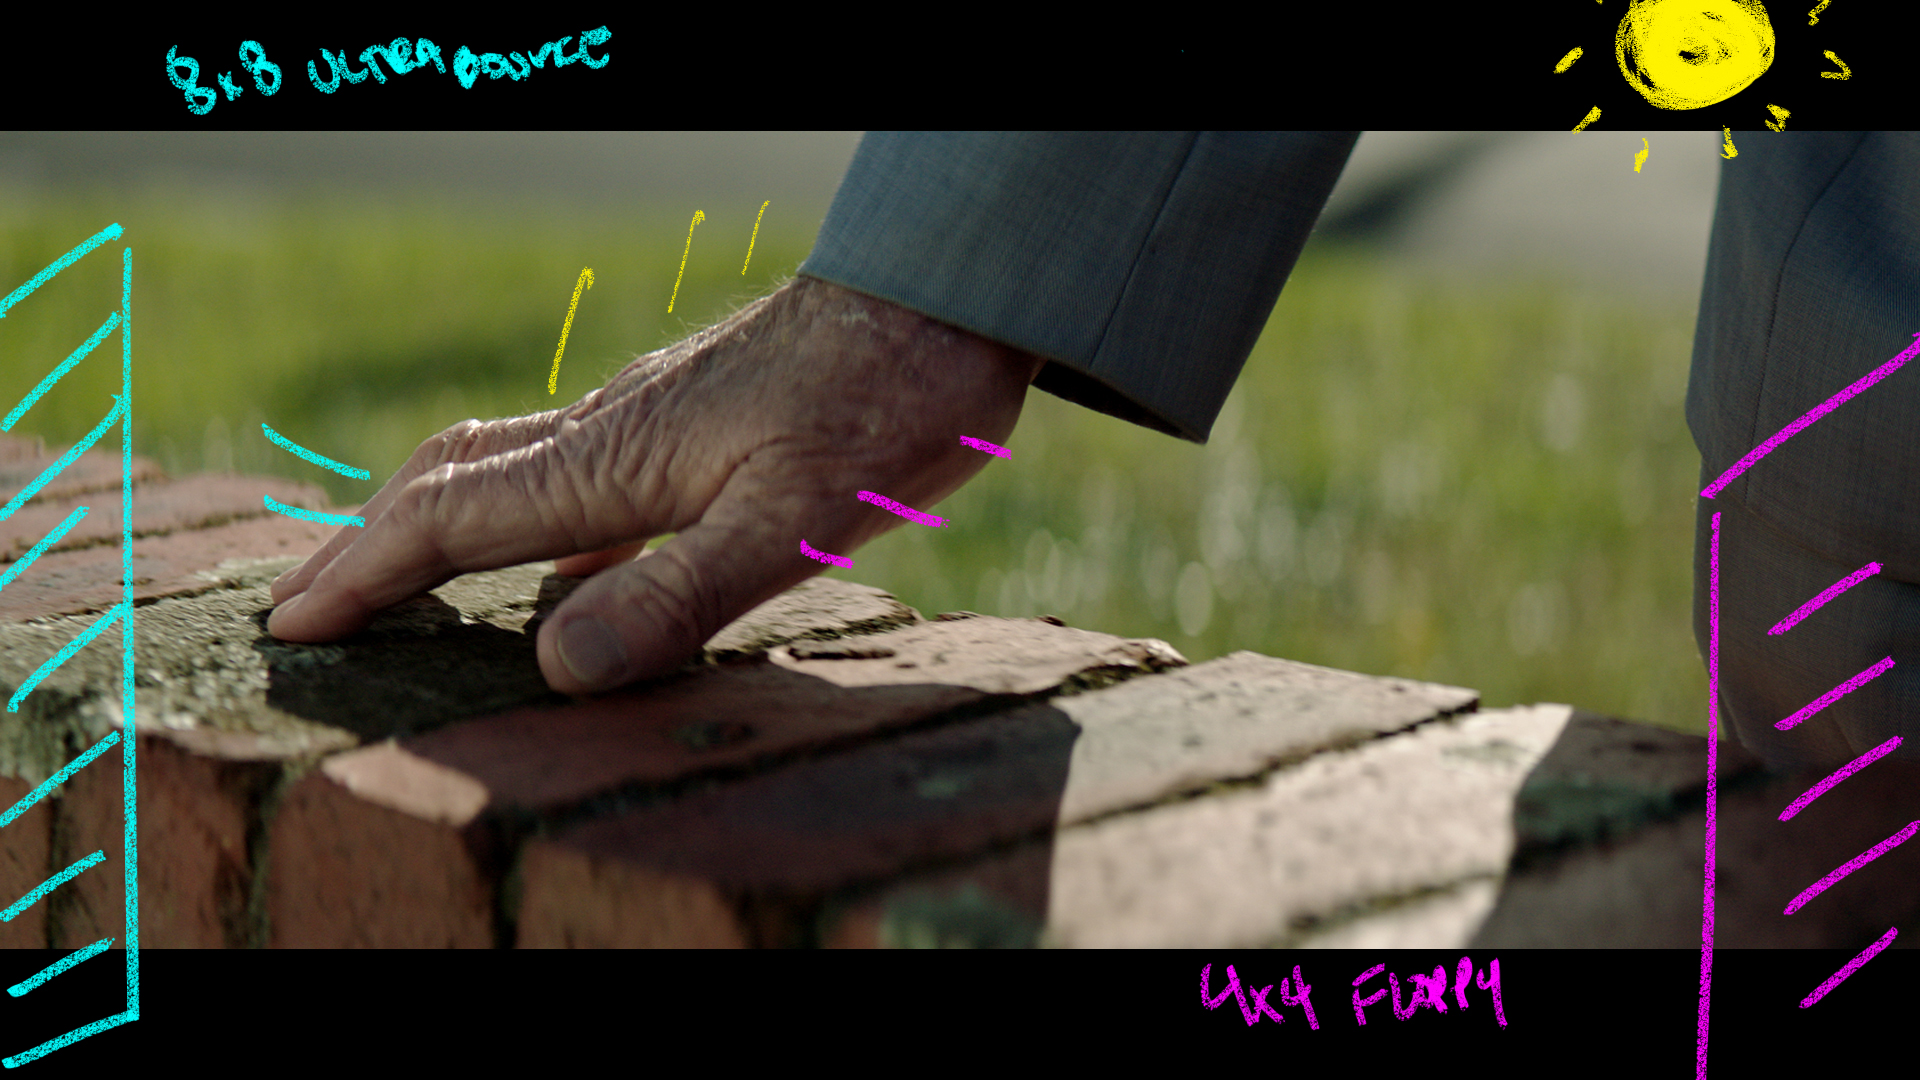
We were lucky hee to get a sunny moment and used that as a backlight then used an 8x8 of Ultrabounce from frame left to give us the return that we needed. Frame right is a 4x4 floppy in the hand to help create some contrast.
The Result
Shot #7 - The Super
The Shots
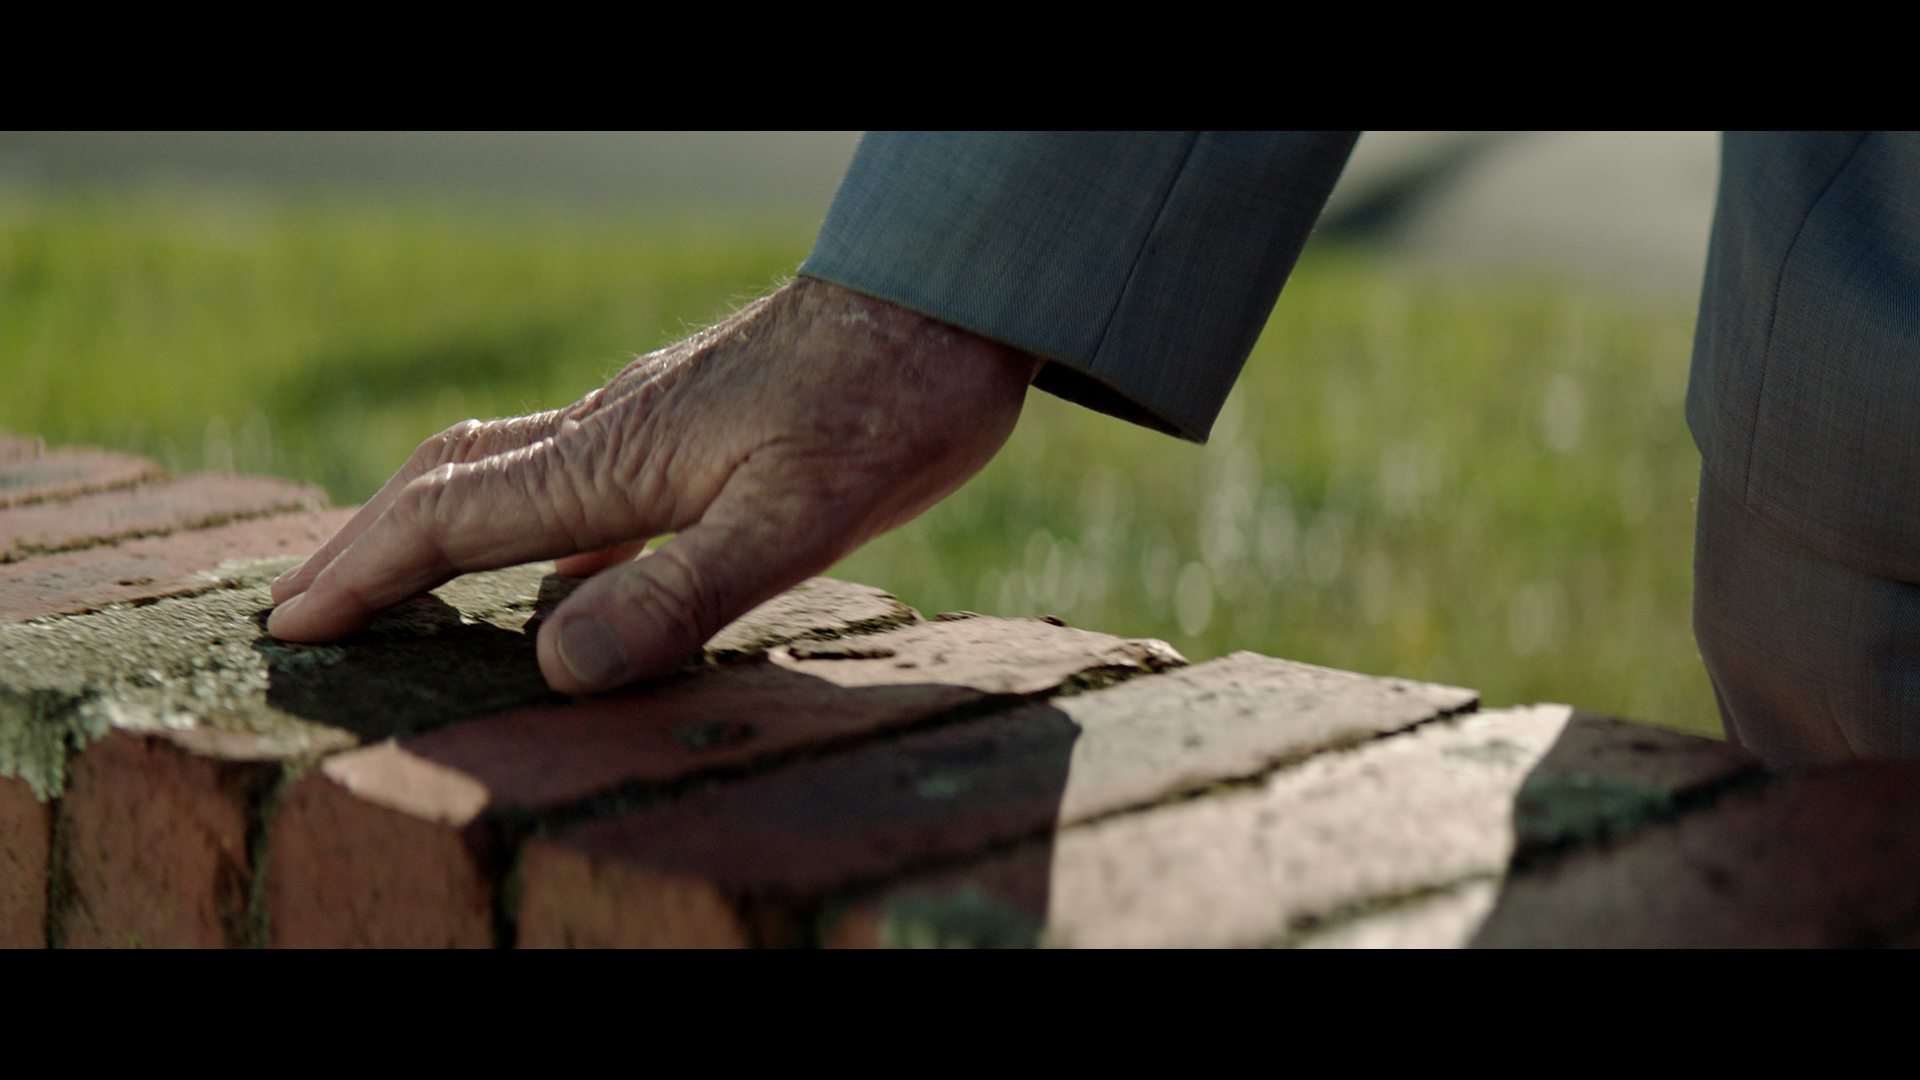
Another CU of the hand dragging along the bricks of the first house.
The Lighting
Same set up as above.
The Result
Shot #7 - The Super
The Shots
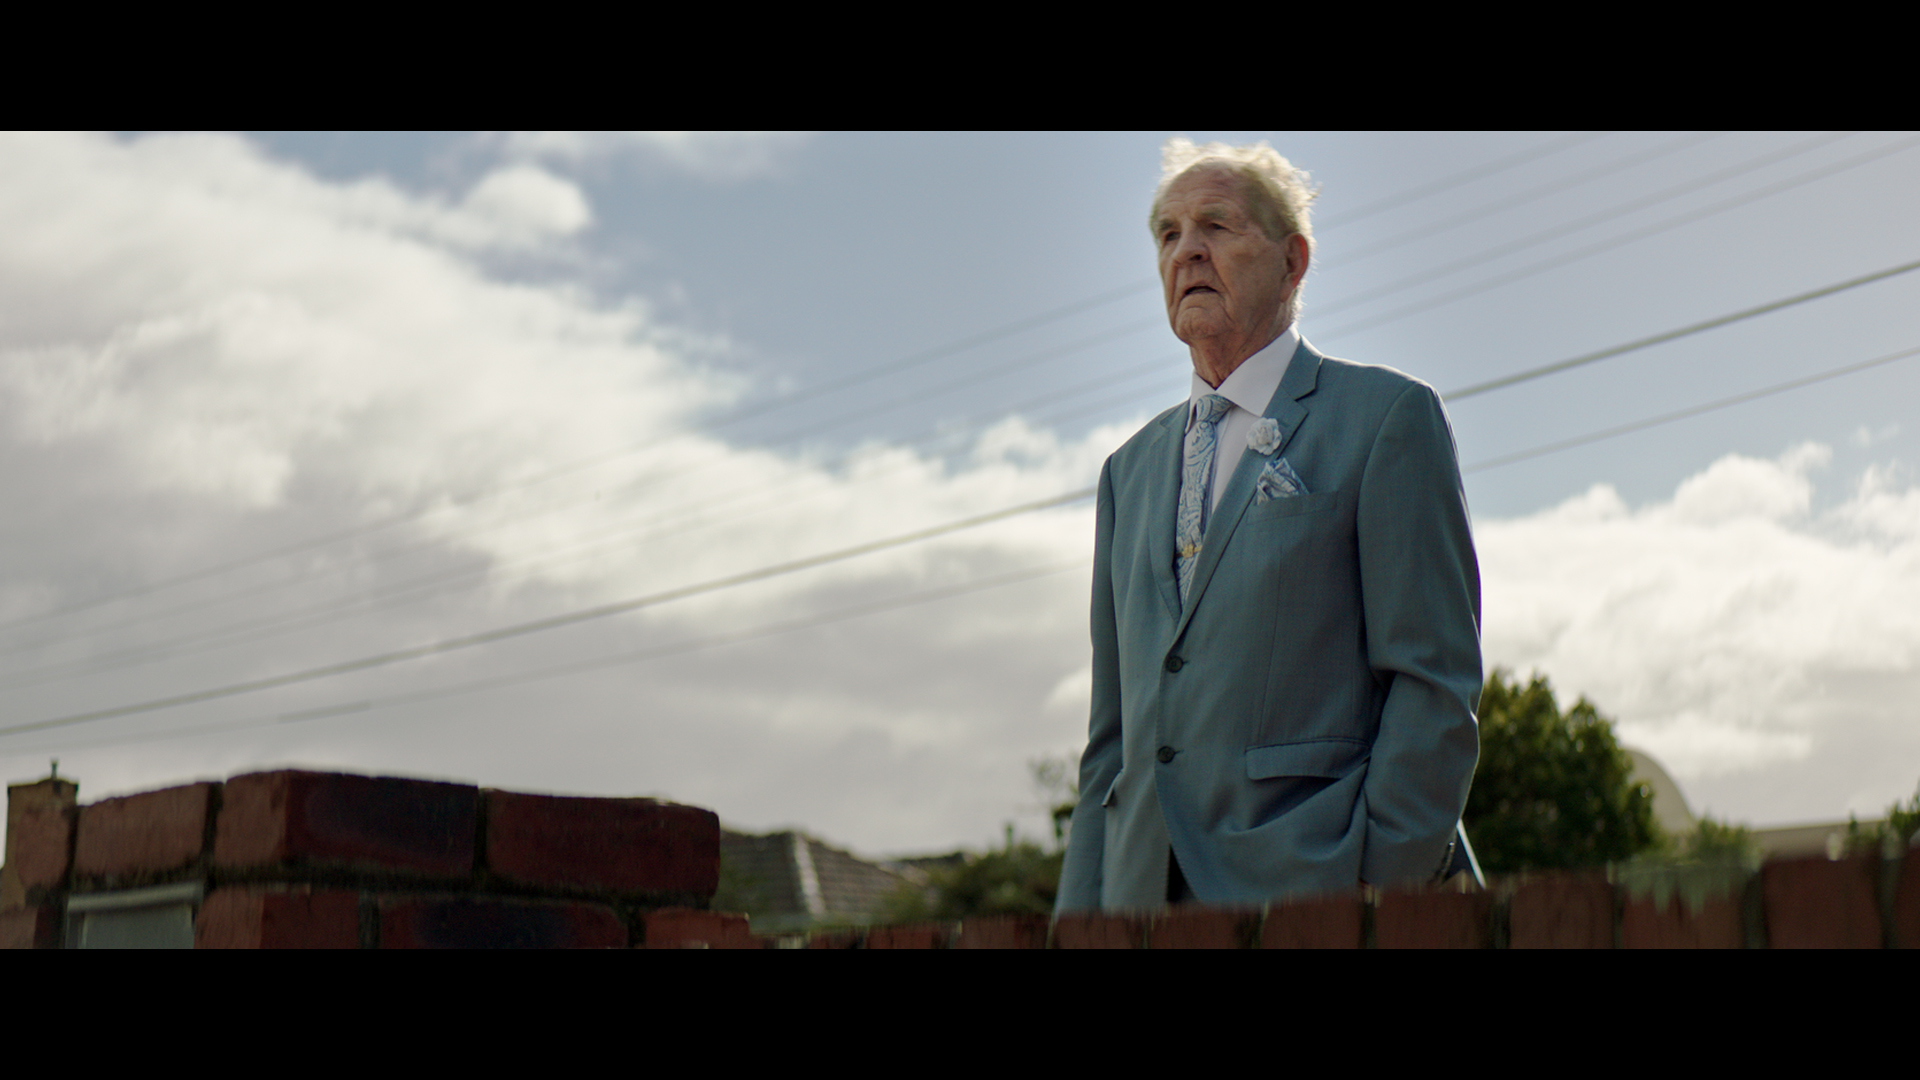
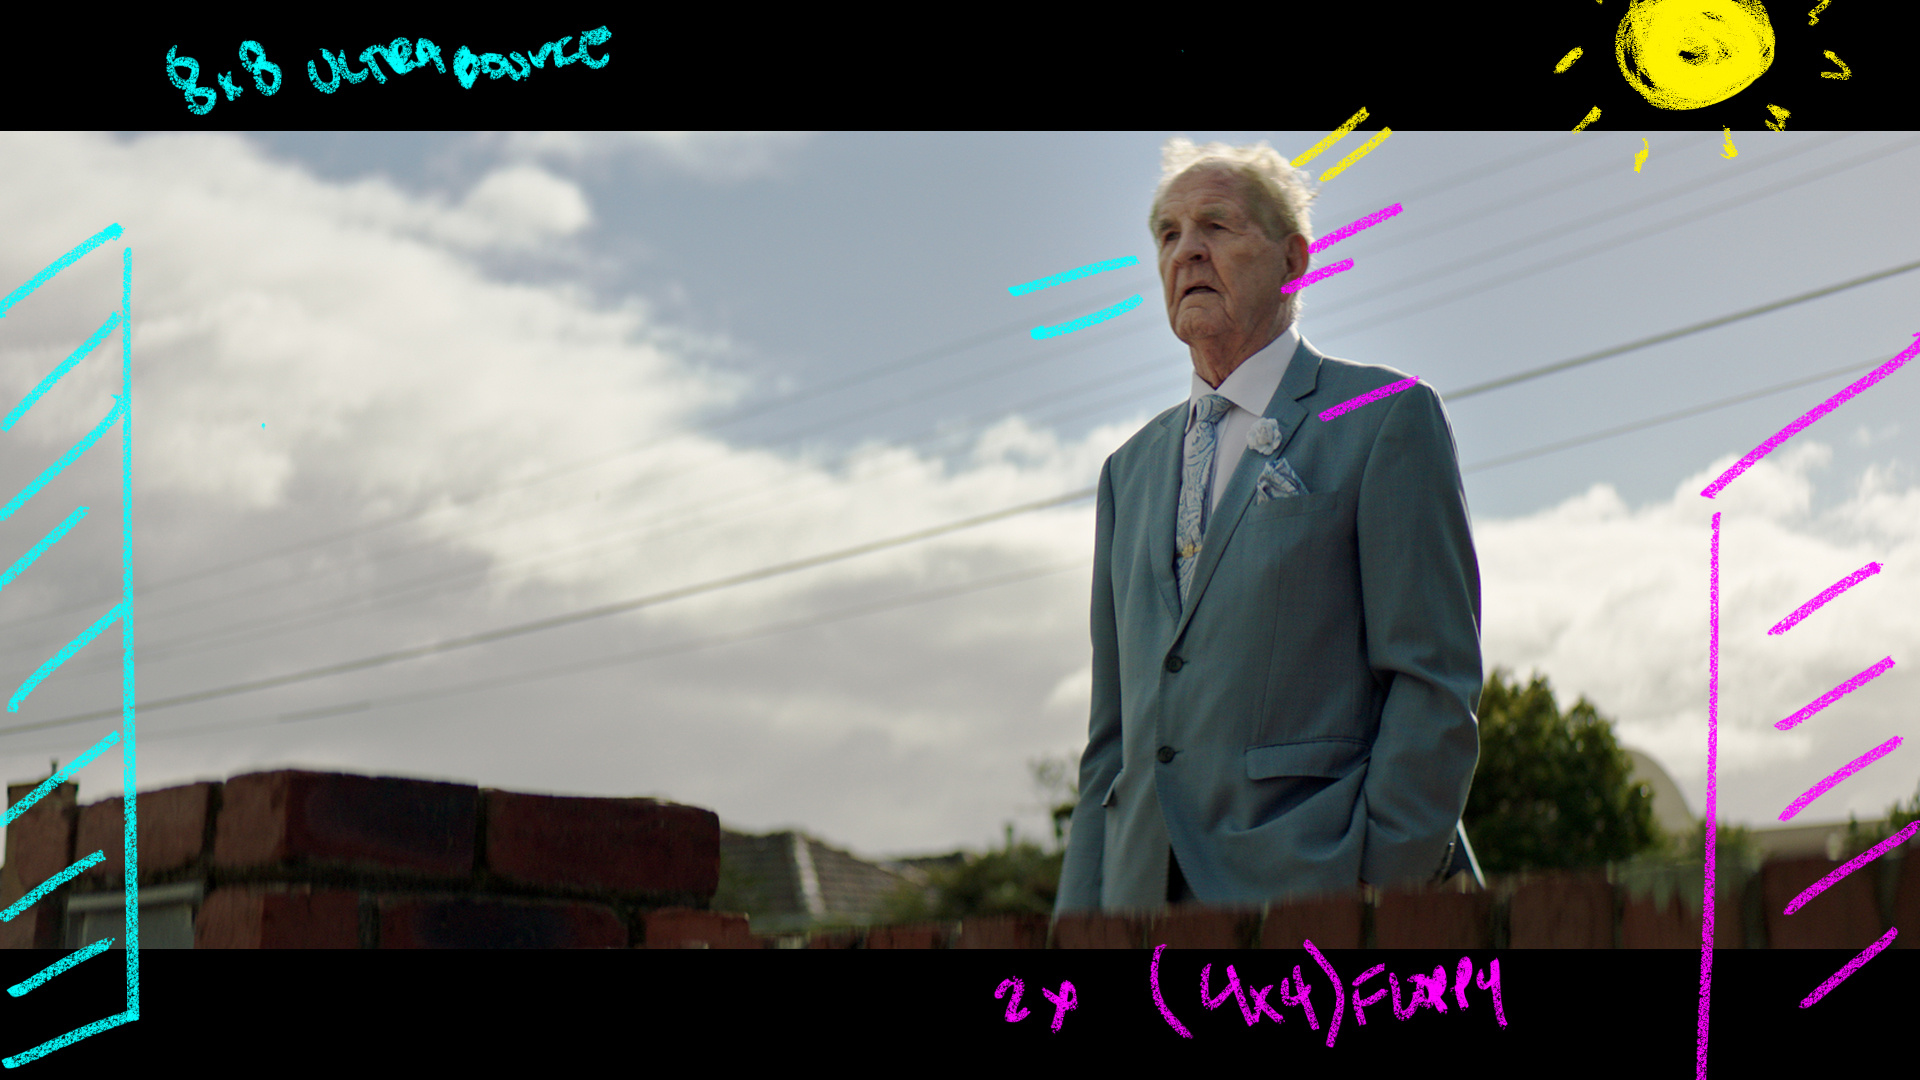
We finished off the sequence looking this direction with a wider look at the owner.
The Lighting
Here you can see the difference the exact same lighting modifiers can have when paired with a wider shot. We used the same 8x8 Ultra and Neg Fill but their impact on the contrast is lessened as the wider shot meant we had to be further away from the subject.
The Result
Shot #7 - The House Reverse
The Shot
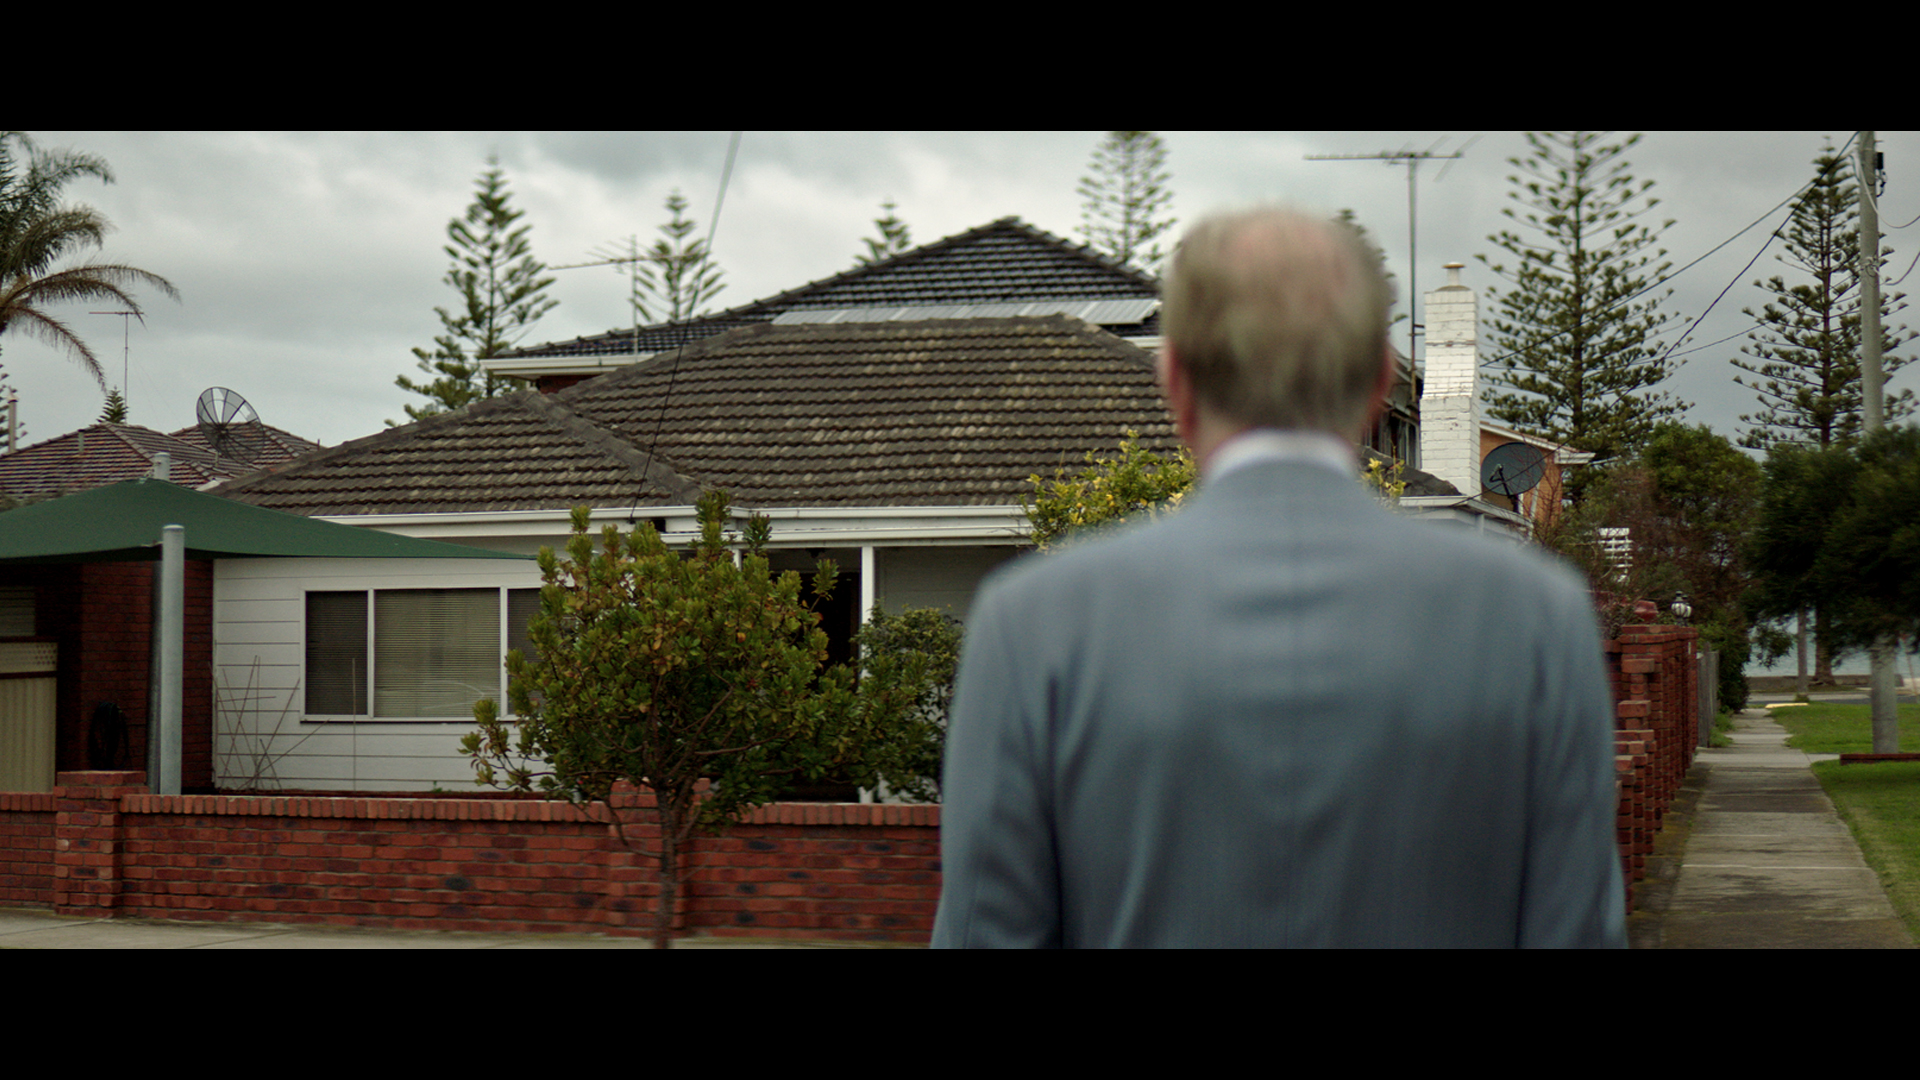
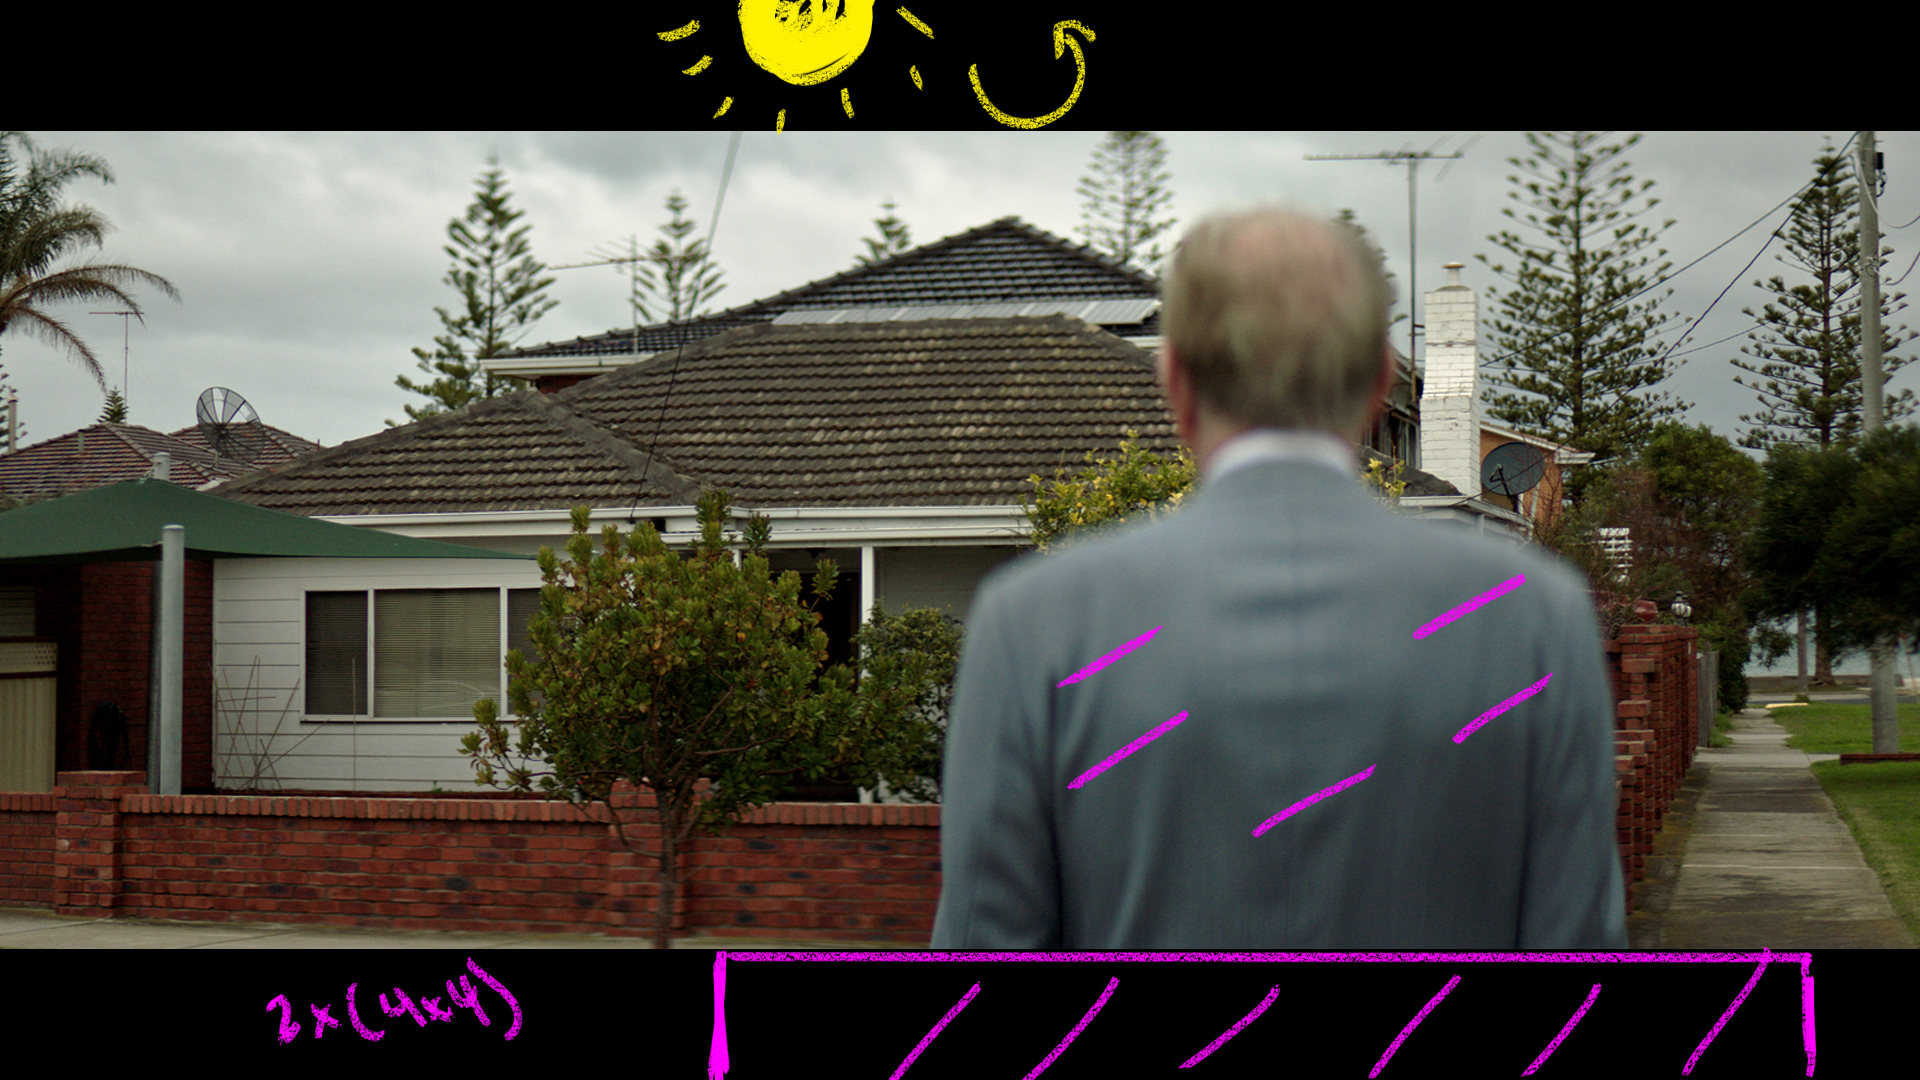
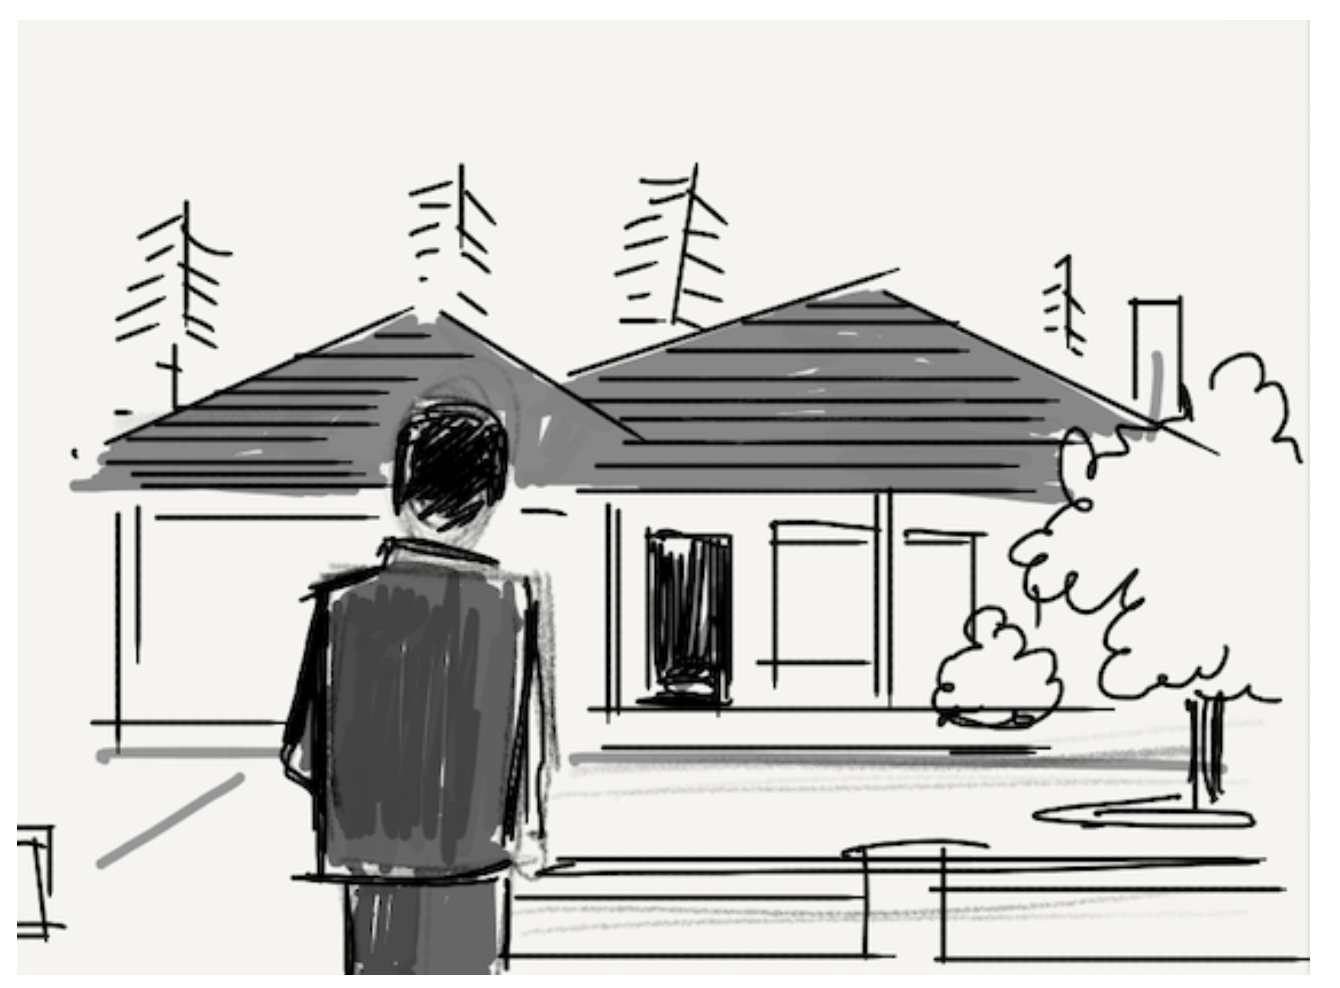
We cut to reveal the house with the owner in the foreground.
The Lighting
We got real lucky here that it clouded over as this house was getting blasted with front light the entire time we were shooting the other shots at this location.
The clouds rolled in and we quickly spun around, added some neg to the foreground behind the camera, and fired this one off.
The Result
Shot #7 - The Super
The Shot
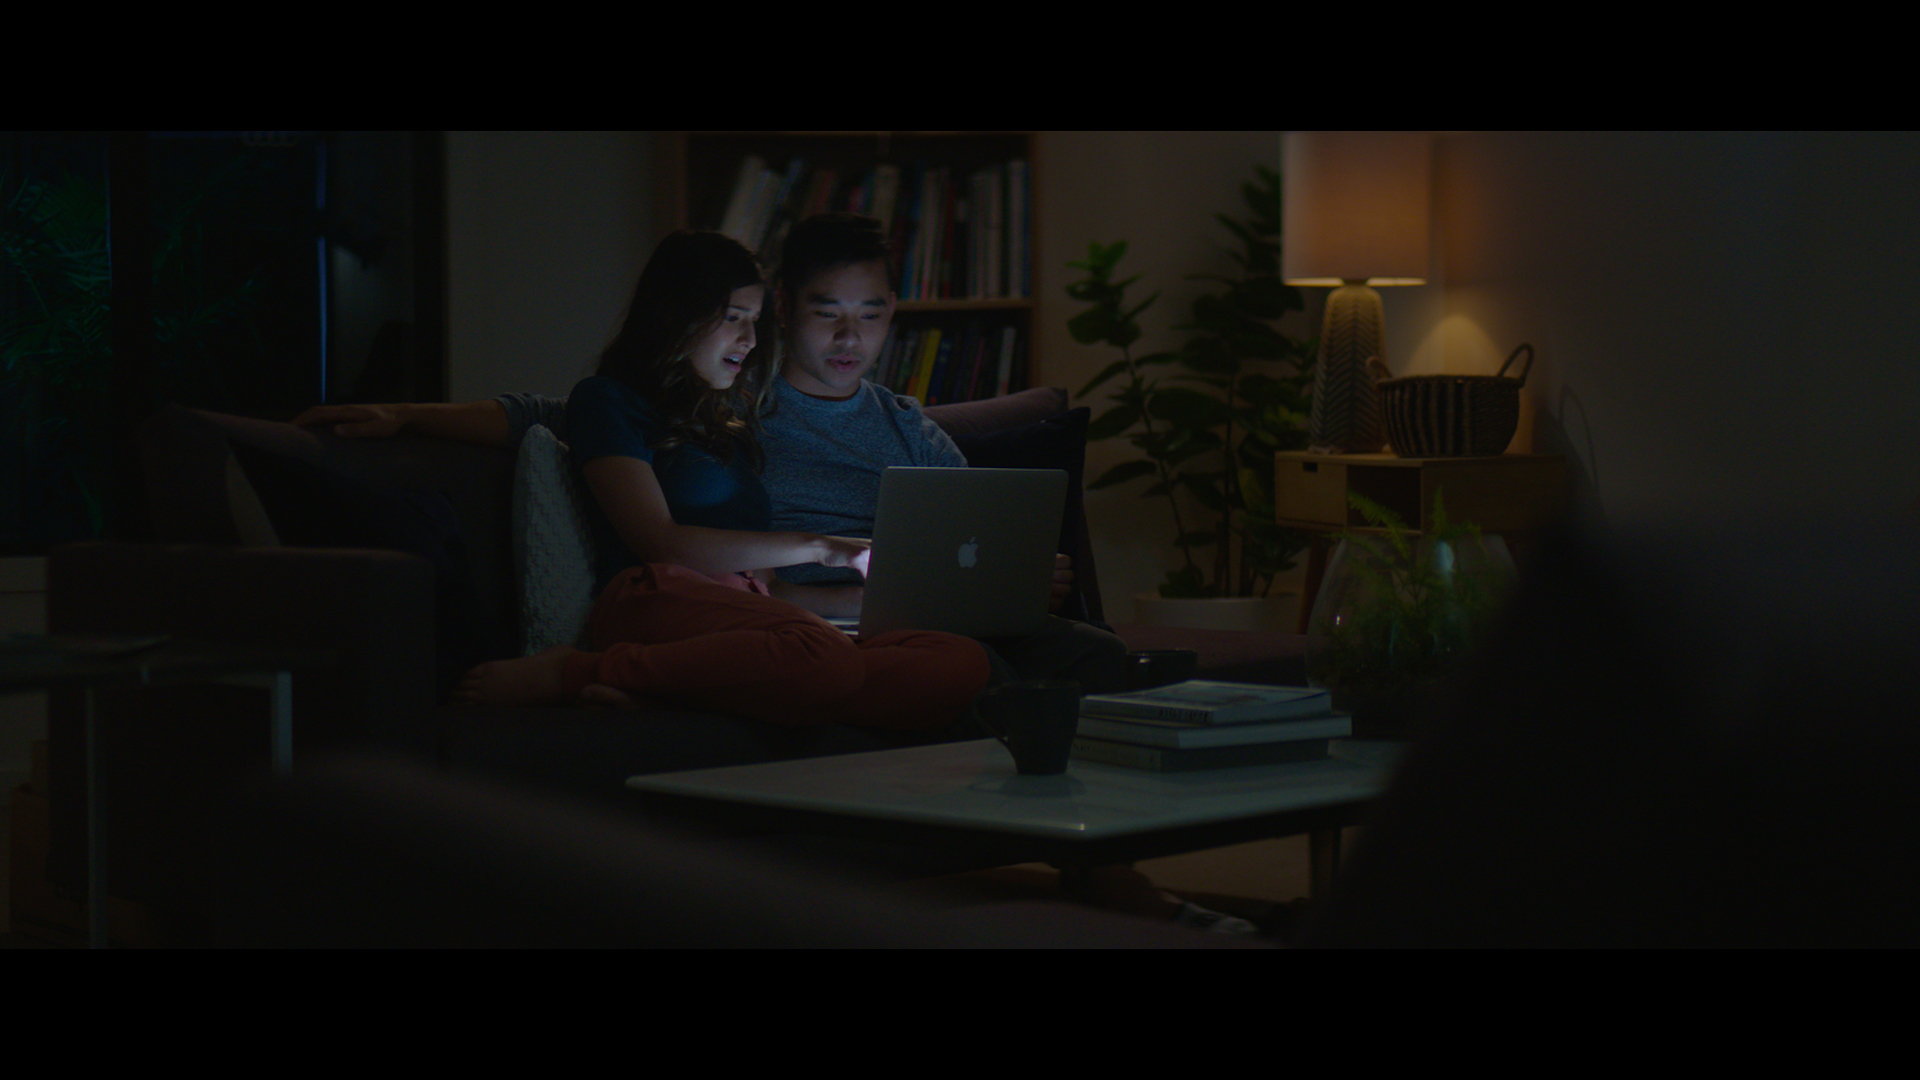
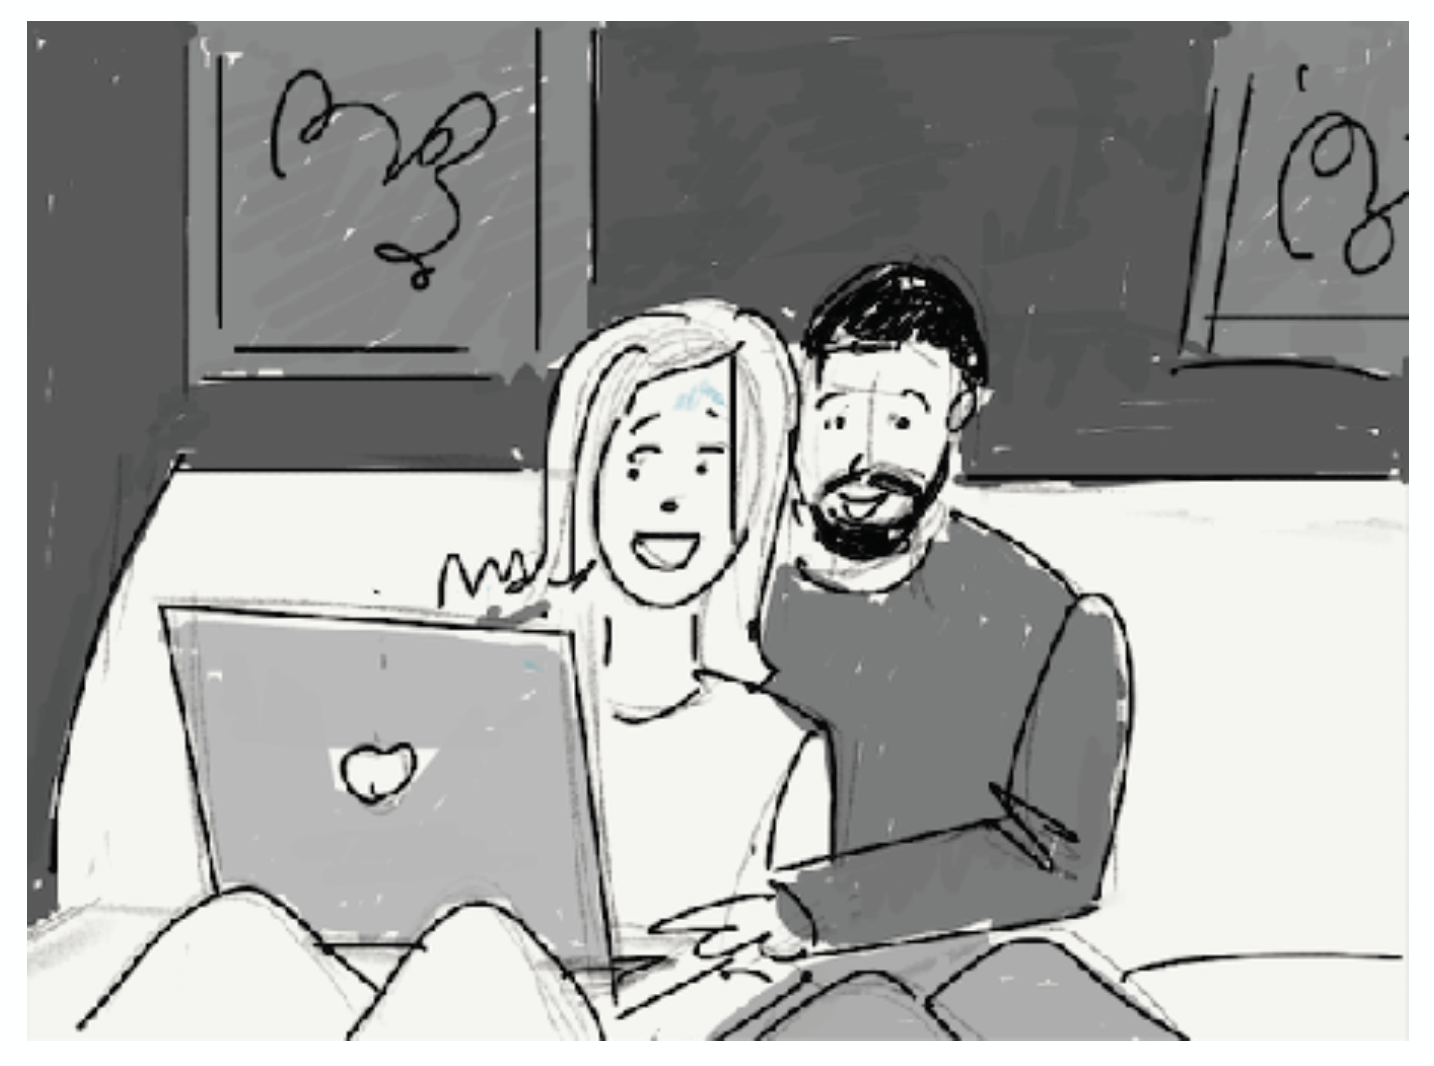
In this sequence we see a couple looking at a laptop in a night time living room.
The Lighting
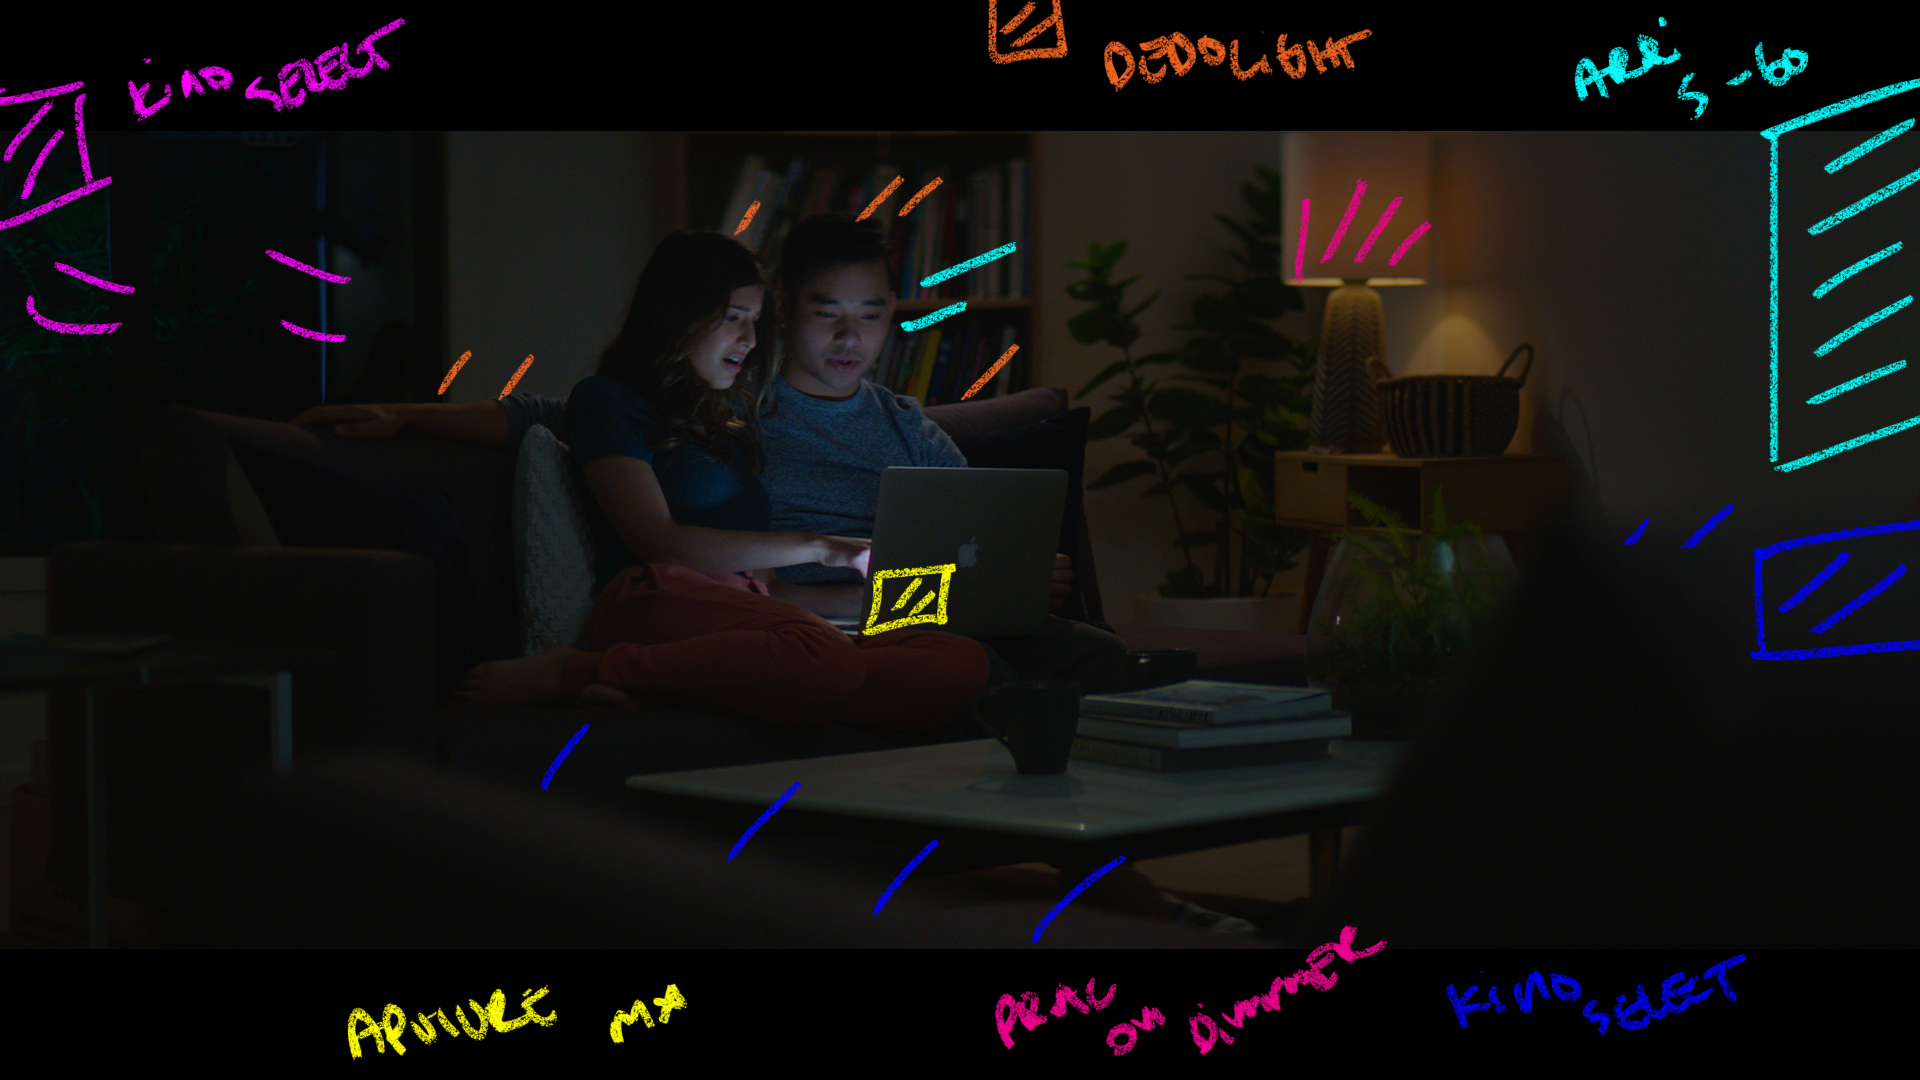
Here we used a S-60 from frame right through a soft box with a grid on it as the key. It was helping to give the laptop light a bit more spread.
In the foreground to create some separation we had a kino select to back light the furniture we were shooting through.
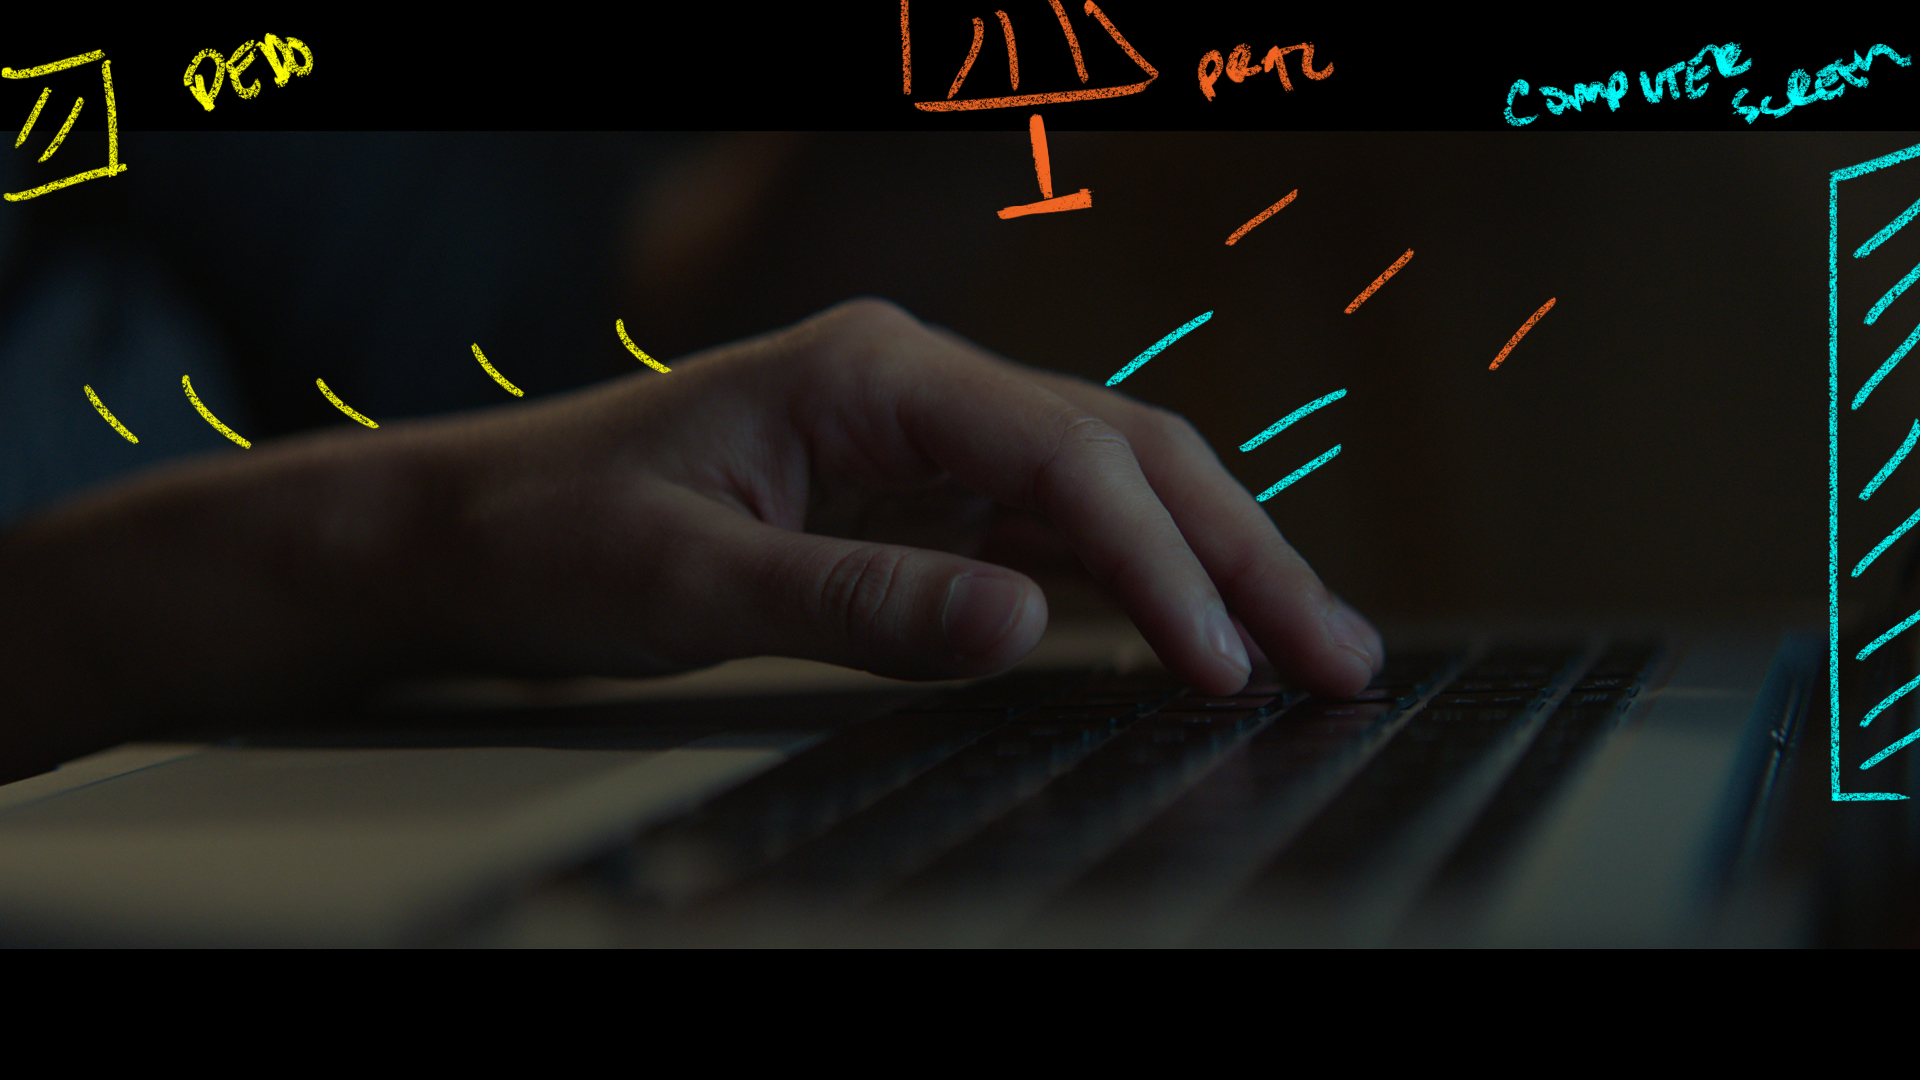
For the talent we had a small Aputure light on the laptop, then a Dedolight above the frame on the right hand side. It was dimmed way down to give it some warmth and to have it sit in the exposure range.
Outside the window we had another kino select to help lift us just out of complete darkness.
The Result
Shot #7 - The Super

The Shots
A CU of the fingers tapping away at the keys.
The Lighting
Same set up as before but we removed the Aputure light on the laptop and balanced the other lamps to the new levels of the laptop light.
The Result
