Alright party people here we go!
We are back at it this week with another breakdown episode. This time we bounce around between remote exteriors and controlled interiors. We needed to move fast and stay nimble but still maintain the look.
This commercial was fun to be on as we moved through so many set ups over the 3 days. Let's dive in and take a look.
Enjoy!
Commercial Cinematography: The Foundation Course
If you are interested in Commercial Cinematography and getting the most out of Pre-Production than this course is for you.
In the course I lay out a step by step plan of action to get on commercial production radars and raise the level of your projects by maximising the prep time you have at your disposal.
Check it out:
Patreon Podcast - Stop the Bus
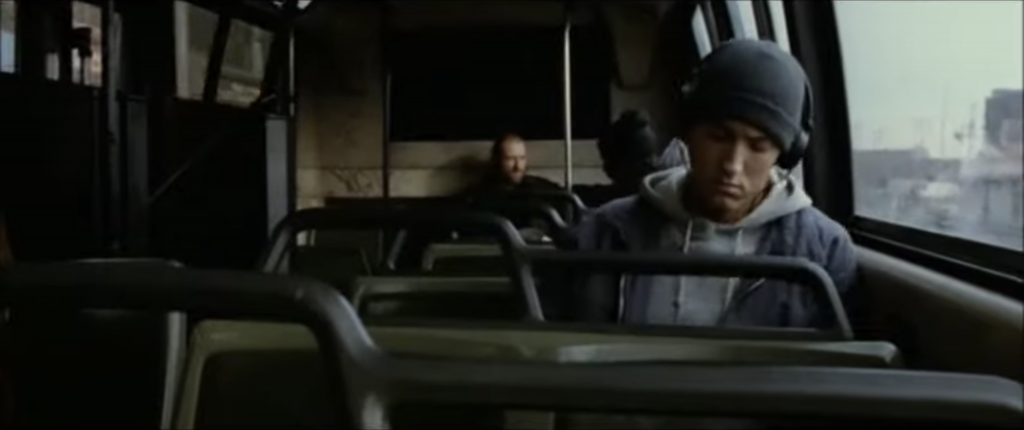
Over on Patreon this week we take a look at 3 very different movies with 3 very different scenes that just so happen to all take place on a moving bus.
I have done a number of commercials with talent on a bus and they are always tricky. It comes down to one key choice: a real moving bus or shoot it on green screen.
For car work it is an easier question to answer as the infastructure you need for convincing studio car work is significantly smaller. The larger size of a bus means more often than not at the level I work at we are shooting on a moving bus in the real world.
This limits lighting options so a firm plan is needed to make sure you don't leave anything on the table when it comes to the visuals.
In the Patreon Podcast this week we look at some different budget levels and how each film tackled the same issues you will face should you ever find yourself shooting in a bus.
To see the images and listen to the special breakdown podcast click the link below:
Light Bridge- The Ad
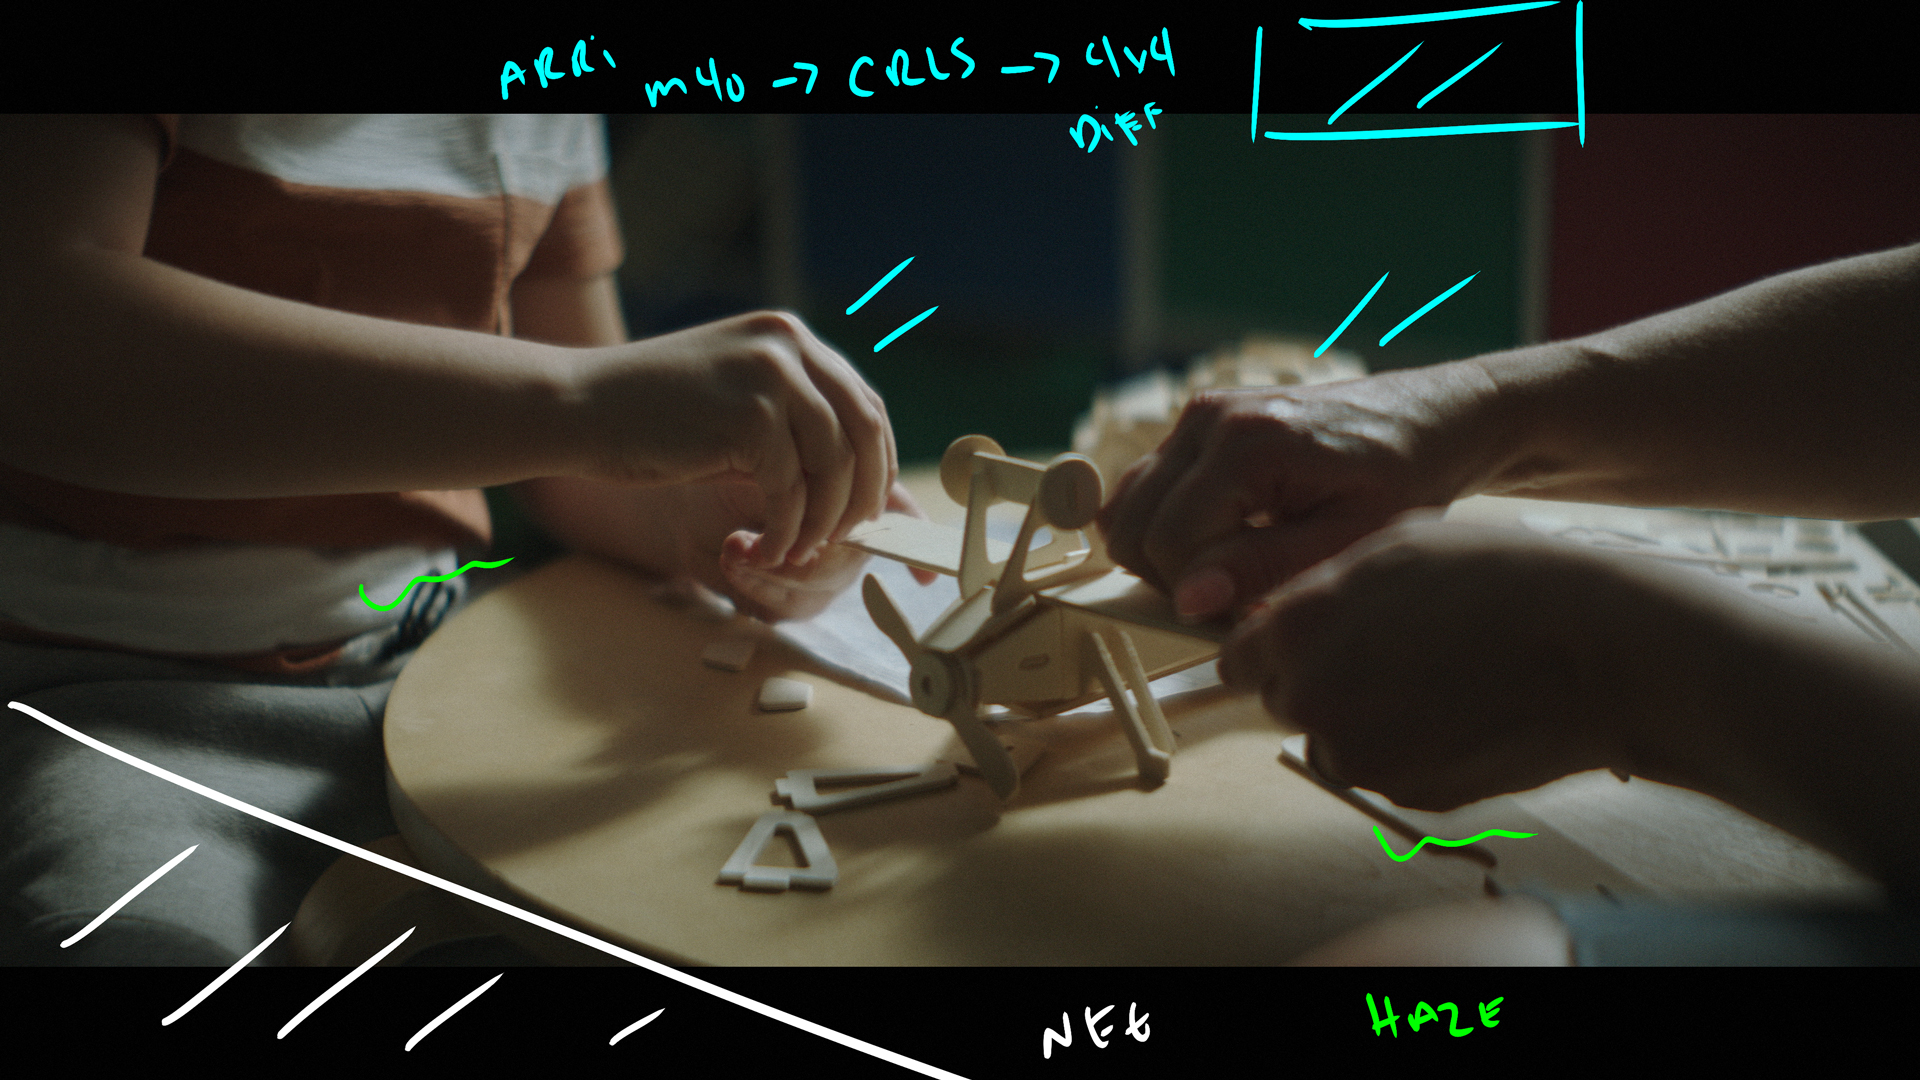
Shot 1 - The Frame
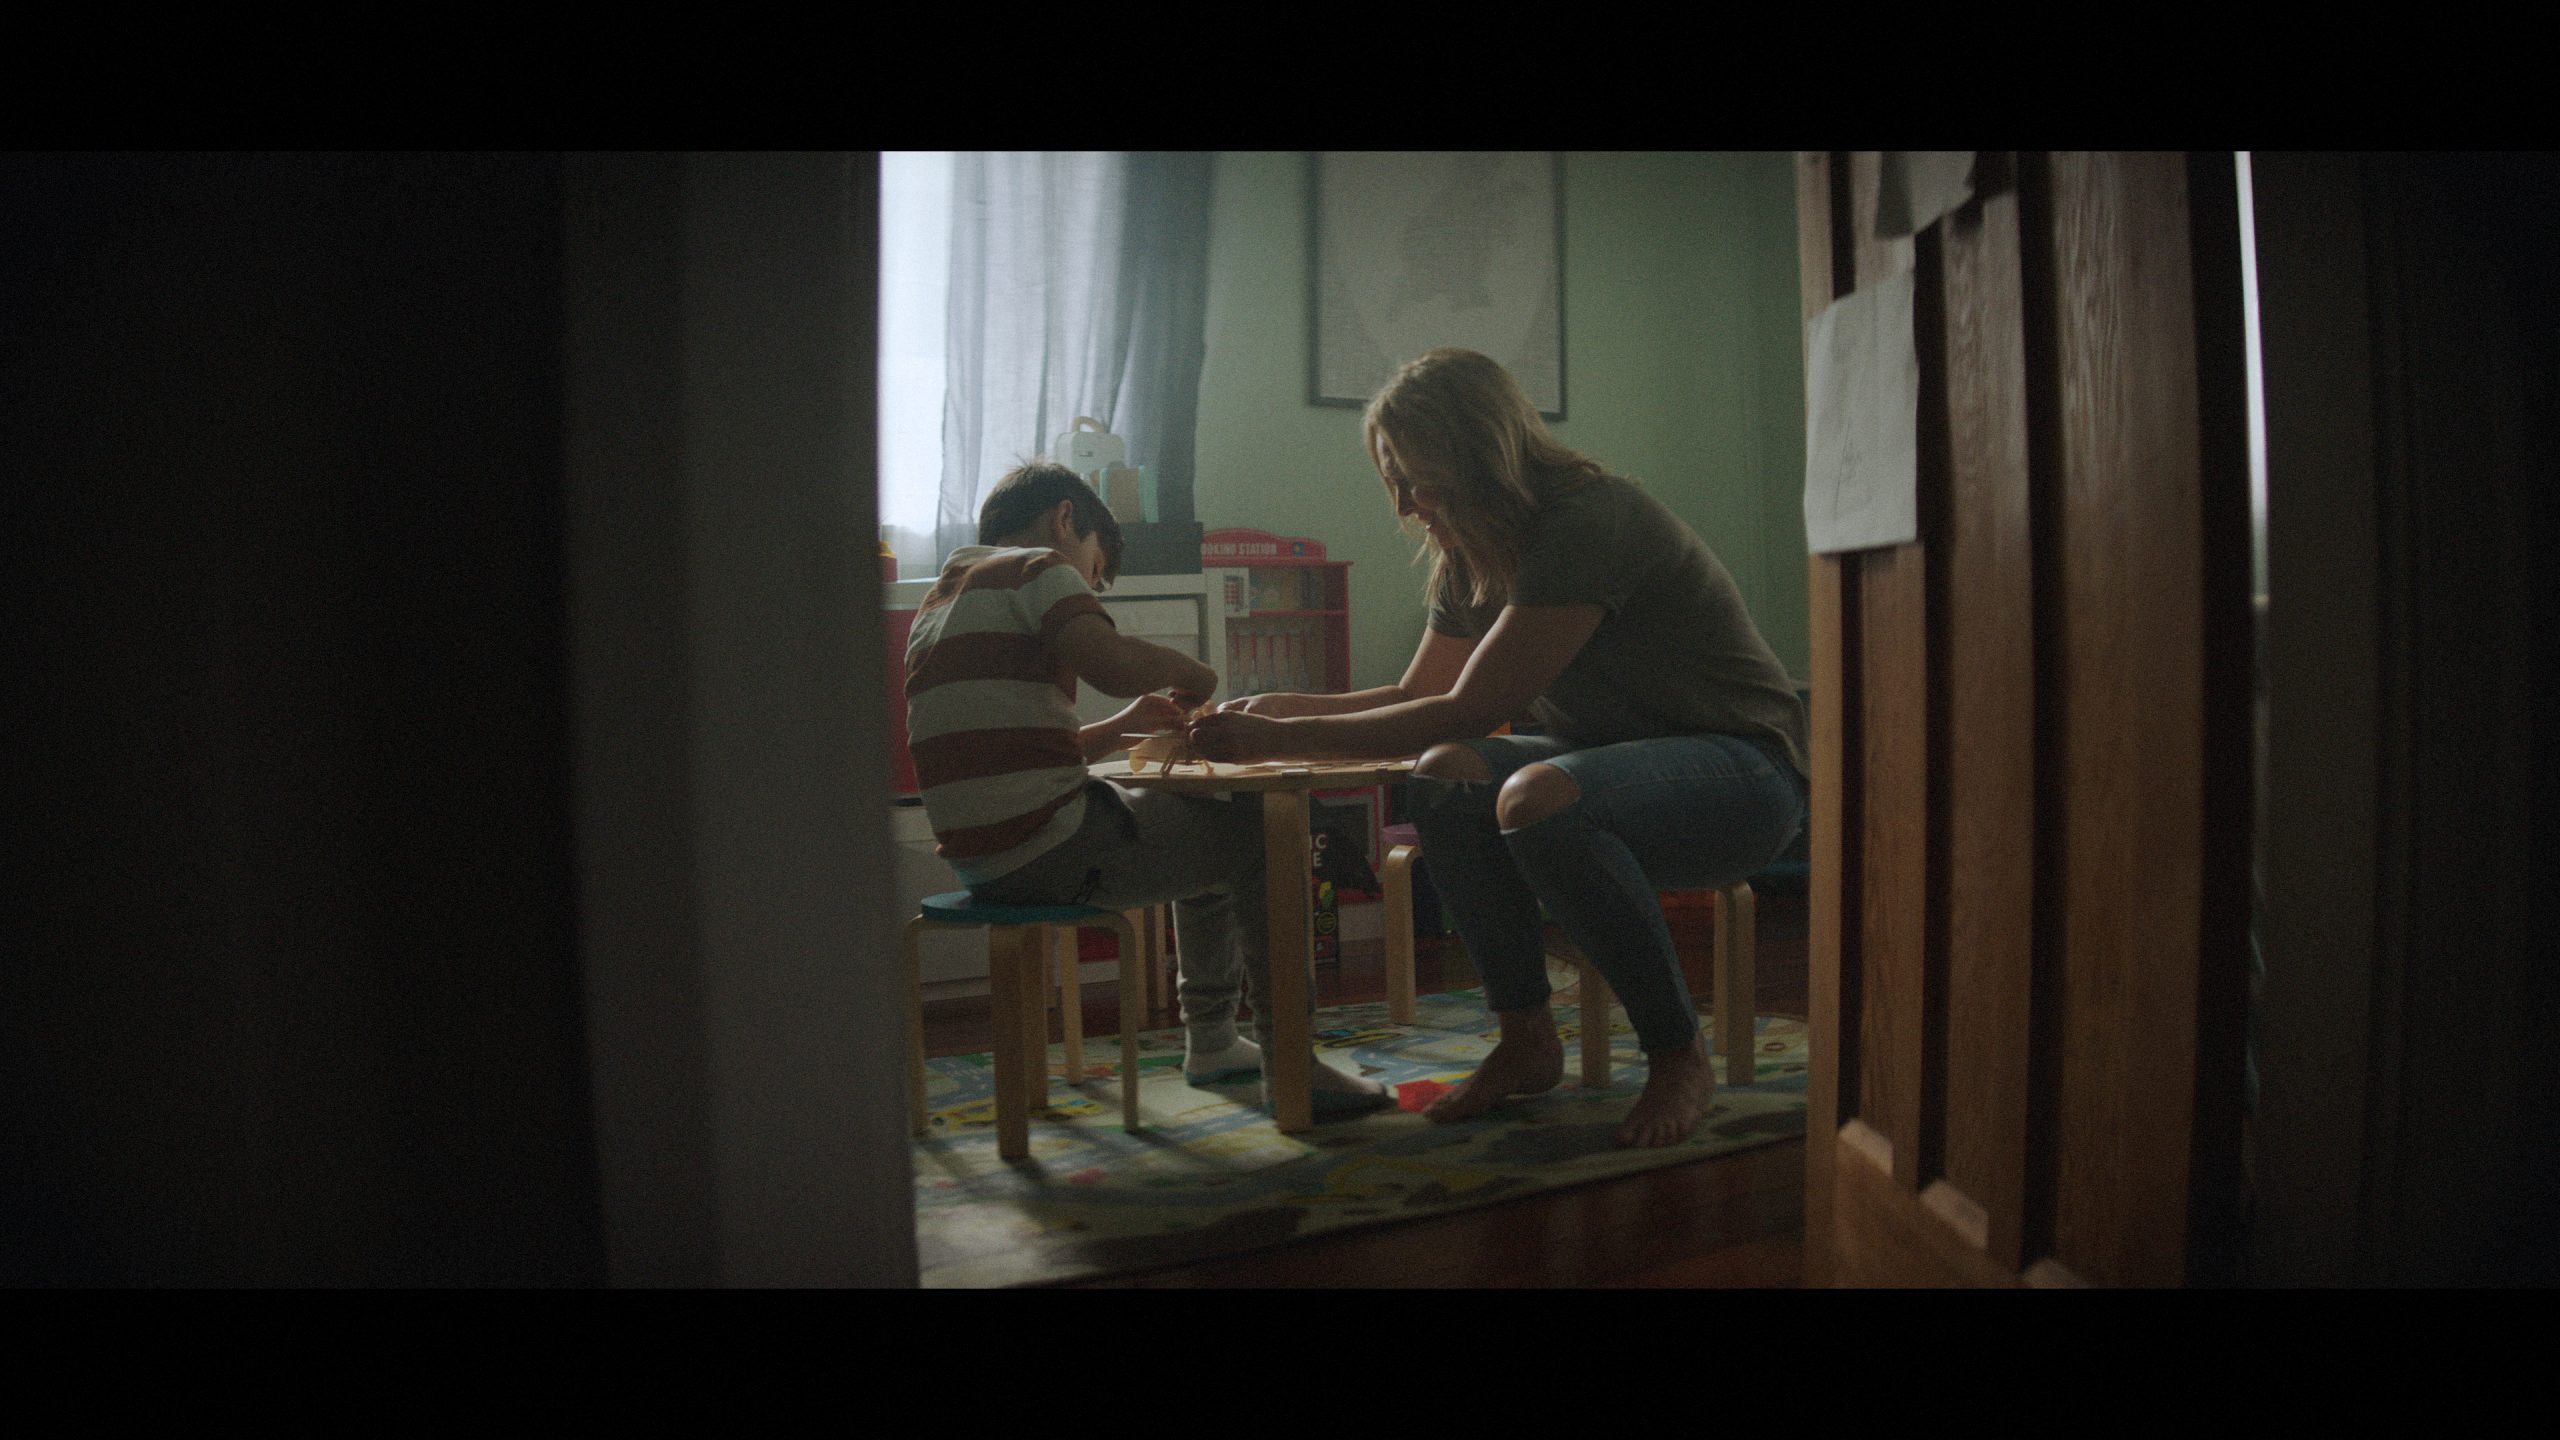
The Shot
Mom and son build a model airplane.
The Lighting
This was a crazy day as we had a ton of set ups in a single location. We needed lighting solutions that allowed us to shoot out entire rooms/scenes without too much change from shot to shot.
Here we goalposted a CRLS 4x4 frame out the window then used the sheers and curtains to help tame the light.
The light going into the Light Bridge CRLS was an Arri M40 just under the window.
Inside there is neg on the near wall inside the room and an Arri Skypanel S-60 inside the room and bouncing into the ceiling for a little carry.
The Result

Shot 2 - Inside the Room
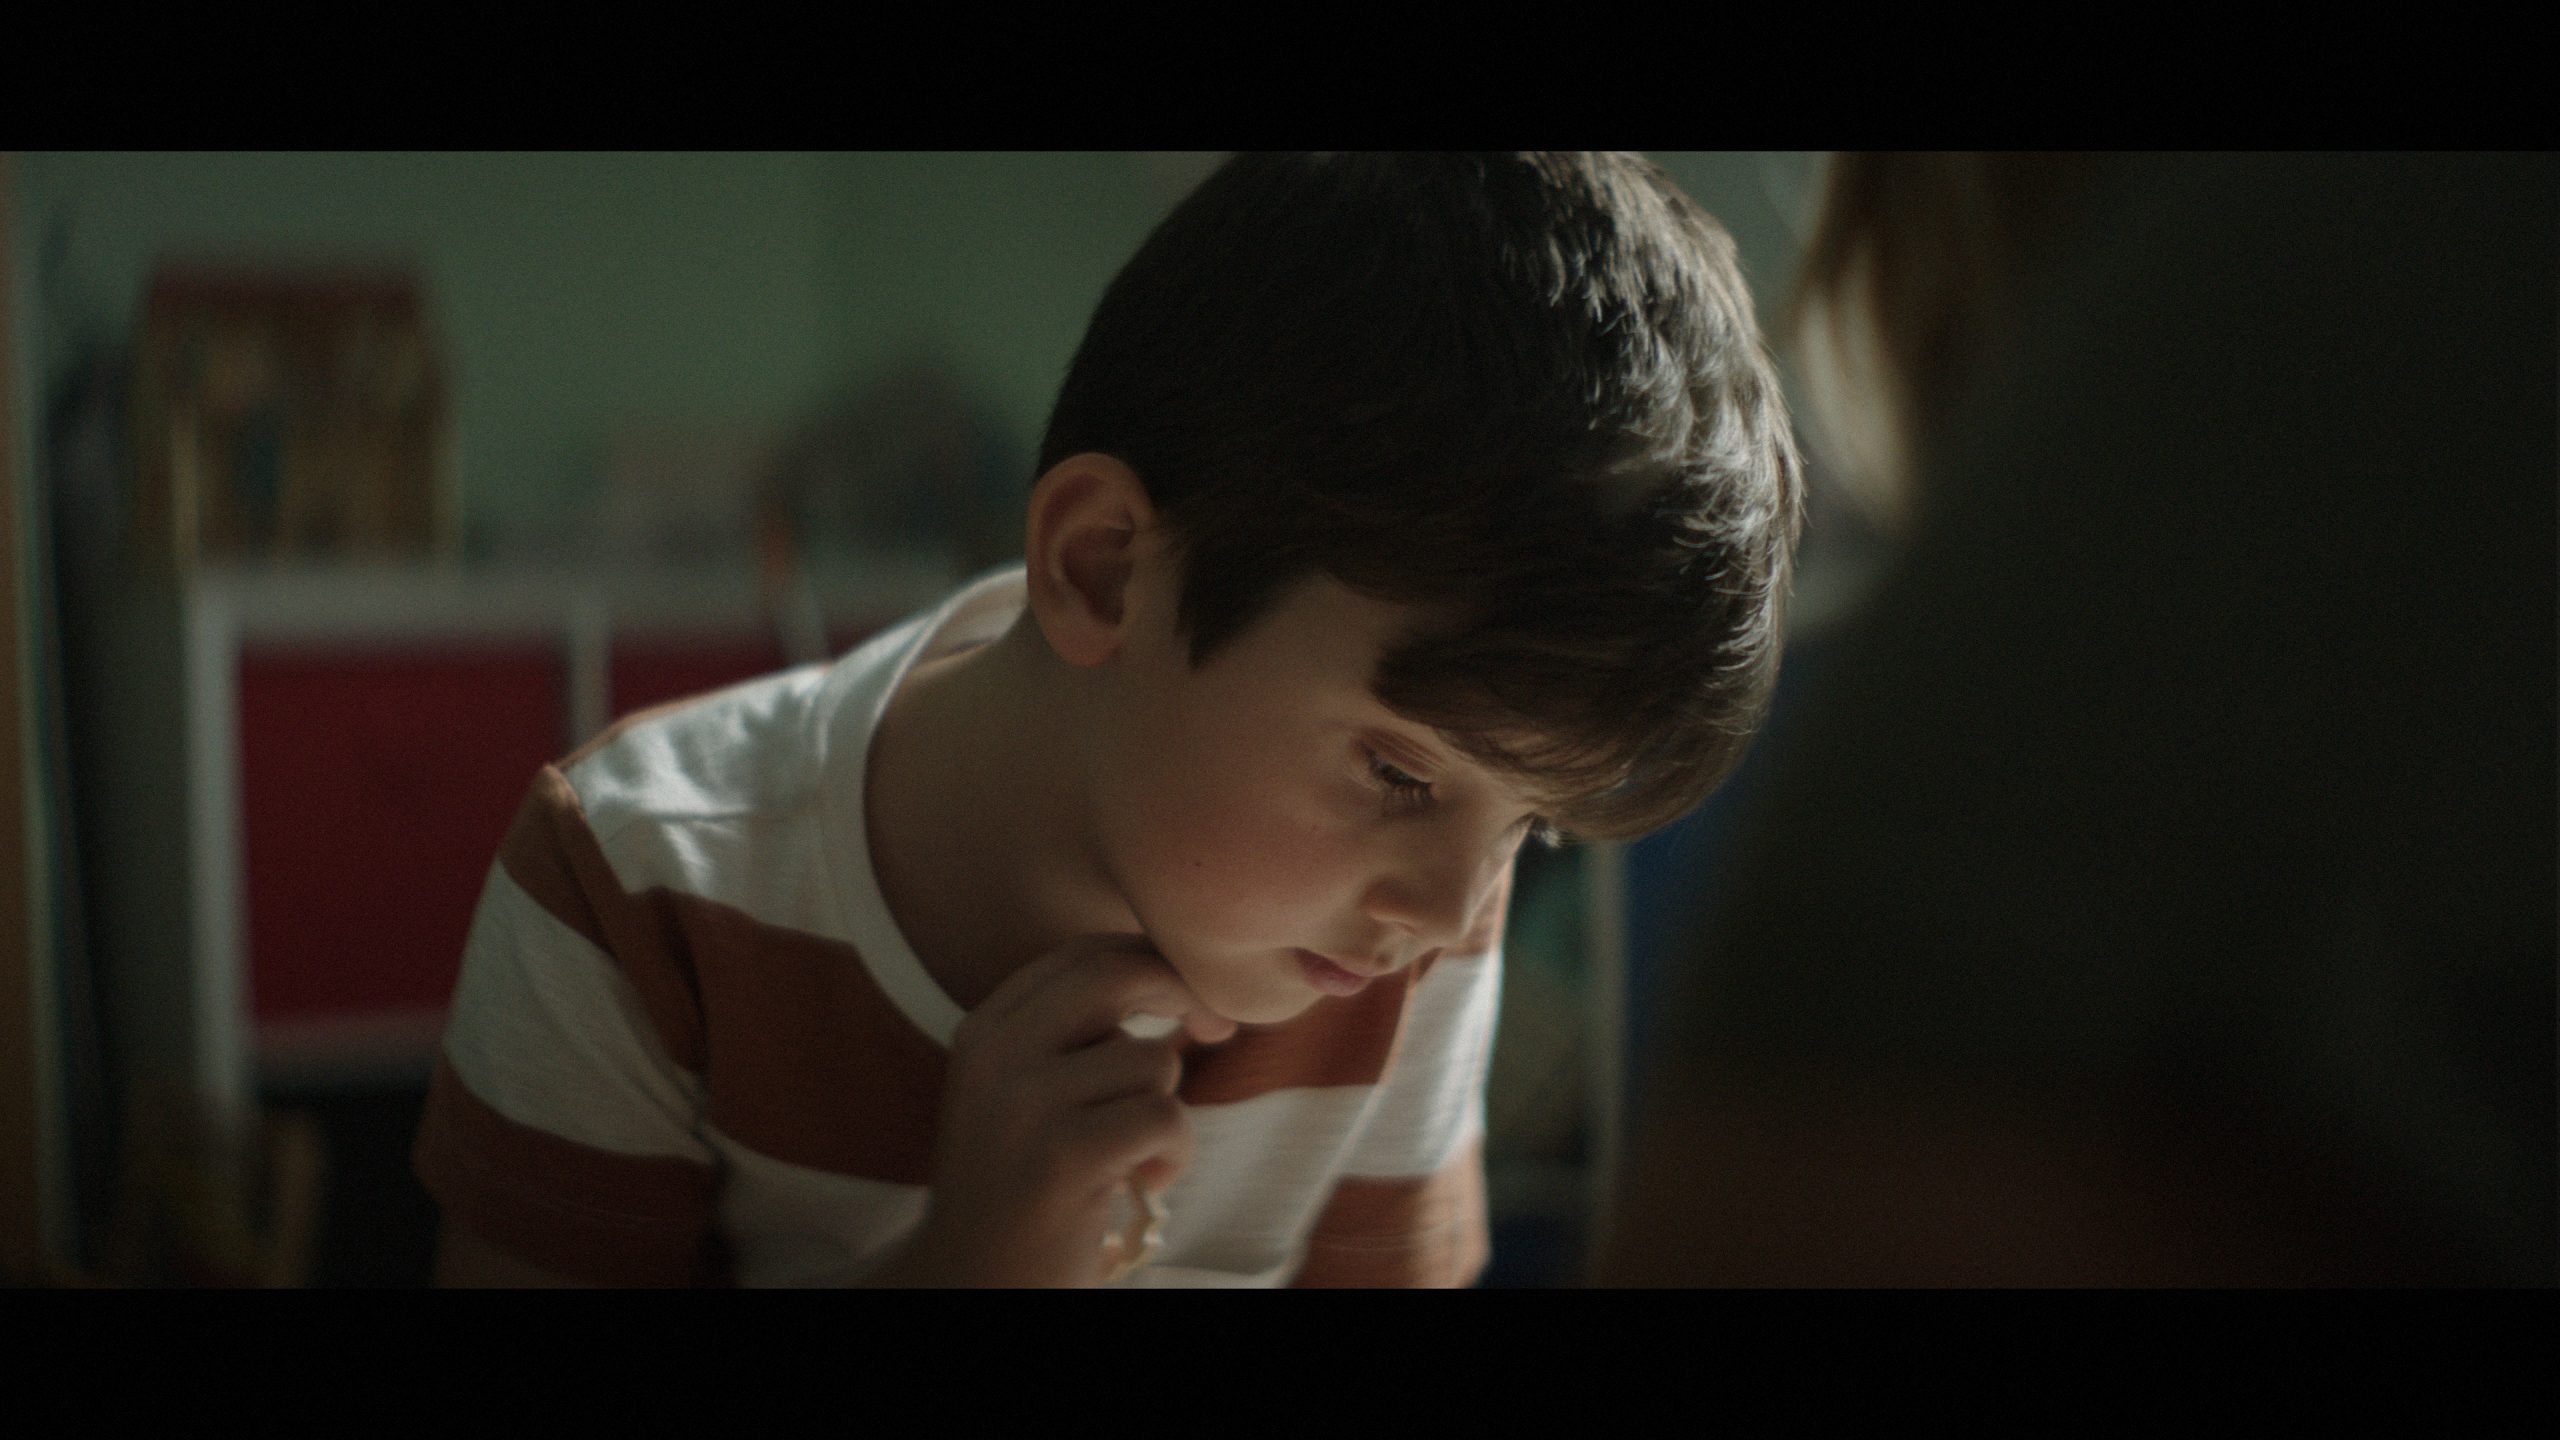
The Shot
The boy's single as he builds the model airplane.
The Lighting
We kept the majority of what was there before but swapped out the Skypanel now that we couldn't see the Key window frame right.
We snuck in some diffusion to open the room up a little and brought the Neg closer frame left.
The Result

Shot 3 - Again but Tighter
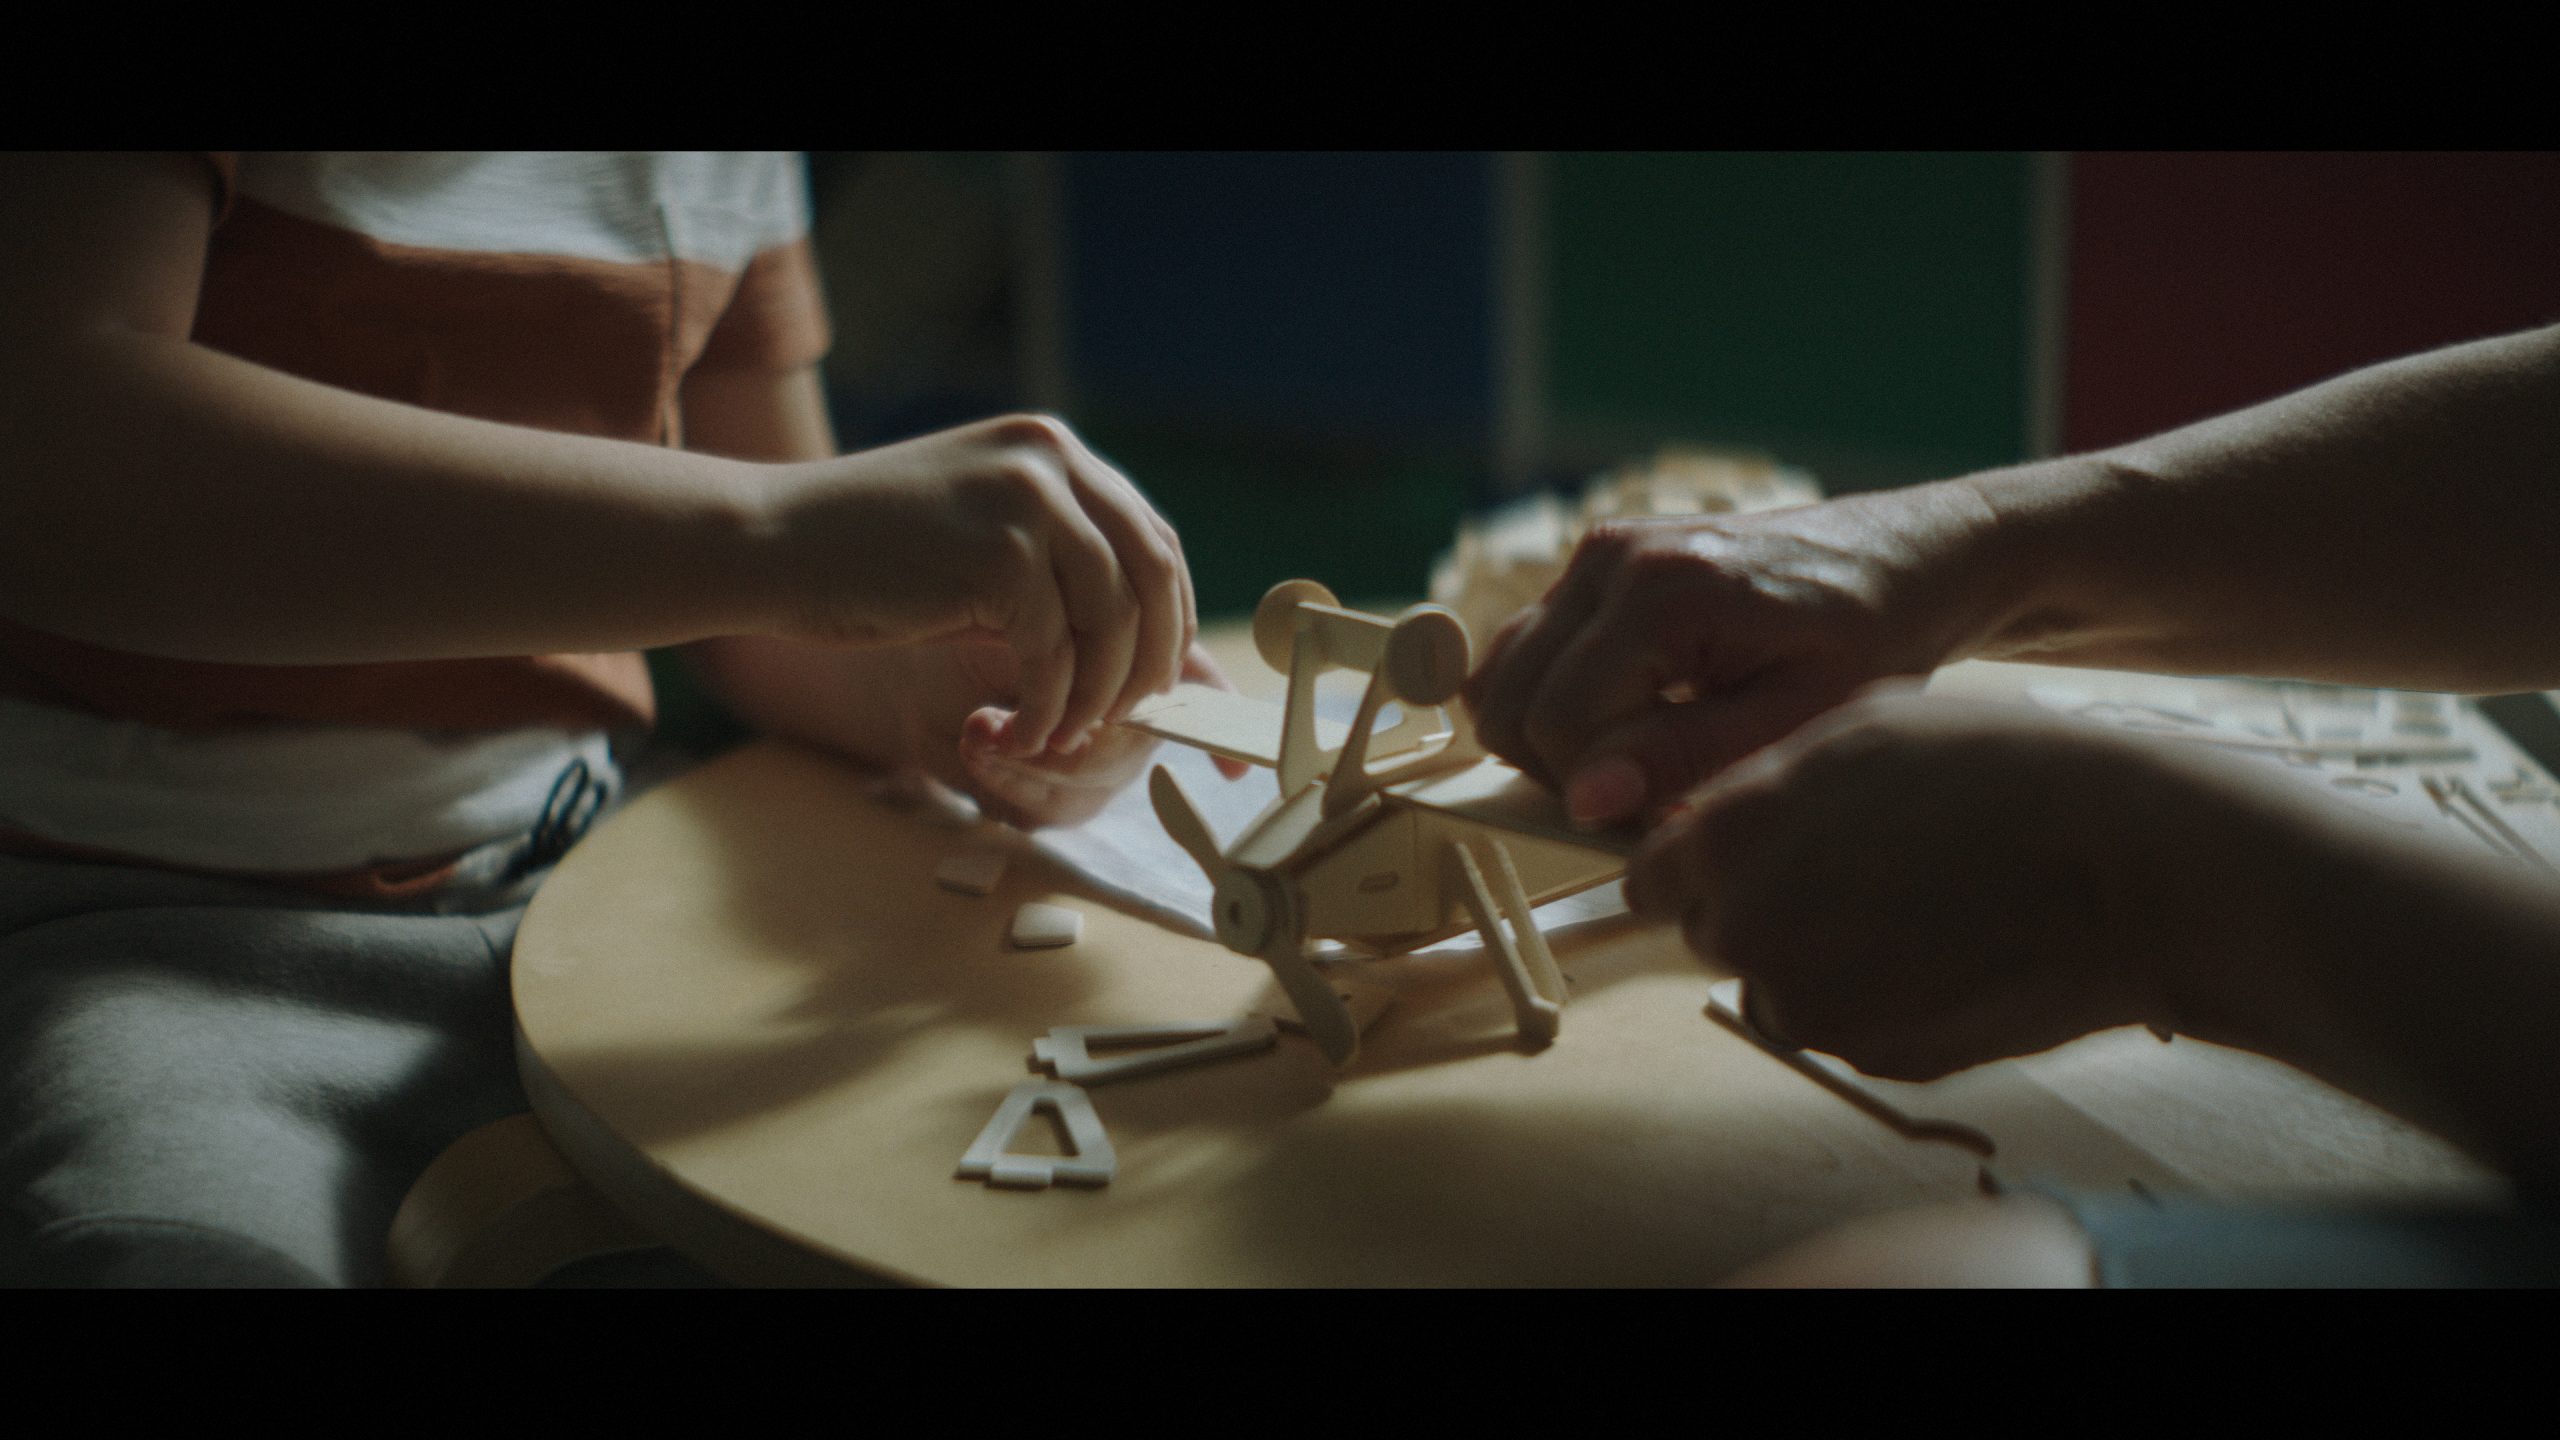
The Shot
A close up of the model airplane building.
The Lighting
See above.
The Result
Shot 4 - The Connection

The Shot
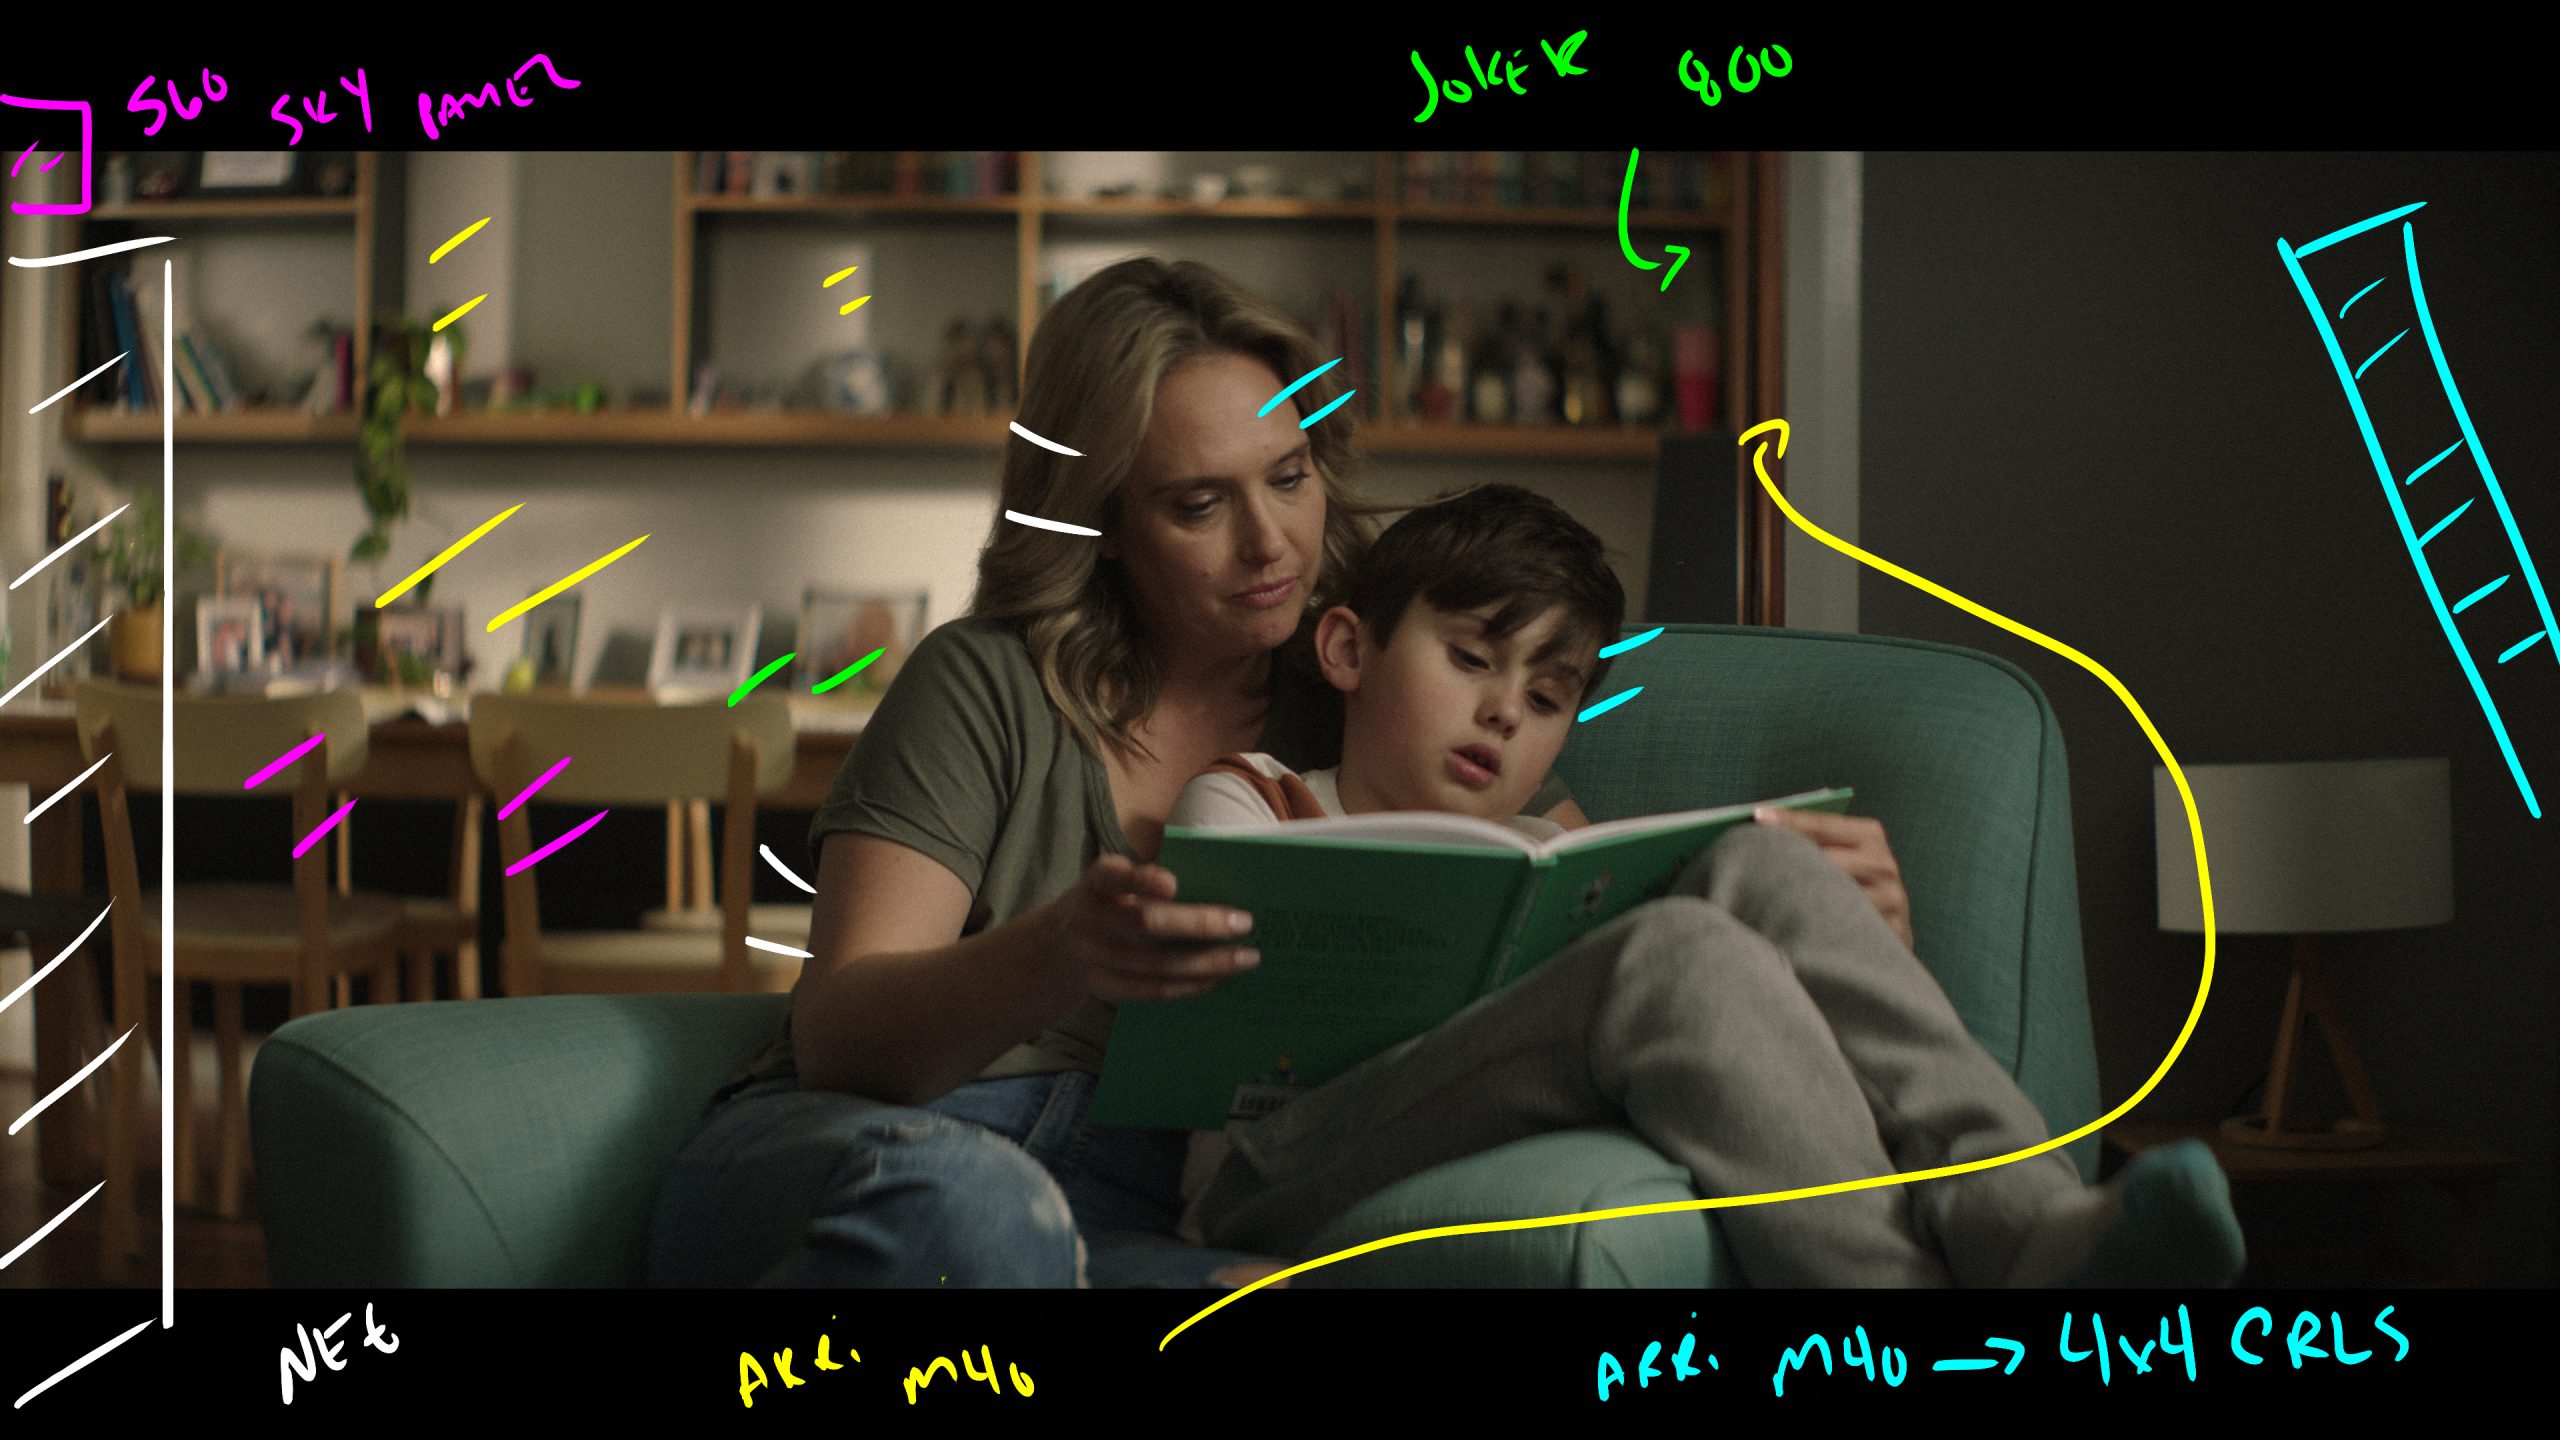
Mom and son sit and read.
Easy enough but we wanted to add some depth in the BG so we positioned the chair out from the wall.
The Lighting
We used the same goalpost CRLS Light Bridge 4x4 outside paired with the Arri M40 as the key light.
In the BG we used another Arri M40 plus a Joker 1800 and an Arri M18 to help create some interest.
Frame left is a Skypanel pushing through a 6x6 of 1/4 grid to add some ambient.
The Result
Shot 5 - The Fall Off

The Shot
Boy sleeps in the chair while Mom talks on the phone in the BG.
The Lighting
Same as above but we changed the lighting angles and levels and eliminated the Skypanel room tone.
The Result

Shot 6 - Day for Night
The Shot
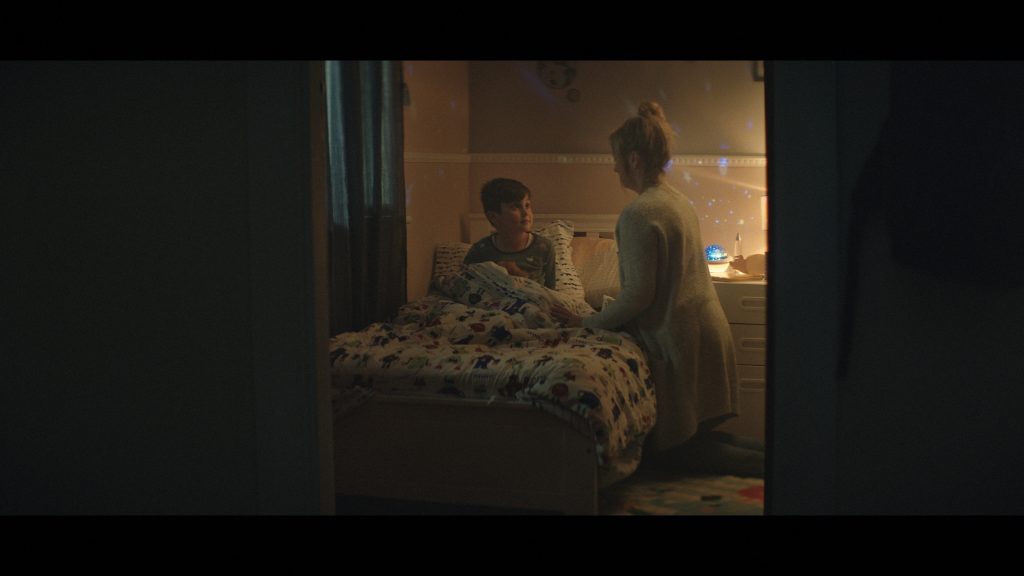
In this shot the boy is going to sleep as Mom tucks him in. The challenge here was shooting Day for Night and doing it with all of the schedule limitations.
The Lighting
Outside the window is an Arri Skypanel S-60. Inside the room is a 500x China Ball set up hanging just over the practical.
The practical is dimmed way down and in the hallway to give just a hint of level is a single 4 foot Titan Tube.
The Result

Shot 7 - One Light
The Shot
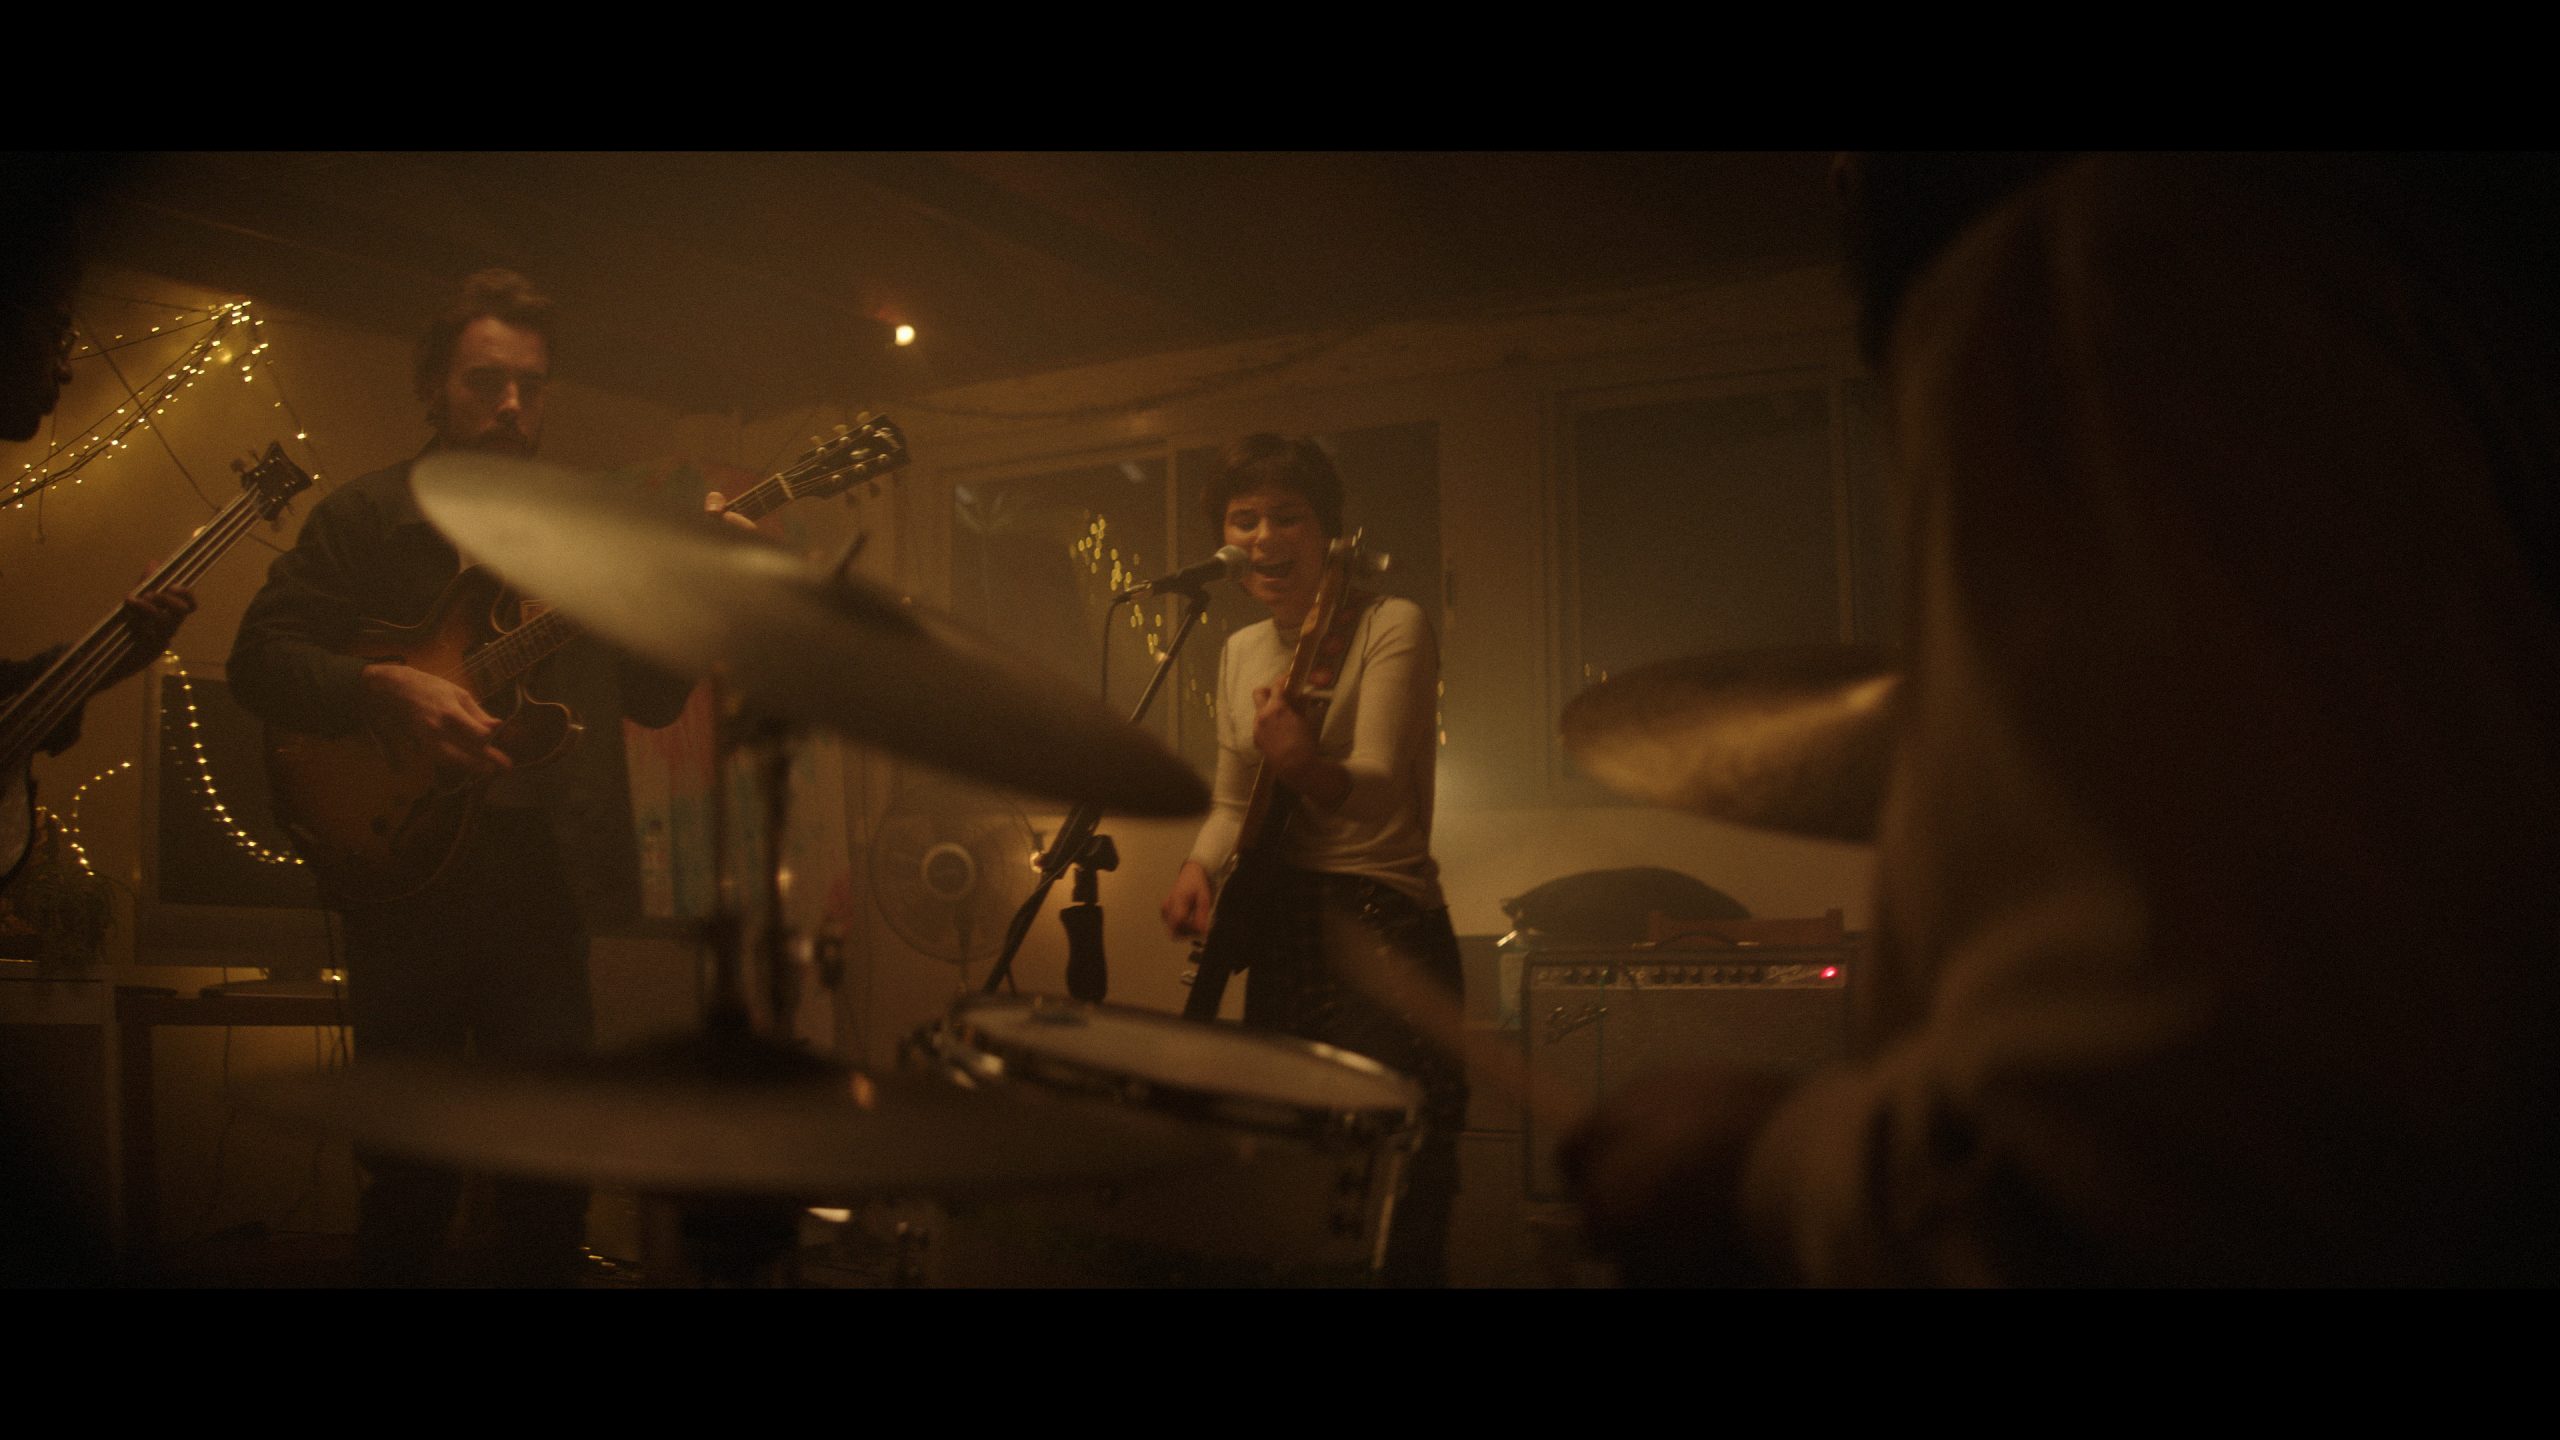
A band jams in their grage.
The Lighting
We had originally planned to shoot this during the day but schedule contraints meant we had to push it to full night.
We used 2 Litemat 4s as the overhead source and skirted the rig to keep it off the walls.
We added haze and peppered in the Xmas lights in the BG and the practicals.
The Result

Shot 8 - The Band
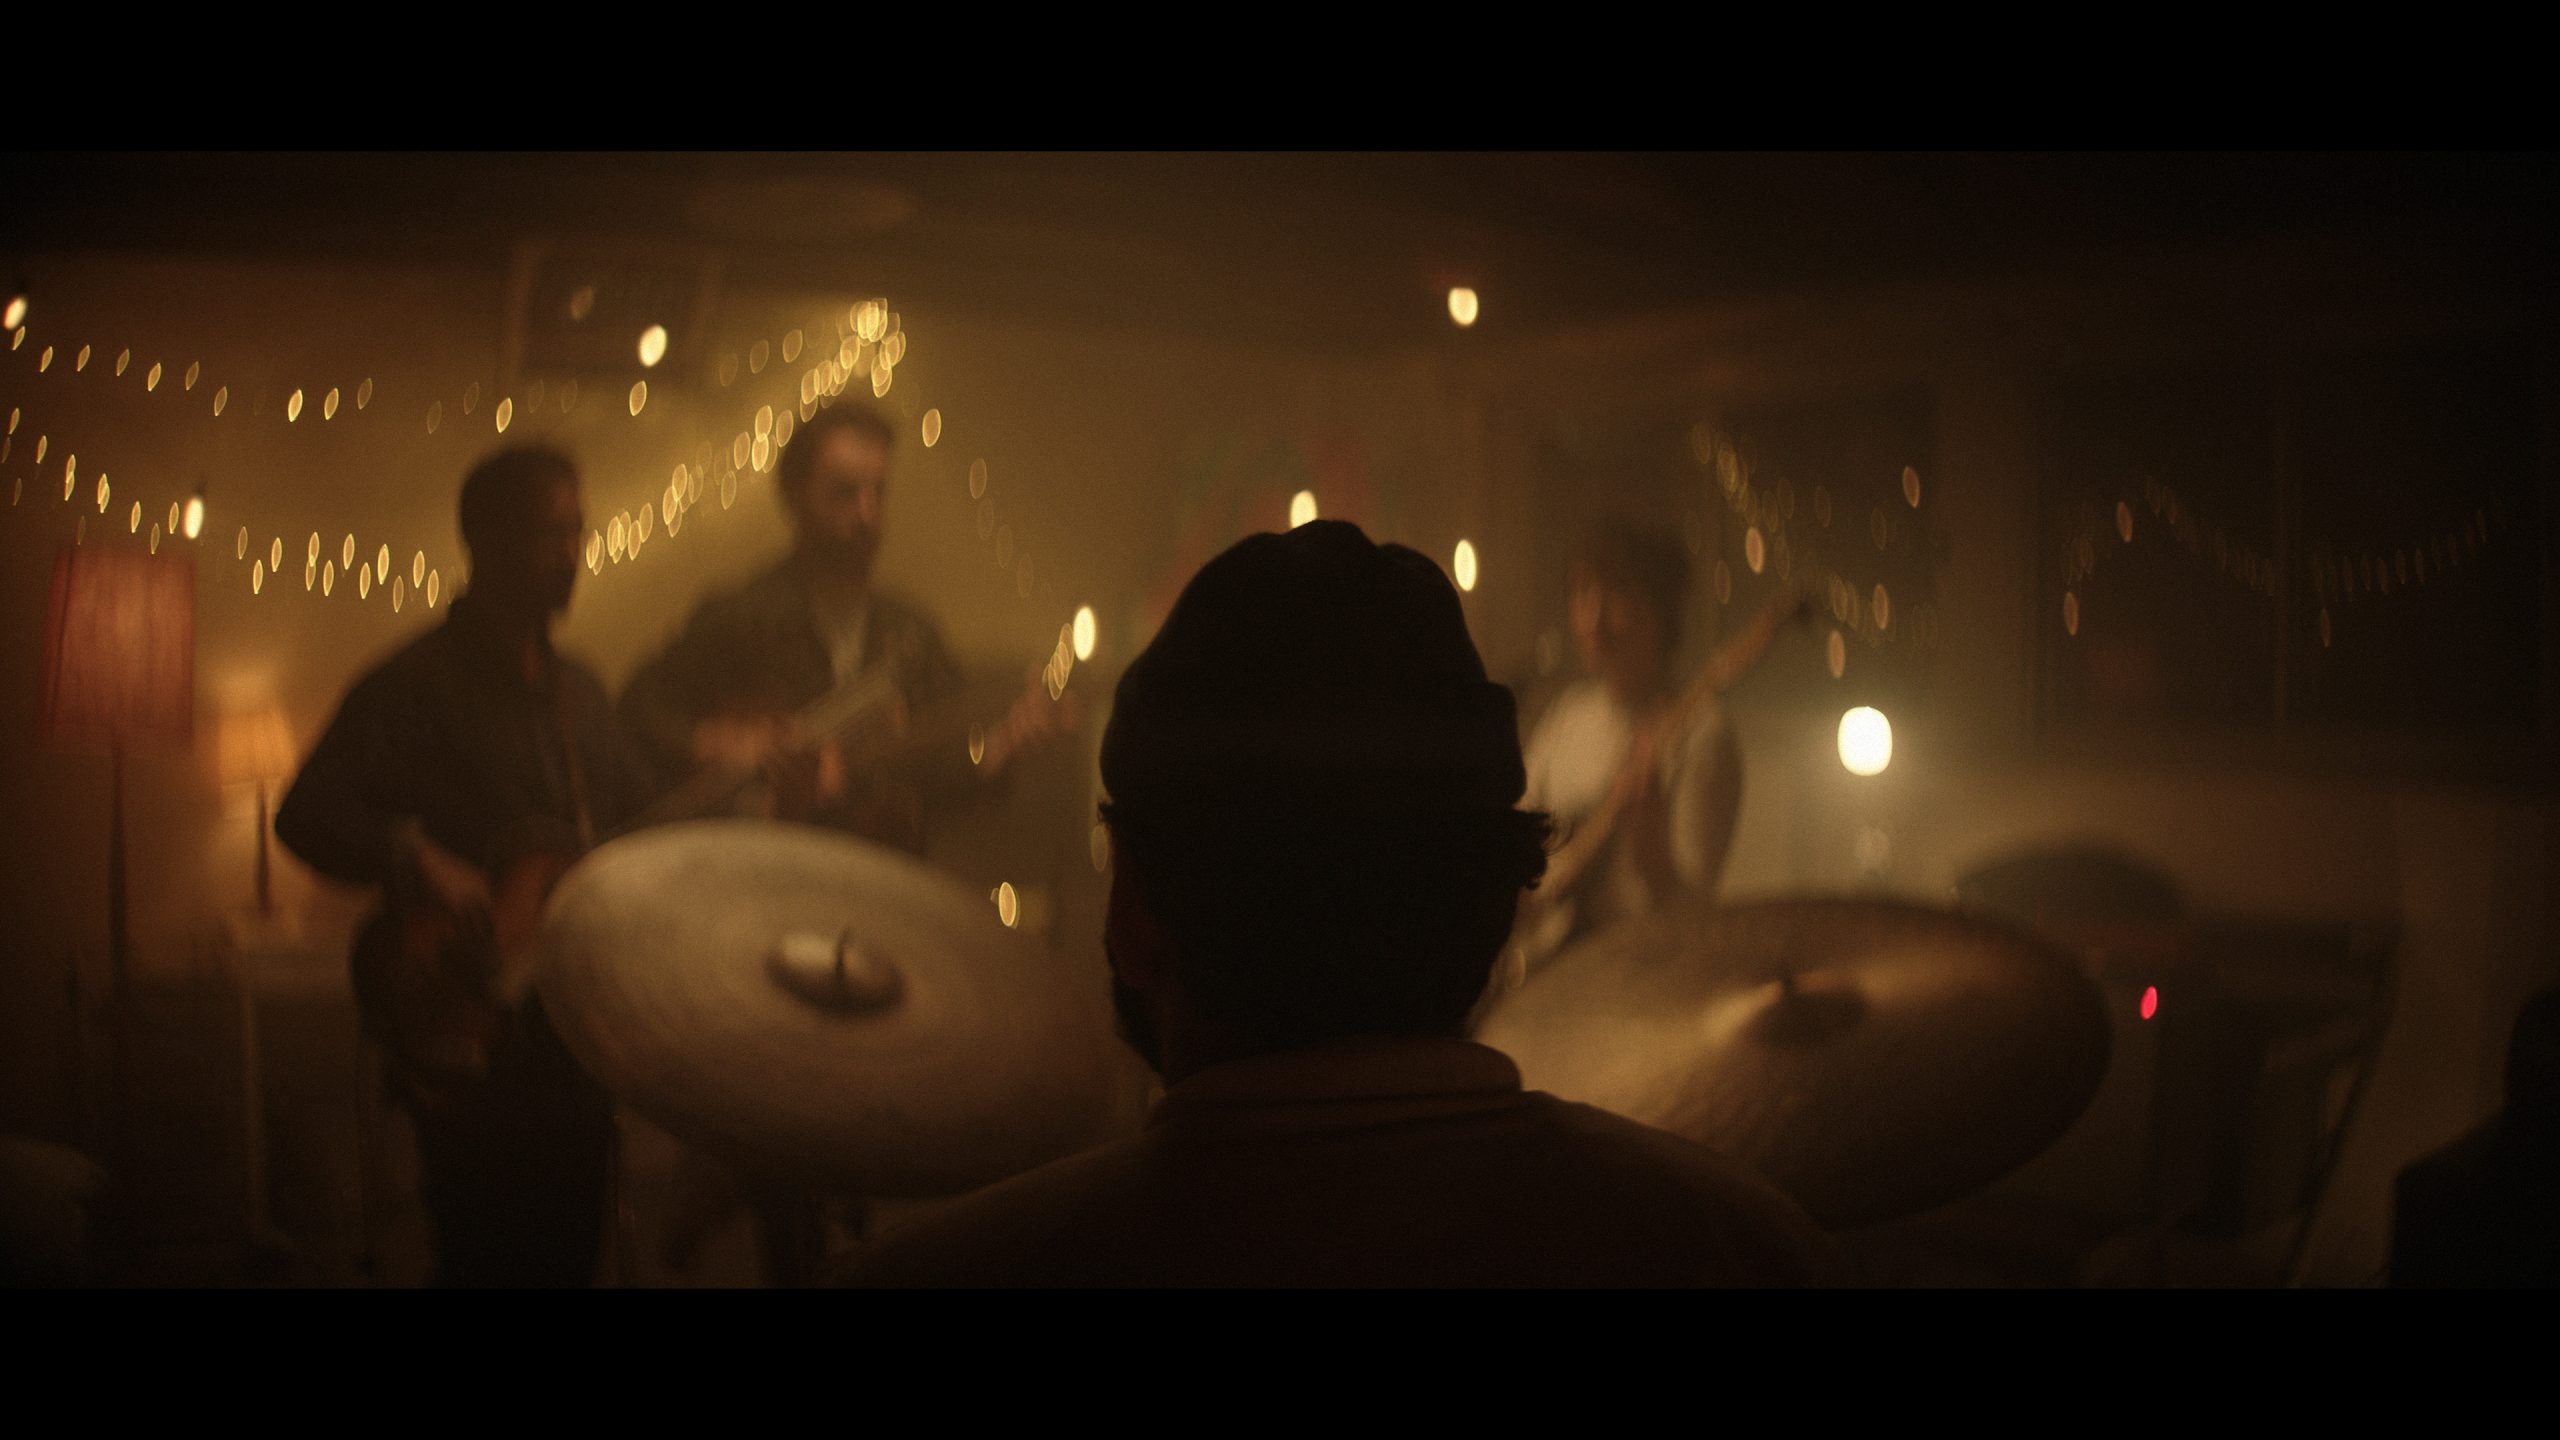
The Lighting
Same as above.
The Result

Shot 9 - Closer
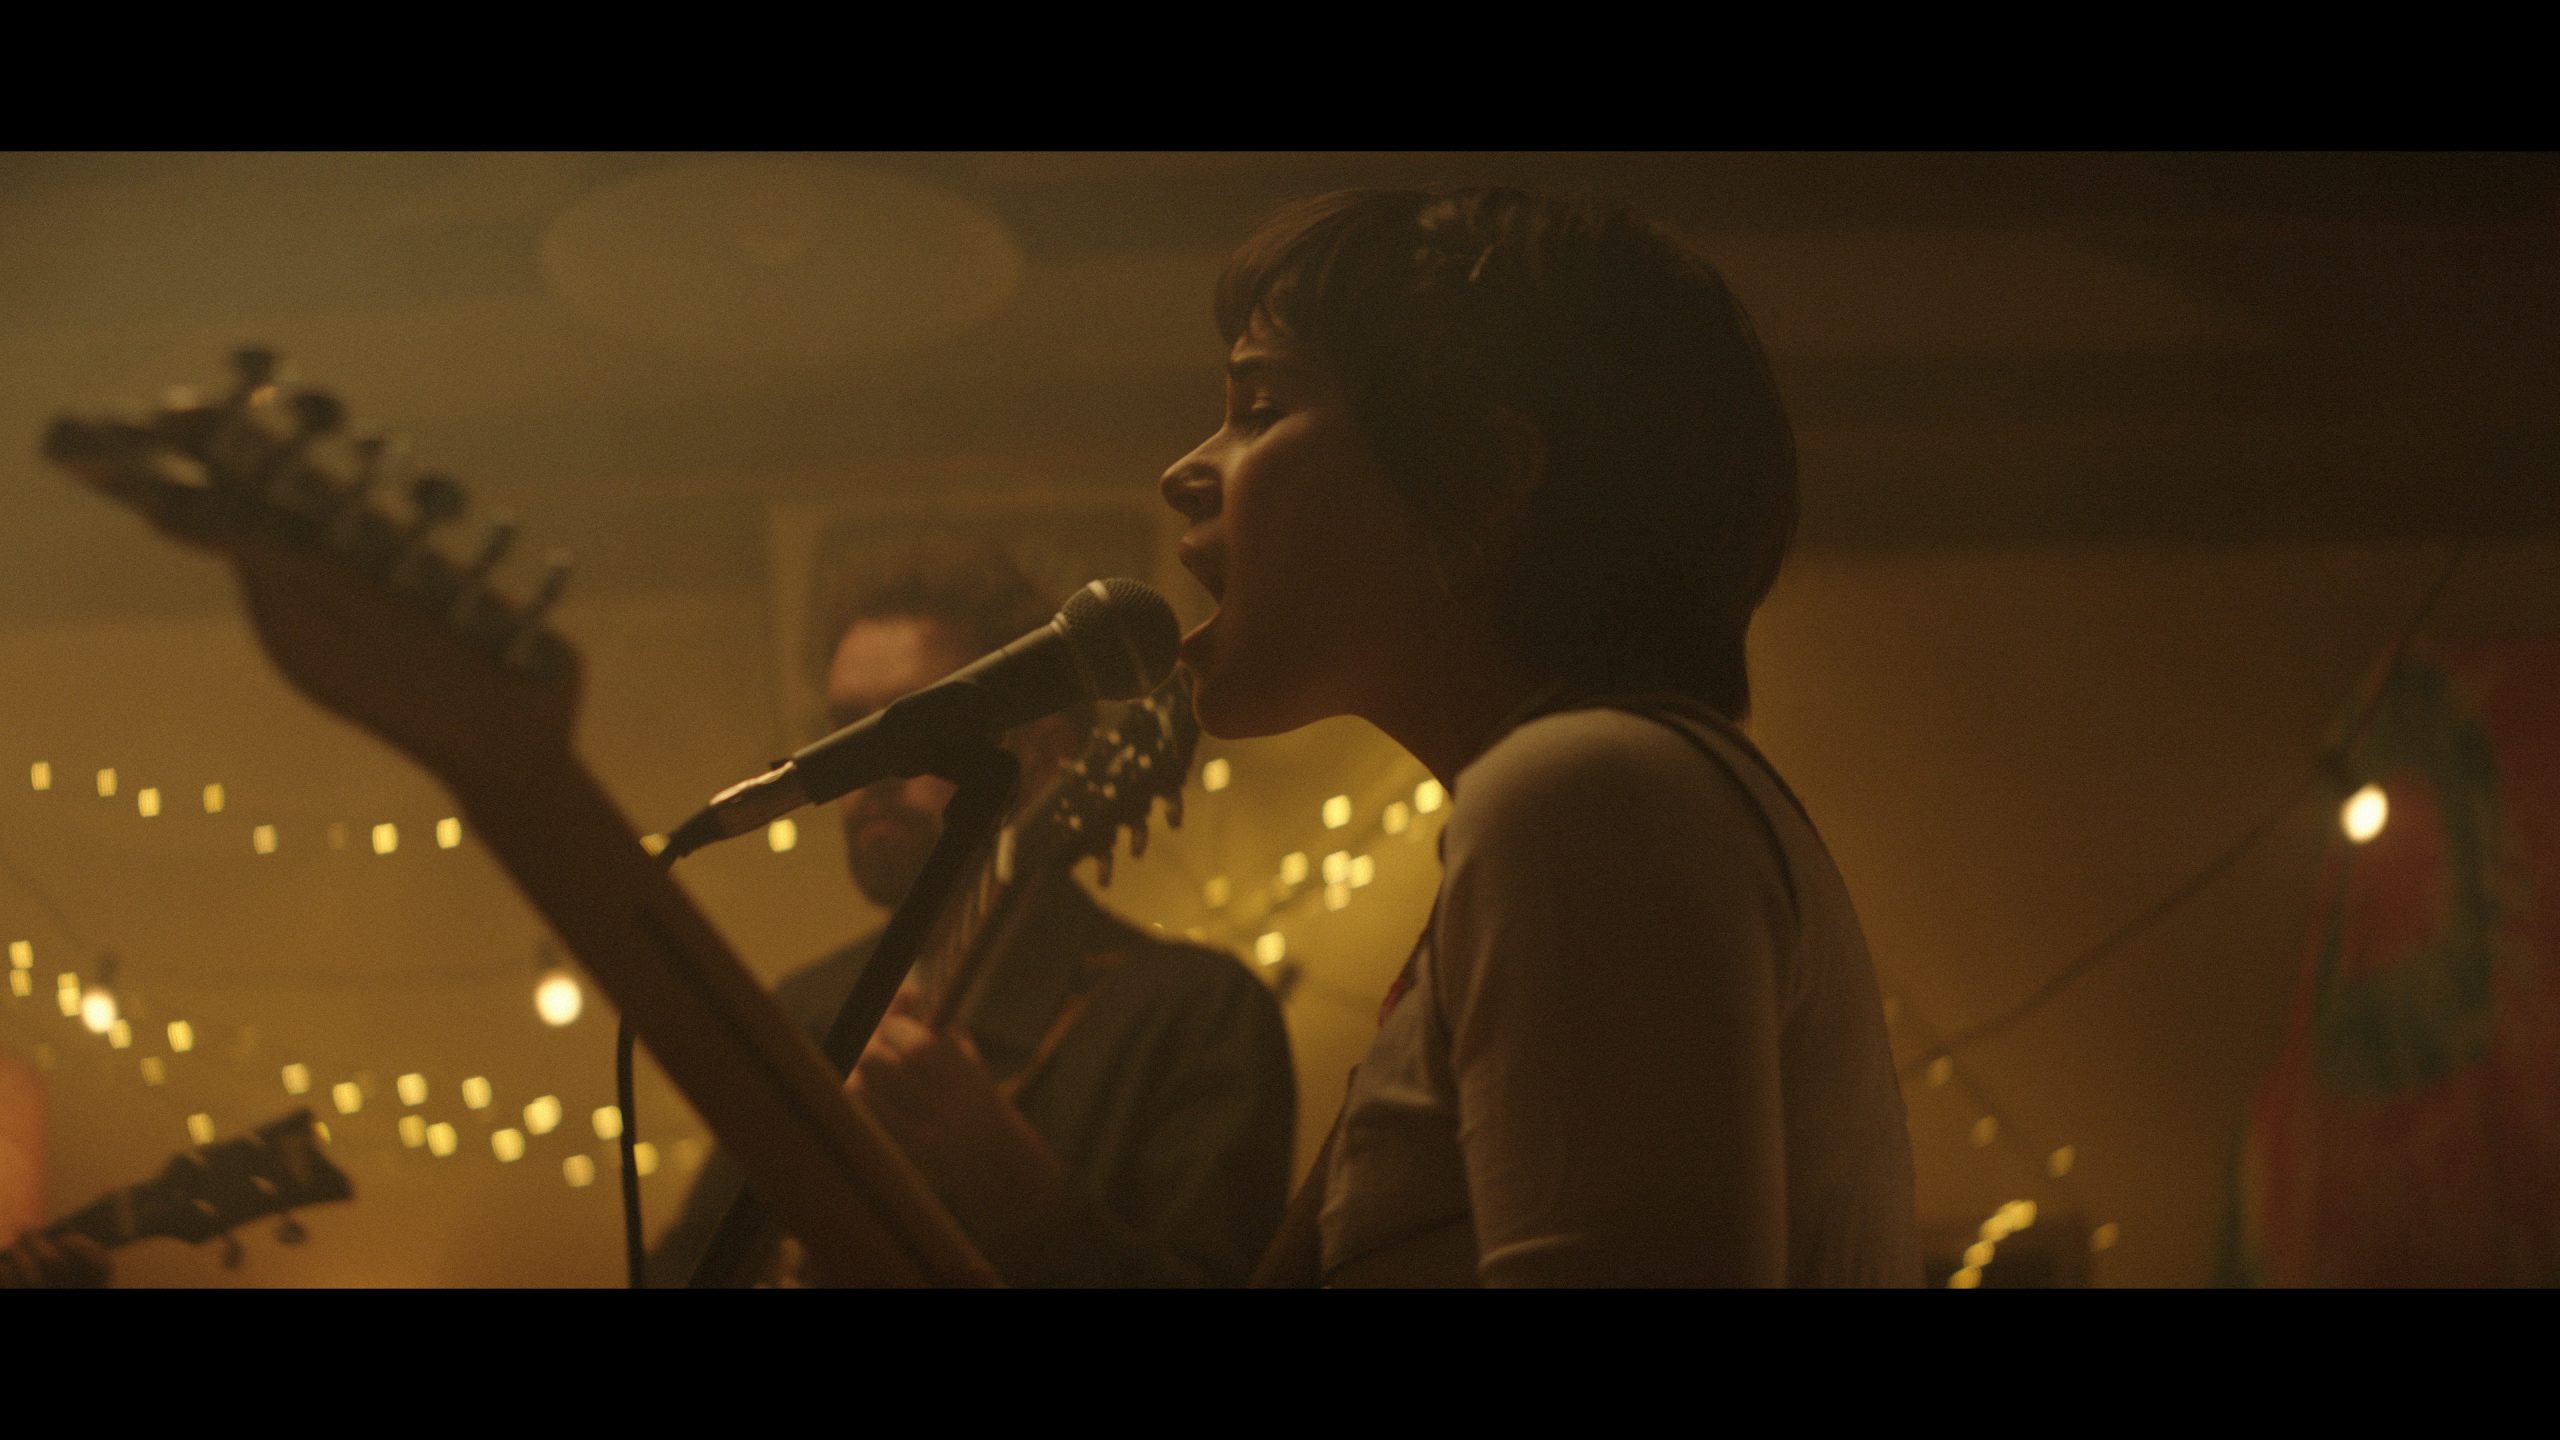
The Lighting
Same as above.
The Result

Shot 10 - On the Road
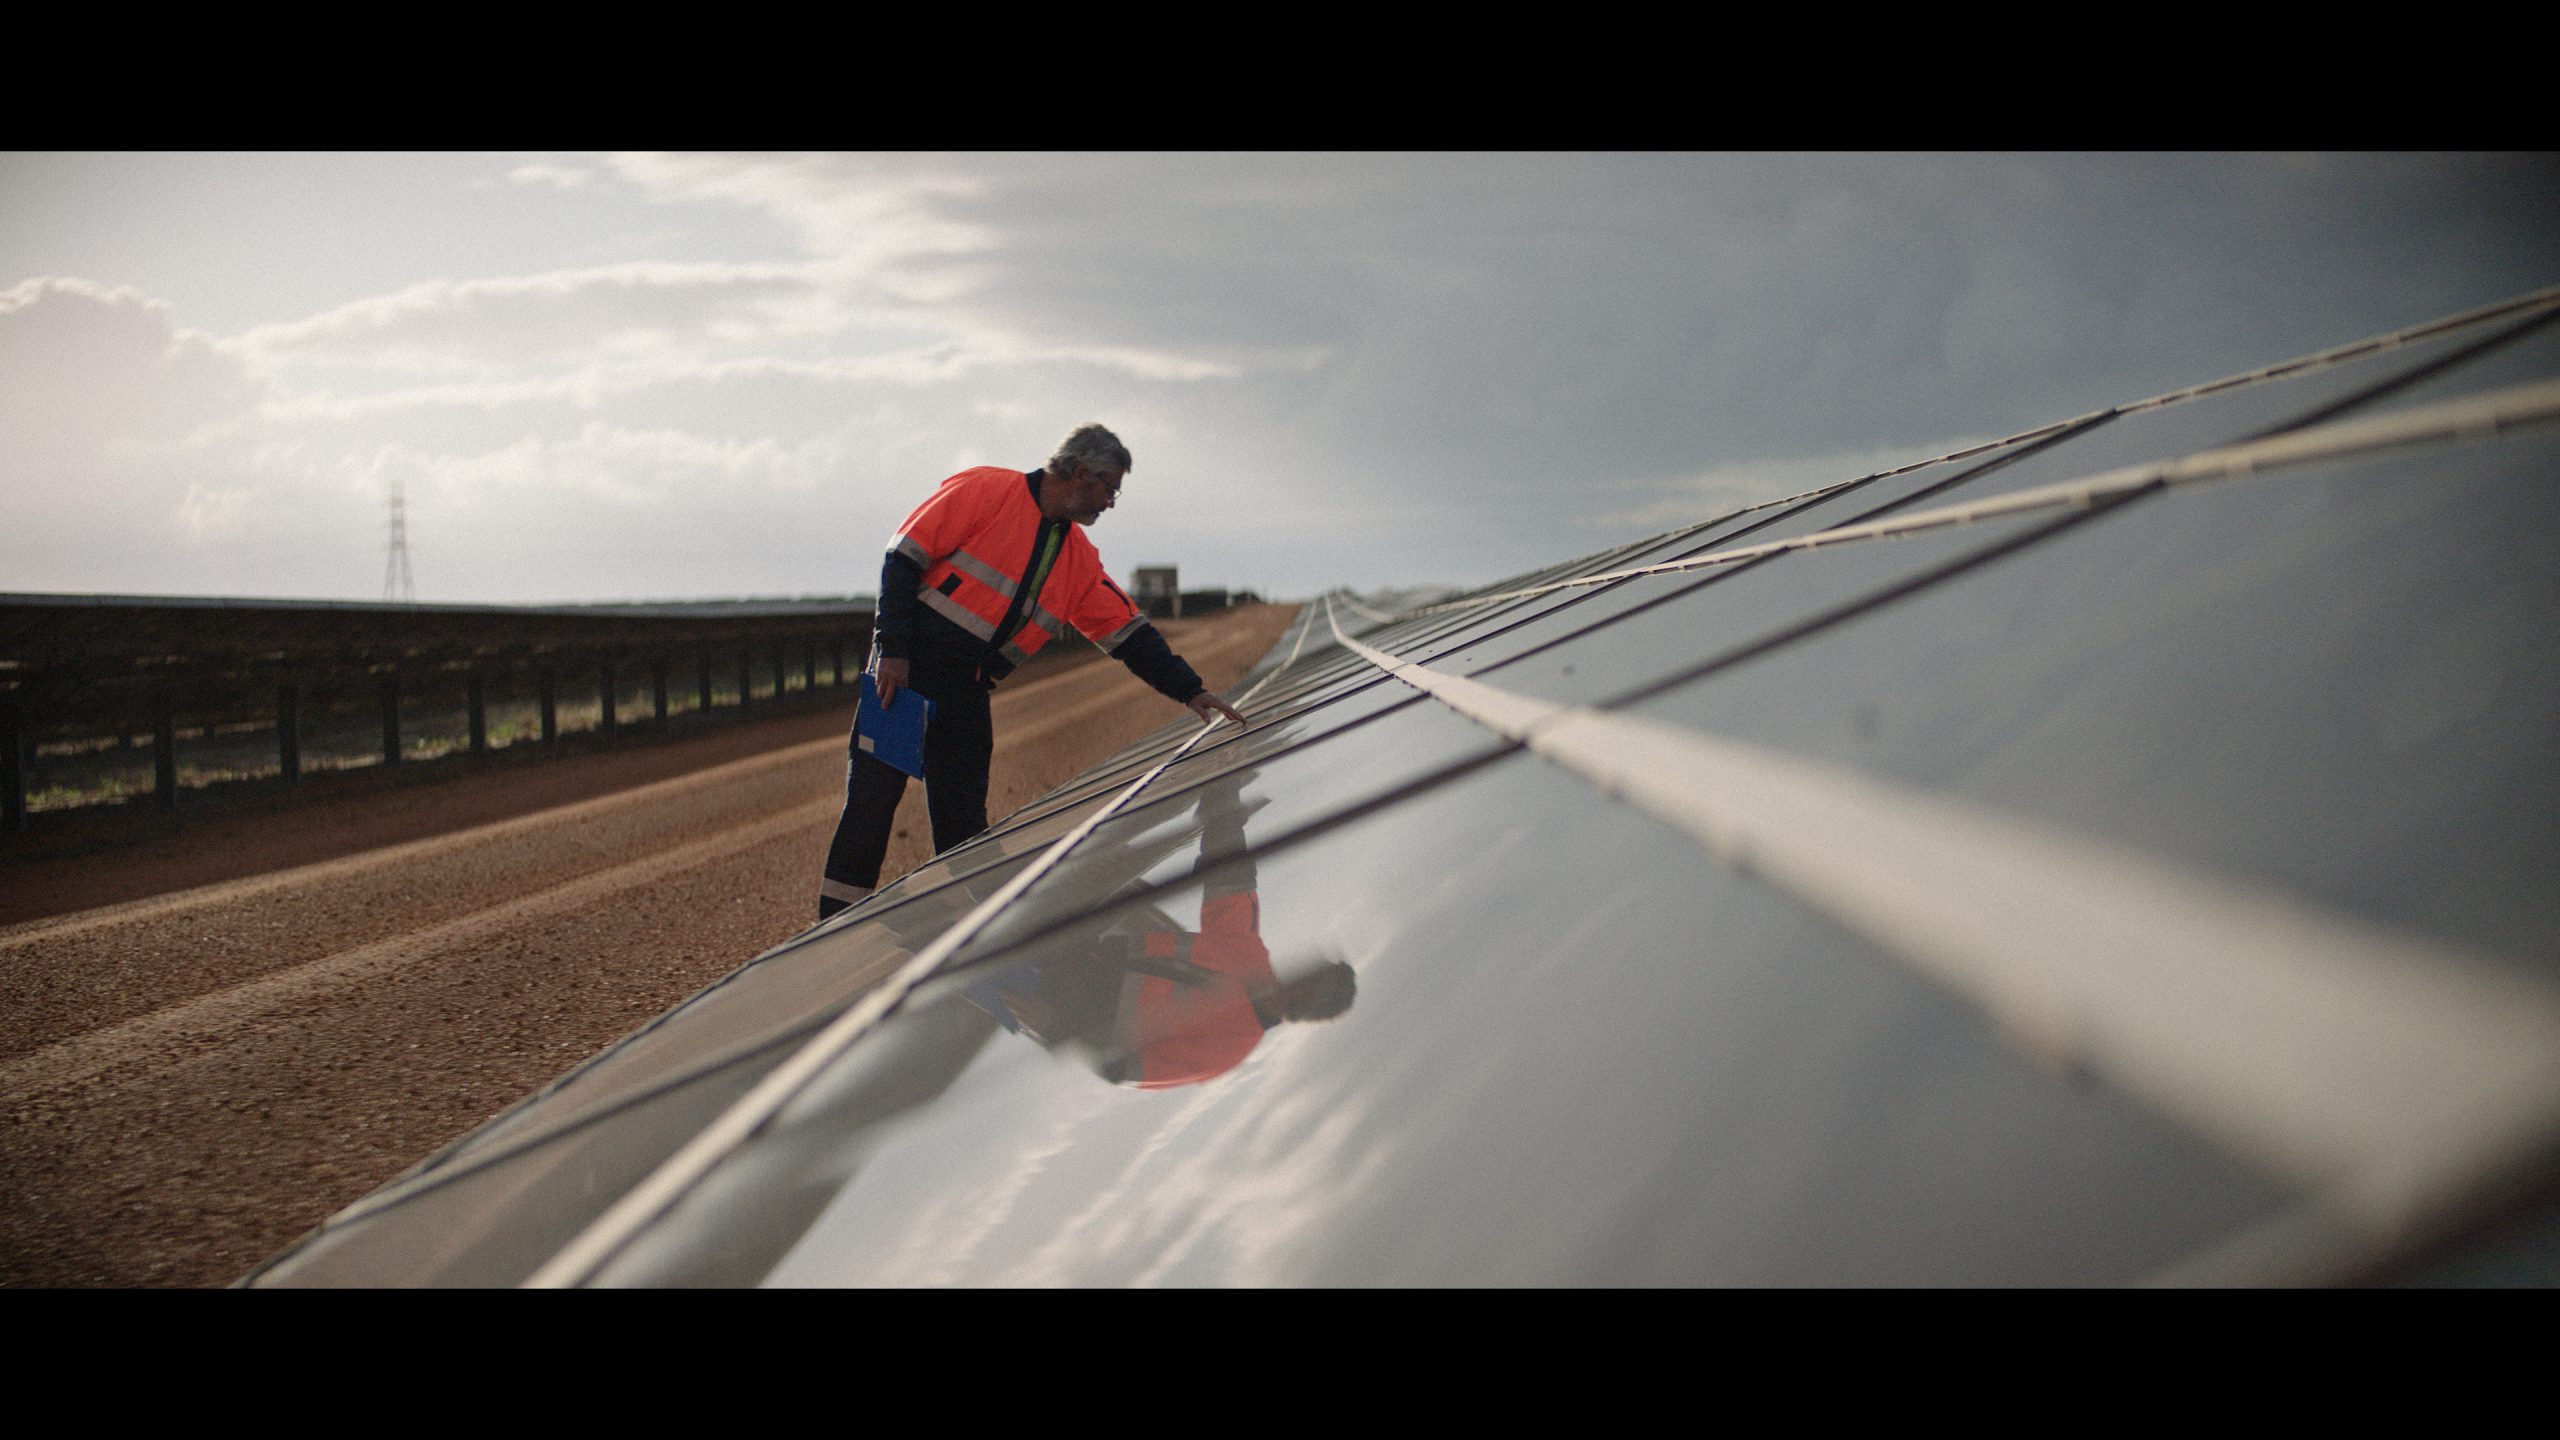
The Shot
Our hero talent examines the solar panels.
The Lighting
This was the first day of our small splinter unit shoot. No lights or grips so it was all down to the sun and getting our orientation right.
Here the sun pops just out of frame and give us the back light look.
The Result

Shot 11 - Again but Closer
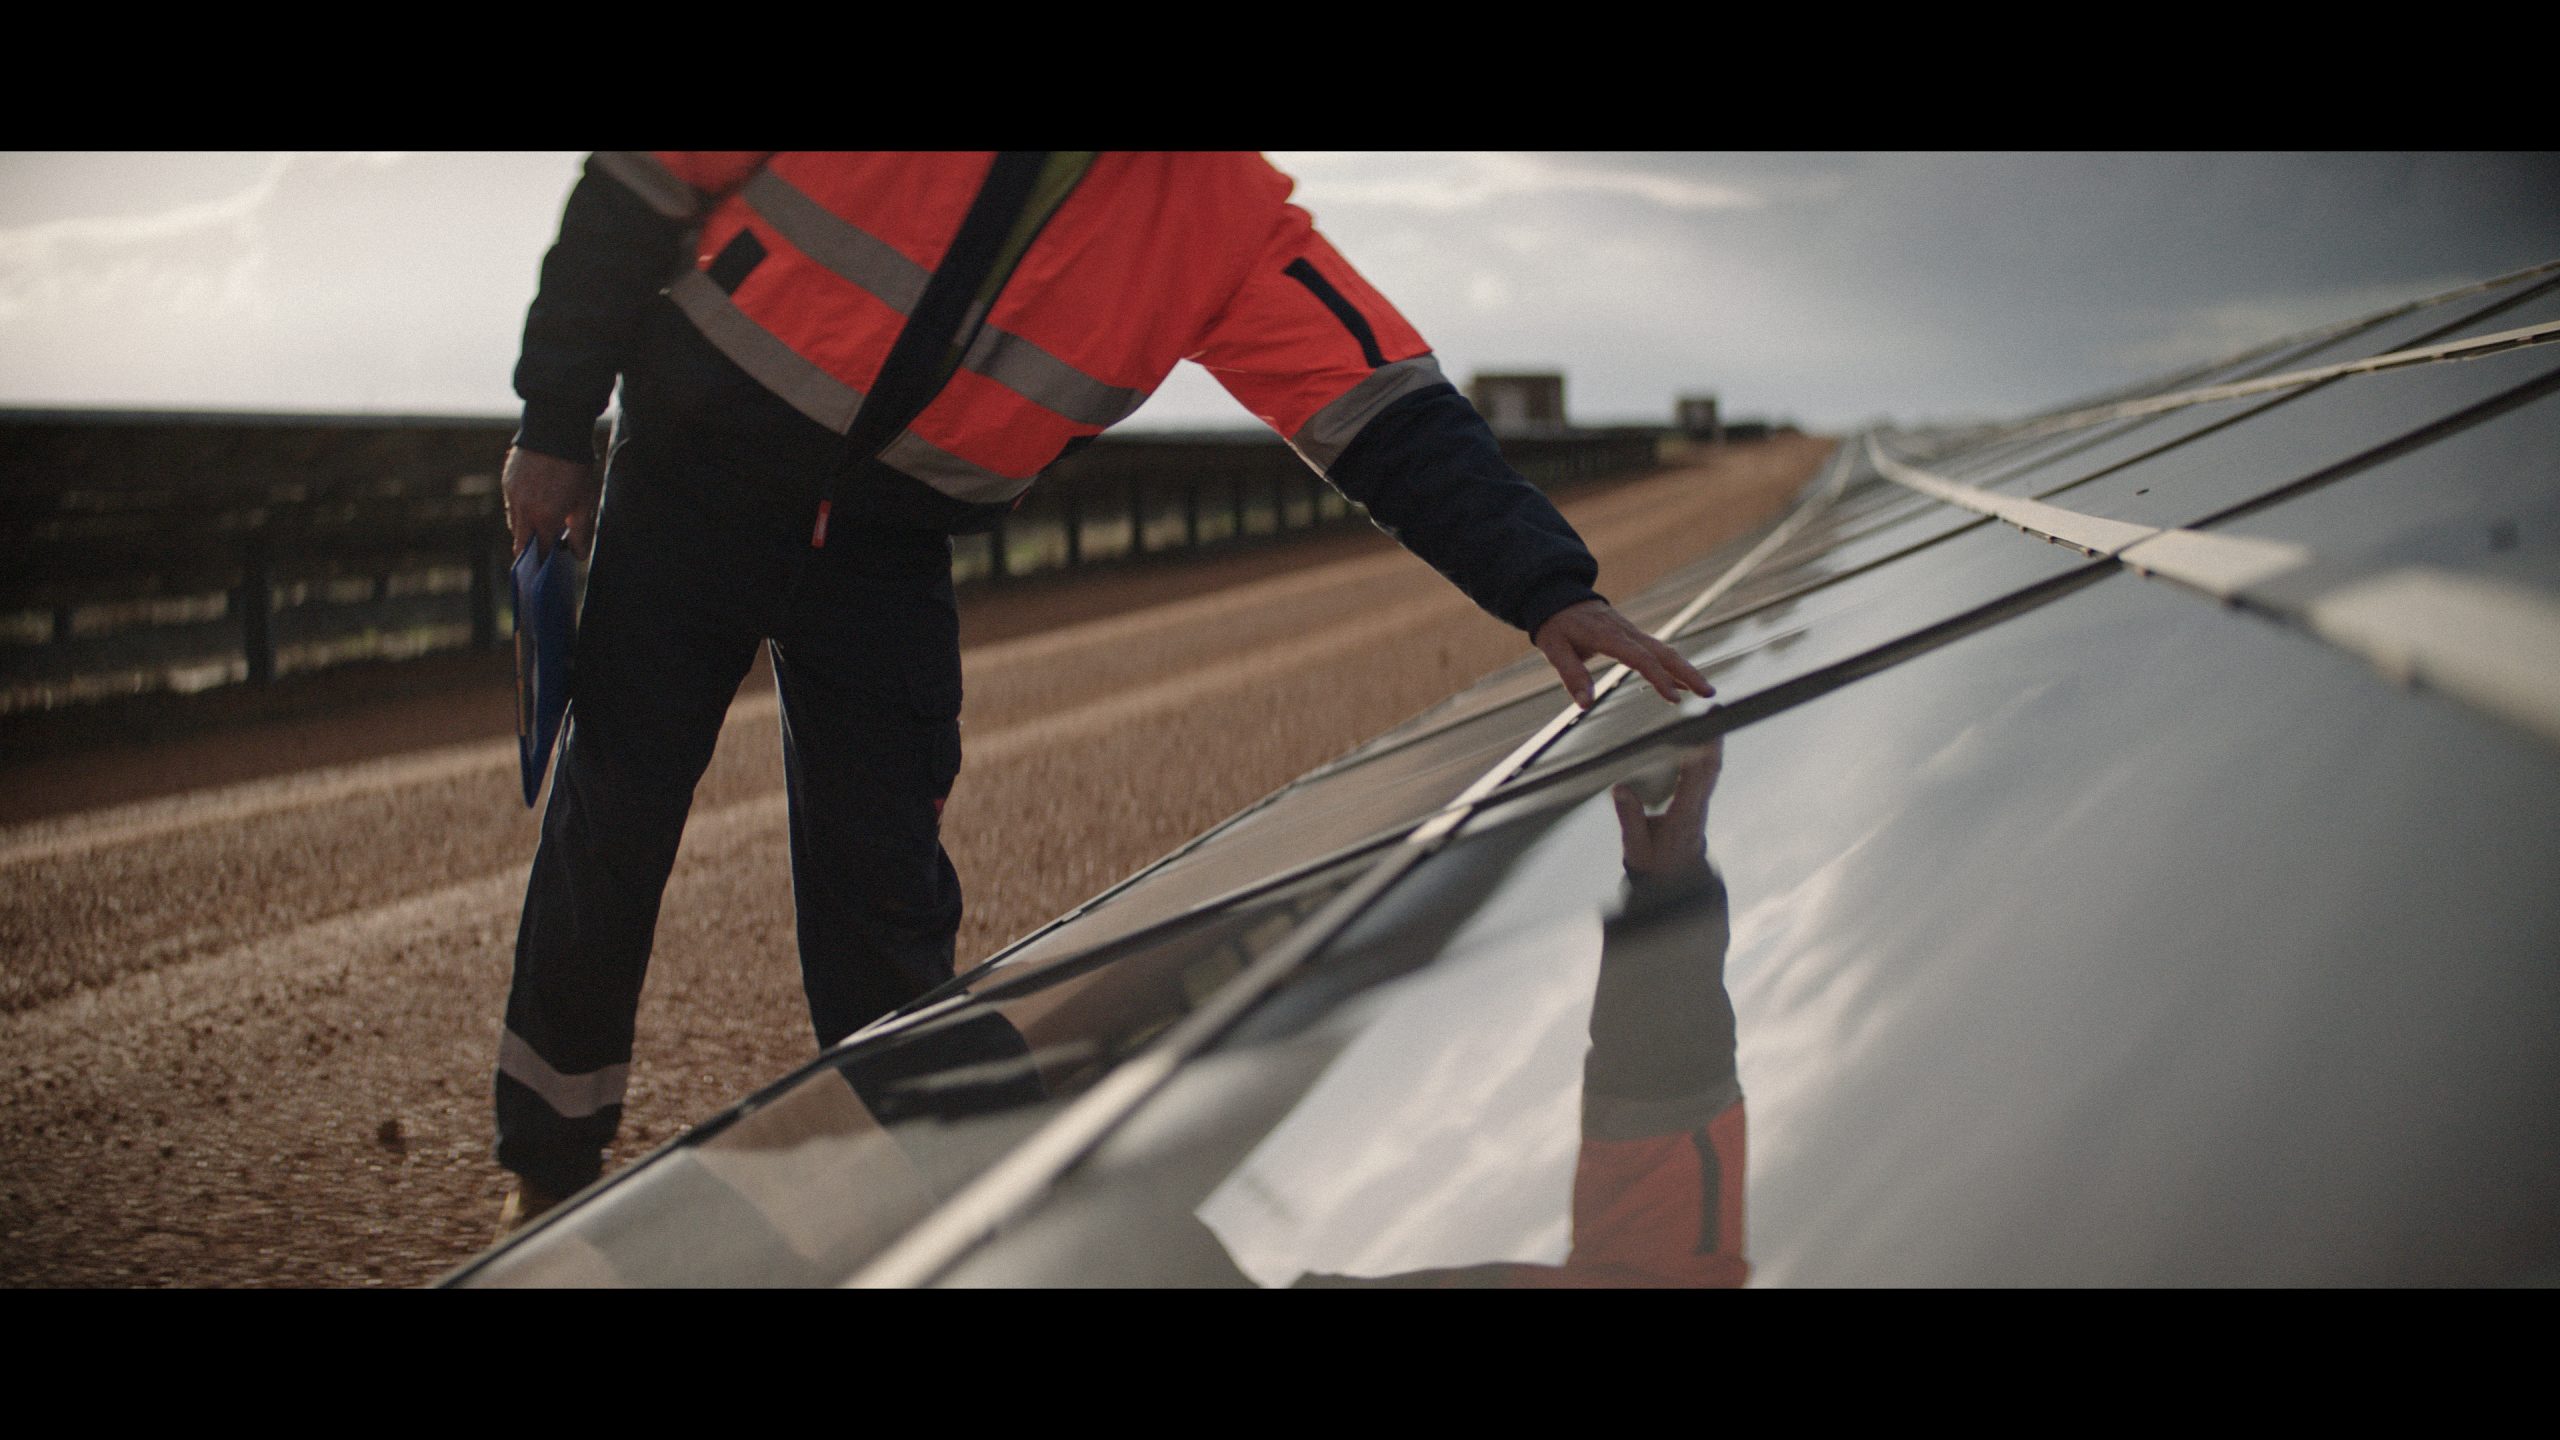
The Lighting
Same as above.
The Result

Shot 12 - Wind Farm
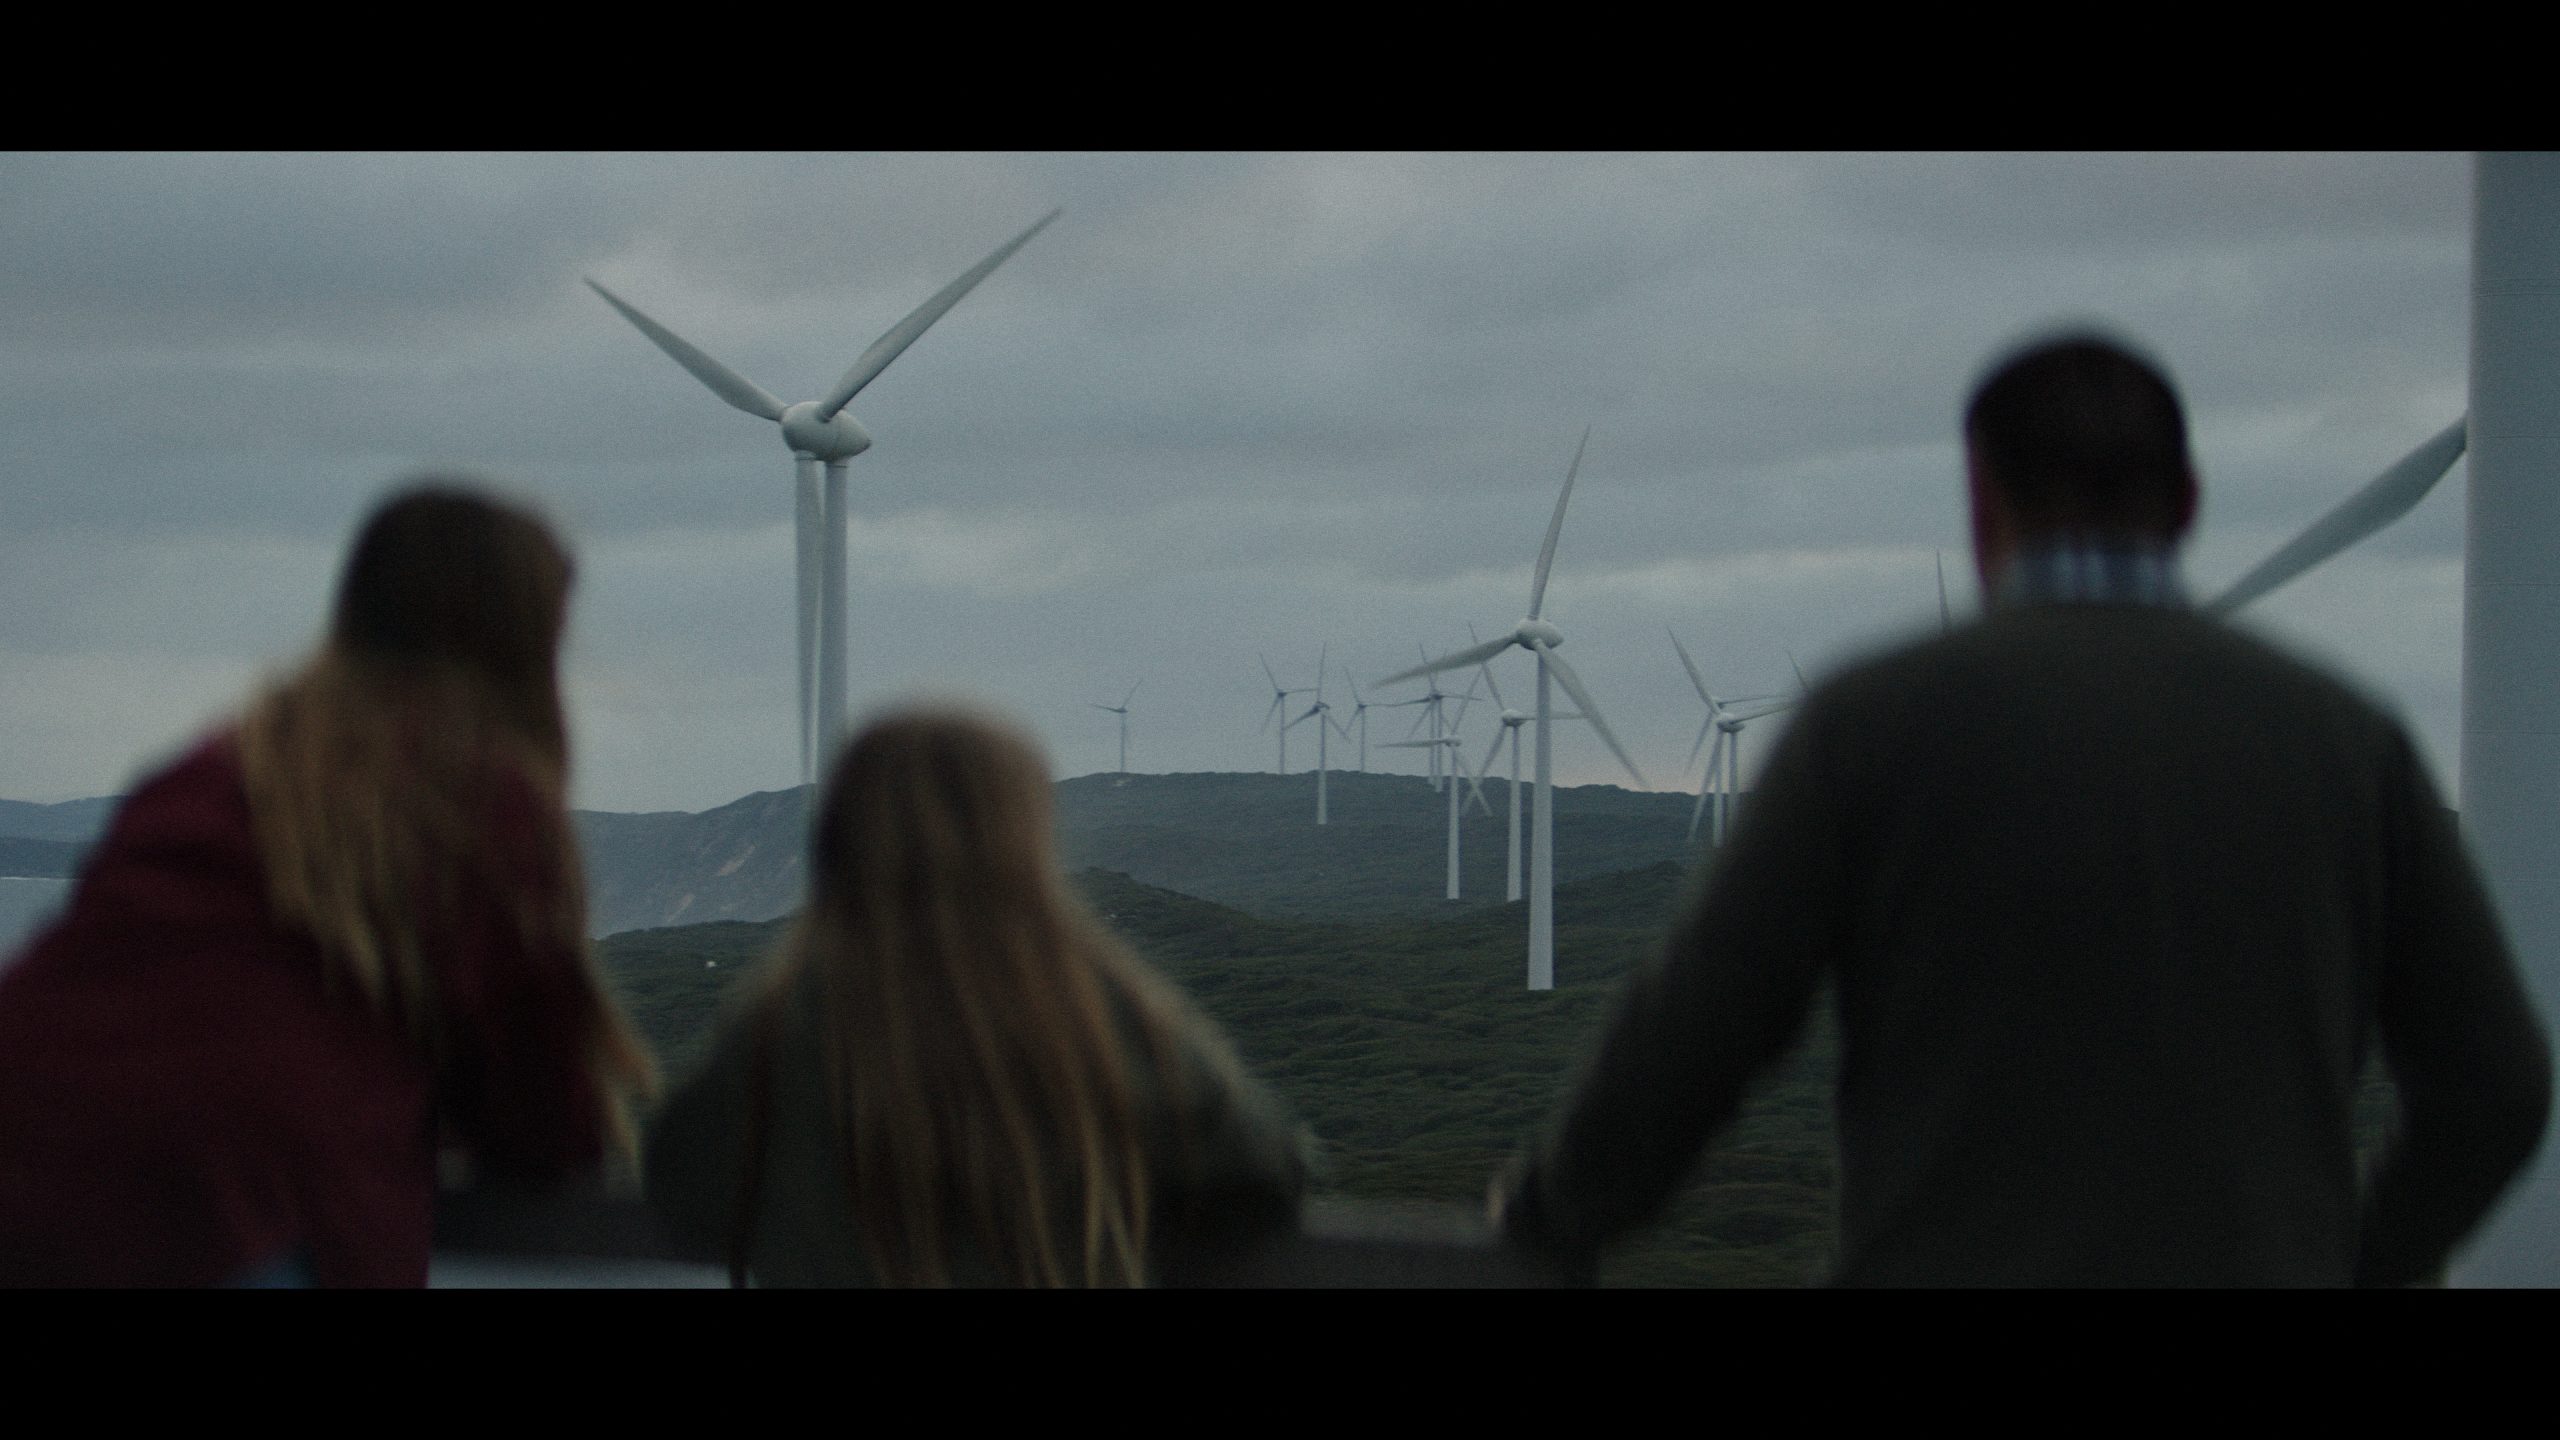
The Shot
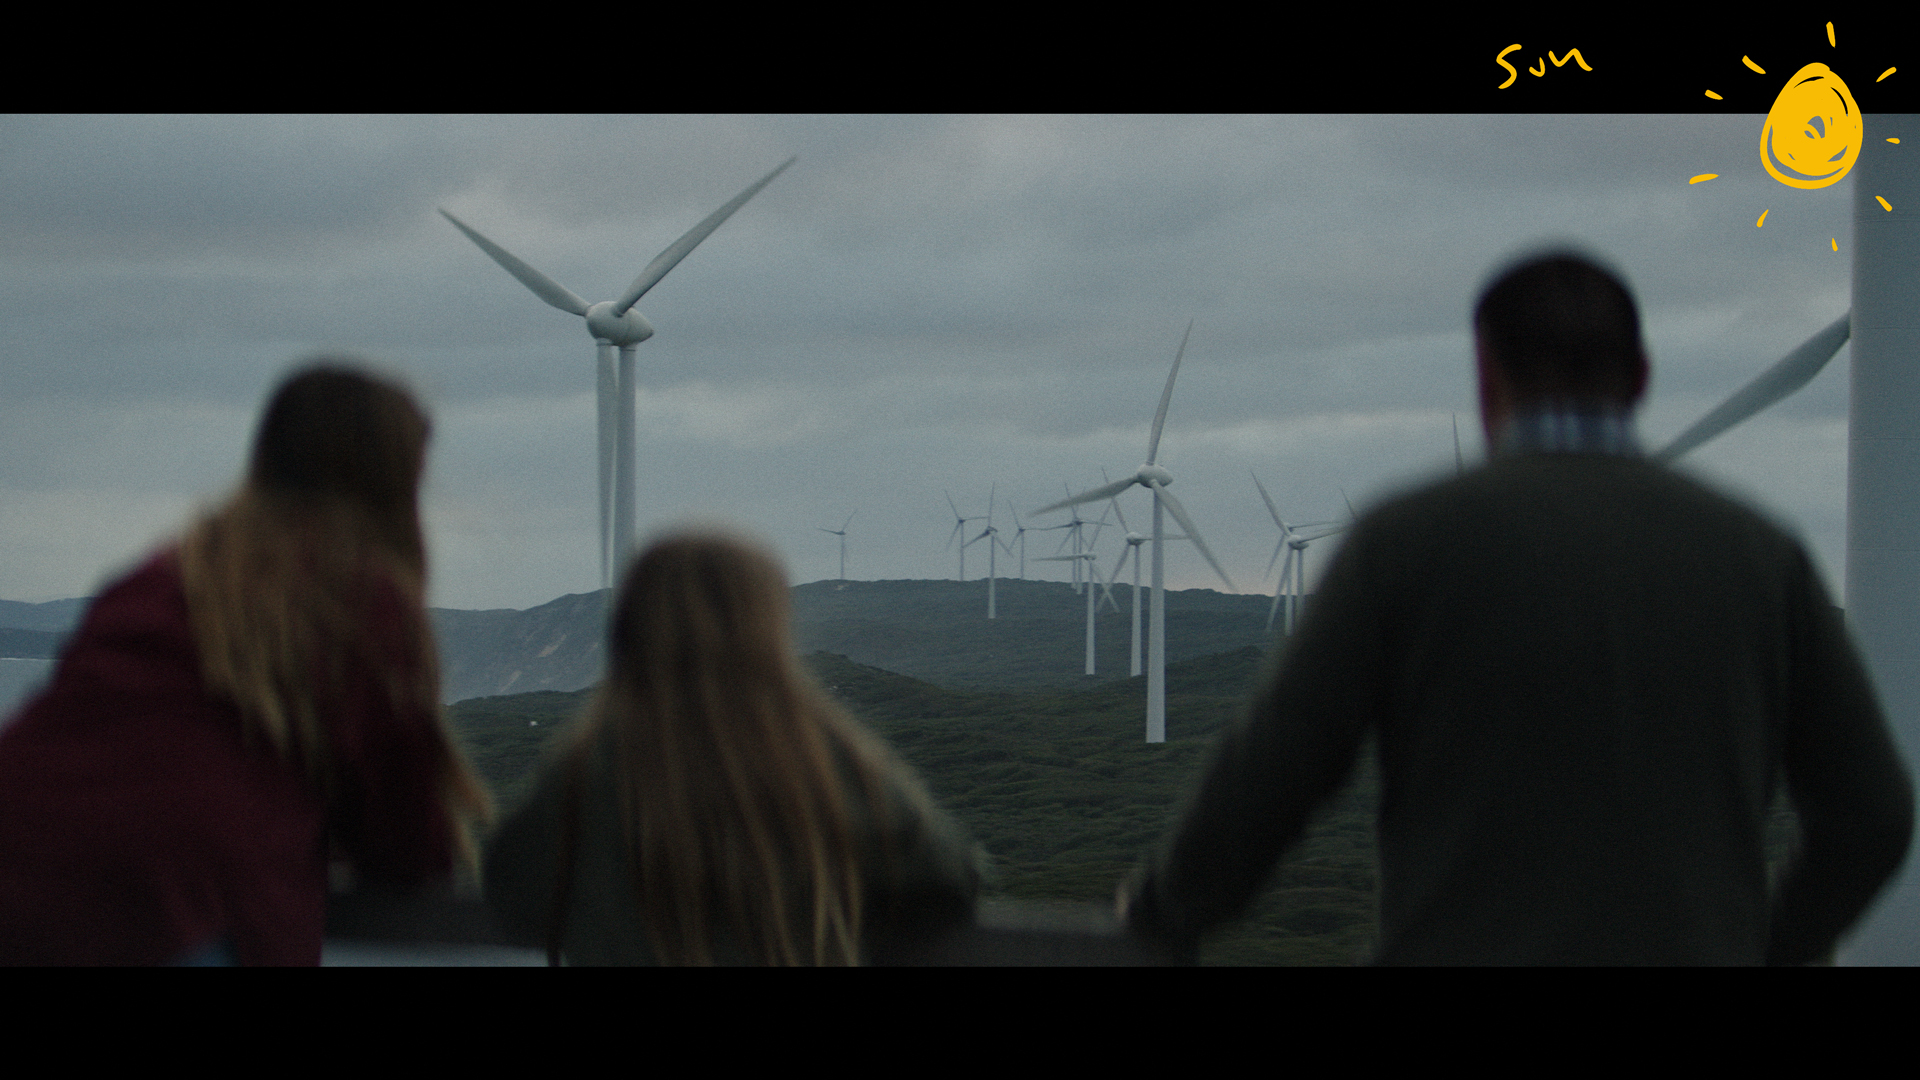
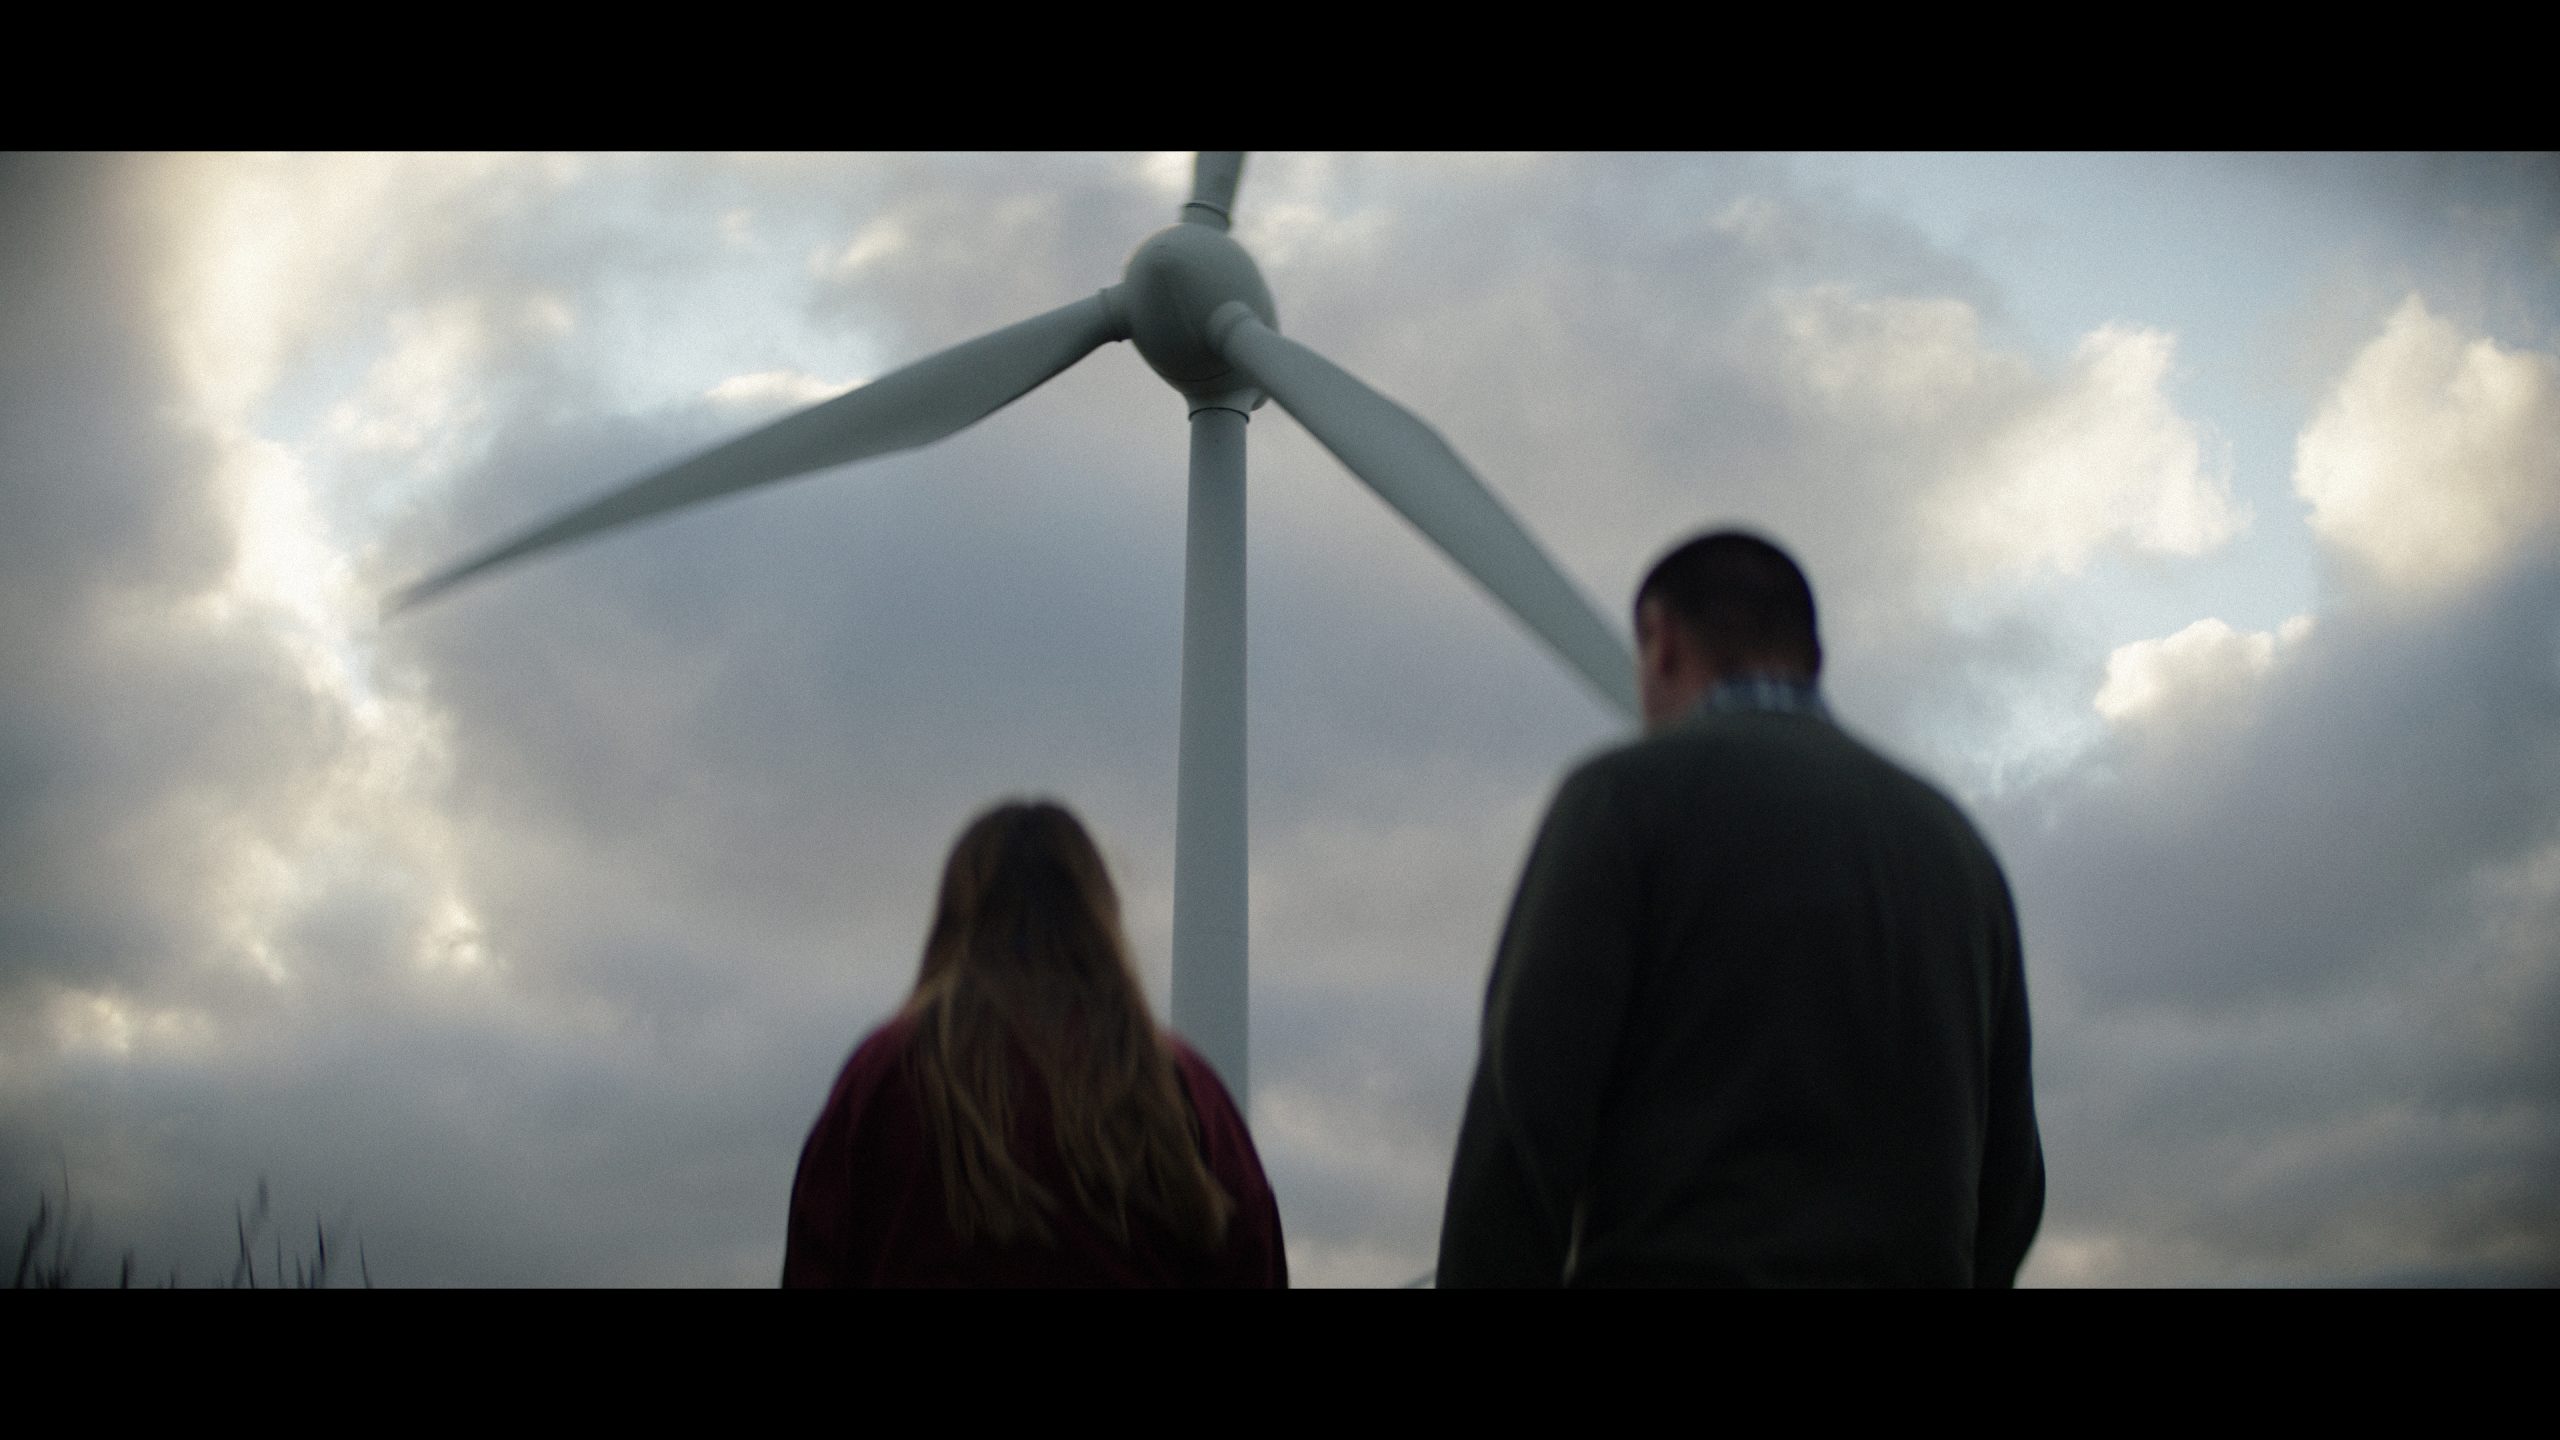
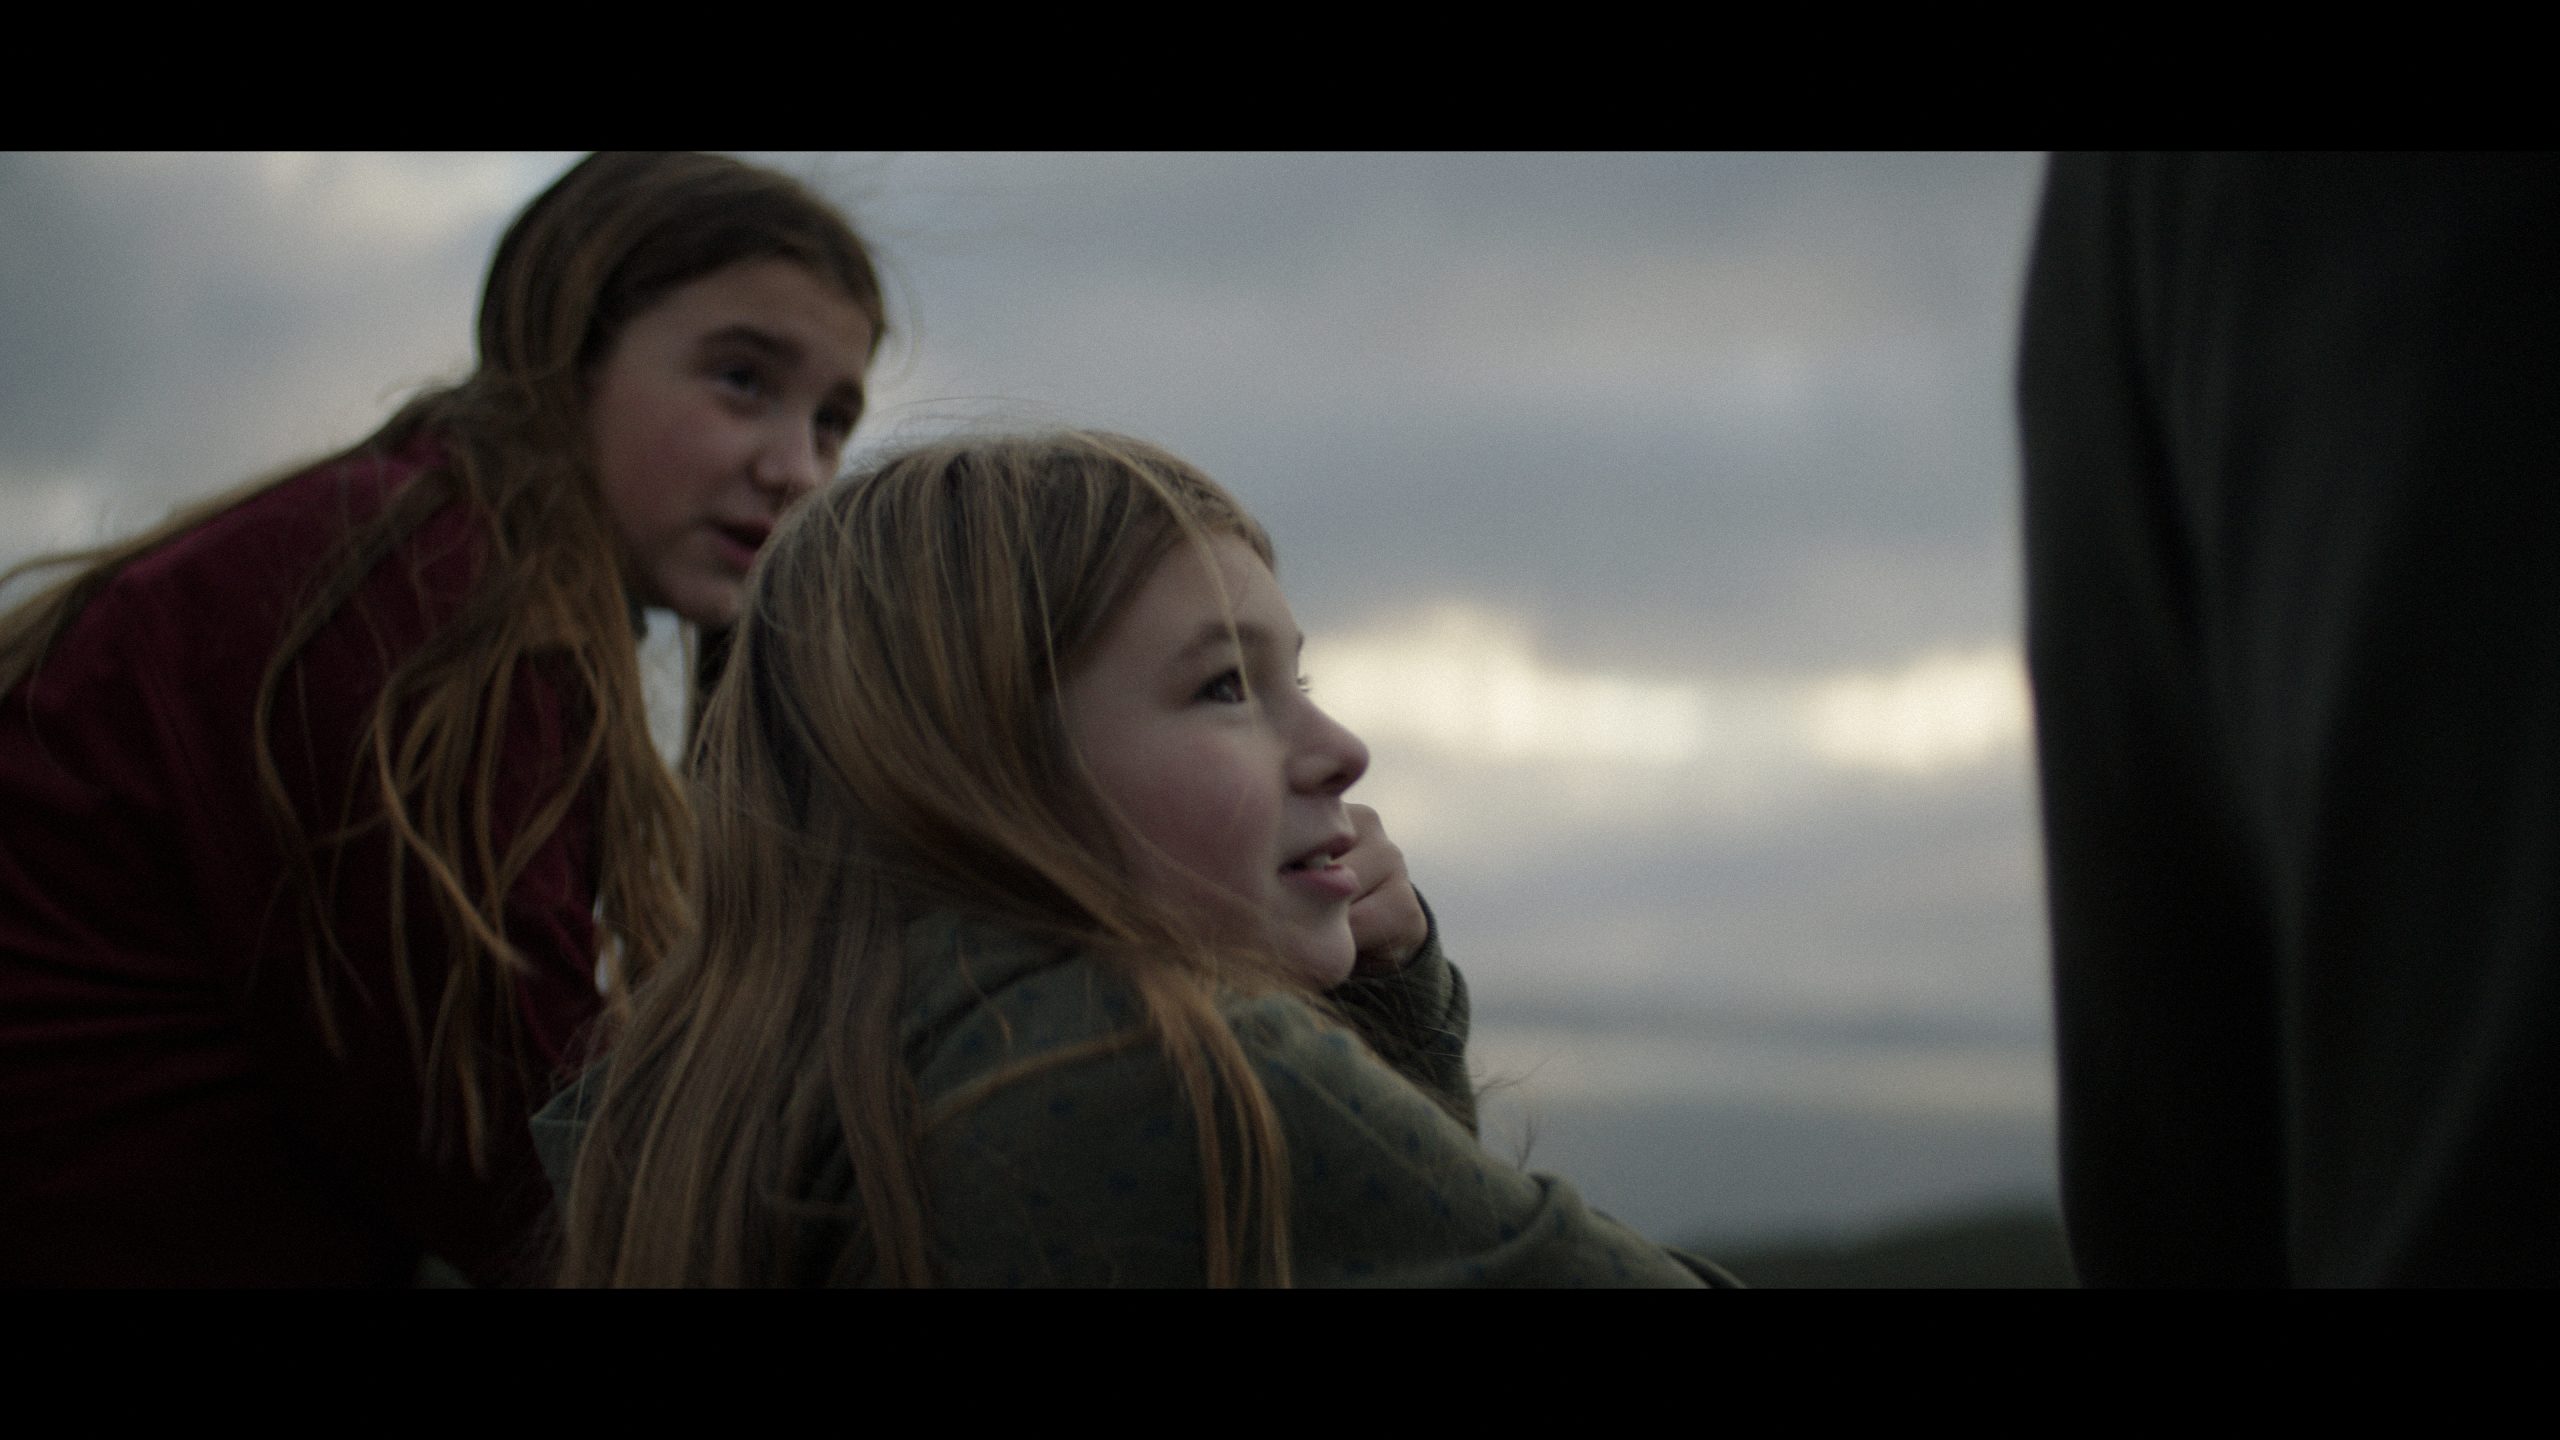
In this last series of shots we had a family watching a wind farm in action.
We didn't get the weather we were hoping for but we made it work in the end.
The Lighting
Being a super small unit we relied fully on the weather and our digital scout of the best direction to be looking.
When we landed the weather was not looking good but we still tried to aim towards what little sun there was to make things a bit more shapely.
The Result
Shot 13 - Break in the Clouds
The Lighting
See previous breakdown.
The Result

Shot 14 - The Balance
The Lighting
See previous breakdown.
The Result


Hey mate, if it’s ok what aspect ratio did you monitor / frame for with the Mini LF.
I know the Cooke Xtal express vignette without an expanded and interested to hear what exact dimensions / frame lines you created?
There’s a bunch of funky options, but guessing you used as much of the LF sensor as possible and love the extraction you went for.
Awesome breakdown. Question on that first shot with the window in frame where u set your iso? U go for a higher iso to hold the highlights? or lower iso to look more into the shadows?
I would always try to hold the highs