On the show this week we are taking a look behind the scenes at a recent commercial I shot.
We go over some sim travel car work, lighting a space with minimal fixtures, and the benefits of working at higher ISOs.
Enjoy the behind the scenes look!
Commercial Cinematography: The Foundation Course

The Commercial Cinematography: The Foundation course is the best resource for those folks out there looking to start their cinematography career in commercials or those people looking to take their pre-production workflow to the next level.
If you like the content in the podcast and the Patreon group then this is that on steroids. The course lays out a step by step process to help set you up for commercial jobs and maximize your efficiency in pre-production.
Patreon Podcast: LBMISF

This week over on Patreon we are looking at the film The Last Black Man in San Francisco shot by Adam Newport-Berra.
The movie was a special request from inside the Patreon group and I am glad it was. Beautiful looking stuff in this film and Adam's eye really shines throughout.
Lots of insights from this one so don't sleep on it.
You can find this week's Patreon content by clicking the link below:
If you are a fan of the podcast and want more video content the patreon group is the place to be. Each and every week I release an exclusive podcast, video, or live stream just for the Patreon members.
Patreon members also get access to the Private Facebook community for the show. The podcast couldn't exist without the Patreon support and I do my best to take care of the supporters.
One Room, Two Looks - The Spot
Camera Gear:
Check out the gear I use on all of my commercial shoots by clicking the link below:
Wandering DP Commercial Cinematography Gear
We shot on the Alexa Mini LF with Cooke Speed Panchros. The 40, 50, and 75mm are the only lenses that cover the larger sensor so we kept it to those focal lengths.
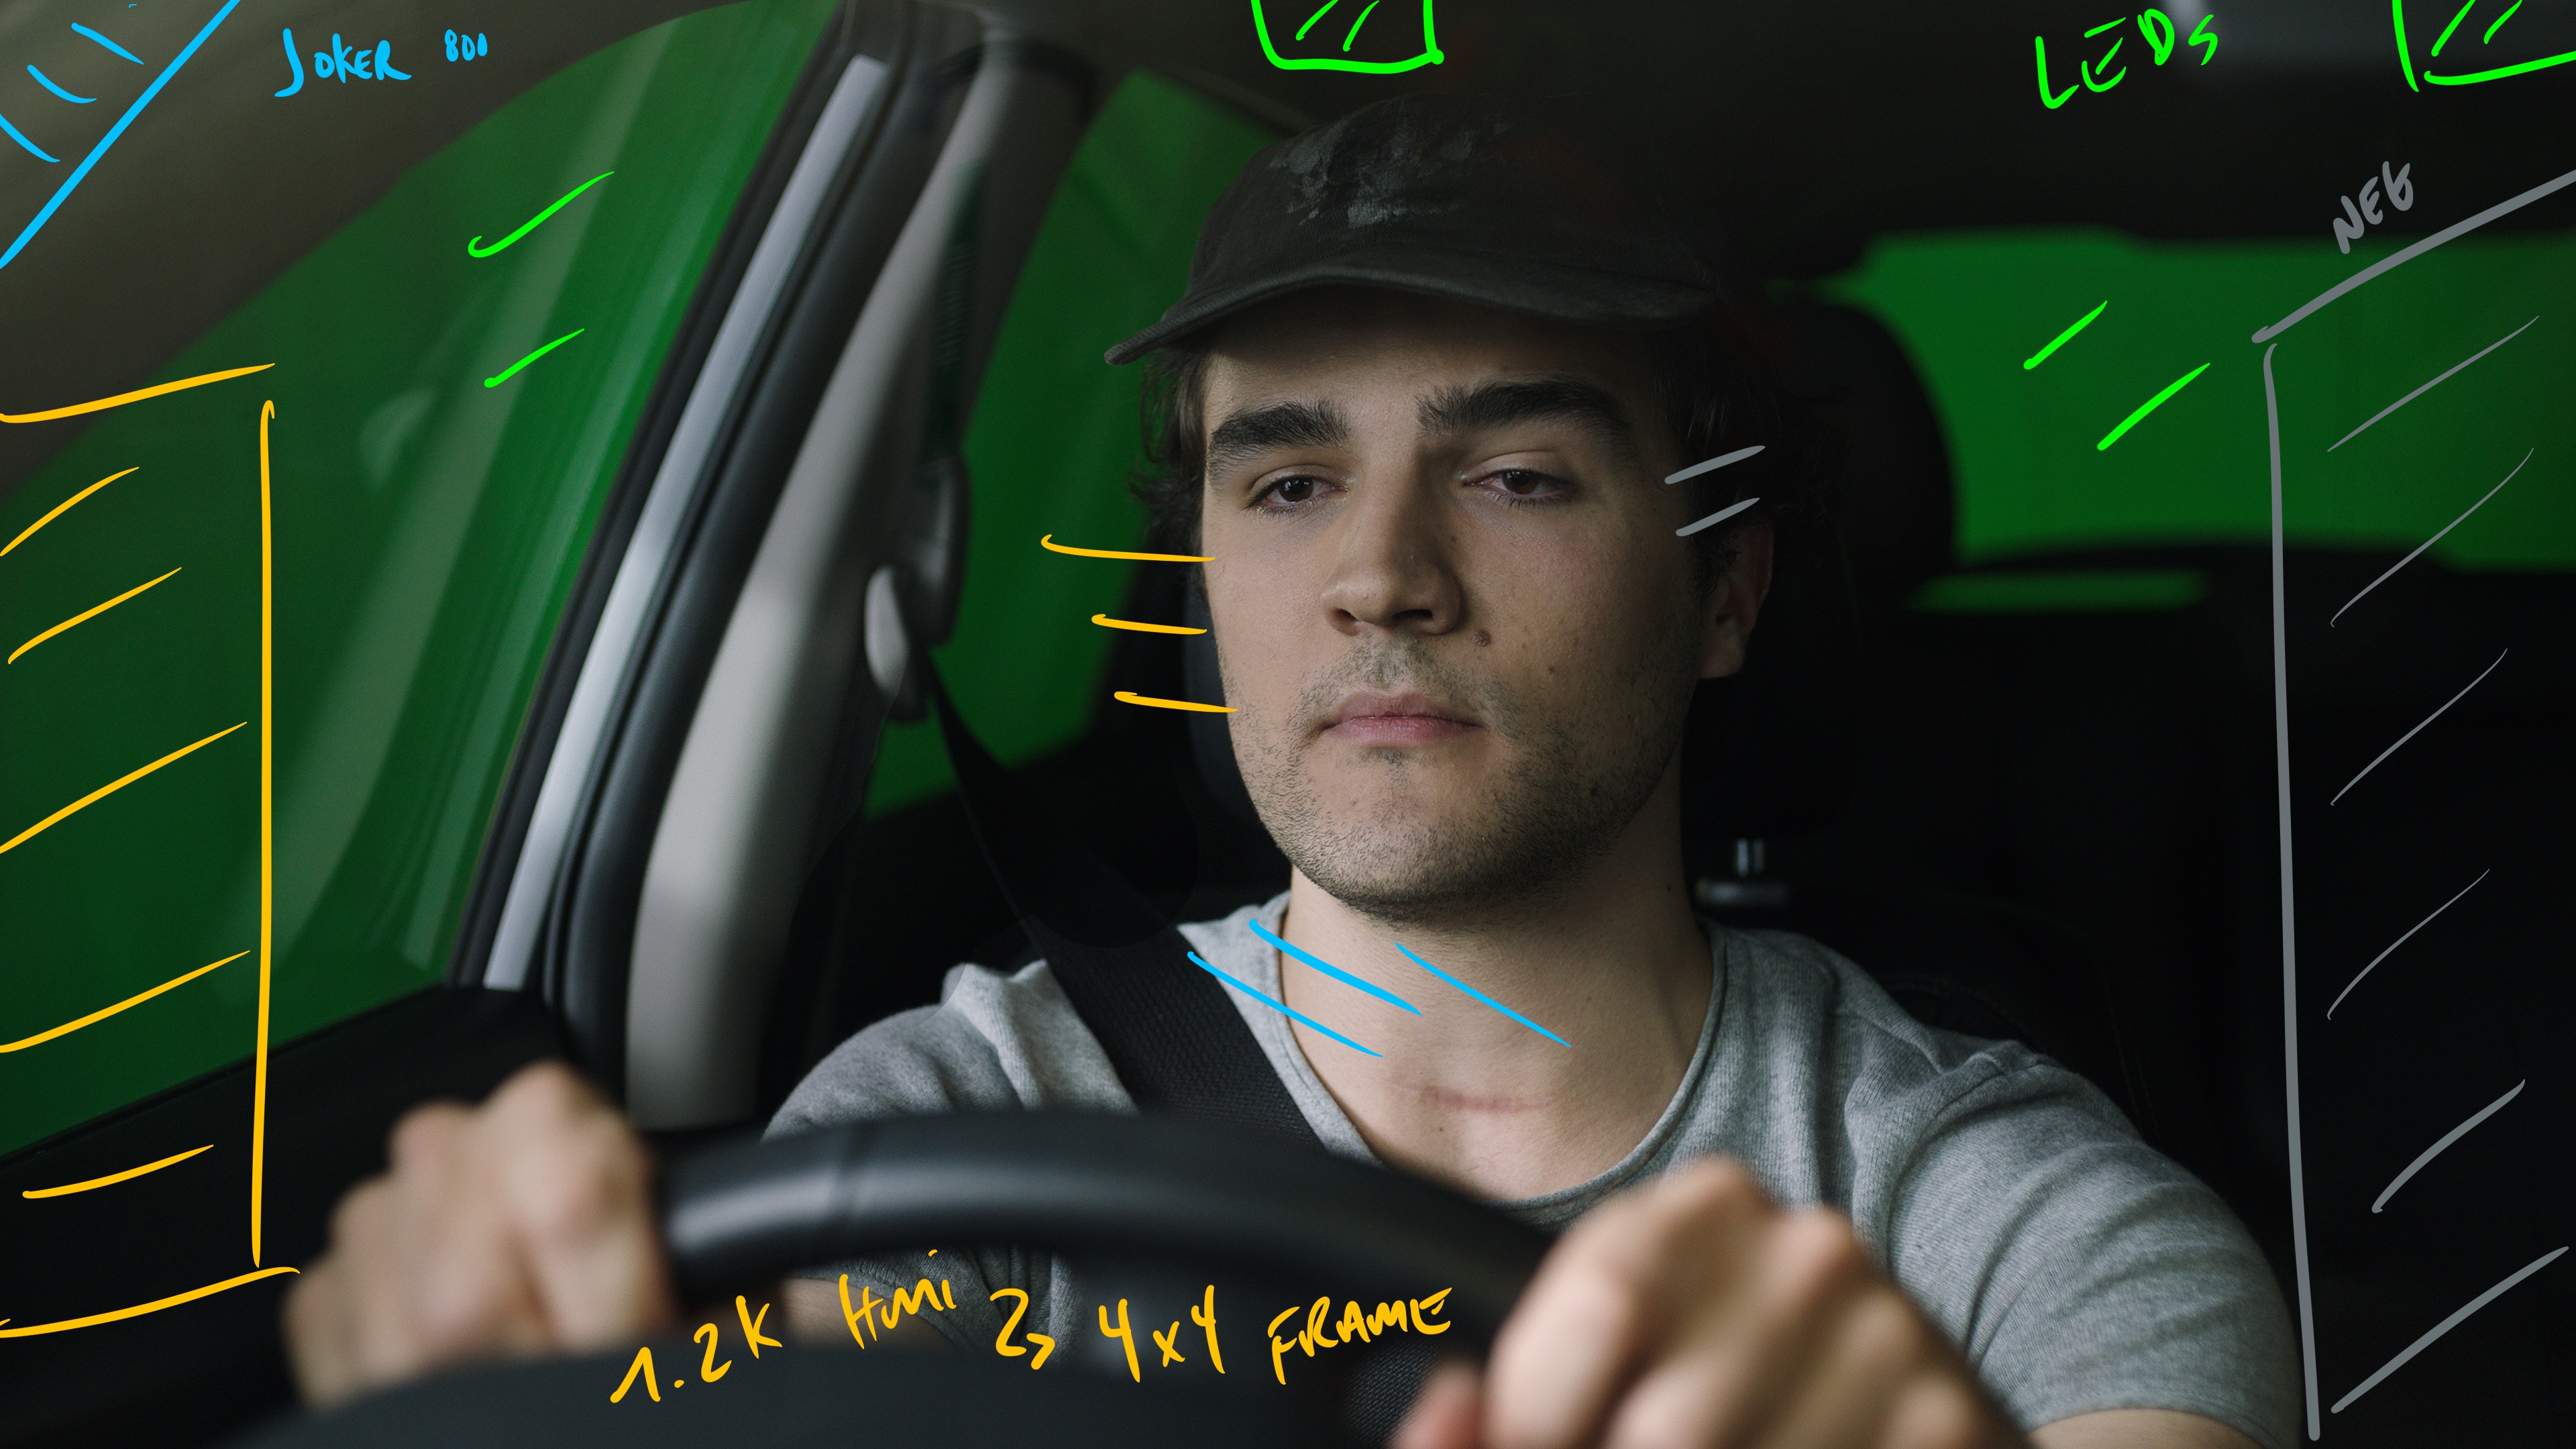
For lighting it was some knock off LEDs for the green screen work, a 1.2k HMI, a joker 800, and a set of 8 Titan Tubes. That was it.
The Spot - Shot by Shot
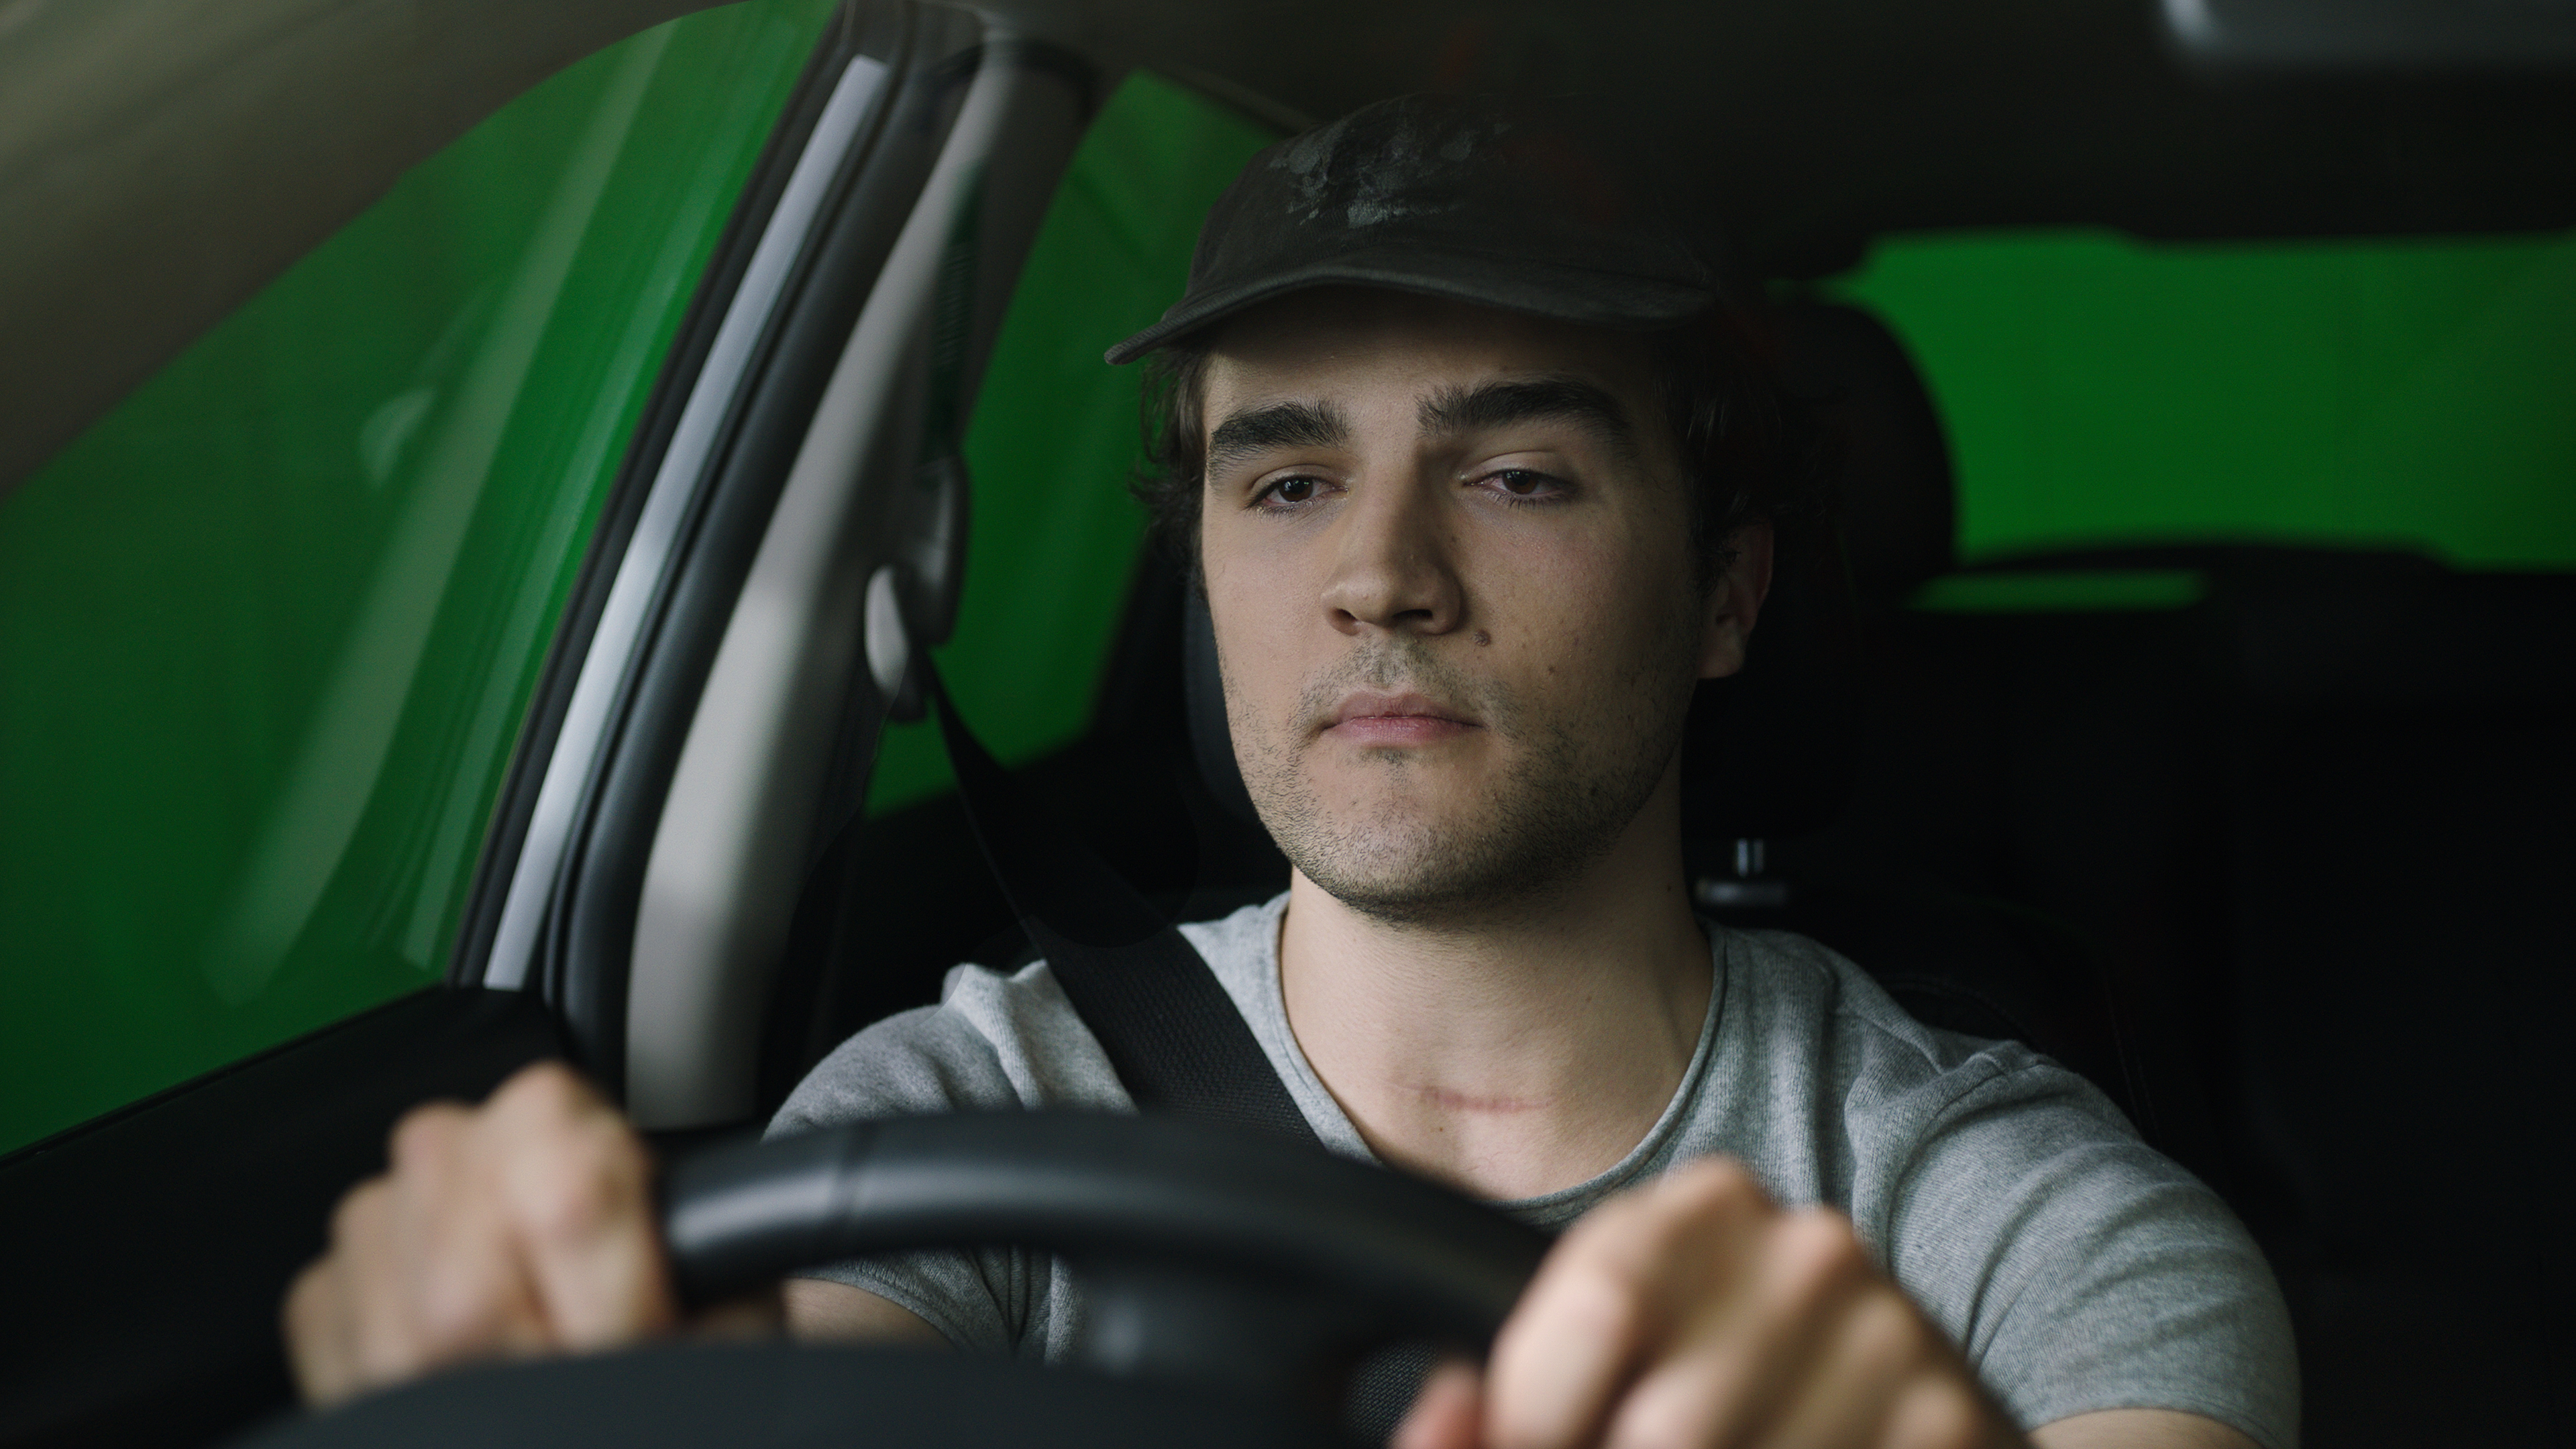
Shot 1 - Day Travel
The Shots
We had a bunch of sim travel shots we needed to do for the day and night options in the TVC.
The Lighting
We keyed with a 1.2k HMI through a 4x4 frame from frame left then wrapped with a set of Titan Tubes above camera.
The slash is a Joker 800 knocked way back and the green screen is a series of knock off LEDs panels.
The Result
BTS
Set Up #2 - Night Travel

The Shot
The same series of shots as above but played for night.
The Lighting
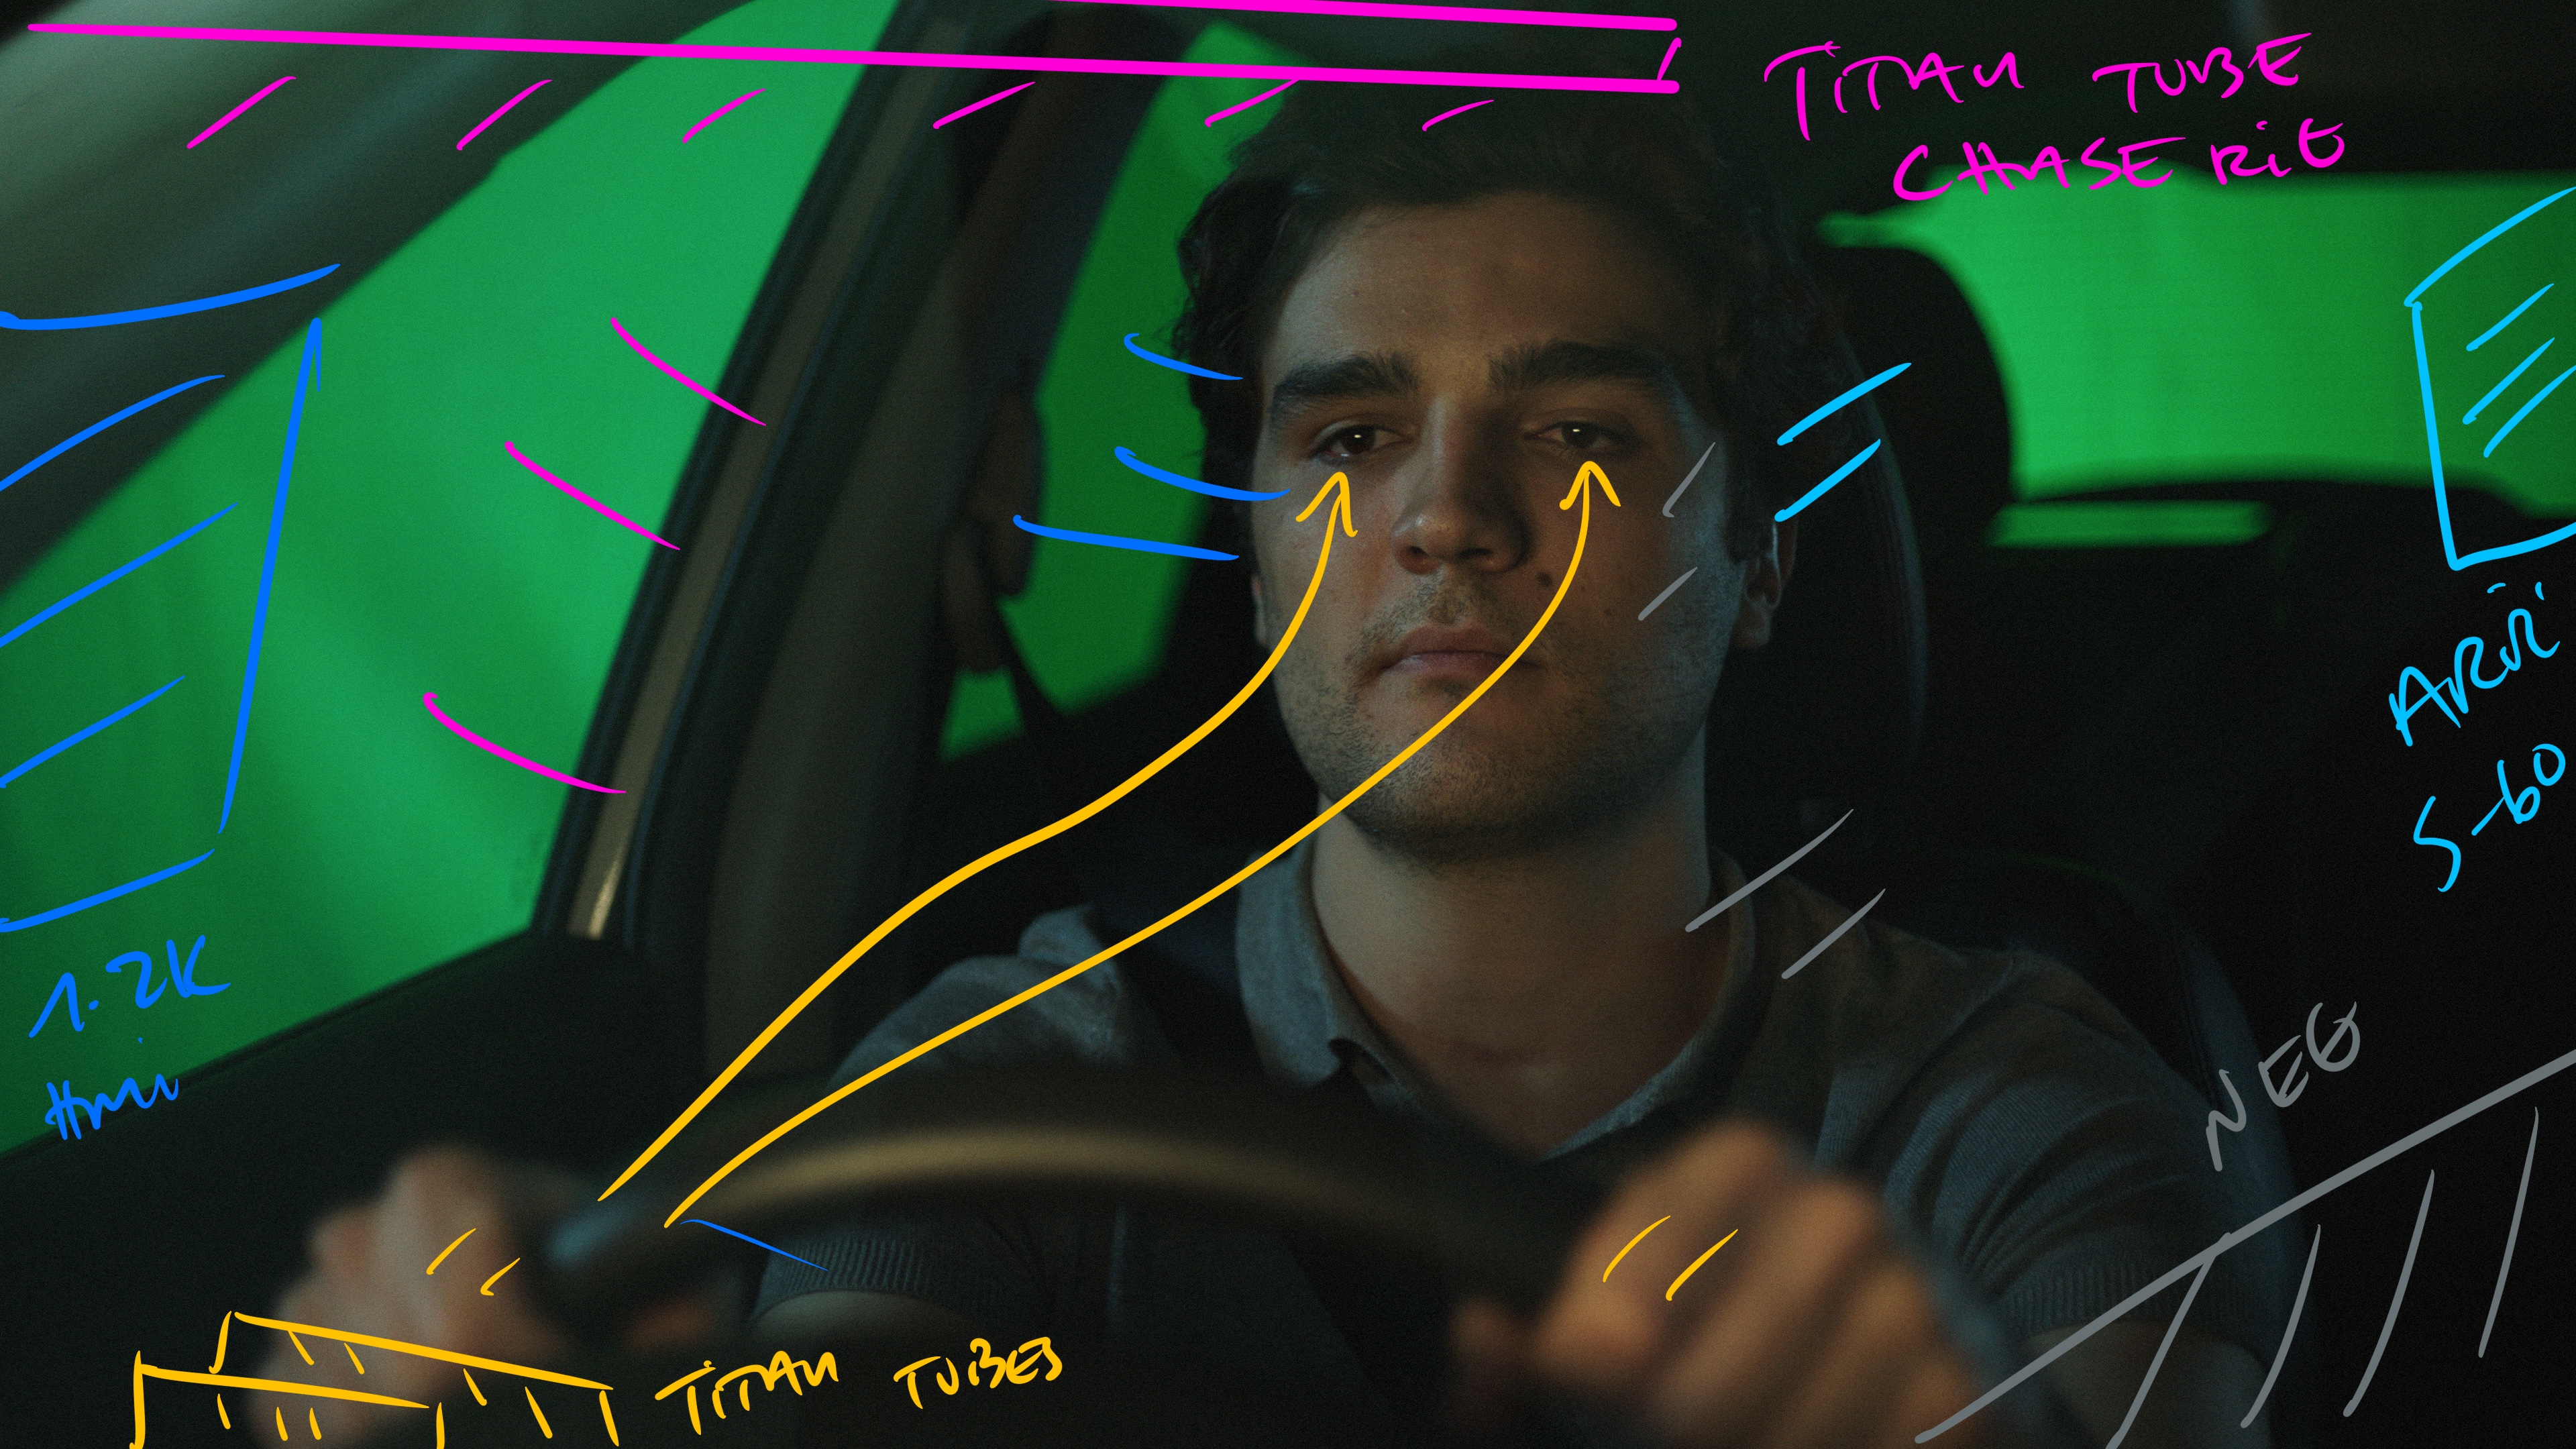
We stills used the 1.2k but knocked the level out of it and raised it so it was higher than the previous set up.
We used the Titan tubes that were above camera before to act as constant headlight road bounce from frame left. They are just on top of the hood of the car and dimmed and gridded.
We also added 4 Titan Tubes in a chase sequence to act as passing street lamps.
We also added a passing headlight gag using two dimmed down 650w tungsten lamps from behind camera frame right.
For the blueish backlight we had an Arri Skypanel s-60.
The Result
Set Up #3 - The Bedroom

The Shot
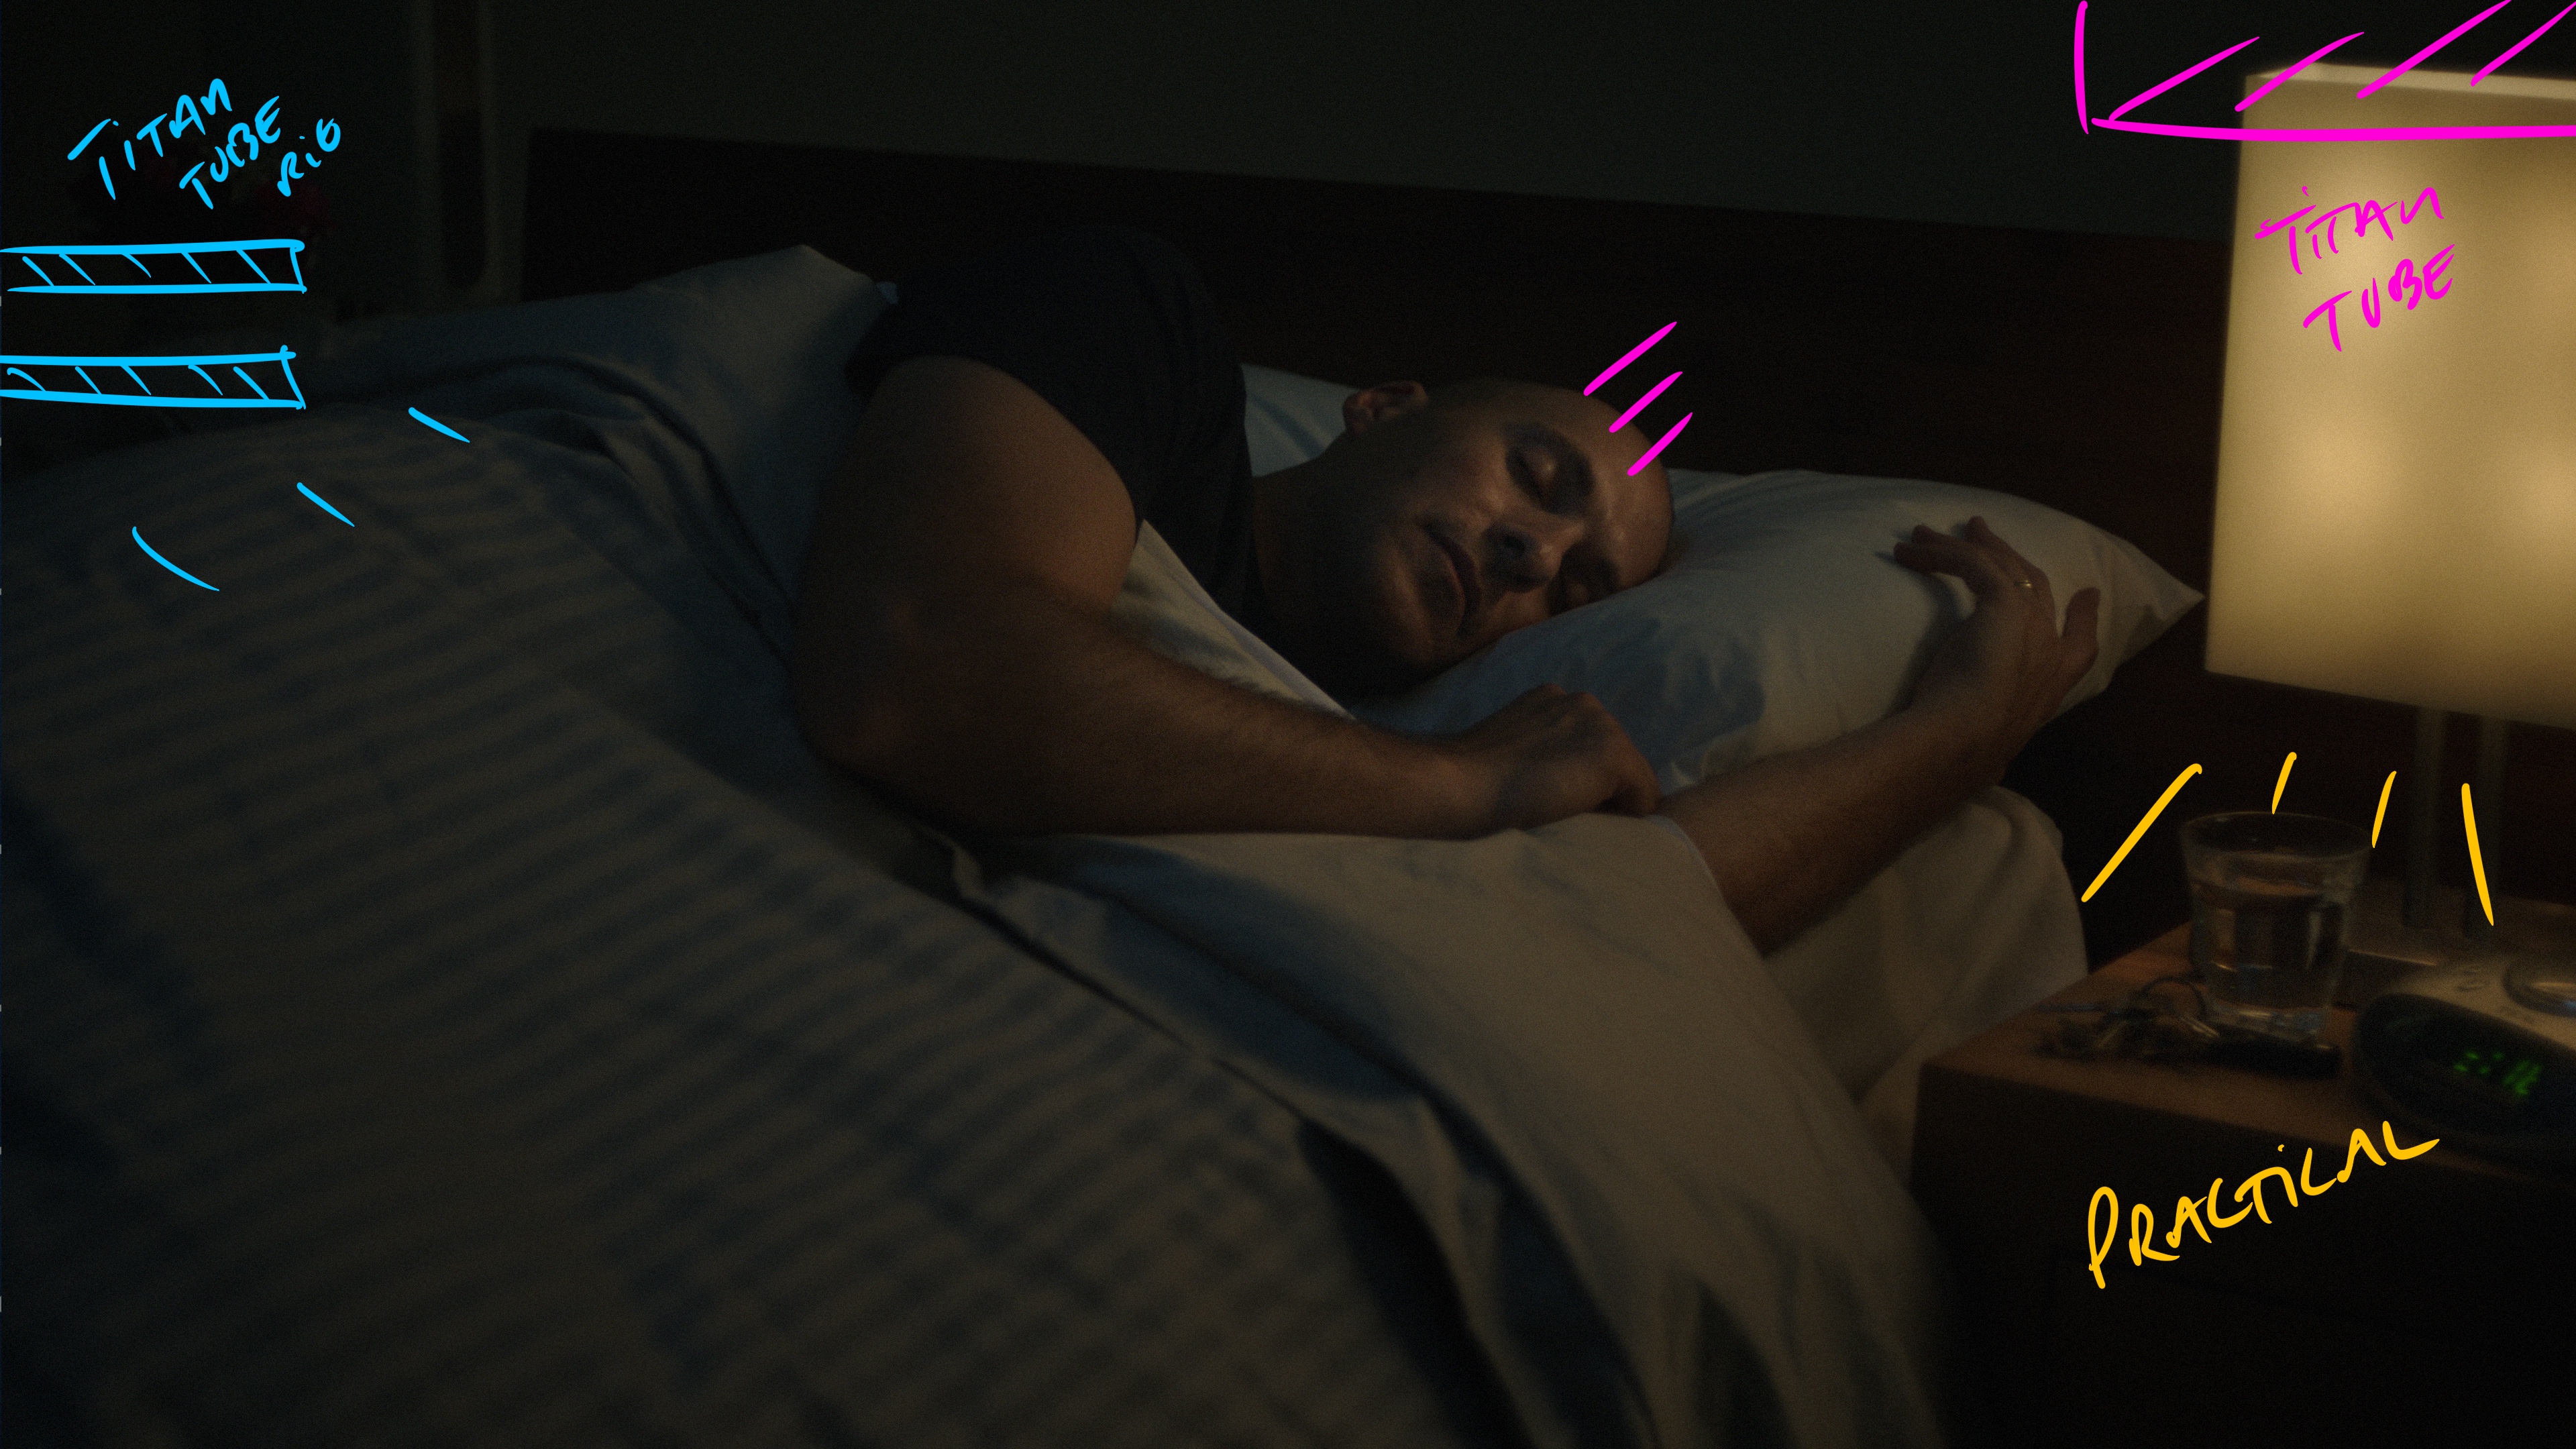
The camera dollies down the side of the bed and tracks in on the sleeping man's face.
The Lighting
This was our last set up of the day and we tried to slim things down as much as possible.
We had one Titan Tube with a grid above the terrible LED practical. The LED was as low as it could go so that we could keep the bad color off his face.
Then we used two Titan Tubes in a overhead rig to act as night ambient frame left.
The Result
Set Up #4 - The Doctor
The Shot
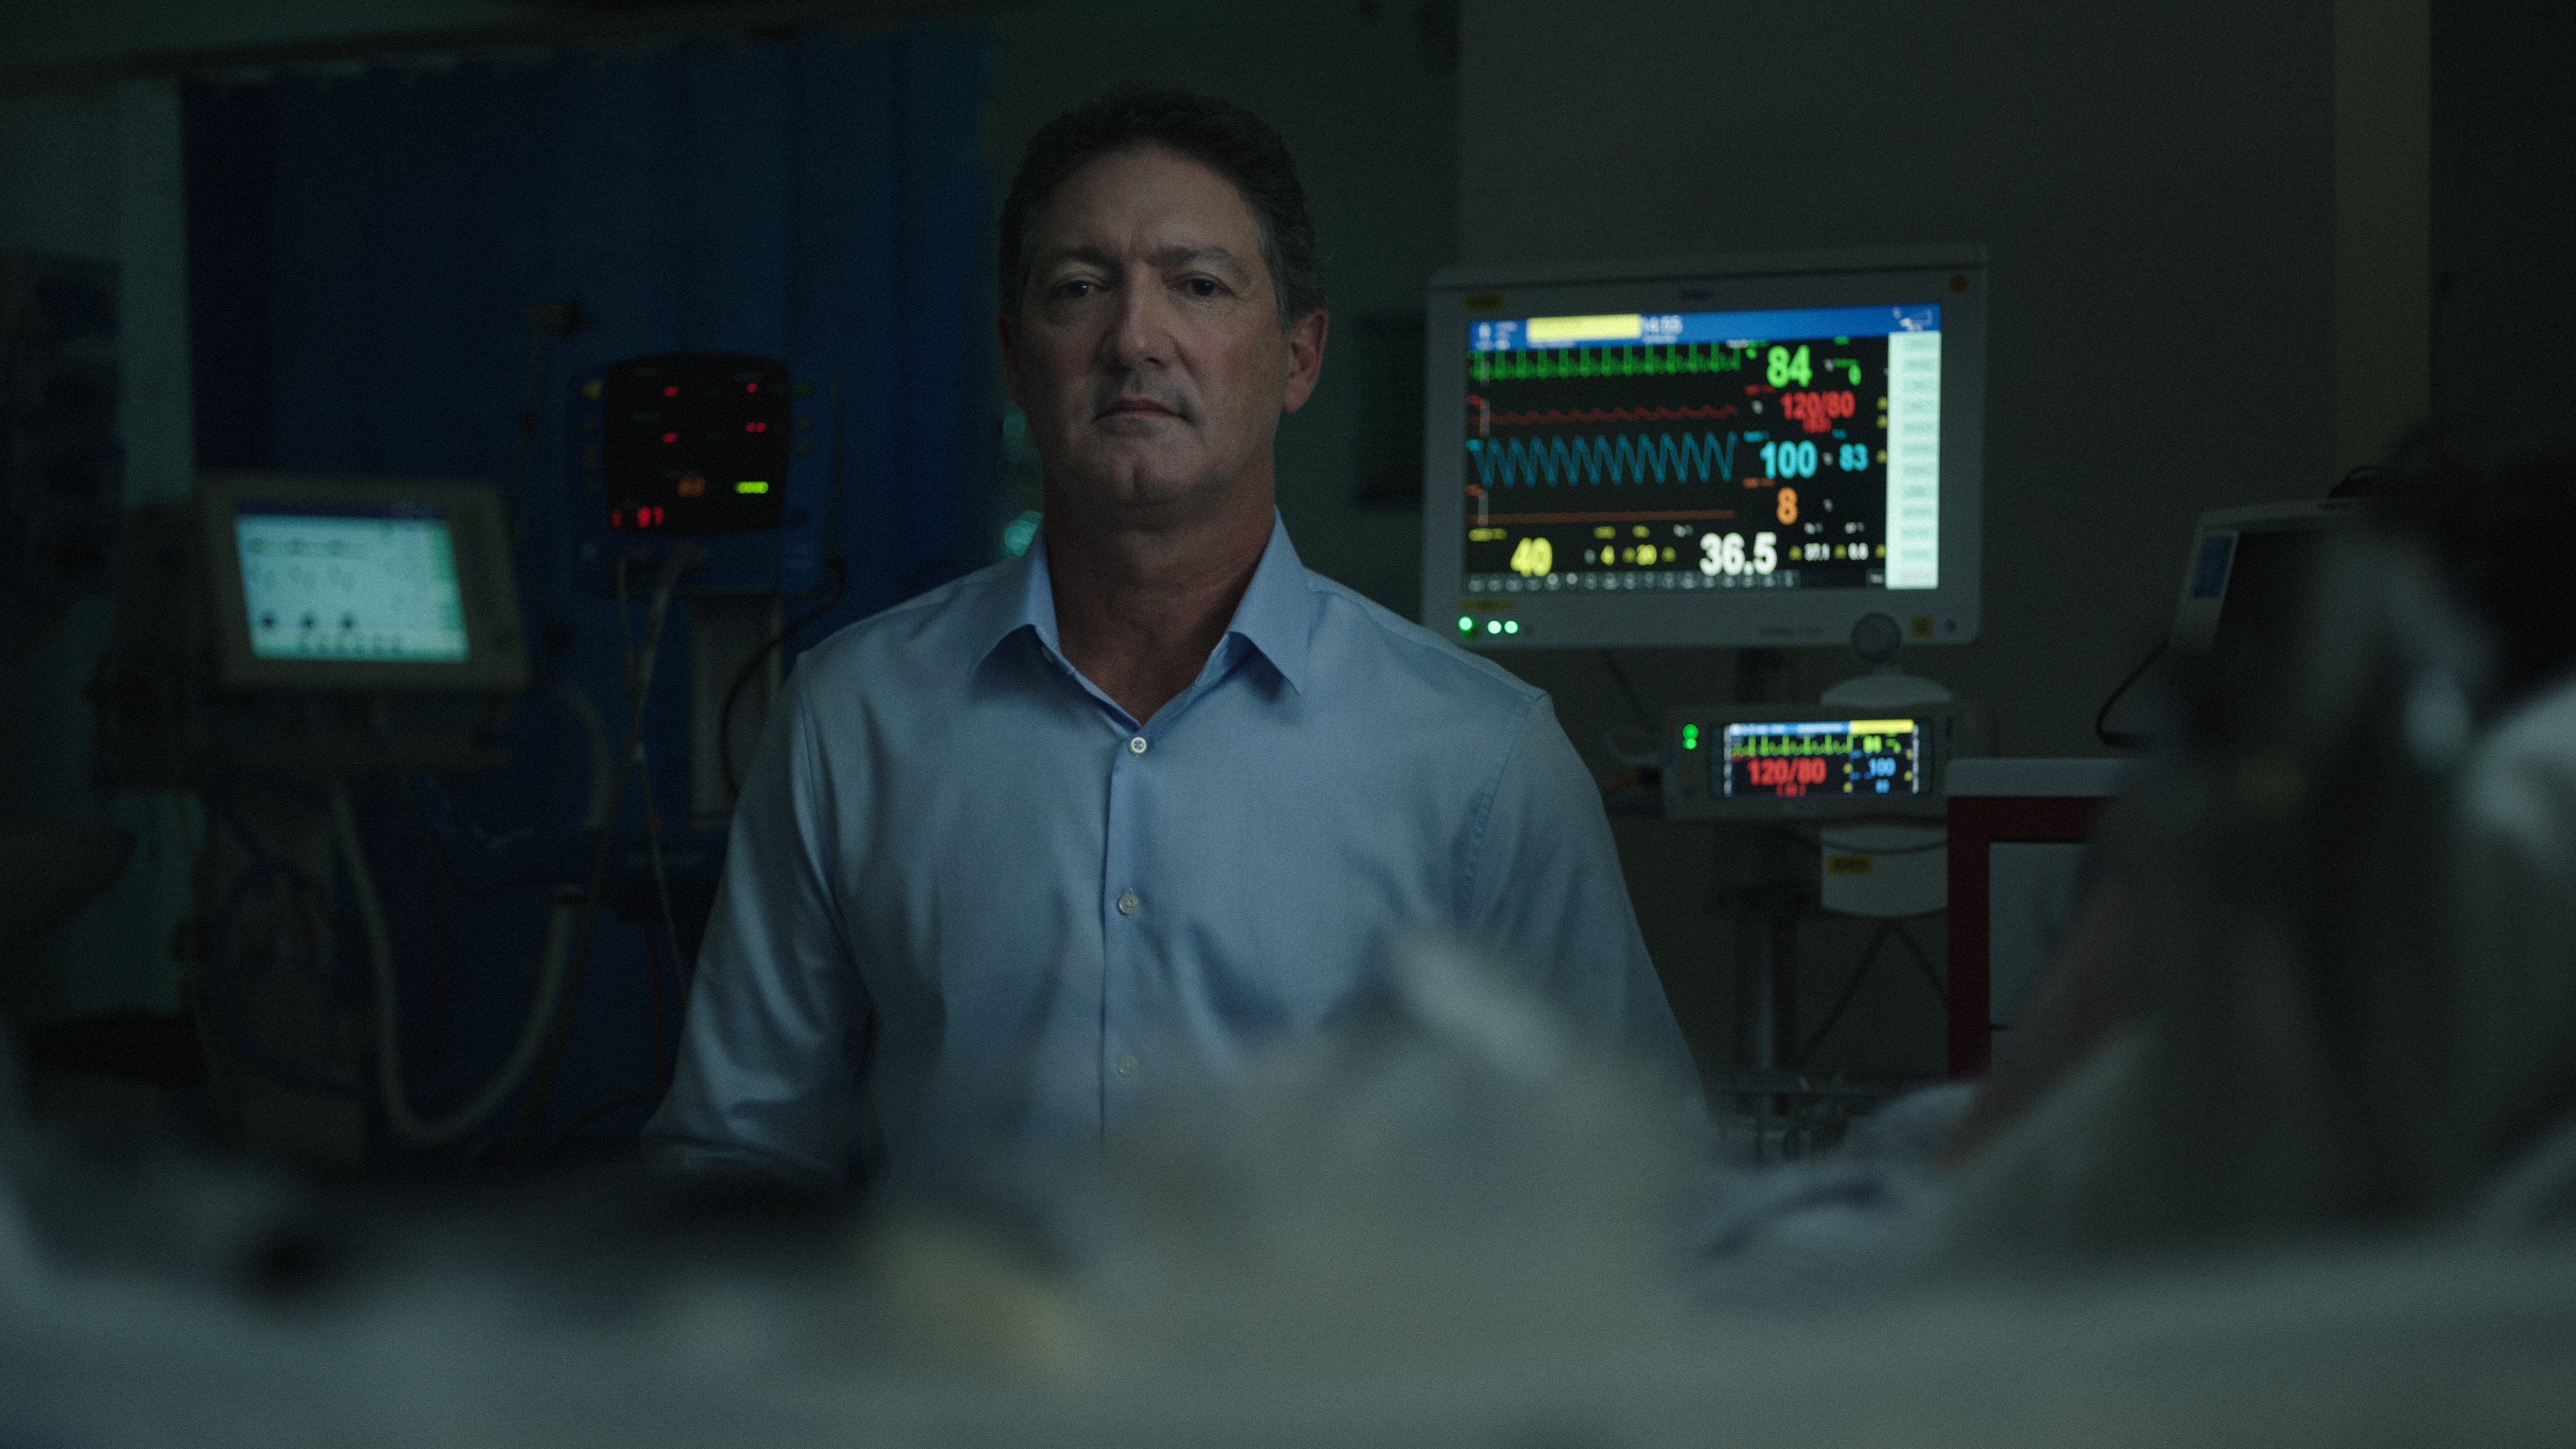
The camera tracks right to left as the doctor tells people to get more sleep before getting behind the wheel.
The Lighting
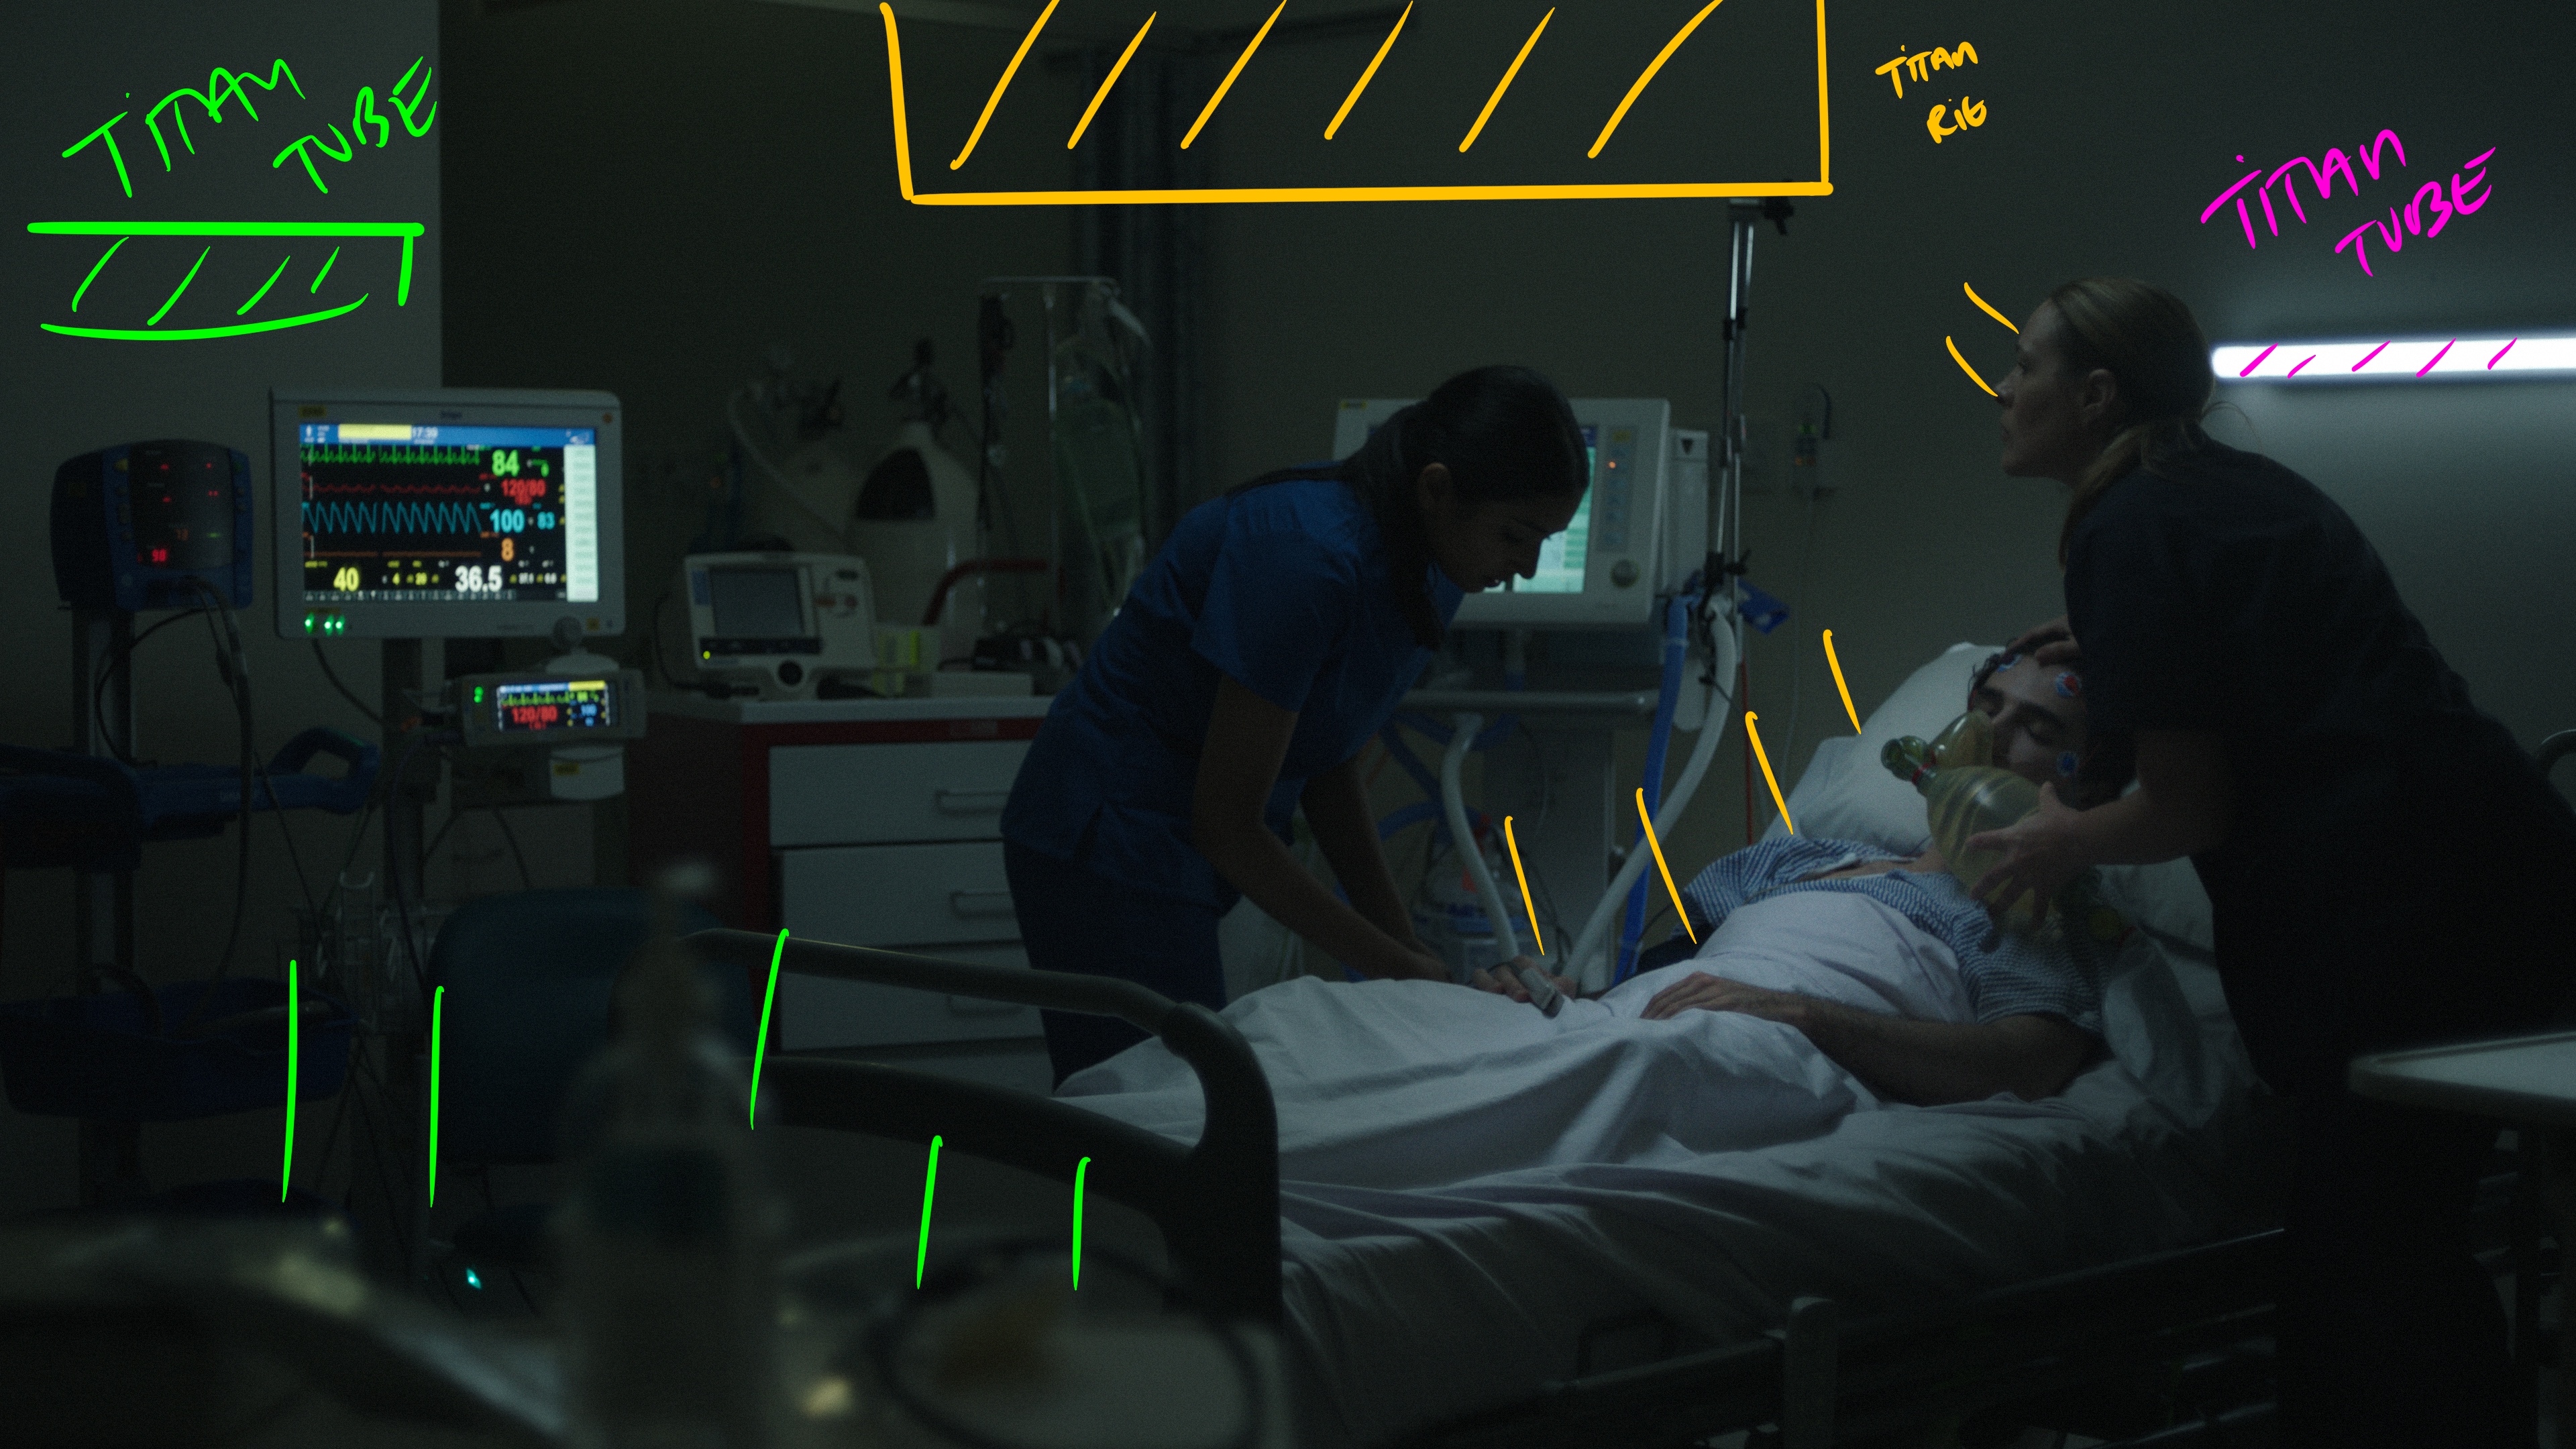
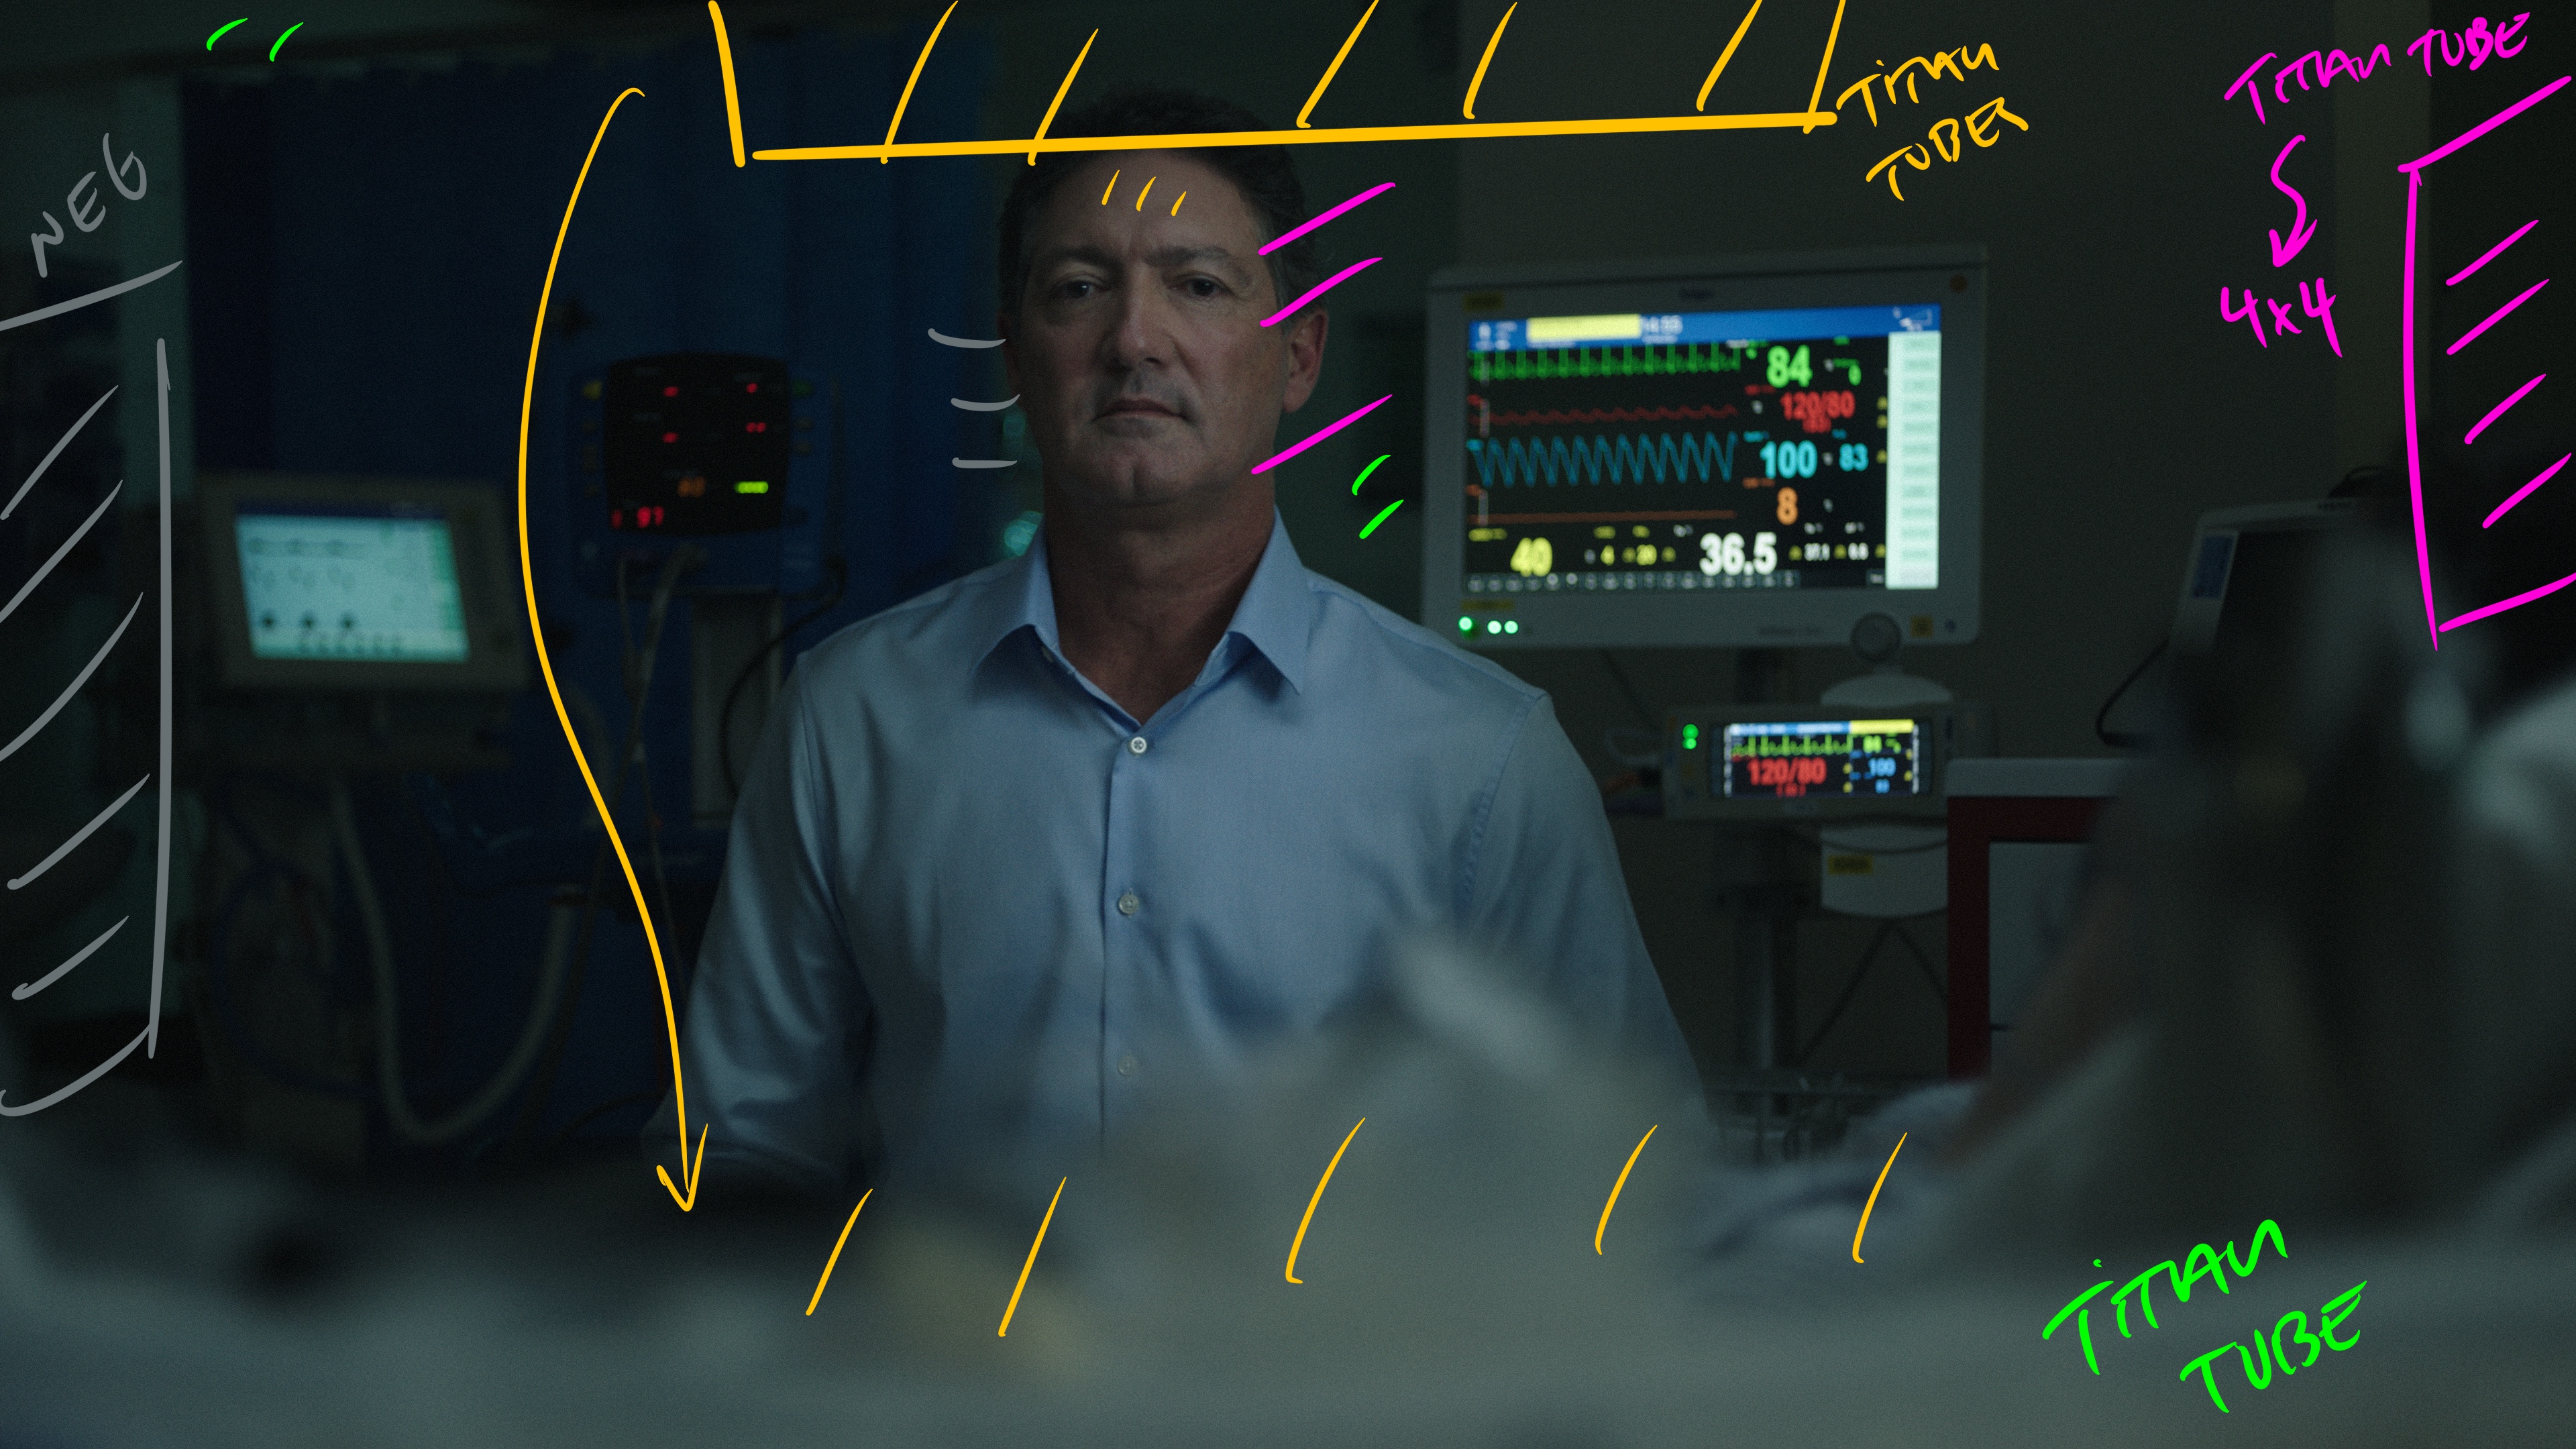
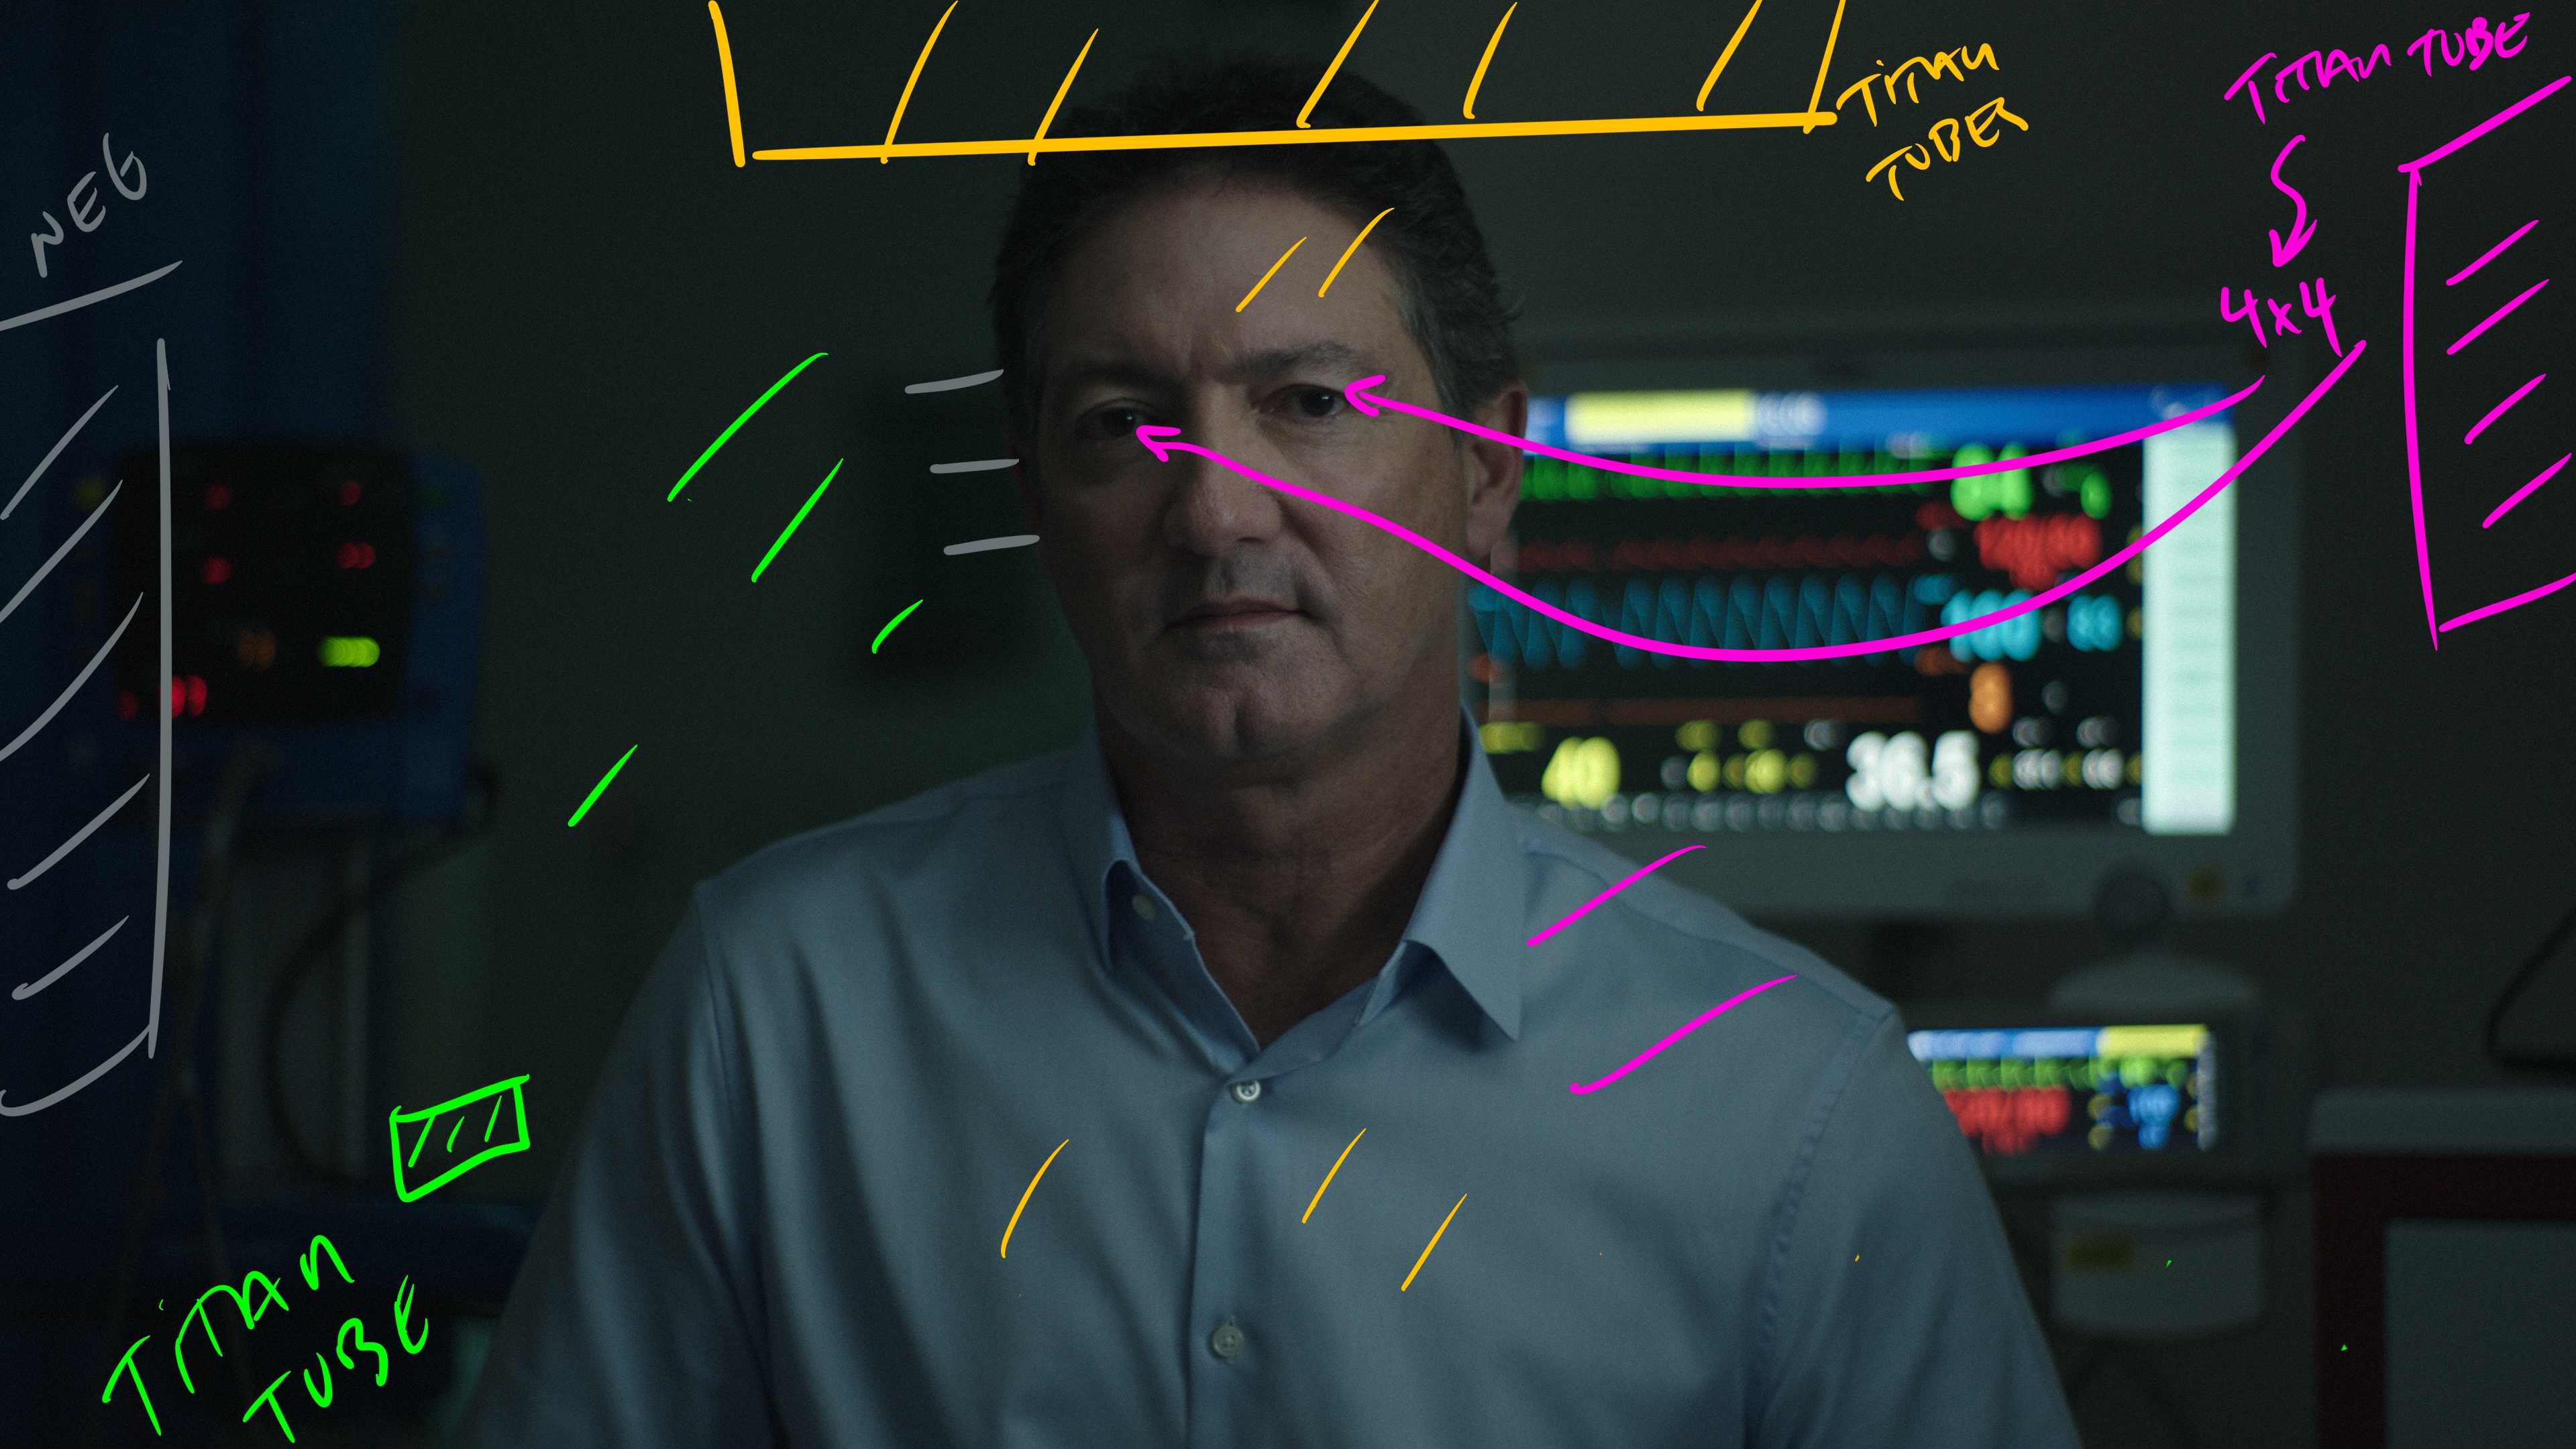
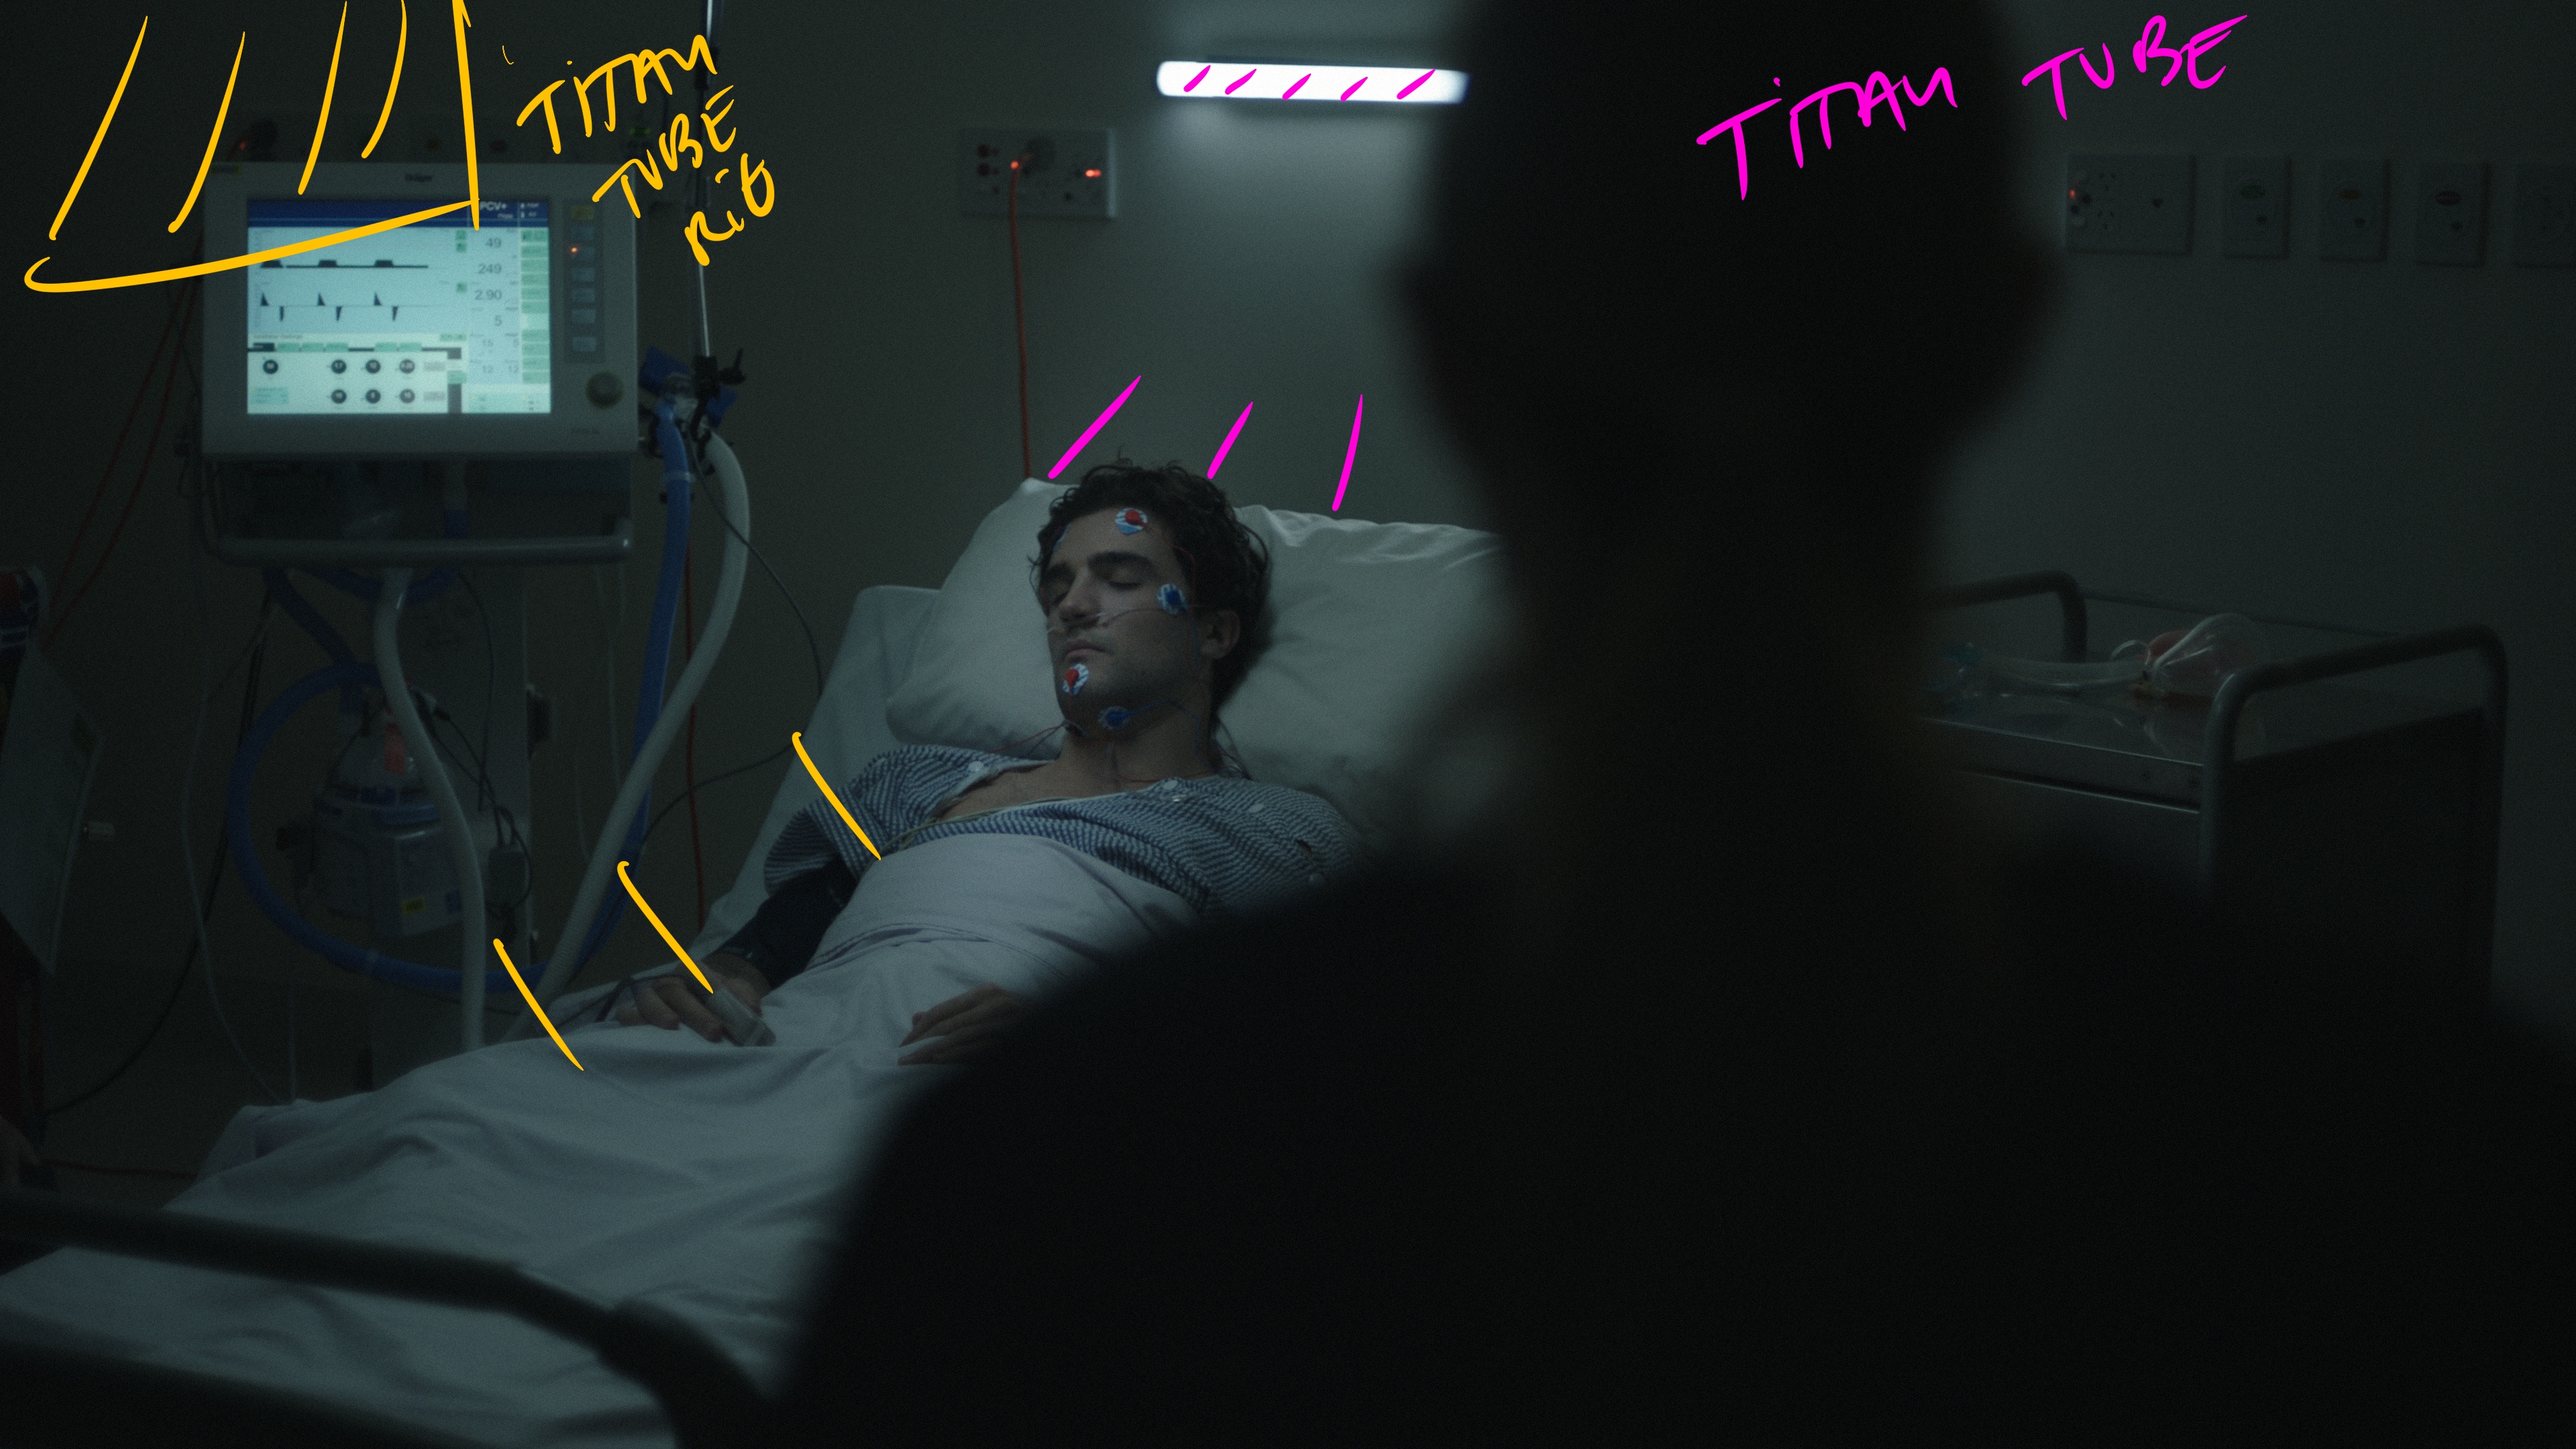
We used a series of titan tubes, both as practicals and out of shot, to get the room as dark as we could.
There is our two tube set up overhead dimmed way down and then one tube frame right through a 4x4 frame of diffusion.
For the BG there are tubes camera left and right to bring up the ambient in the room and provide some contrast as the camera dollies.
The Result
Set Up #5 - The Take Off
The Shot
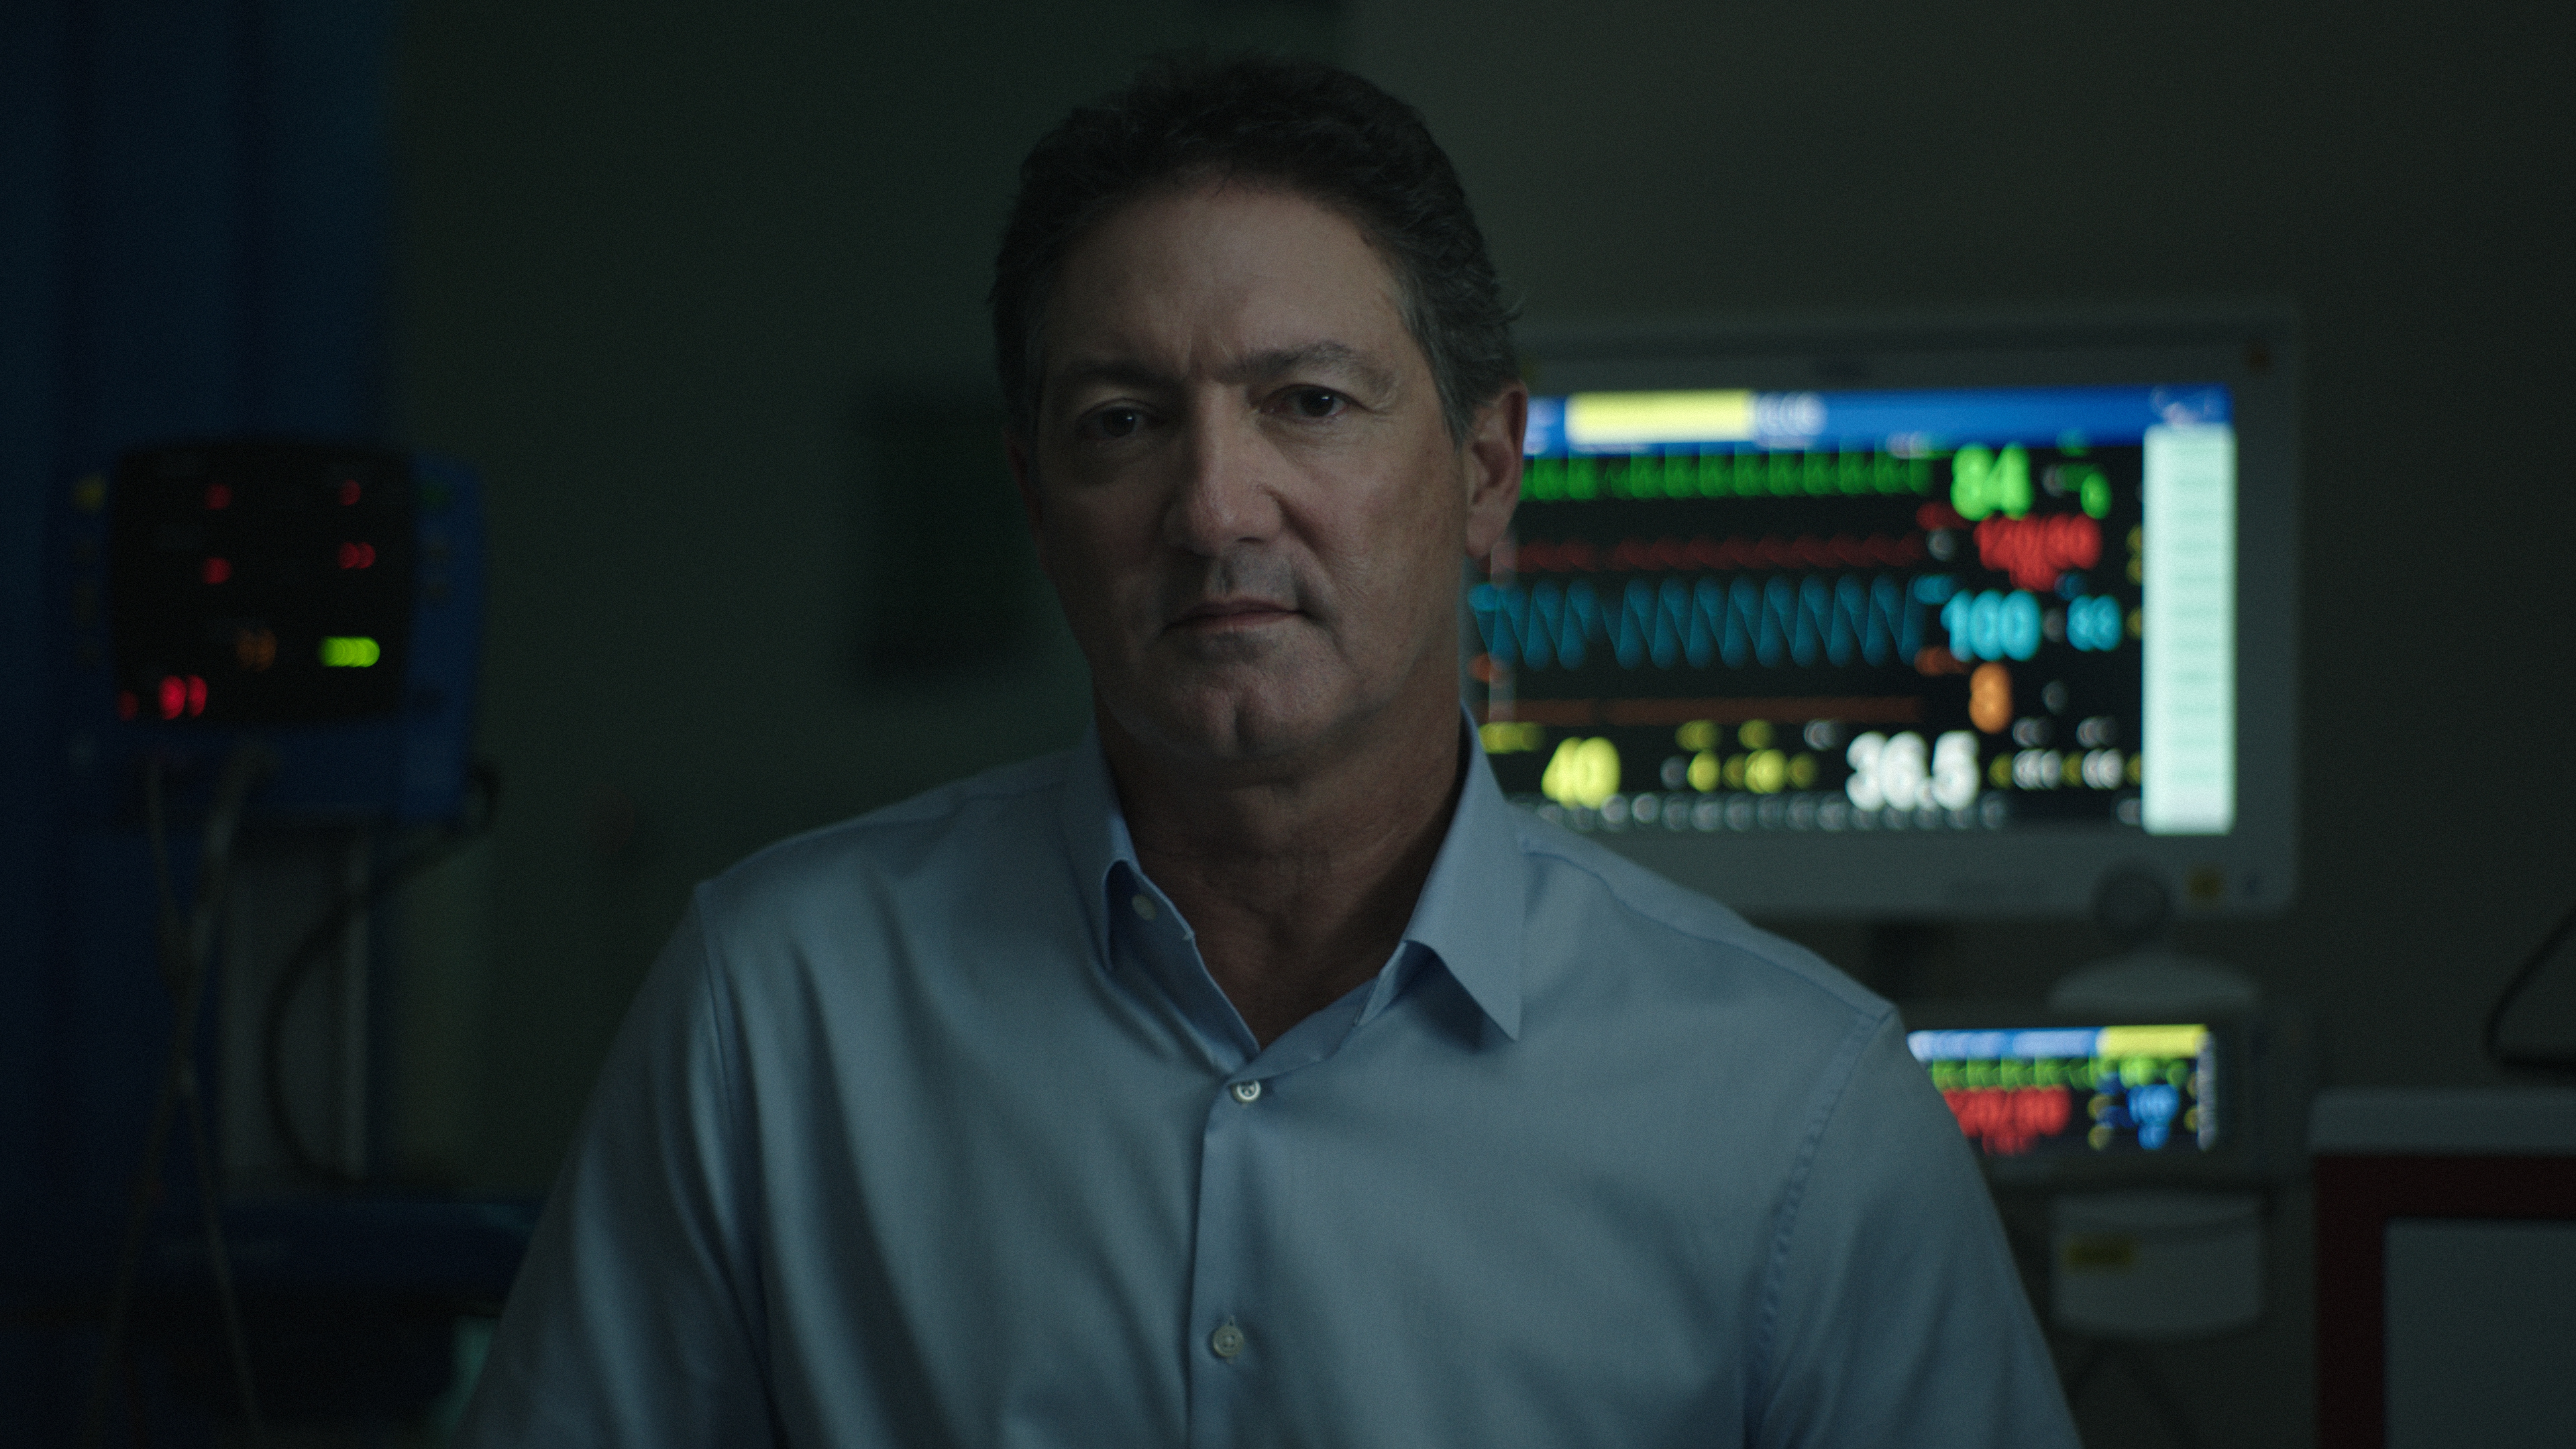
Same as above but tighter.
The Lighting
Same as above.
The Result
Shot #6 - The Fly By
The Shot
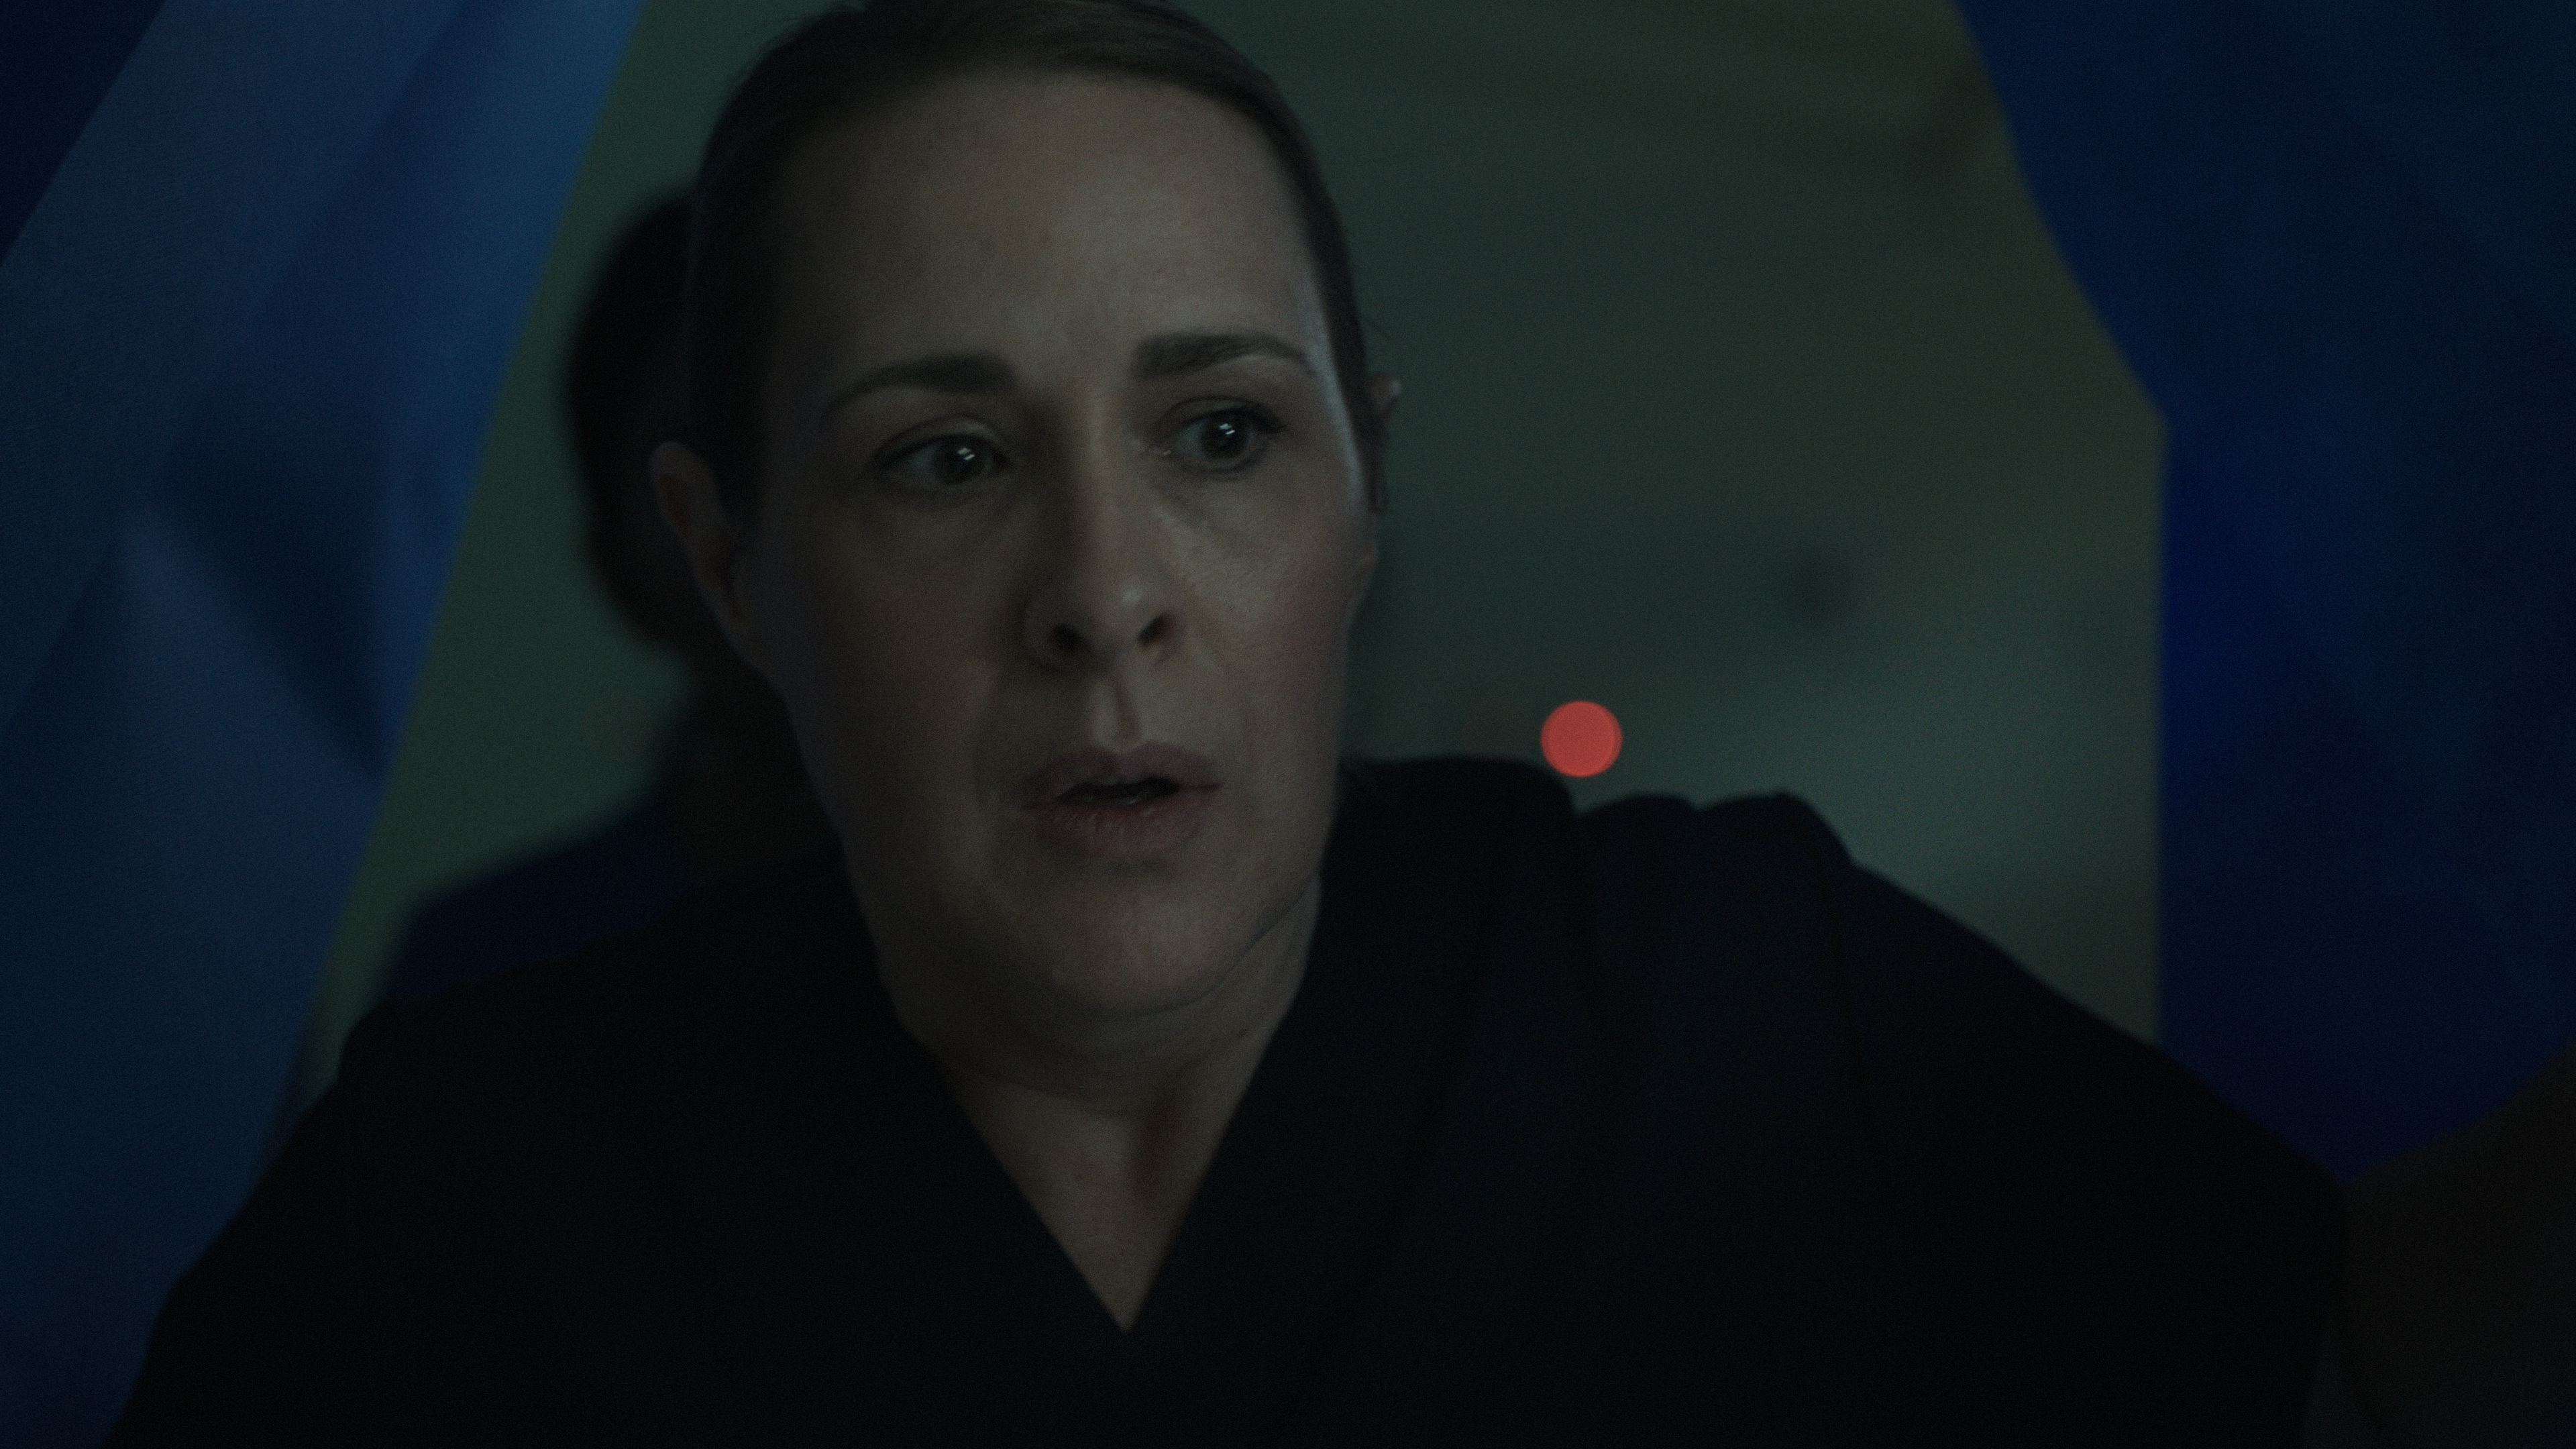
The nurses rush in as the patient the doctor is sitting next to flat lines.
The Lighting
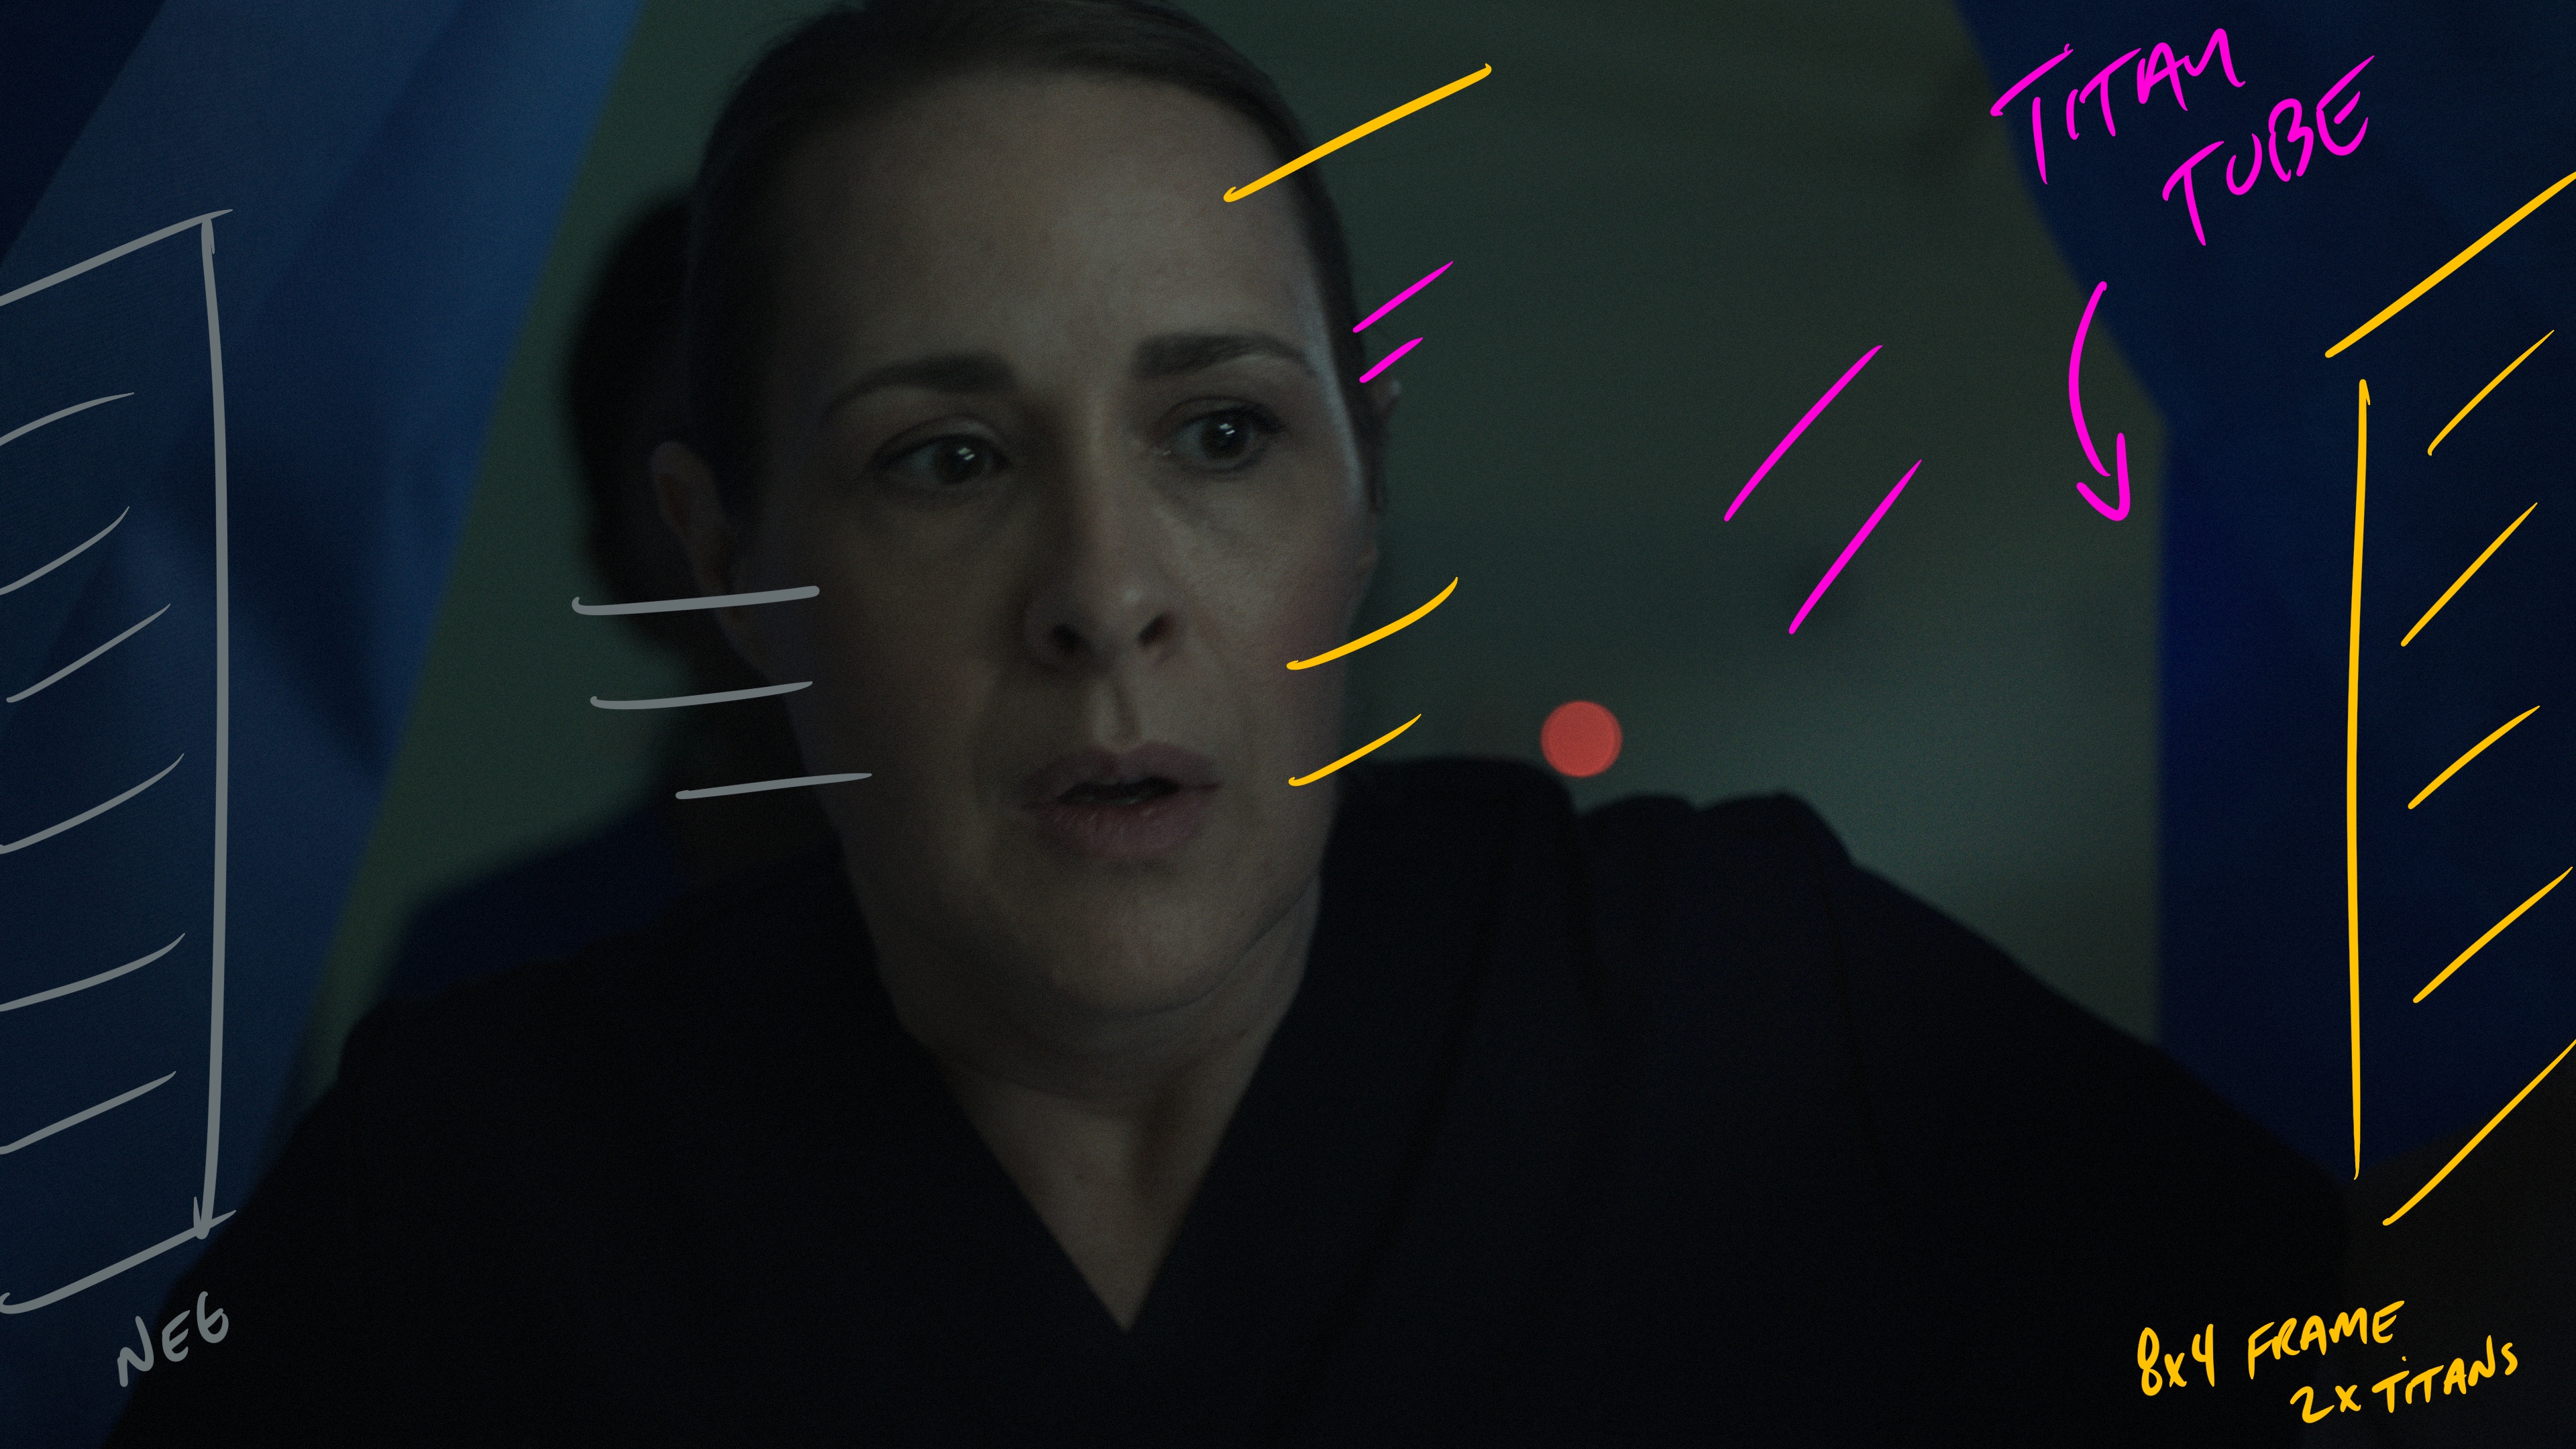
We put the curtains on a pair of c stands then lit the shot with two titan tubes through a 8x4 series of diffusion frames.
In the BG we again had a set of Titan tubes to set the room tone.
The Result
Shot #7 - The Reveal
The Shot
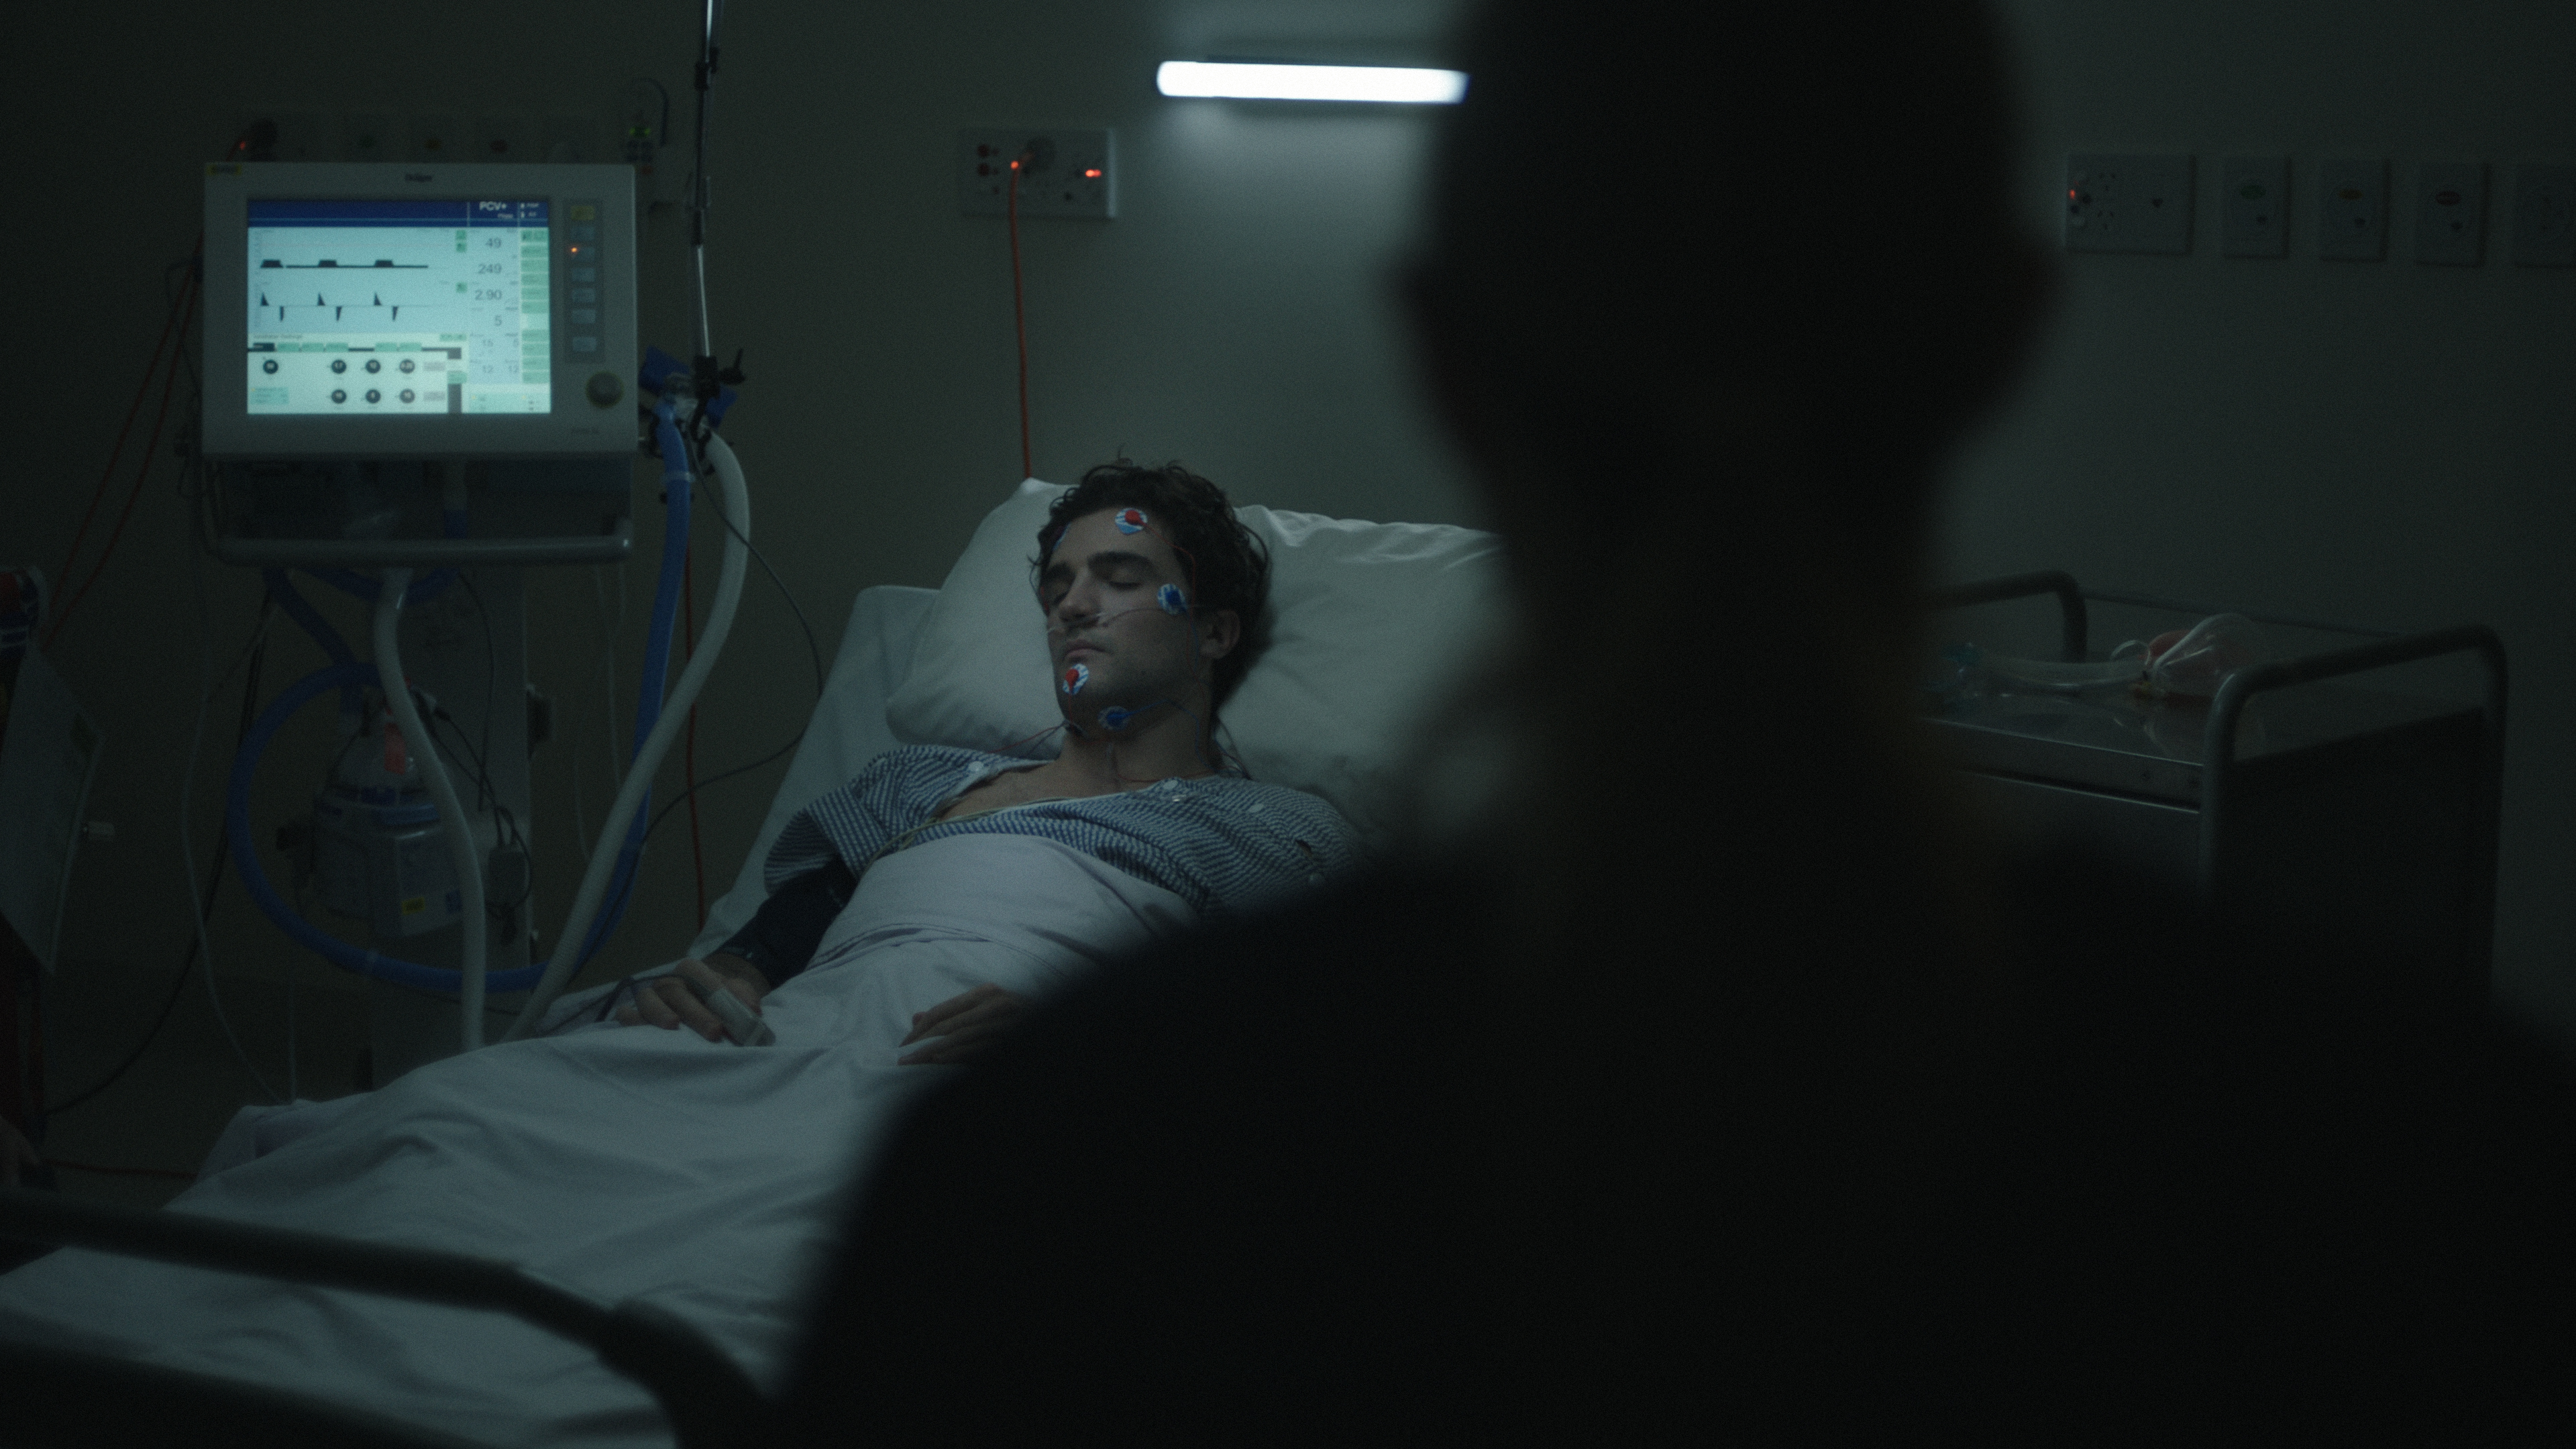
The nurses rush in as we switch from locked off to handheld and follow the nurses to the side of the bed as they try and save the man.
The Lighting
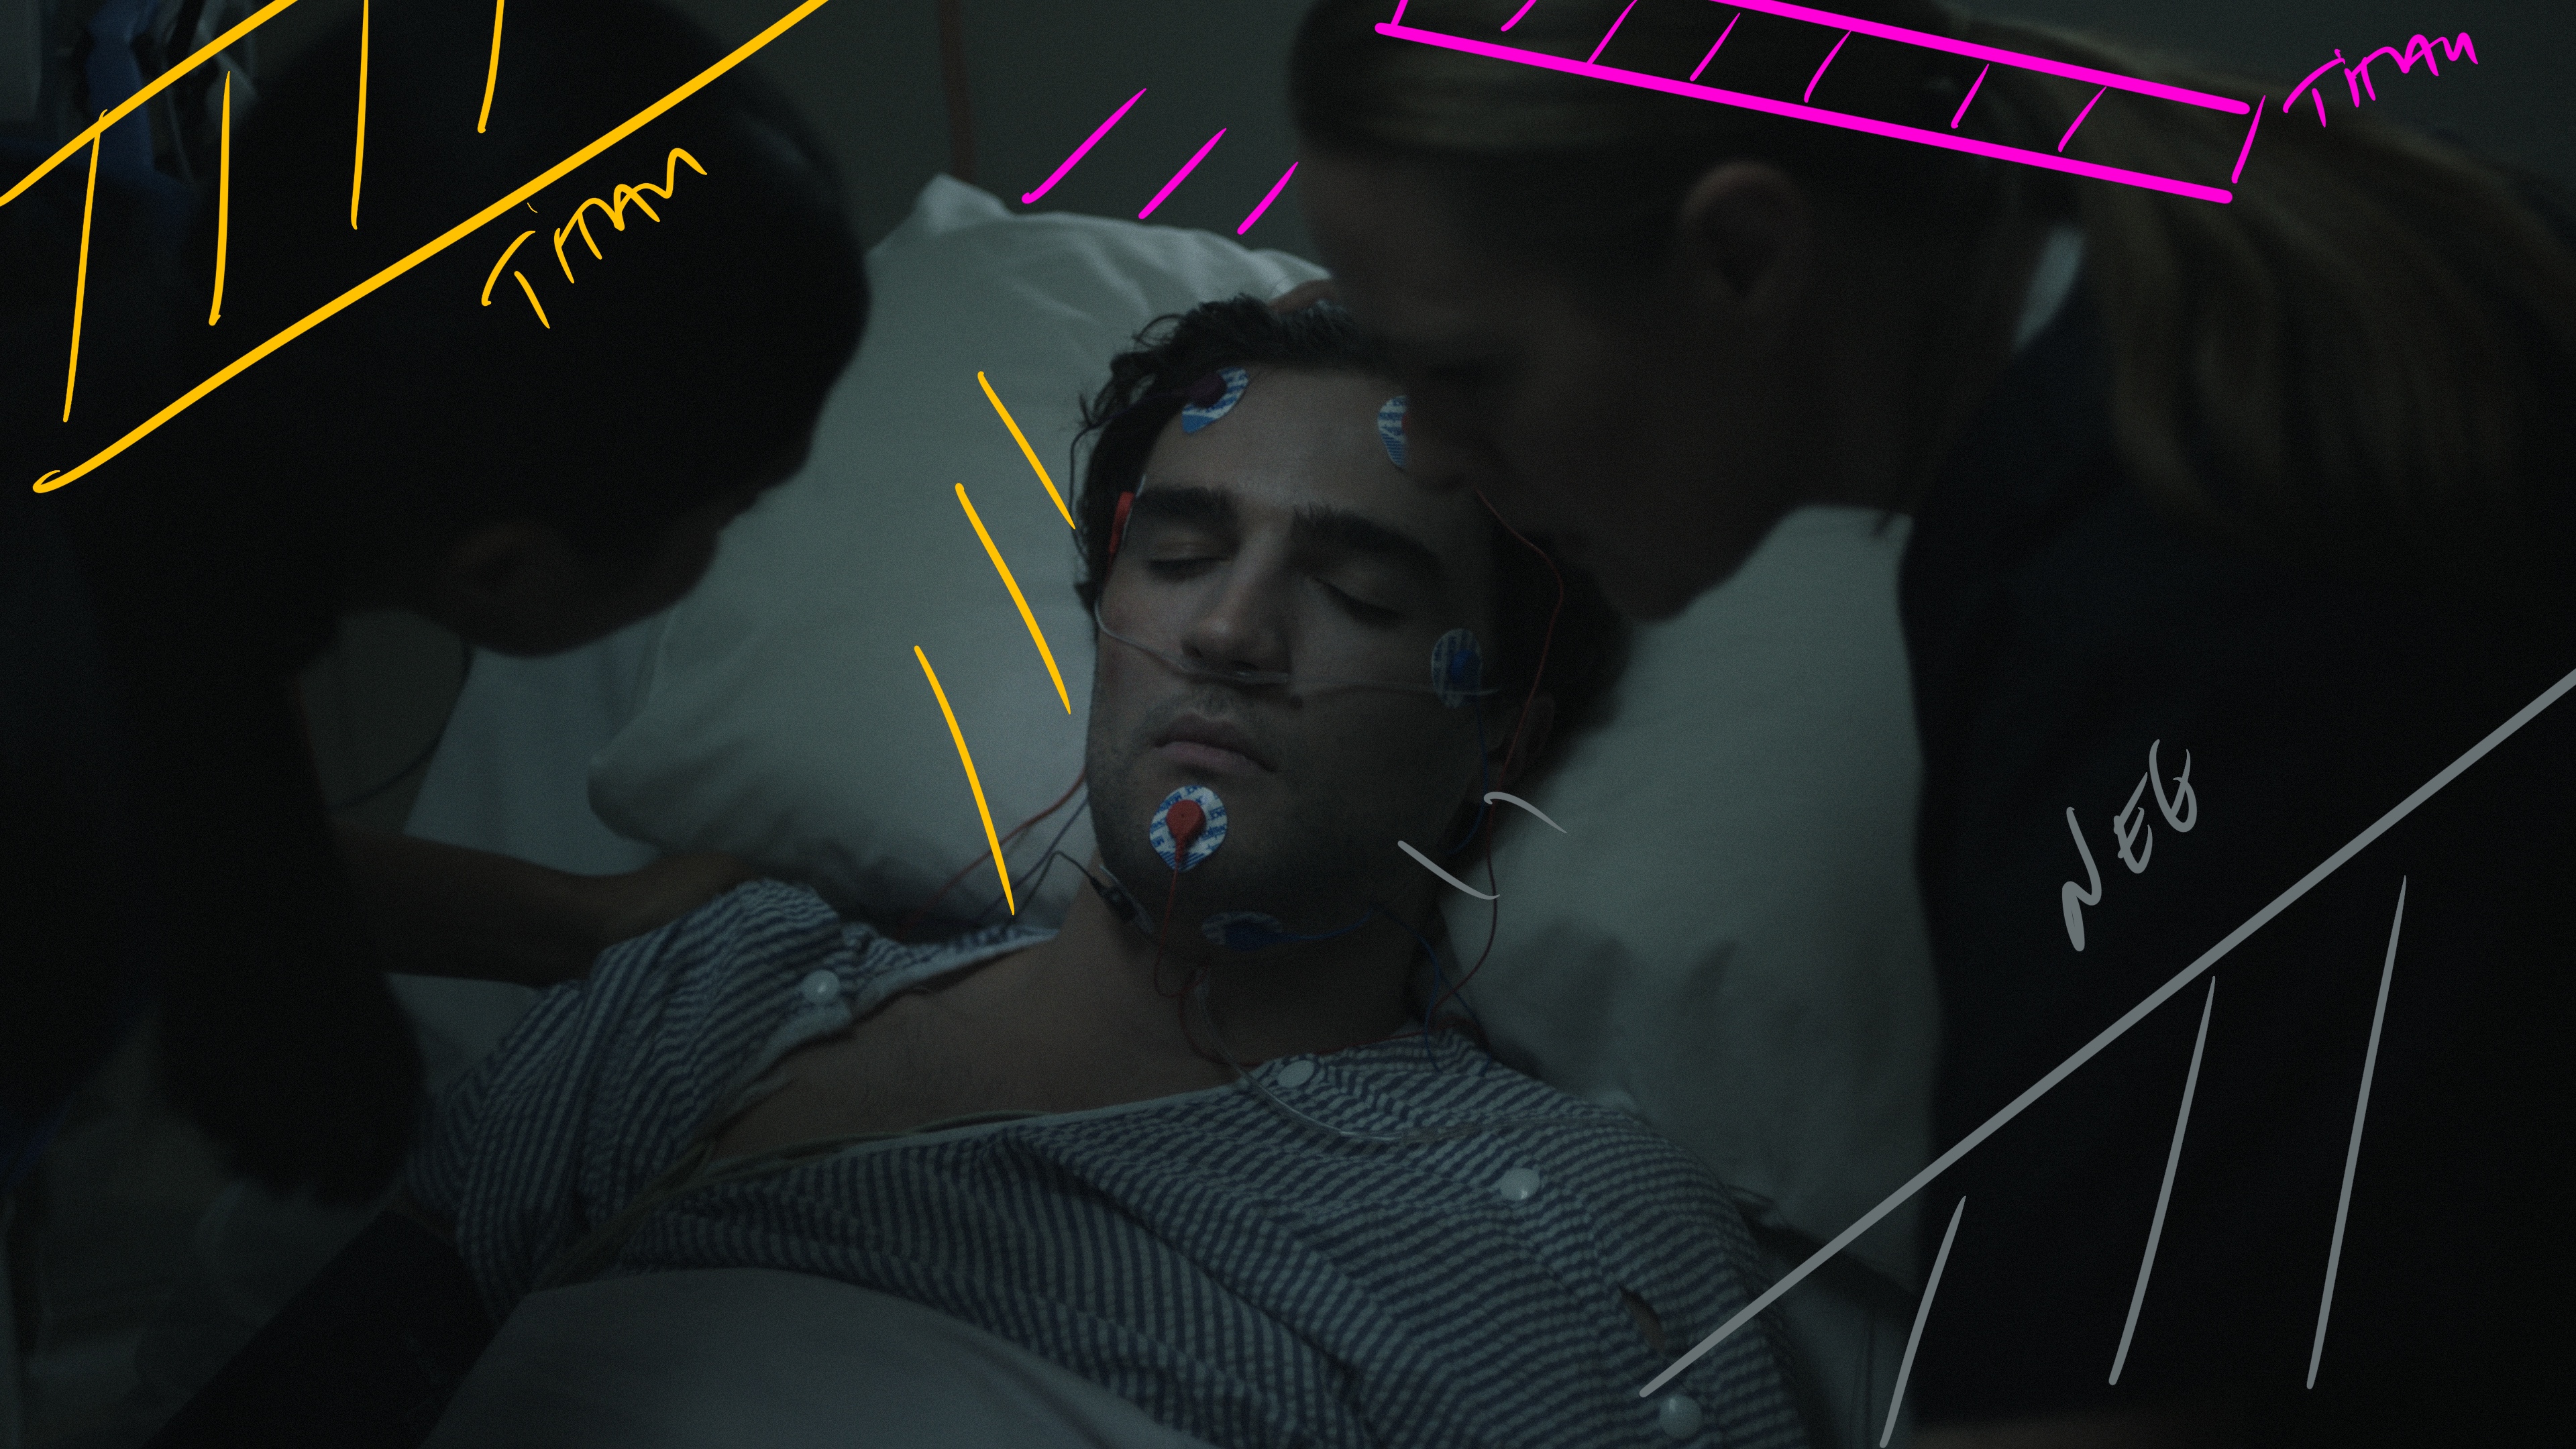
We have the Titan tube practical taped to the wall and then above the frame our two light Titan diaper set up. The two tubes are roughly two feet apart with a loose piece of diffusion hung between them to maximize the effective surface area of the diffusion.
The Result
Shot #9 - Same but Closer
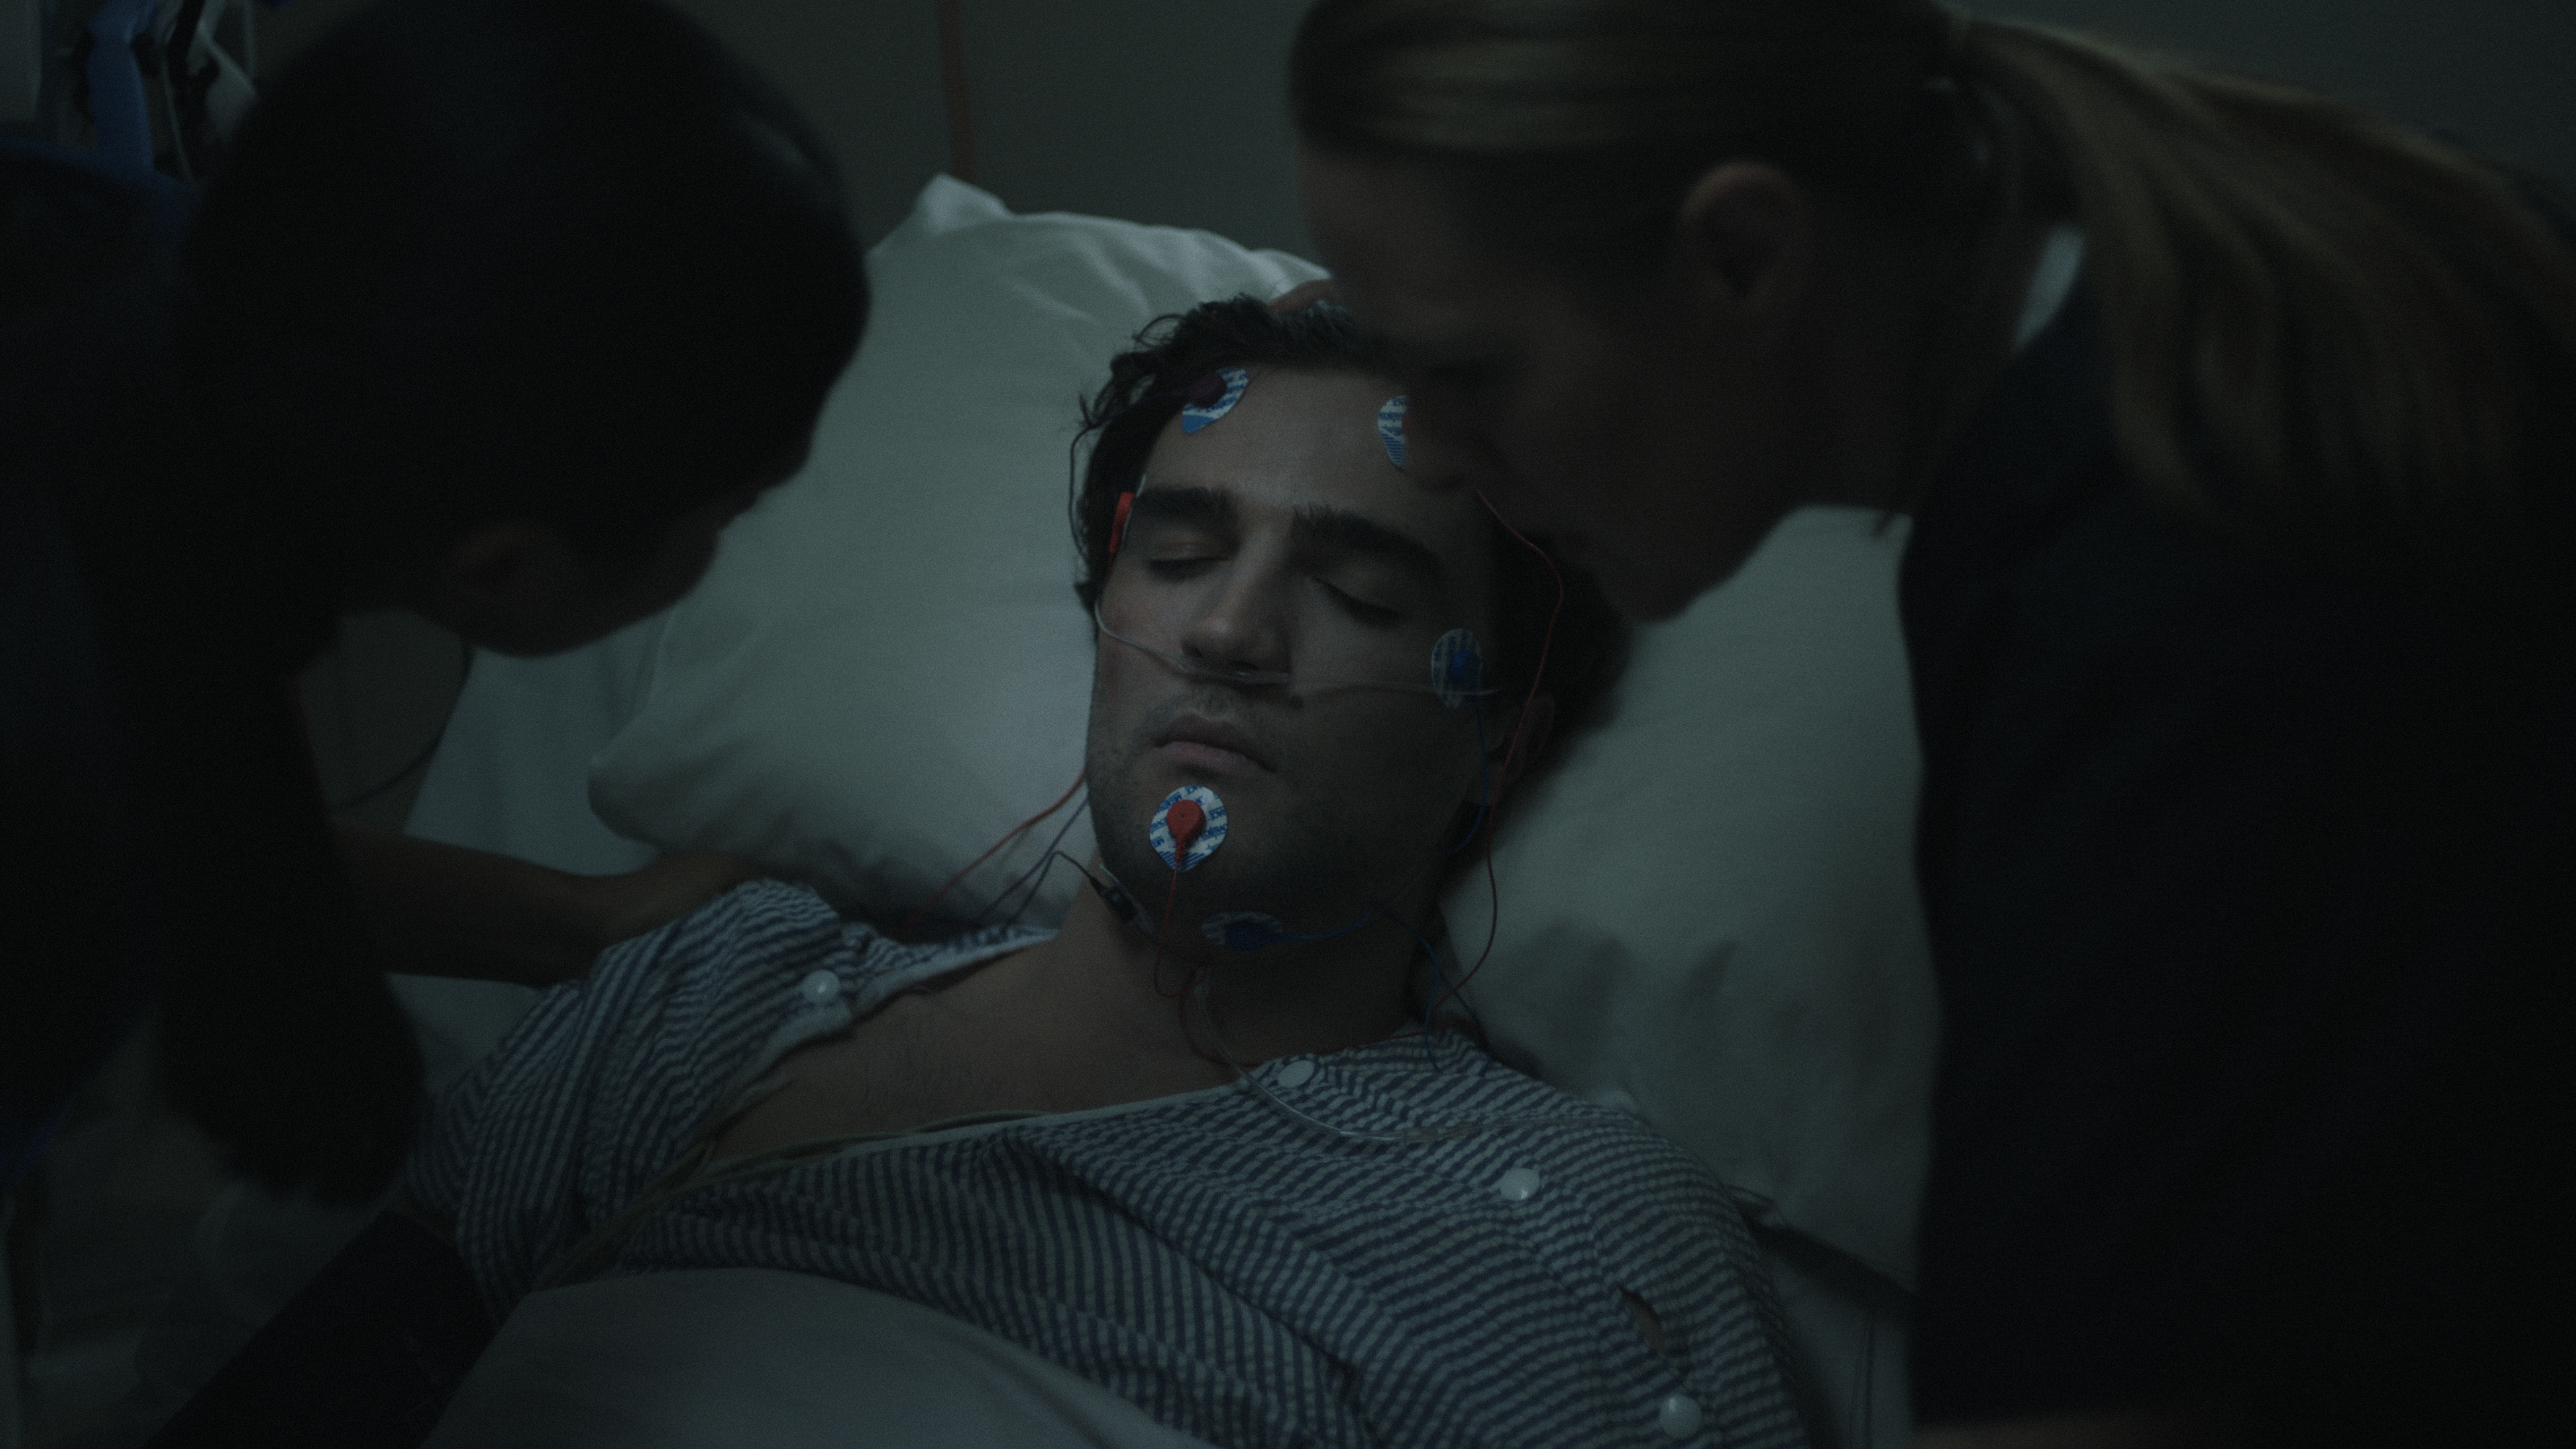
The Shot
The final mark for the previous shot.
The Lighting
See previous shot.
The Result
Shot #10 - In the Gates
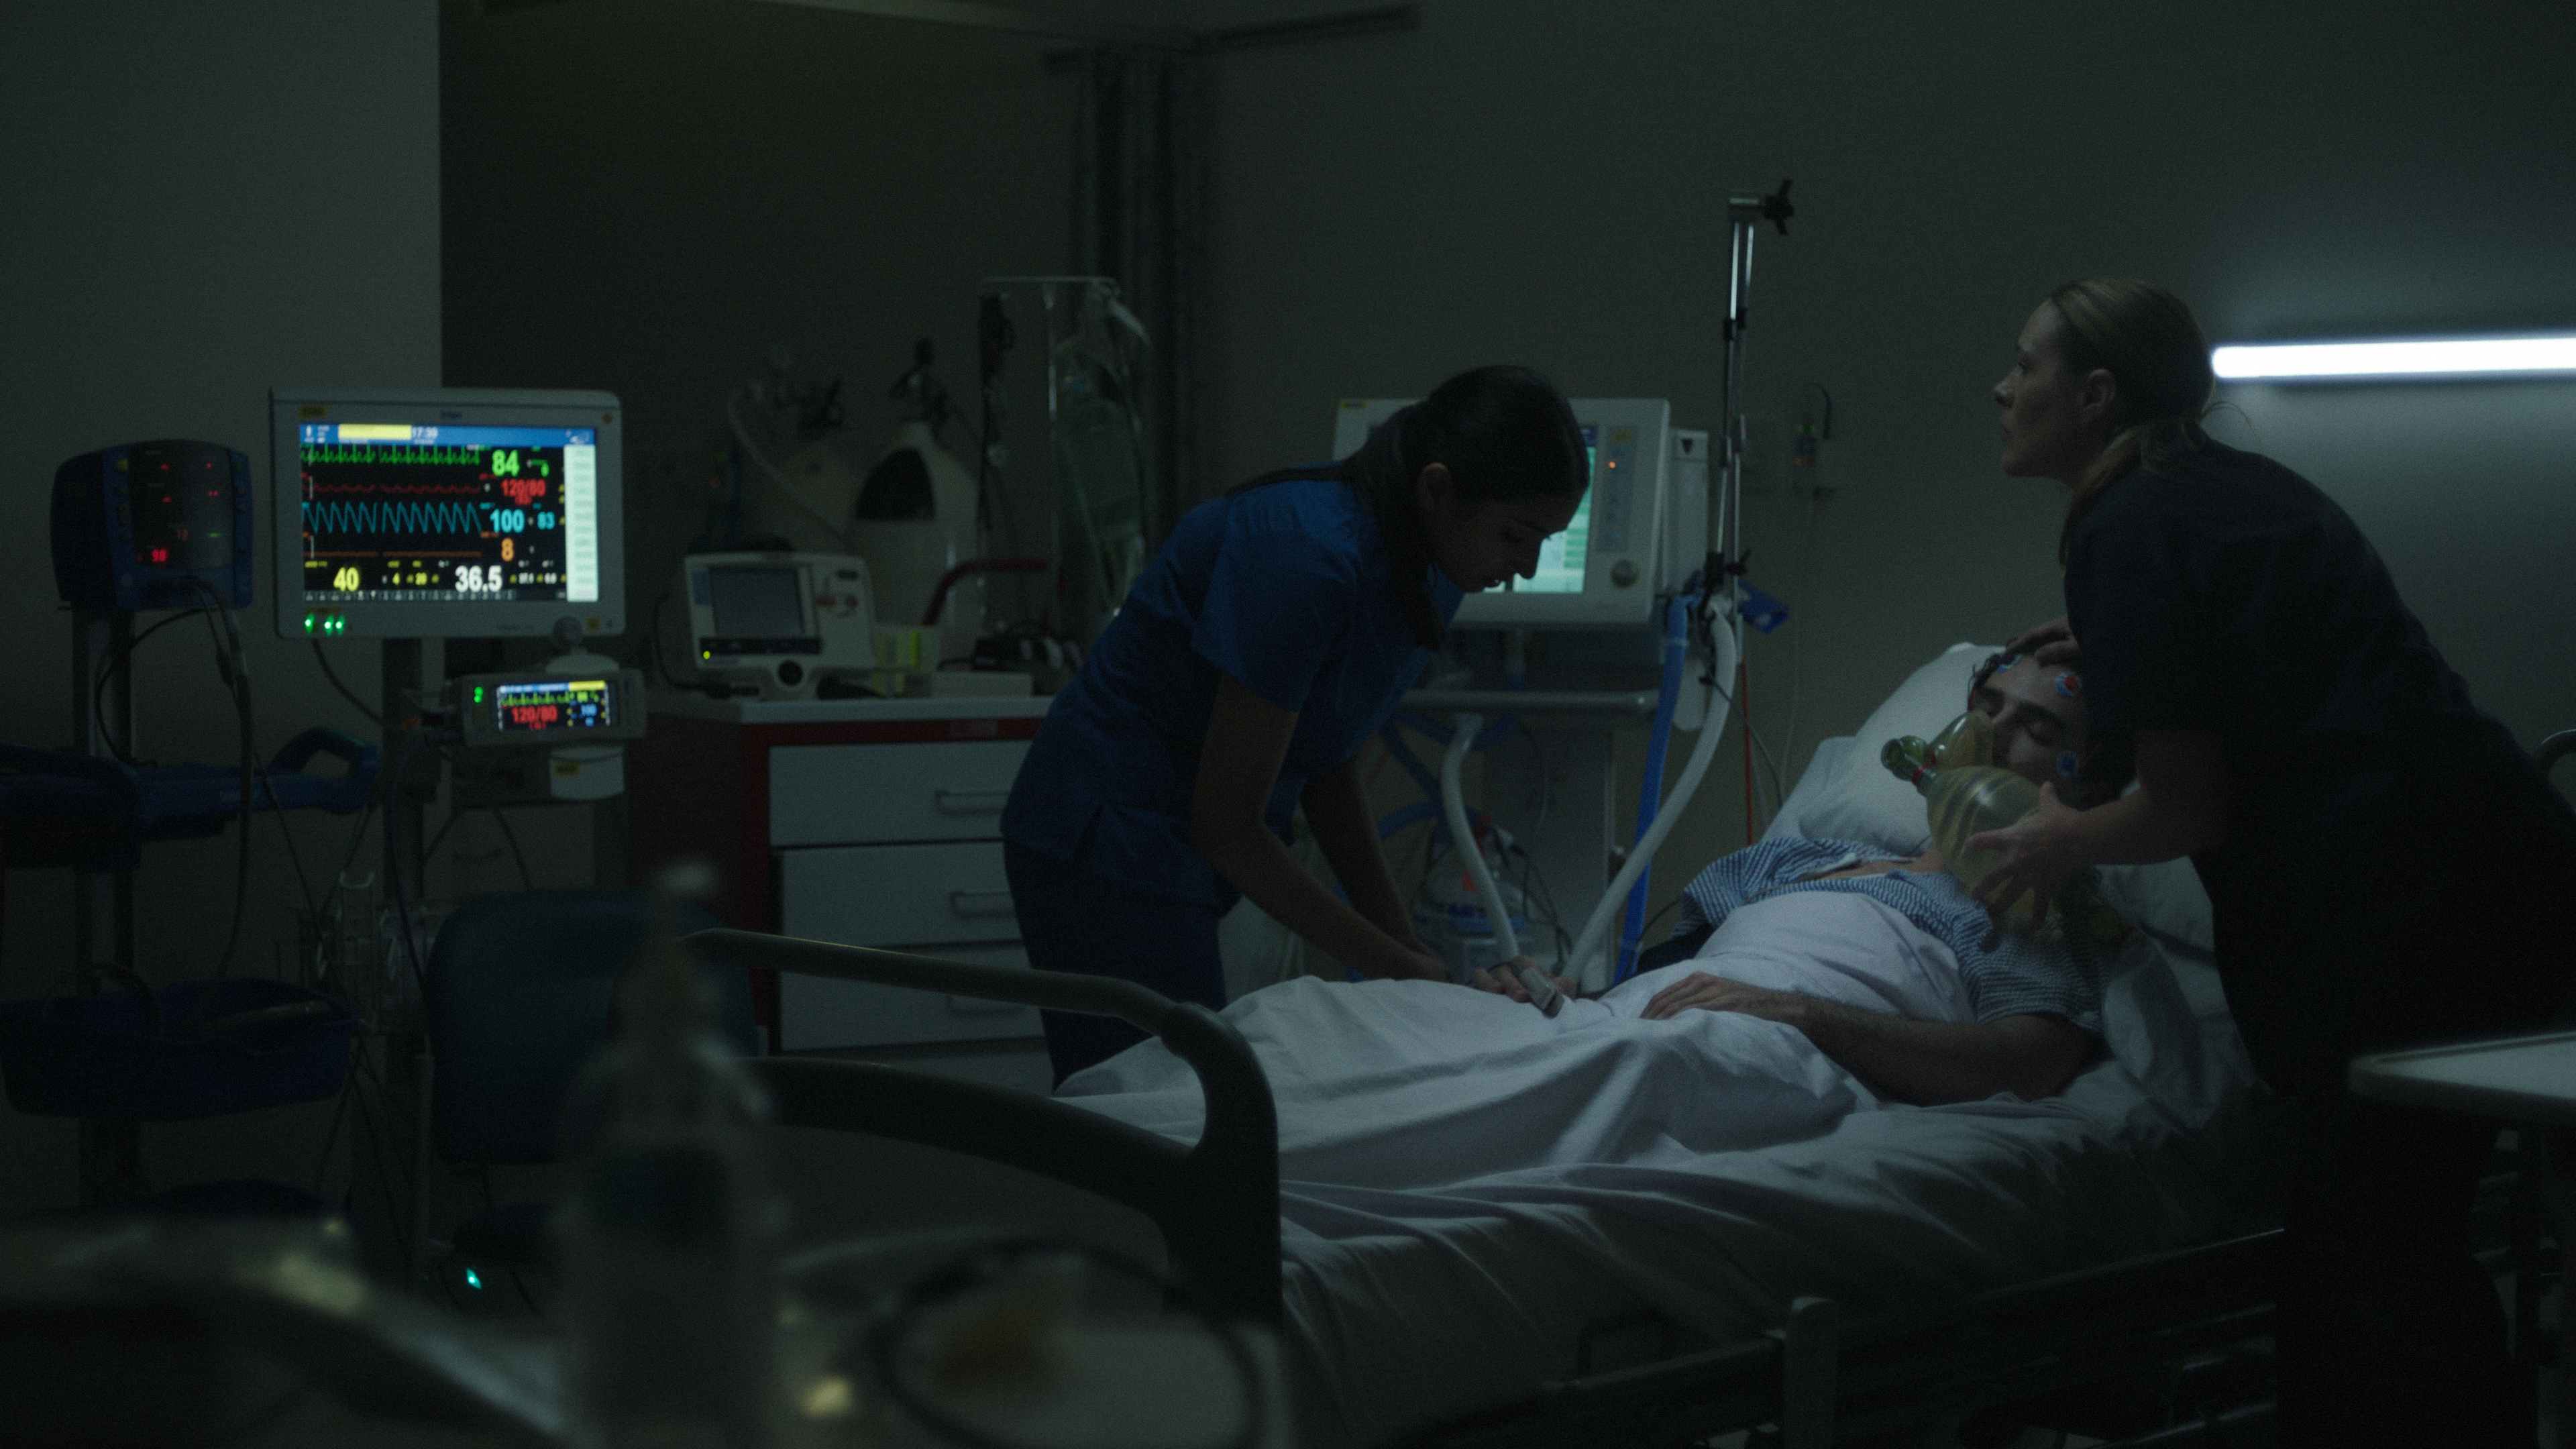
The Shot
The final shot of the ad as the graphics appear frame left.
The Lighting
Same as above but we moved the diaper set up further from camera and turned a BG tube on to help spread the room tone.
The Result
