Narrowing the Visual Lookbook
Once I sign on to a project and everything is confirmed I immediately launch into pre-production mode. The early stages of a project are some of the most exciting times as the road ahead is filled with endless possibilities.
Decisions made in conversation with directors and producers during this stage will form the backbone of the piece and to make sure you get what you are looking for I find it easiest to be over prepared.
The Art of Preparation
I am a visual learner. I need silence, time, and access to relevant information to generate my best work.
For me the creation of a Visual Lookbook is a necessity when working with new directors and a luxury when working with familiar collaborators. The basic function of a Lookbook is a place for me to organize a series of images (paintings/photos/stills from films) that I can then share with production when we are in meetings, location & tech scouts, and during the actual filming.
I have found that you can talk your way through a set up or idea for an hour or you can show a basic reference and have everyone on the same page in under a minute.
As the lookbook gets closer and closer to an agreed upon “style” I will then start to break them down, compare the scenes and set ups to the brief, and start to incorporate a few of the key images into my lighting prep and diagrams.
Generally I will make a quick document with all the main talking points and relevant references and print them out to hand out at the tech scout. Doing so allows other HODs to jot notes and other things down on them. Plus it just lets everyone know you have done your homework and you are serious about getting the job done.
Lookbook Creation – My Method
After working on tons of music videos, shorts, TVCs, and documentaries I have amassed a giant aresenal of reference images. I have them categorized on my computer for situations, angles, types of shots, types of lighting, and more.
I am pretty much always on the look out for something that catches my eye.
Everyone will have their own method but I find categorizing things in the narrowest possible fields help me be quicker when a commercial comes up and I need to get the ideas flowing on possibilites for an afternoon two shot in a cafe.
I can go through my Interior Lighting folder, then my two shot folder, and then my Location – Cafe/Restaurant folder and generate tons of ideas in a very limited time.
If you work in TVCs long enough you will find yourself shooting in the same types of locations again and again.
Side Note:
I love Roger Deakins' work and if you take a look at his entire body of work you quickly realize that he shoots more office interiors than almost any other DP in the history of cinematography. The Coen Brothers seem tp have more office interior scenes than non office interior scenes in their films. The best part is that each of Roger's scenes are different but they all have the Roger feel.
Lookbook Step #1
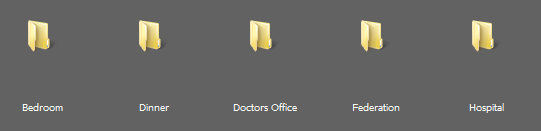
For this project I knew we had 5 different scenes to be shot in 5 different places.
First step was to get an overall feel of different options for location lighting. I started gathering all the stills I had in my library for each of the 5 locations.
Anything I couldn’t find or if I wasn’t happy with the options I already had I just typed it into google and searched for images.
Lookbook Step #2
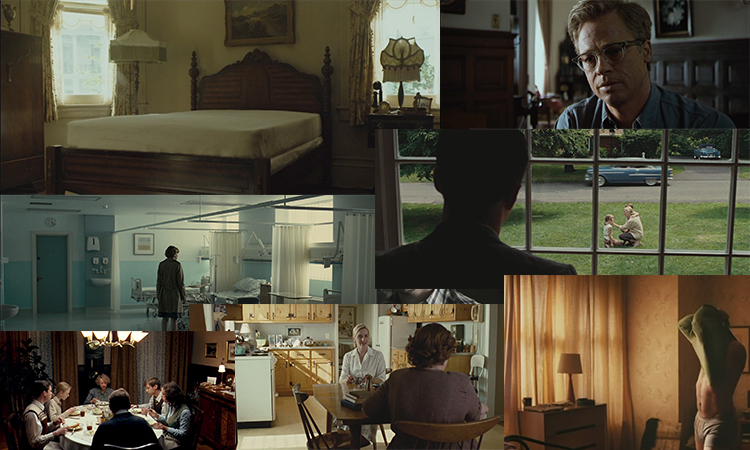
Mood Lighting. Now that I have a base for the possibilities of what locations may or may not look like I start to hunt for images that represent the mood we are after. These will often have nothing to do with the scene we are shooting but are there to spur lighting ideas and lighting placement thoughts.
Lookbook Step #3
Camera angles & lens selection for coverage.
Once I have the location ideas flowing and the mood I think may fit I will start to go through interesting framing options. Just as before with the mood lighting this may not have any direct correlation to a scene but I am just hoping looking at the stills will spark some creative inspiration.
Culling the Numbers
At this stage in the process I am just grabbing anything that remotely sparks my interest. 90% of the stuff doesn’t make it through the first cut. I am just piling stuff into the lookbook and starting to formulate very immature patterns.
If you are from a photography background then the next step is pretty similar to grabbing the winners after a photo shoot. I go through and rank the photos from 1 to 5. 5’s are automatic keepers and any 1’s are out.
Despite my best efforts what inevitably happens is I end up with too many 5 stars so I do a second pass and start to allocate certain images to specific scenes and then see if the images I have allocated to each scene are cohesive enough to keep. If they are OK then that is great, if not I bin the ones that don’t coincide with the look and go back to the 4 stars to start to build something that is a bit more refined.
Showing the Director
Different productions work in different ways but if you can it is always best to keep the director updated with your thoughts as soon as you have them. Keeping the lines of communication open means you don’t waste your time researching or plotting a specific look when the director had something entirely different in his/her mind.
Tip for later: Showing a director isn’t as simple as attaching the files to an email and hitting send. For cinematographers the director is your client and just like the director won’t send a bunch of crappy stills plopped into an email attachment, you probably shouldn’t either. The director’s hire you. They like your eye, your past work, or they have heard good recommendations about you.
This early communication is going to set the tone for your relationship. If you have a look that you want to go with you need to “sell” the look to your client (the director). Take a little bit of time, organize your thoughts, and put it to them in a polished format.
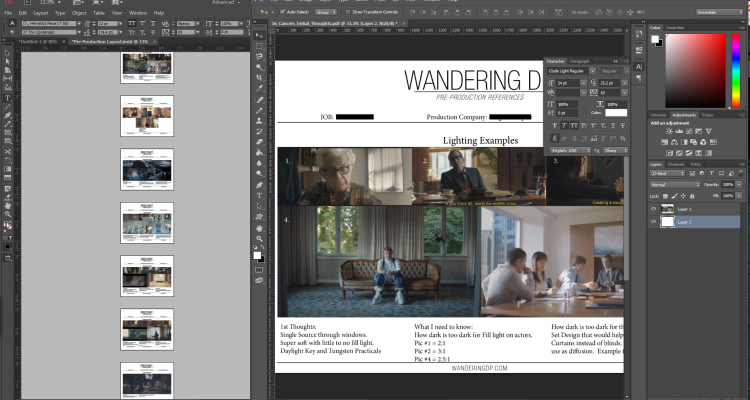
Below you can see a page from the PDF that I send through.
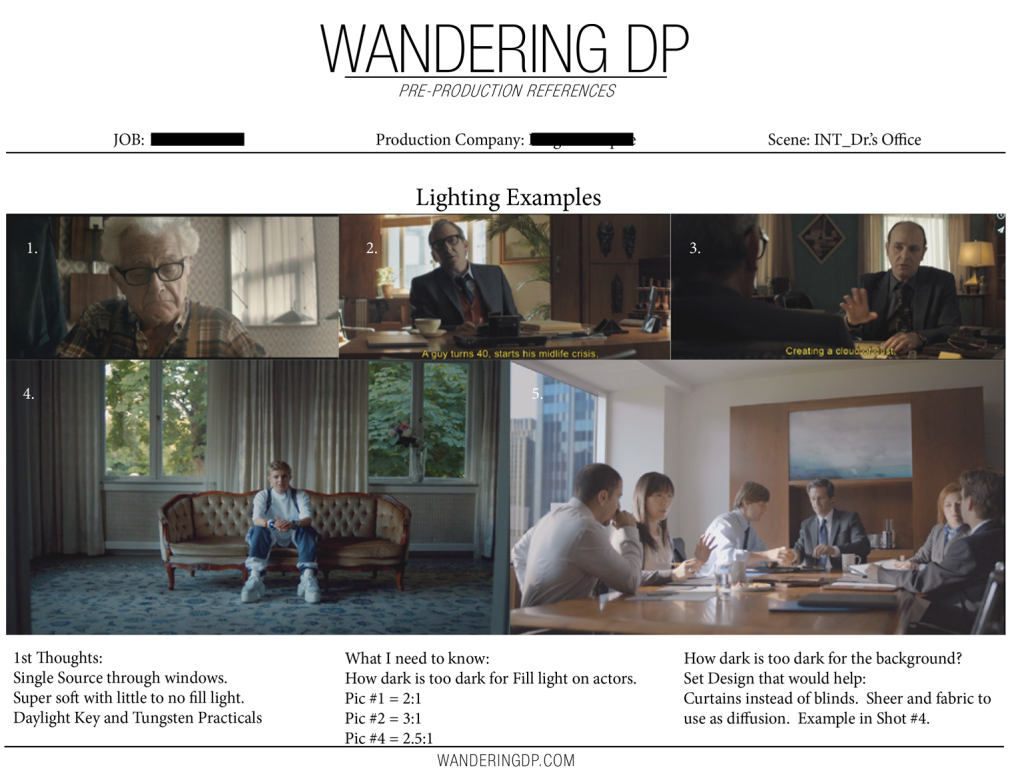
It took me a few minutes in InDesign to set up the template and I think it looks a heck of a lot better than just having email typeface with attached images that people can never match to the words in your actual email.
Polishing the Goods
After sending through the first few rounds of ideas, making the cuts, and formulating the basic ideas we are ready to go location scouting. I like to take my guide with me.
I will plop all the stills into an InDesign Template and have a document for each different location/scene. That way when we are en route to the location I can quickly refresh the looks I am after, the key things I need to look for, and any possible issues I may need to discuss with the director.
Now I know what you are saying, “Hey Patrick, that is all great but that is way too much work for each project. Can’t I just show up and make magic happen with my mad skillz?”
Maybe. But probably not.
Yes it is a lot of work the first time you do it but once you run through it enough it is super simple and very quick to do. I also find that going through the motions of creating the documents helps get me into the production rythm and helps promote idea generation as I get to see the images over and over.
Visual Lookbook – The Goal
The entire raison d’etre of crafting a Visual Lookbook is to help you make a better end product.
The more things you can get done before the actual production day the more freedom you will have on set to explore the possibilities the day gives you. For me this part of the process is one of my favorite.
In the next article in this series we go out on our first location scout. Check back tomorrow for Cinematography Series (Part 3): Location Scout.
This has completely changed my perspective and thank you. I look back at my work and the projects where I did something similar in pre-production all look the best. I’m going to adopt this process for everything I work on.
There is so much about cameras and lighting out there for cinematography, but the real nuts and bolts are right here.
Reading through the site and just wanted to say a huge thank you for doing this series! Incredibly insightful and helpful.