The Final Commercial
The Start of Production
After all the effort put in the week before in pre-production the day we had all been working towards finally arrived.
Day 1 of Production.
Day 1’s are tough on any production especially when working with crew that are new to you and director’s that are new to you. Day 1’s on commercials are even more challenging because with quick turn arounds there are rarely any Day 2’s. You really need to hit the ground running.
The First Set Up:
As we discussed in a previous post in this series, we were shooting 5 different locations over two days and I had asked that all of the exterior shots we needed to get be done as early as possible.
This was because the house we were shooting faced West and VFX needed a specific lighting set up to help sell their work.
If we shot in the morning we could build our own sun with some 18k HMIs and get the look we were after. That is exactly where we started.
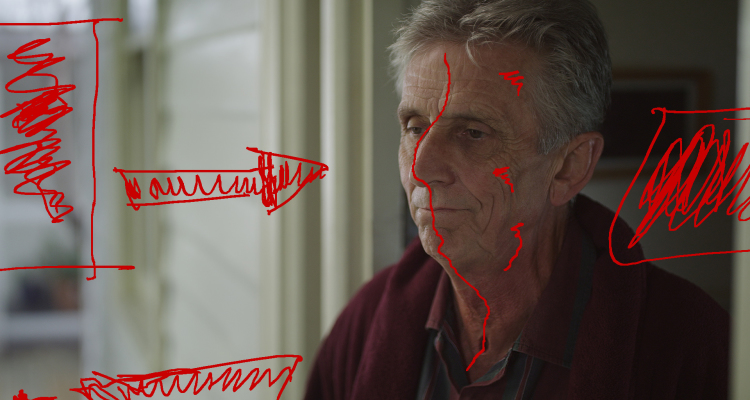
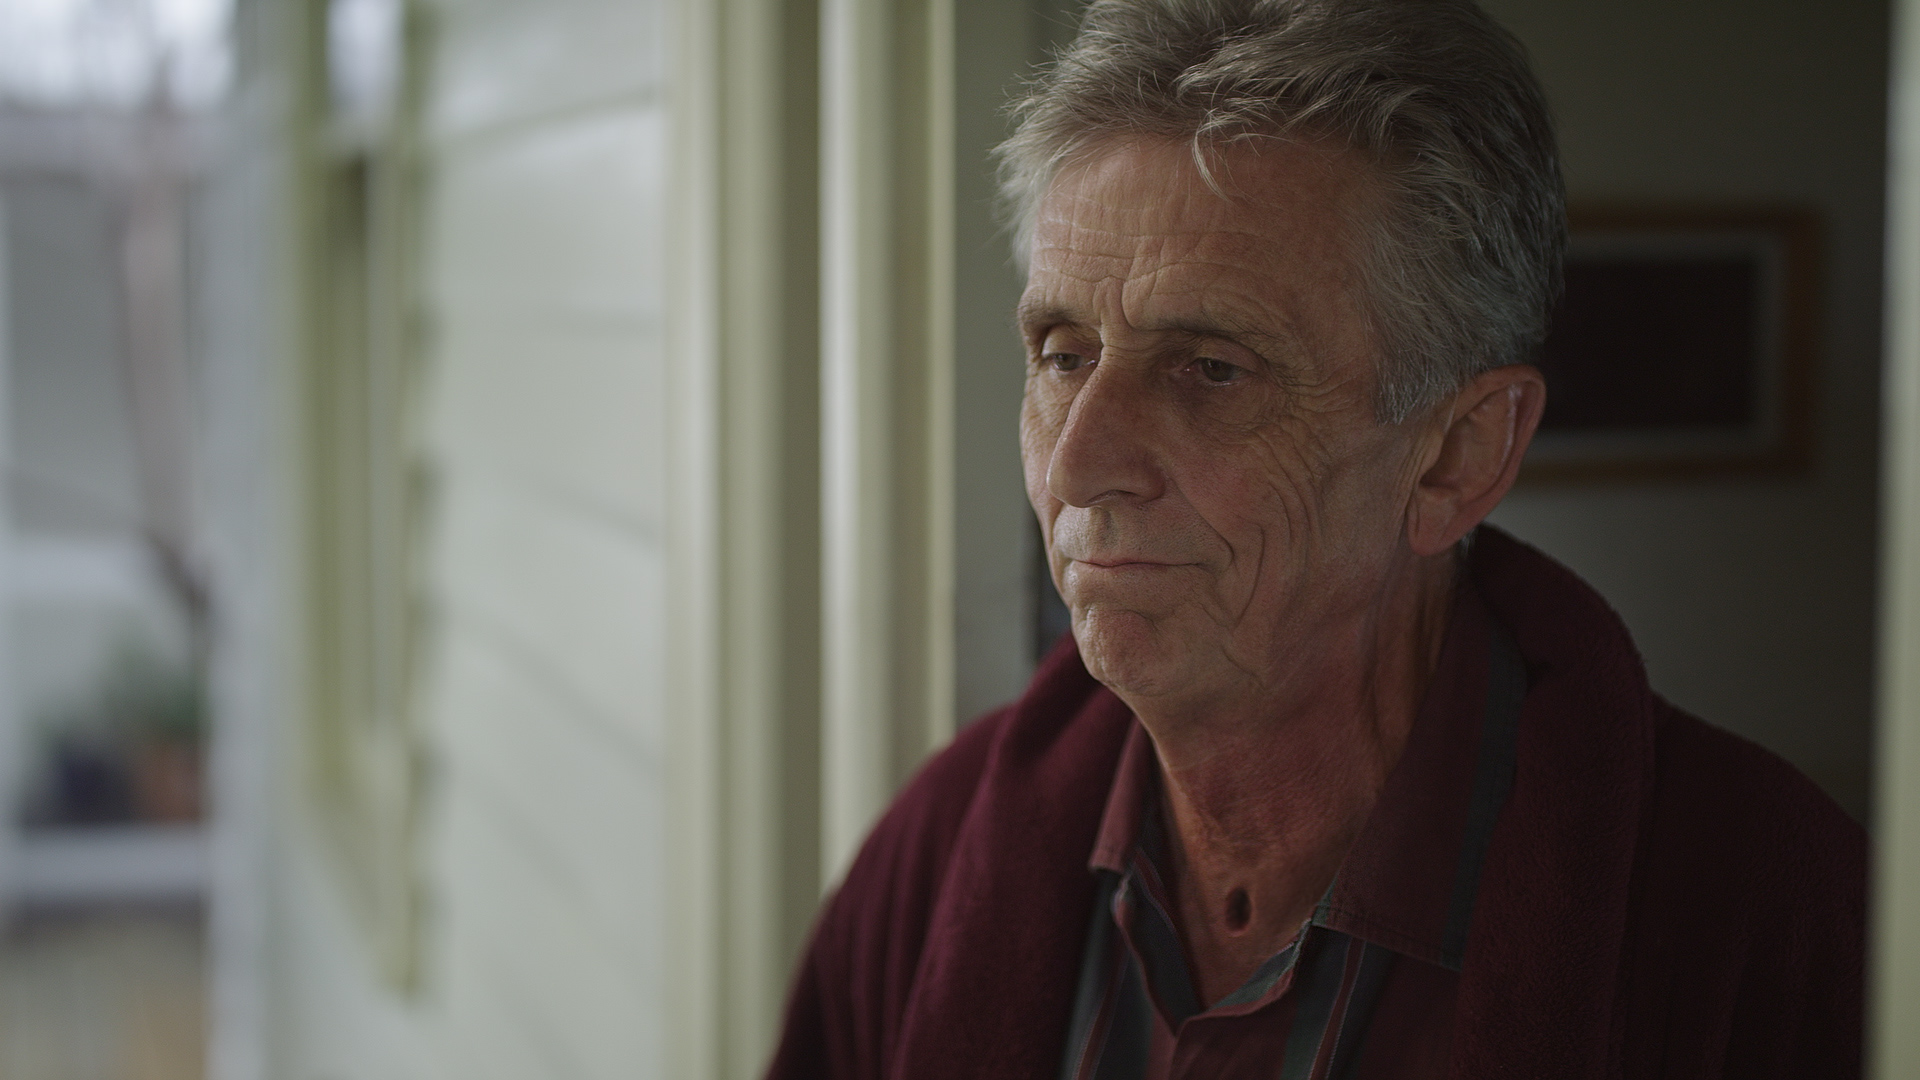
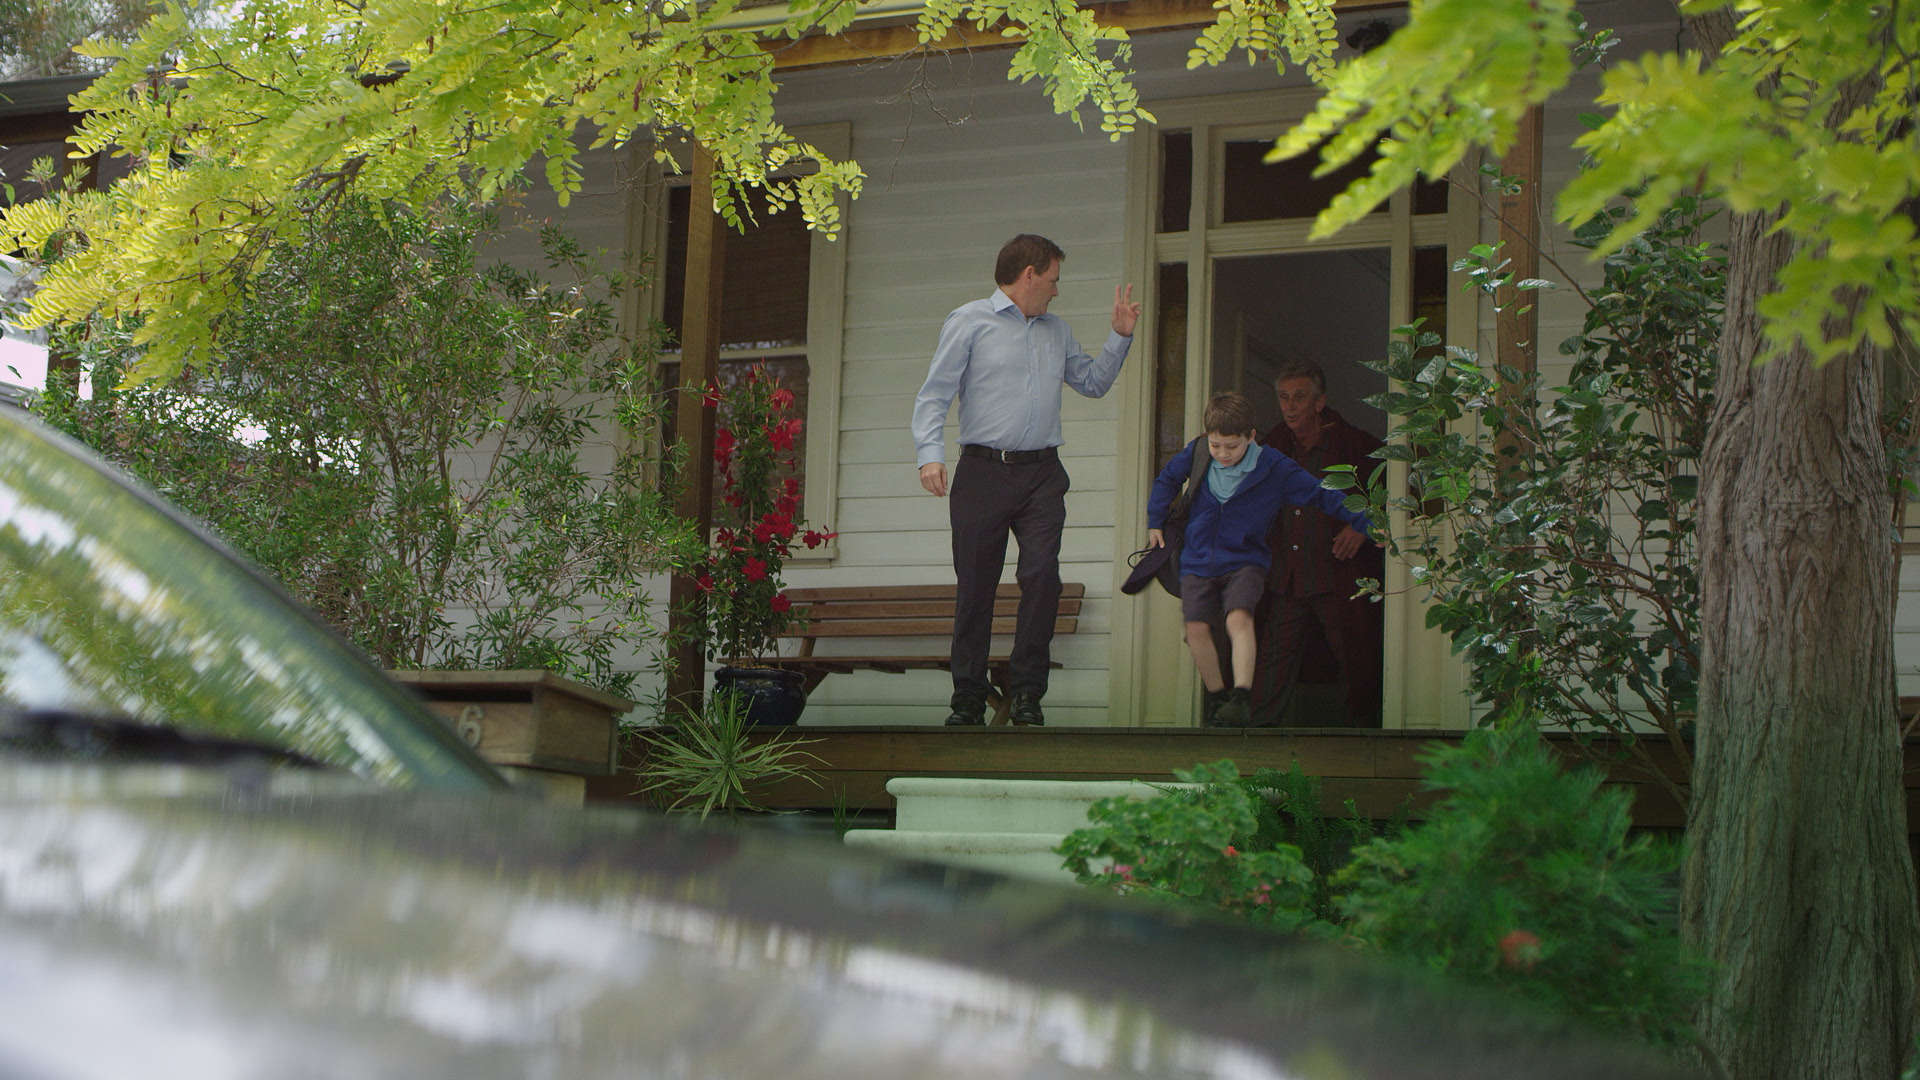
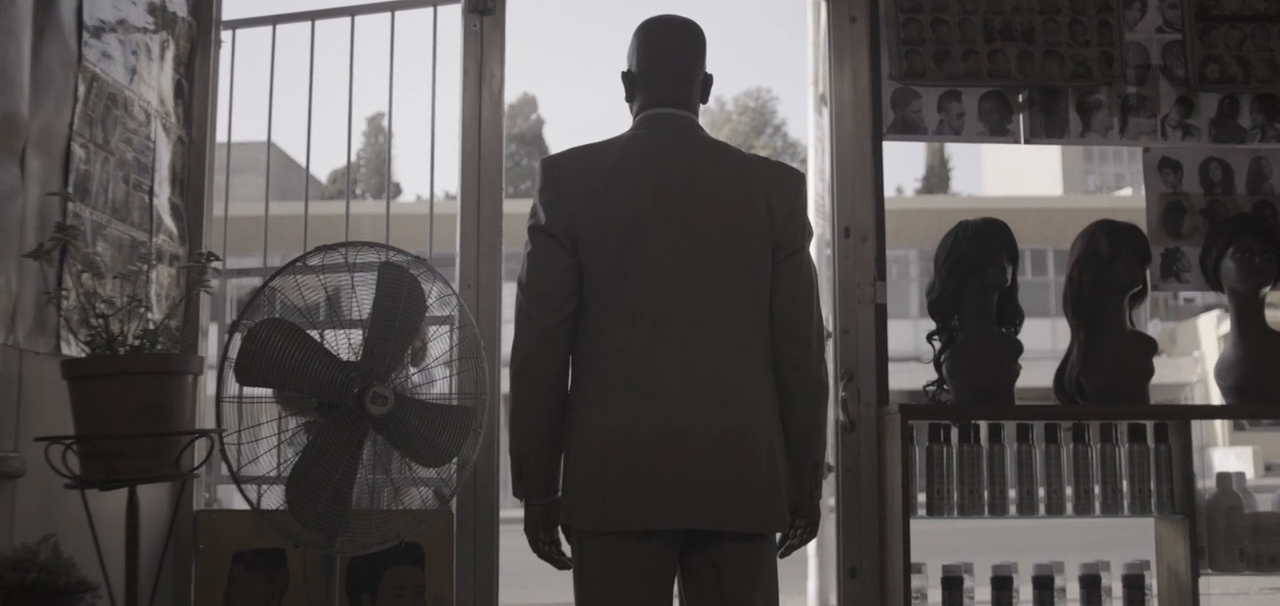
Side Light Shot #1: The VFX Shot
We started with the Medium of the male actor saying goodbye to his family.
Tech Scout:
Reference Image:
Color Temp/ISO: 5600K/500 ISO
Lens: Arri Zeiss Master Prime 40mm @ T1.3
Filtration: IRND .9
FPS: 25fps
Lights/Modifiers Used: 1 x 12K ArriMax Shooting Through Full Grid (I think it was Full Grid), 1 x 800w HMI with a Chimera & egg crate, a two bank kino, a 12×12 double net and 3 Floppies for negative fill.
The Challenge: Try and get a nice side-y light under a covered porch where morning fill light was invading the space.
Solution (Short Version): Lots of Negative Fill & a Big Ass HMI.
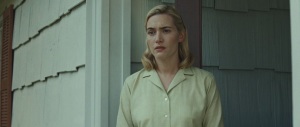
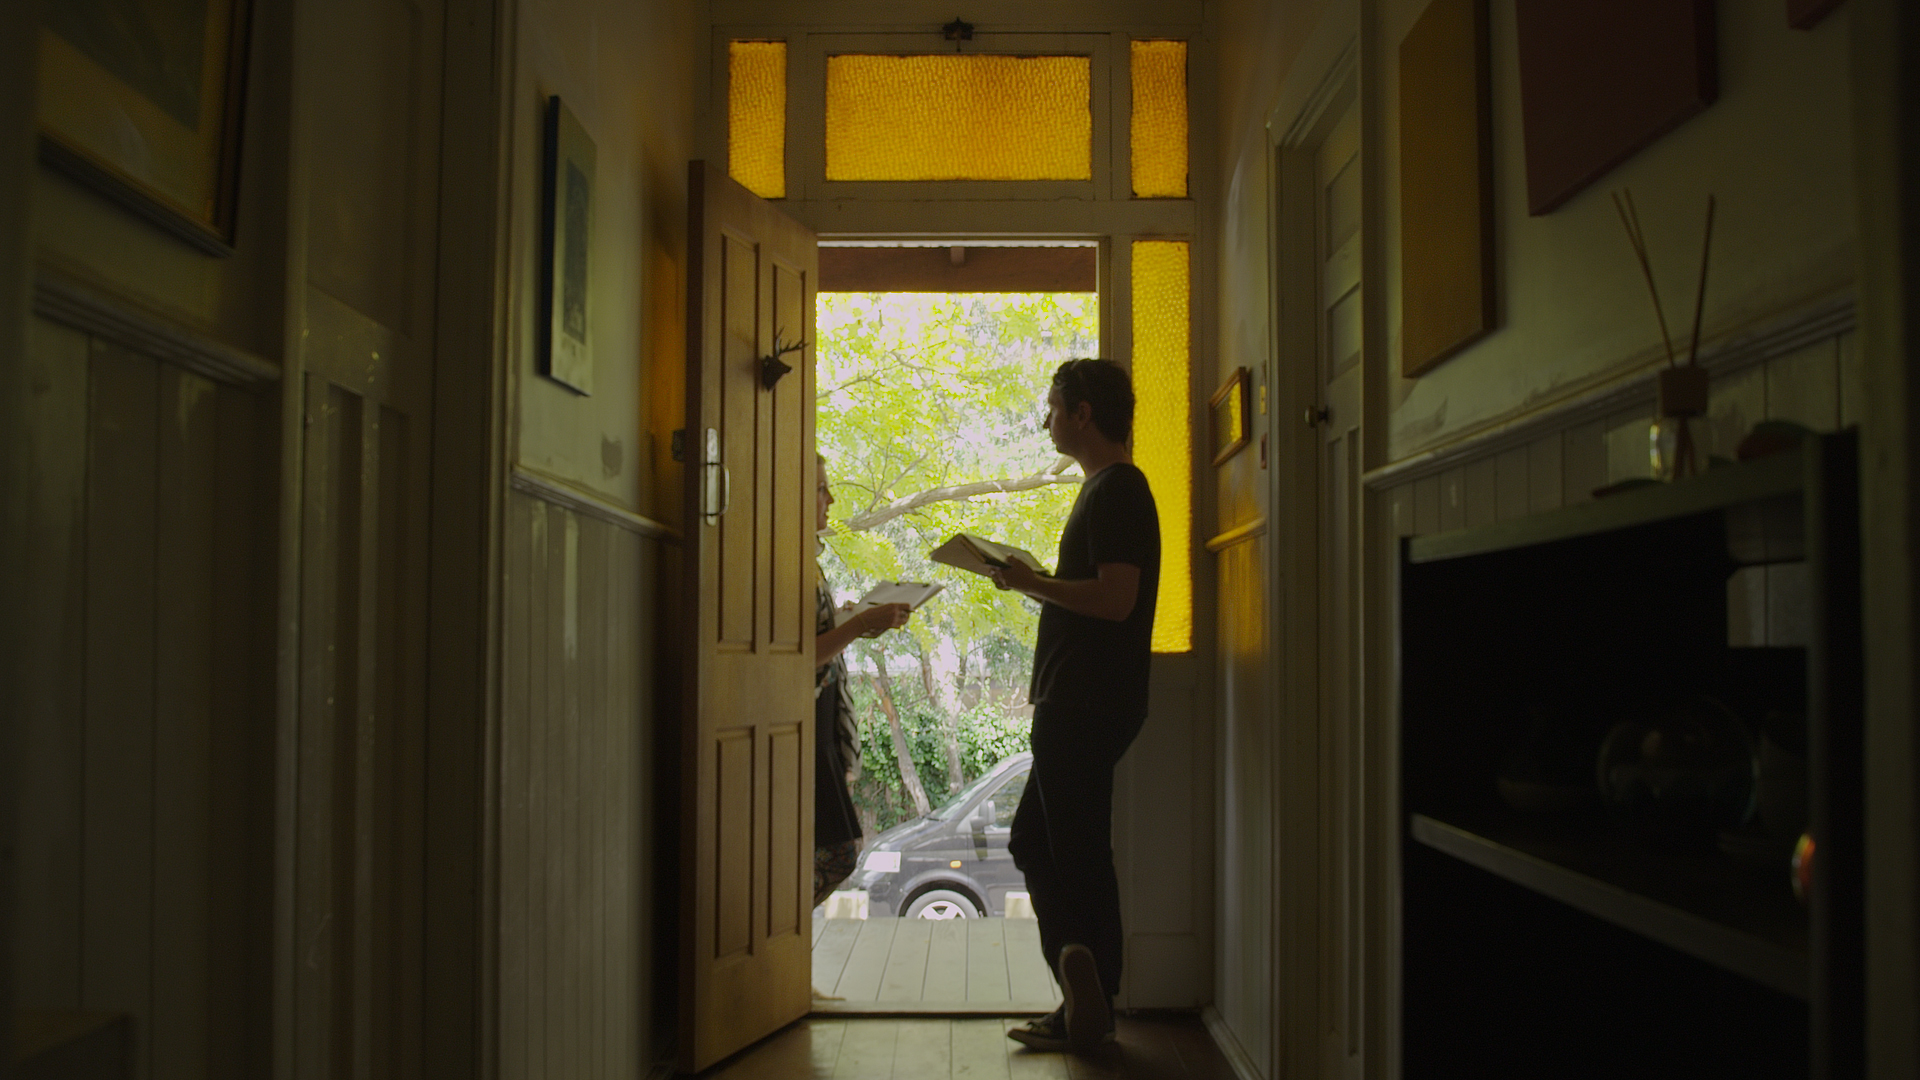
Side Light Shot #2: The Wide Exterior – House
This was the wide where we were trying to get it done before the sun peeked over the house. We were trying to maintain the same lighting design we got in the medium with that raking side light.

Reference Image:

Color Temp/ISO: 5600k/500 ISO
Lens: Arri Zeiss Master Prime 40mm @ T1.3
Filtration: IRND 1.8
FPS: 25fps
Lights/Modifiers Used: 1 x 12K Arrimax Shooting Through Full Grid, 1 x 8×8 Single Net over the car hood, 1 x Image 40 Kino Flo in the hallway inside the house to give it a little bit of shape.
The Challenge: We were racing to do this one because once the sun came over the roof and hit the foreground bushes we were going to be in trouble.
Solution (Short Version): We moved quickly and we used the dirty frame to hide the brighter parts of the foreground. We got the car that color because we knew we needed darkness in the foreground plus we had to introduce the car anyway.
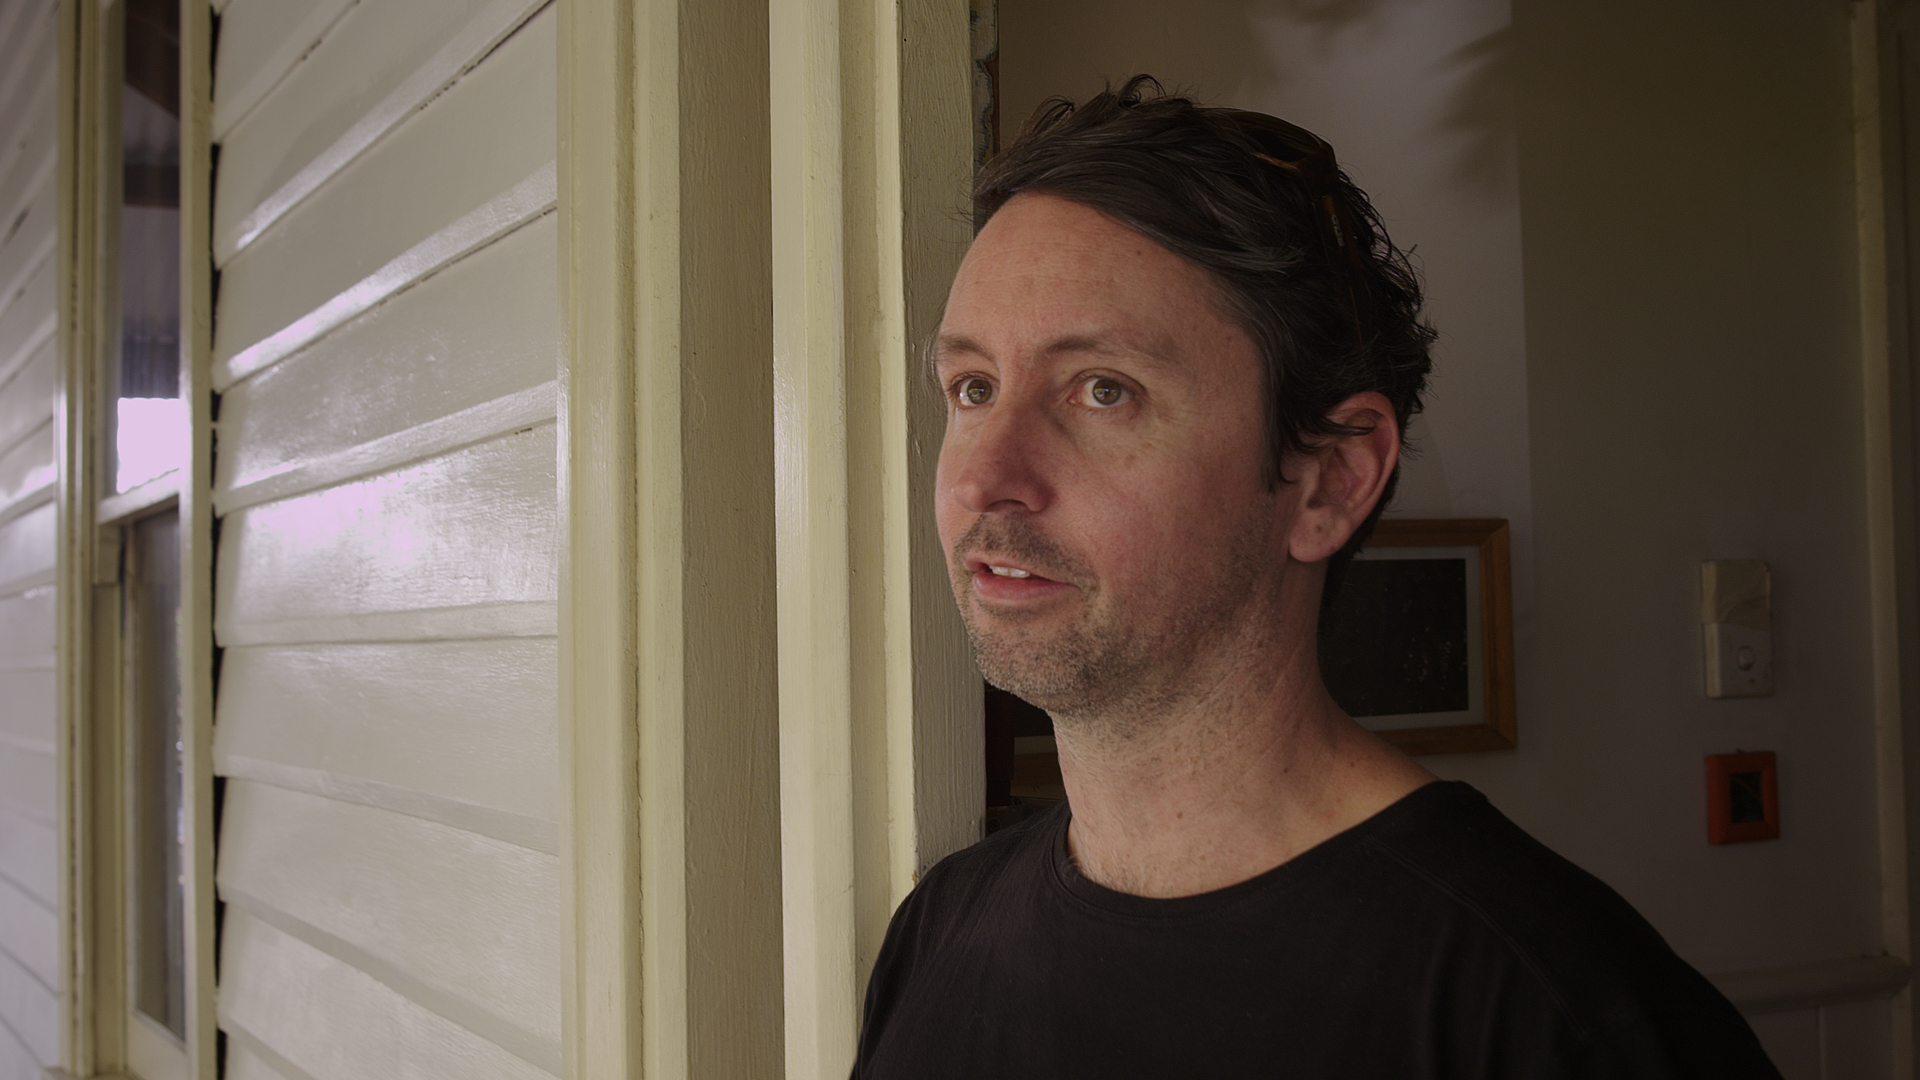
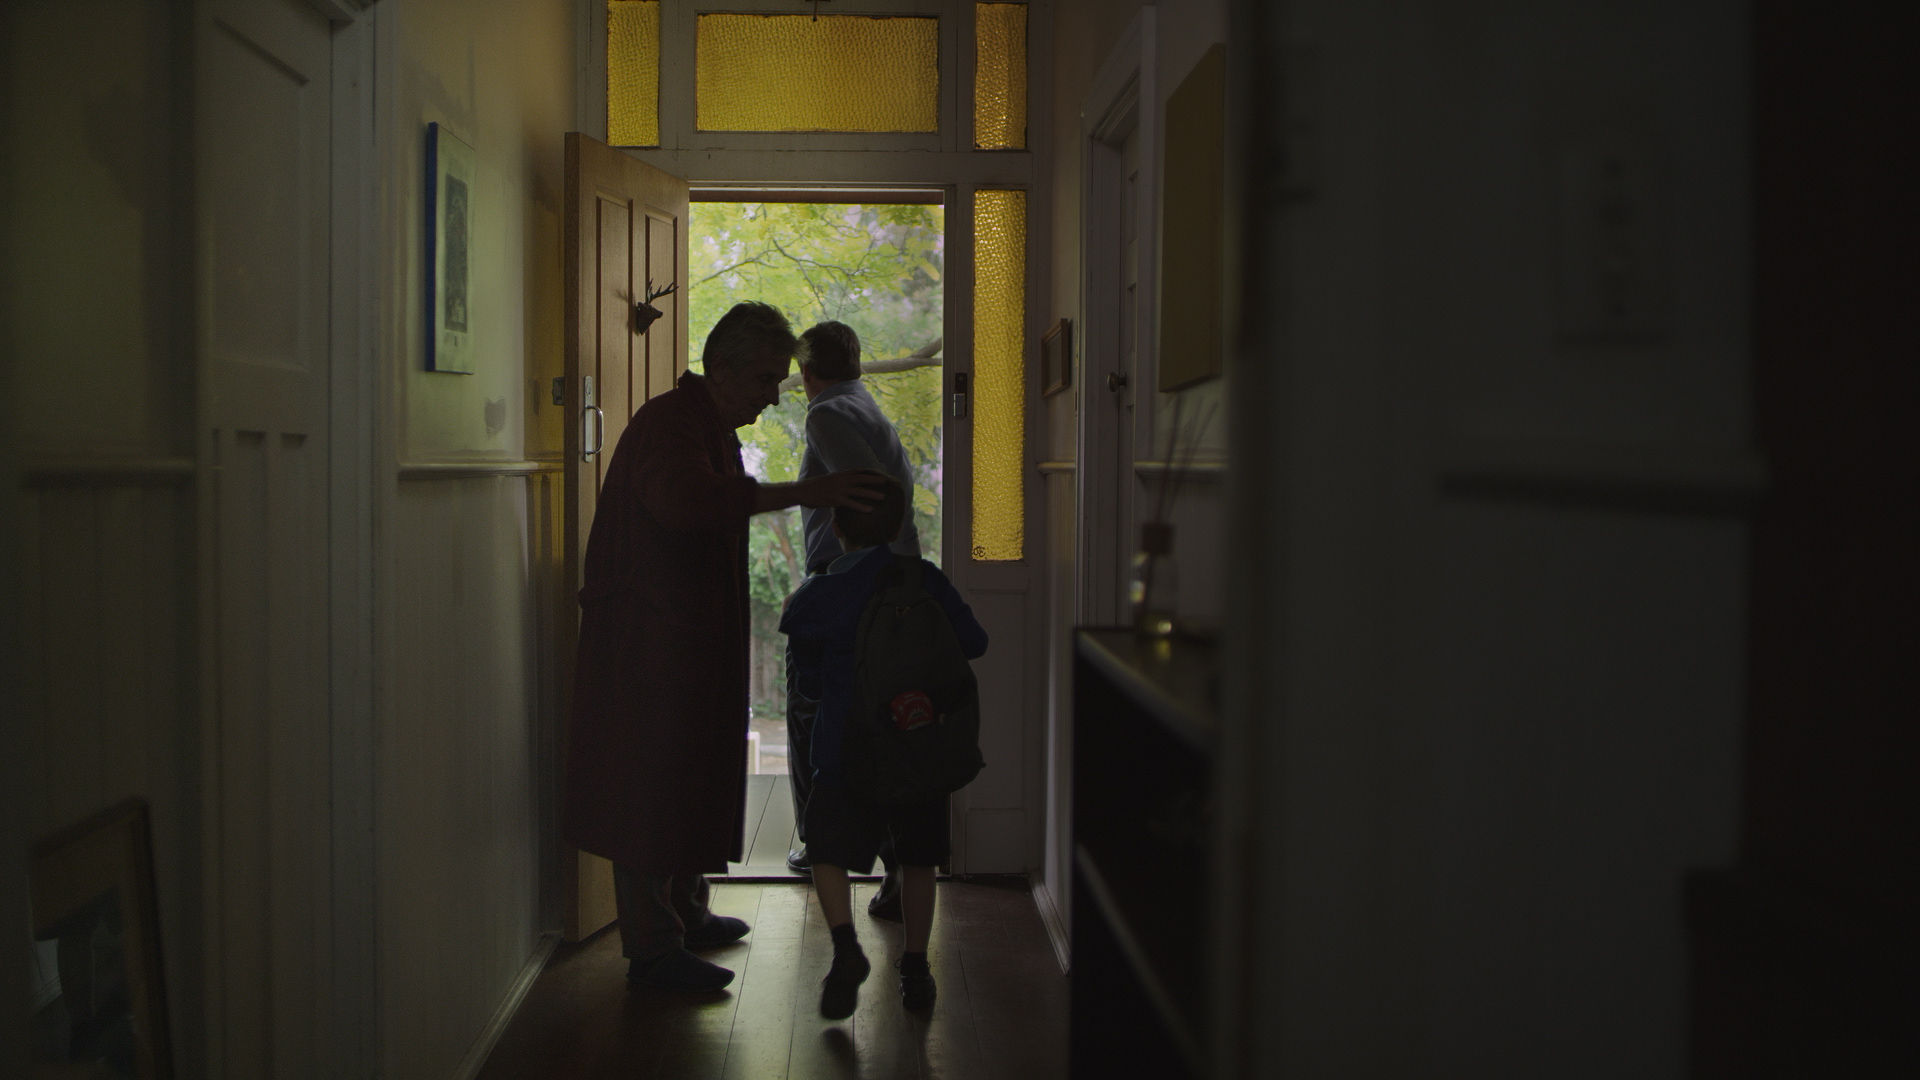
Side Light Shot #3: Down the Hallway 1 & 2
This is the shot I was most worried about when I saw it in the treatment. I knew we had to shoot either the wide or this one early in the morning and we wouldn’t have time to do them both early. So this one had to be pushed back.
Mid morning the sun was going to be blasting right into the area we were looking out on, creating a giant hot spot.
Reference Image:
Color Temp/ISO: 5600K/500 ISO
Lens: Arri Zeiss Master Prime 25mm @ T2
Filtration: IRND .6
Lights/Modifiers Used: 200w HMI through a Chimera w/egg crate (In the Hallway), 1 x 800w HMI through a chimera (Lighting the colored windows), 12 x 12 Double Net across the edge of the porch.
The Challenge: The midday sun was blasting the view outside. All the foliage and everything outside was about 8 stops over. The MX loses stuff at around 4 stops over. Plus if we brought down the outside the hallway fell into too much darkness.
The Solution (Short Version): Jean and Tim (Best Boy) threw up a 12 x 12 double net across the entire front of the porch. You can’t see it but it is there. That killed 2 stops but it was still two stops too many. So we dialed in 2 stops on the HDRx settings in the camera, brought up the hallway with a 200w hmi stuck up in the ceiling and got somewhere close. Plus we threw some light into the colored windows to play them up a bit more.
Moving On – On to Location #2
We continued with a few other shots that didn’t make the final edit and we broke for lunch. Next stop was the Kitchen scene where we were going to be shooting a night time dinner scene at 2:00PM.
Check back next time on the Commercial Cinematography Series: Speed with Kinos
Great stuff man! I hope you do this kind of walk through with all of your jobs.
thanks for this i am very amateur and to see this kind work that goes into a production gives me an idea on what i should be doing and thinking about. Great Job!!!!
I love your website; this is so informative and helpful. I was wondering if you could tell me how long it took you for the first set up for the Sidelight VFX shot.