The First Look – Location Scout
The initial location scout is one of the best times in the pre-production schedule. In the commercial world, by the time I am on board as the cinematographer, chances are the production team will have some strong contenders for possible locations.
During the initial location scout on this job it was just the director and I and we made our way around the city in one day checking out the various locations the production team had lined up for review.
There are a few important things to take into consideration when on an initial location scout. The most obvious is you want your locations to match (as best they can) the brief that the director created and the mood he or she is after. Besides the overall look you need to also be thinking about the logistics of the location.
The production will do their best to make company moves easy, parking easy, and take care of all the other things but a DP has to be on the look out for things like 2nd story locations, tight access for rigging and cardinal orientation of a set. The earlier you spot a problem the more likely you will be able to fix it before the shoot.
The Importance of References
As I mentioned in the last Commercial Cinematography Series post the very first thing I do is start building a reference library. When working with a new director for the first time it is even more important. To develop of shorthand for what he or she wants to see I find it easiest to give them a wide range of samples (of course I spend a good amount of time curating the images so they align with looks I am drawn to).
On the location scout you have to have a good idea of the general direction you want to go in. If you already have a solid reference library you know what you are looking for and that can make your more productive on the scout. The more decisive you can be the more value you bring to the production.
Below I have included some initial reference shots I noted before the scout after I had read the bried and seen the director’s treatment for the agency. These weren’t looks I had mentioned to the director before but I had these in the back of my mind as platforms I wanted to start from.
Tools for the Job
On the initial location scout I am there to take notes for myself, identify possible solutions to any problems that might arise, and give my recommendations to the director for which locations I think fit the story the best.
To make my job easier I take a few things with me:
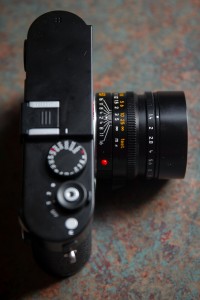
1. Leica M240 – I take this camera everywhere with me. It has a 50mm Summilux stuck on the front which can be limiting for location scouts but on the initial location scouts it works just fine. Great quality, fast, and small.
2. Galaxy Note with Sunseeker App and Artemis – Great for dialing in schedules and knowing exactly where the sun is going to be on the day.
3. Notebook & Pen – There is something that burns ideas or thoughts into my head more when writing them down. I like paper and pen for jotting down notes and measurements. I will usually take a rough measurement and record doors and windows so I can start getting lighting ideas for each spot.
4. Sekonic 758cine – Never leave home without it. Great for measuring existing practicals.
That is it. With those 4 things I am ready to tackle the first location scout and get the maximum amount of info out of it as possible. The more info I can gather on the location
Hitting the Road
We knew from the brief that the commercial was going to take place over 5 different scenes. The master commercial would be a 45 second TV spot featuring the main story and then each scene would also have an individual 15 second version for TV. Knowing this production had slated a few options for each scene which meant that come the day of the location scout we would be racing around the city trying to view and analyze 15 different possibilities.
Location Scout: Stop #1 – Hospital Surgery
References:
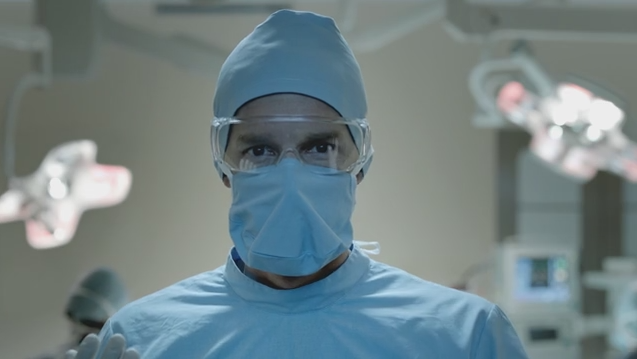
I just liked the overall look of these. Nothing in particular. Just the overall vibe. I did like the lighting trick of hiding the lights behind the walls. Very nice.
Operating Room #6:
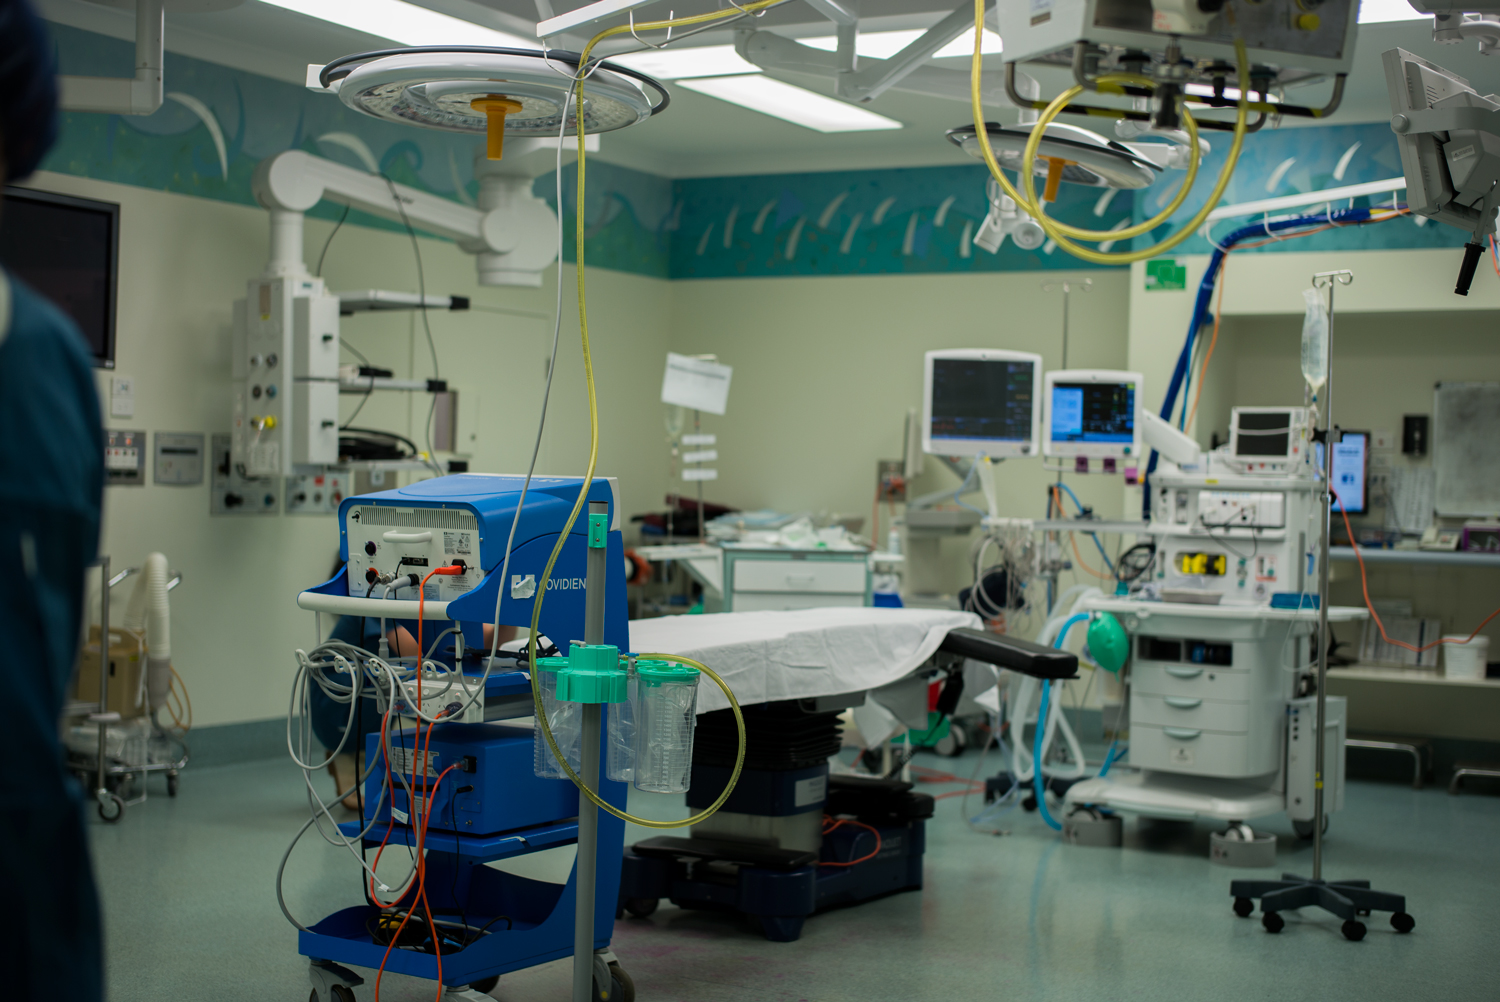
We started with the most complex scene which was going to be the hospital operating room set up. The hospital was a working hospital in WA and that meant there would be a few complications that needed looking after.
#1 – Any gear that we brought in would need to be sterilized. No exceptions.
That meant we would have to be as lean as possible so we didn’t have massive amounts of cleaning to do on the day.
#2 – These operating rooms were being used on a daily basis so availability was going to be a major issue. This would come back to bite us on the second day of the shoot.
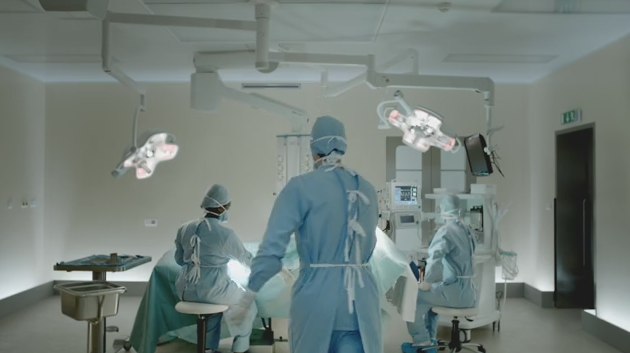
We took a tour of about 8 different operating theaters and came across a few issues with all of them. The biggest problem was that the idea of using the main lights on the swing arms was not going to work. The lights were not dimmable and they were super bright. The other issue was most of the rooms were fairly small and once you factor in the gear and the crew we knew it was going to be a challenge to nail the wide shots.
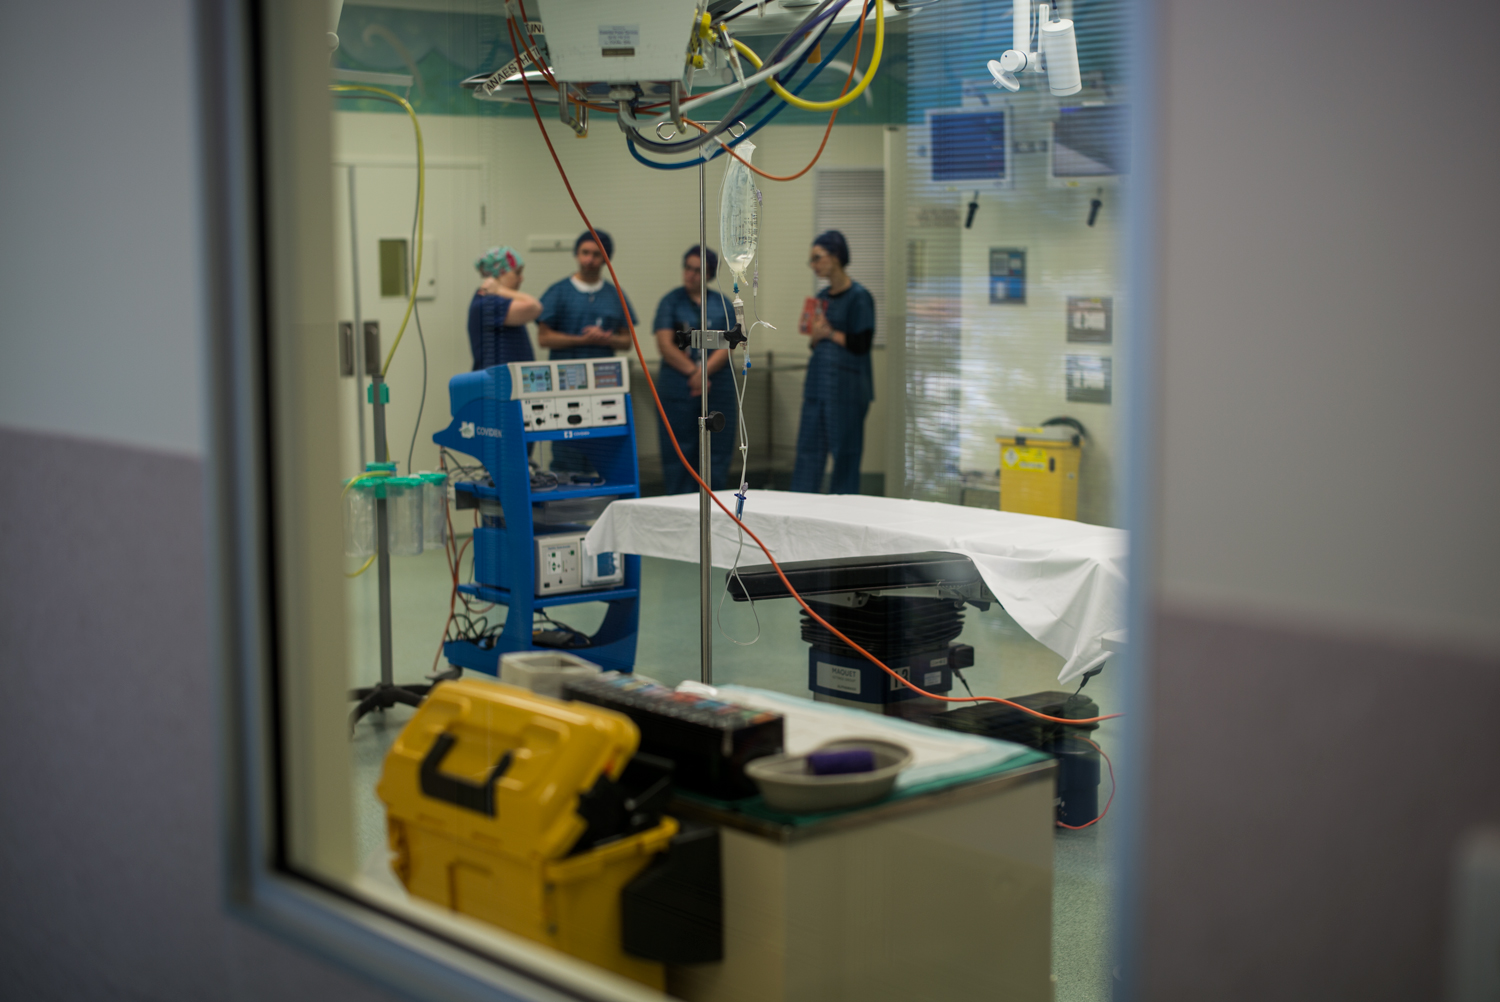
The best room we saw had windows on one side that looked out into a hallway. We could get the wides through those windows and do a sort of frame within a frame look.
The Winner:
We moved on to the next location which was just around the corner from the hospital in a doctor’s suite.
Location Scout: Stop #2 – The Doctor’s Office
Preliminary Reference:
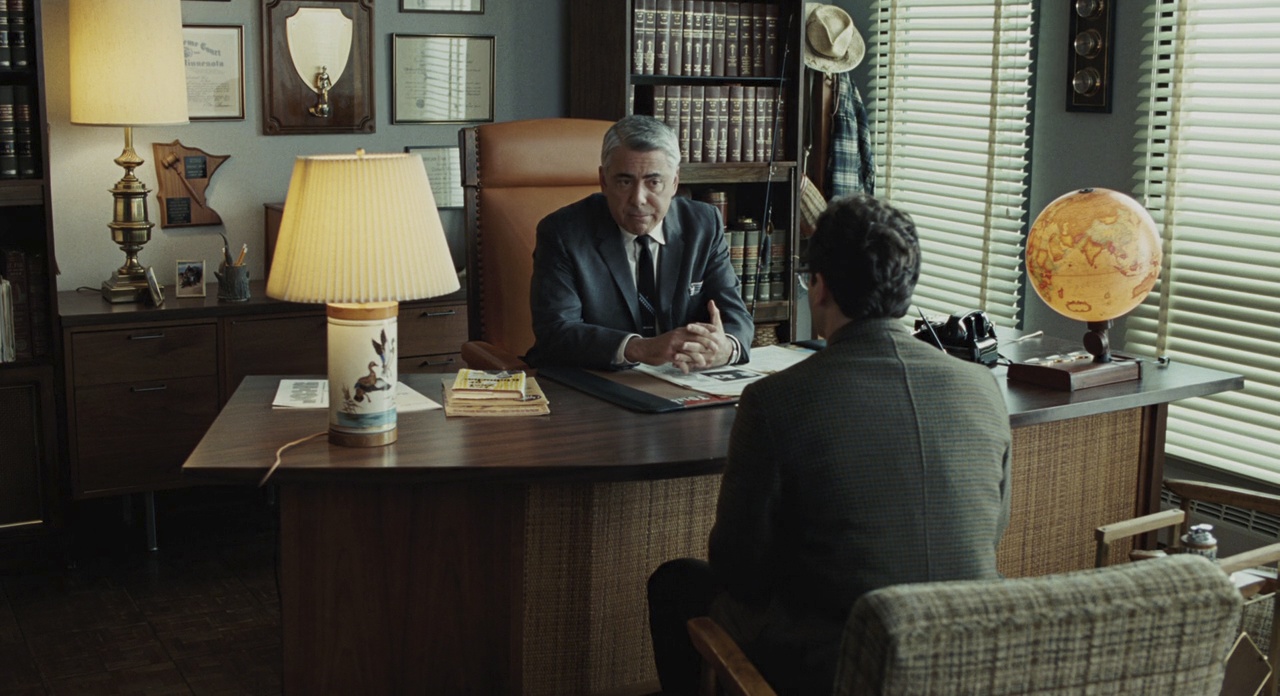
The next set up was inside of a doctor’s office. They scene would have a couple visiting with the doctor and getting some very bad news. The whole commercial was supposed to have a somber, muted look so we were looking for some starkness for the office set up.
We had our choice of two different offices. The main difference between the two was the amount of windows and the physical size of the space. They were both good locations on the first floor with lots of easy access to outside.
I knew I wanted to blast the light from outside and to keep a nice modelling side light the desk and chairs would have to be perpendicular to the windows. The larger office allowed us to do just that.
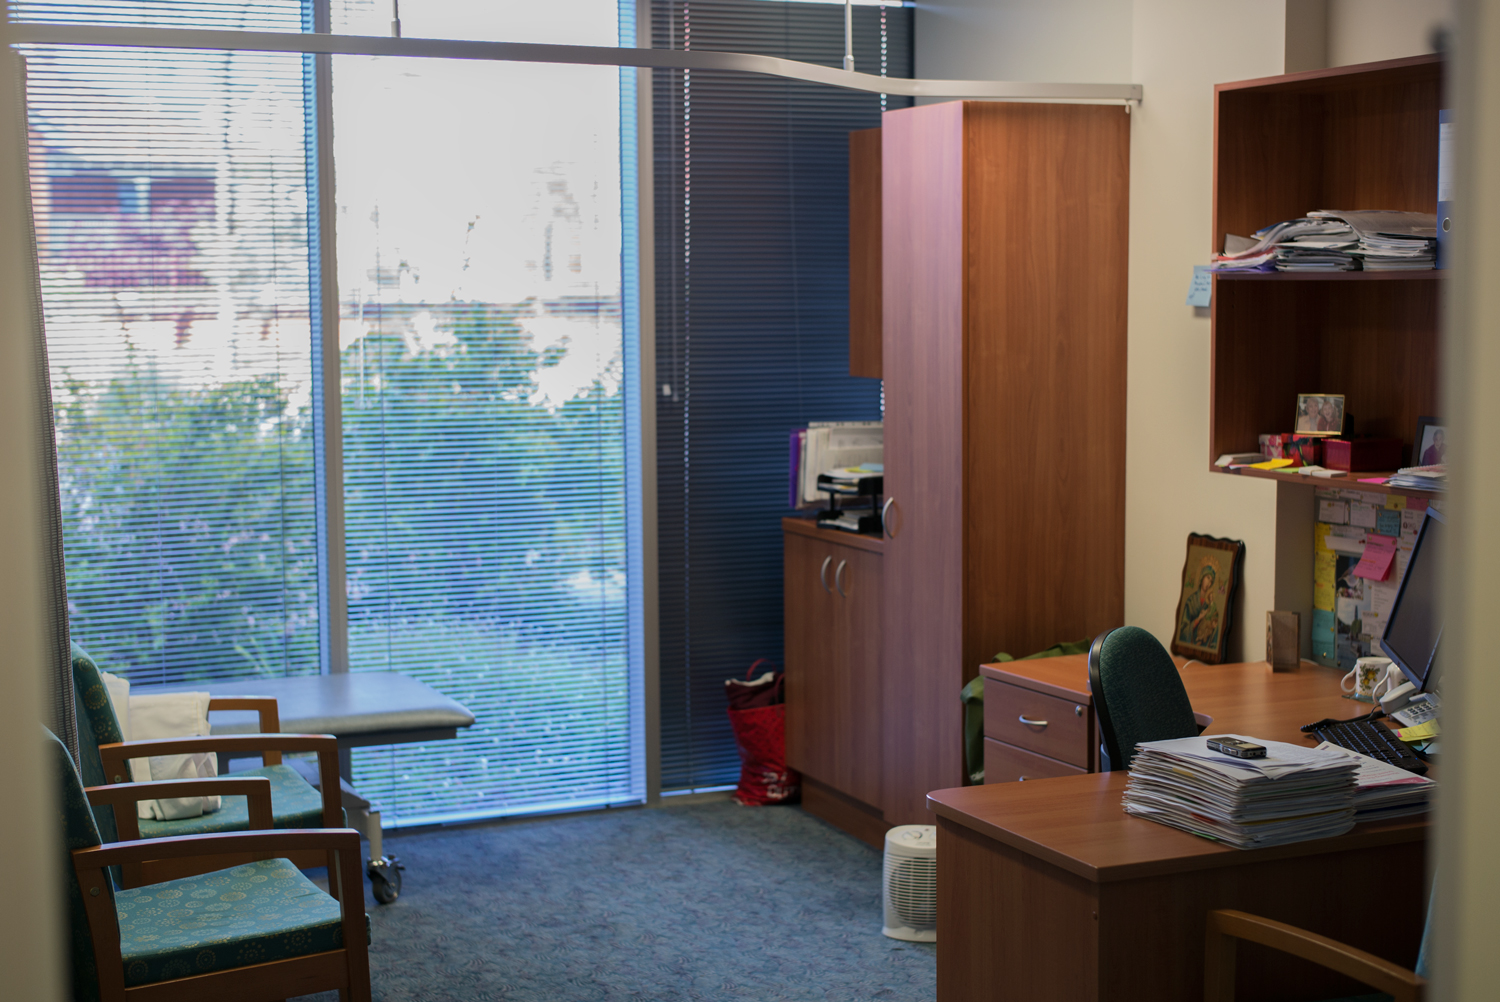
You have to be in a certain frame of mind when on initial location scouts. You are really looking for a framework that fits with the story. Wall color, furniture, all of those things can be changed out. The real gold you are trying to mine is the orientation and the non-mobile structures of the space(s).
Location Scout: Stop #3 – The Kitchen Scene
Preliminary Reference:
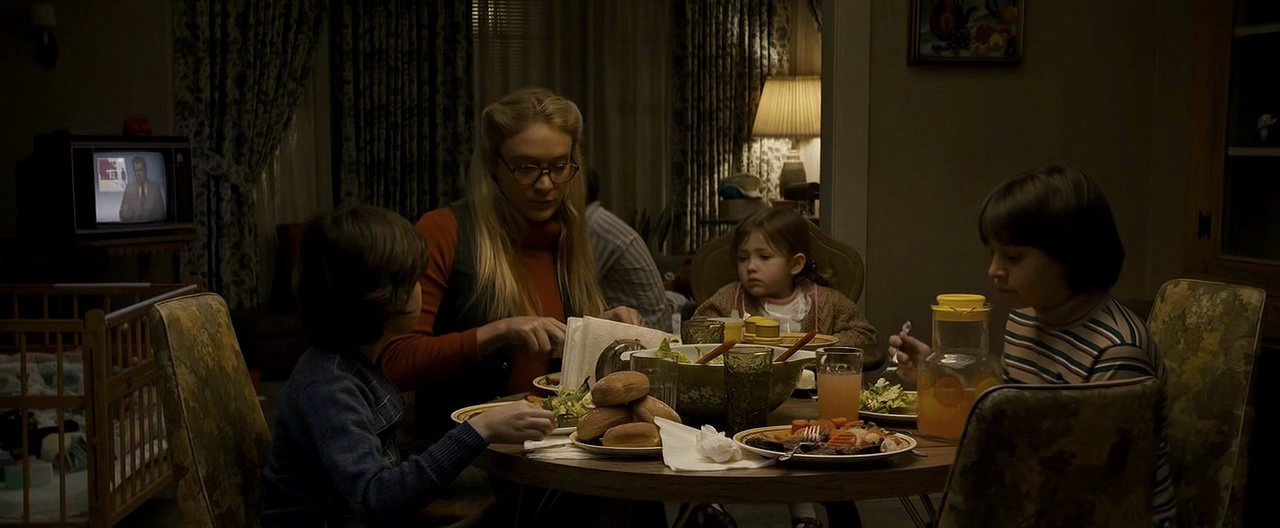
The Kitchen set up was going to be the closing shot in the commercial and it was going to get more screen time than any other scene. We got to look at a few and each had thier pros and cons but the last one we saw had that look the director was after and it fit with production possibilities as well.
Possible Kitchen #1:
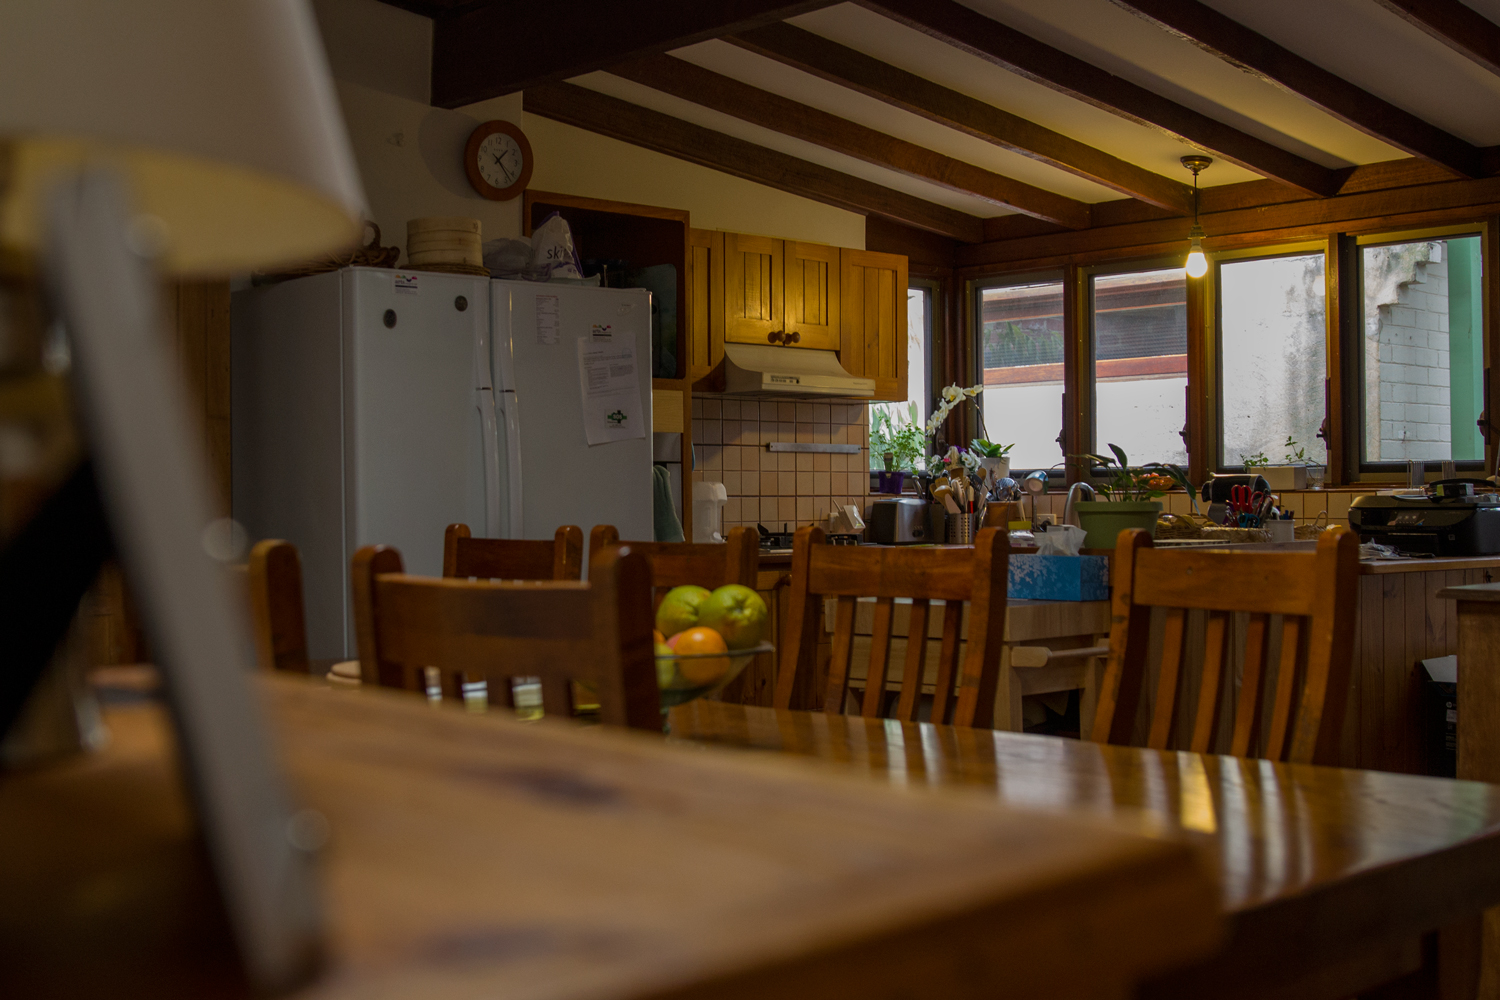 Pros: Nice background material and good depth that I thought we could take advantage of with different light levels.
Cons: Not enough space for all the angles we needed.
* if you take a look at all of these stills you will notice that I am shooting through objects a lot of the time. That is something the director and I had talked about in the early stages of the project. We wanted the images to be slightly voyeuristic. The commercial was going to be handheld to get a bit of float and the angles were not going to be right in your face. We wanted it to appear a bit more fly on the wall rather than have the camera as an active participant.
Knowing that I wanted to muddy up the frame with objects from each scene. A lot of this ends up in the final piece with foreground objects framing the action.
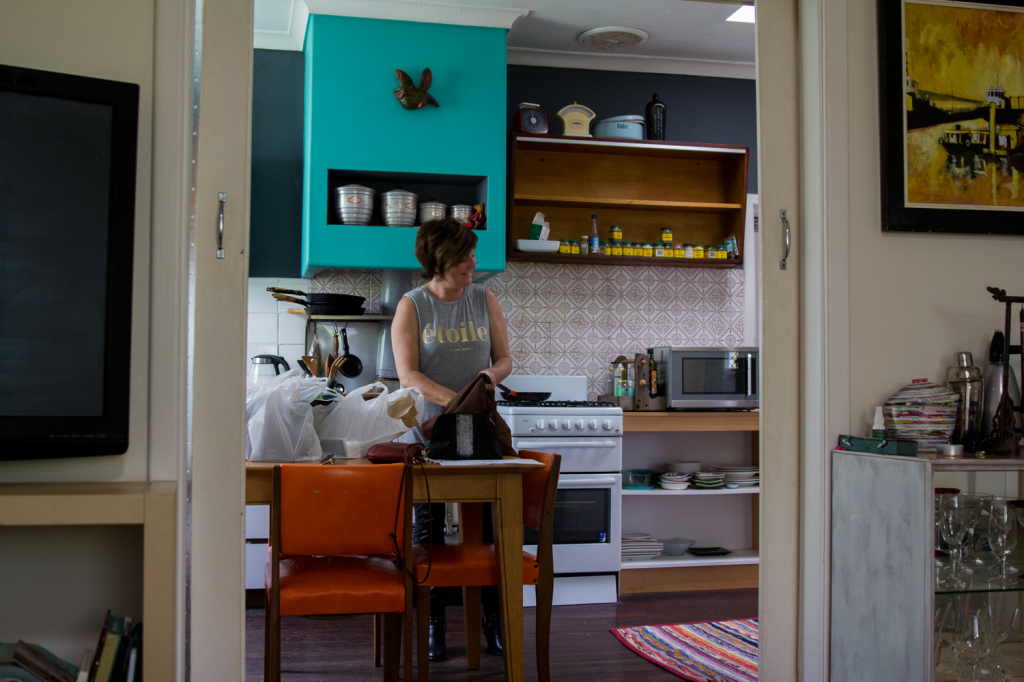
Final Kitchen Choice:
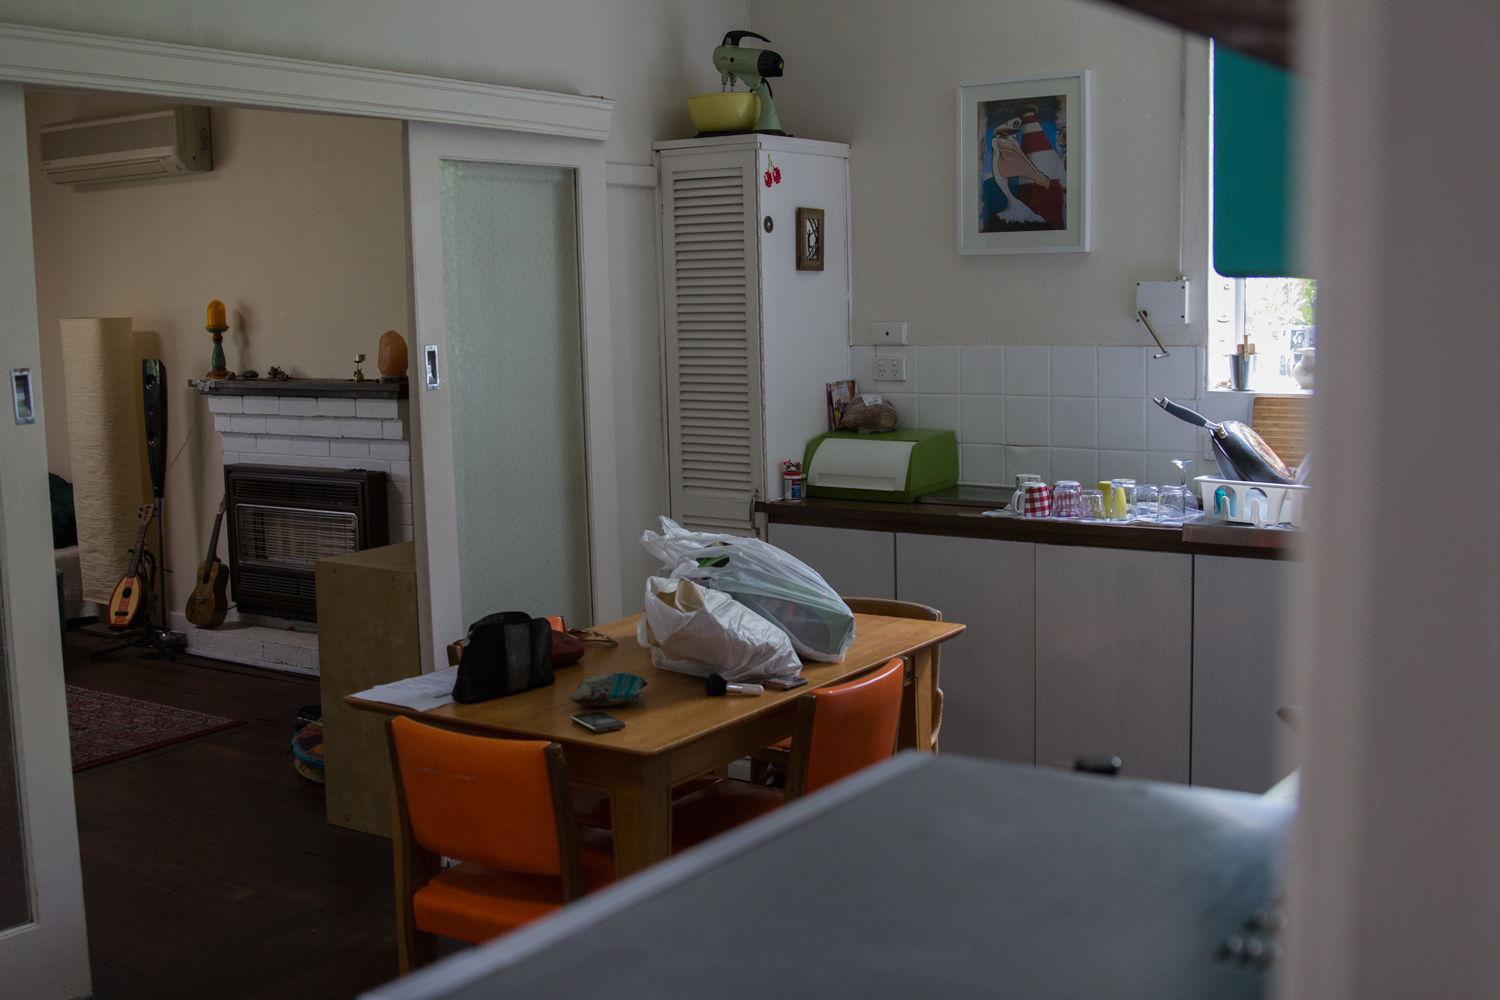
Pros: Perfect size.
Lots of different doorways off to other rooms so we could use frames within frames.
We were going to black out the windows to shoot night at day and the sole window in the kitchen was small and already had nice big shutters on it. Plus outside was easy access to tent the whole thing.
Cons: We needed a closing dolly shot and there wasn’t a whole lot of room for the dolly tracks. On the day of the shoot we managed to rig a little bazooka dolly perfectly though.
 Location Scout: Stop #4: The Bedroom(s)

Preliminary Reference:
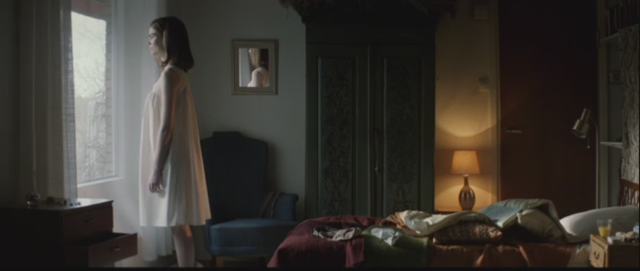
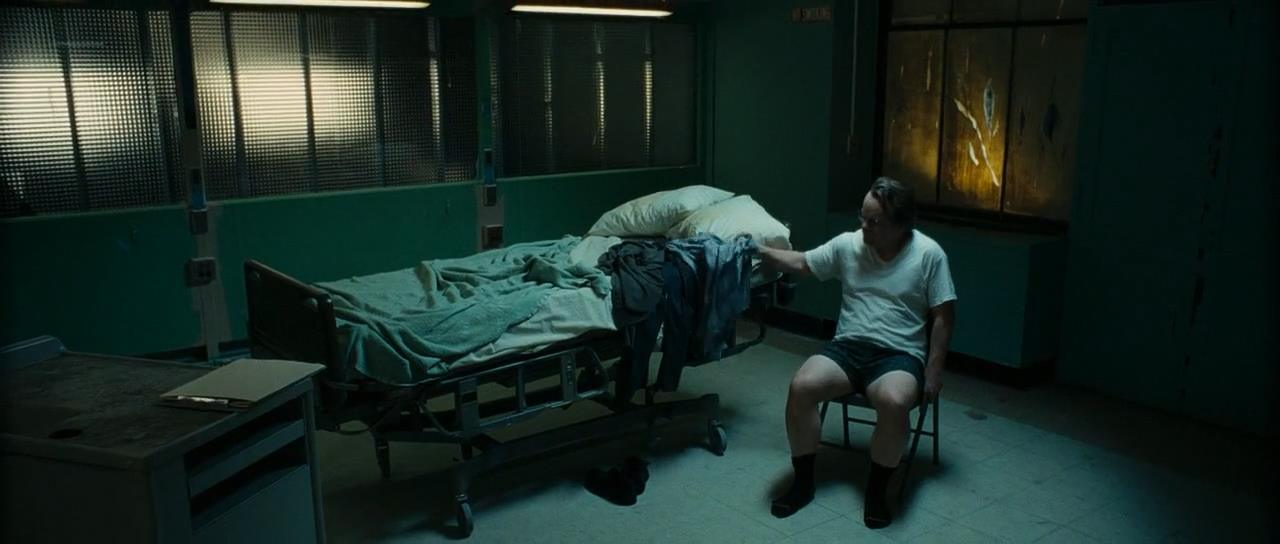
The next stops were for the bedroom scene. In this scene a young woman would be staring into a mirror. I had done a bunch of homework on mirror scenes and had found a bunch of stuff I liked. The one item that kept popping up in every image was curtain sheers and big windows.
So when we were checking out the various bedrooms I was on the look out for sheers and windows. We got lucky with both.
Possible Bedroom #1:
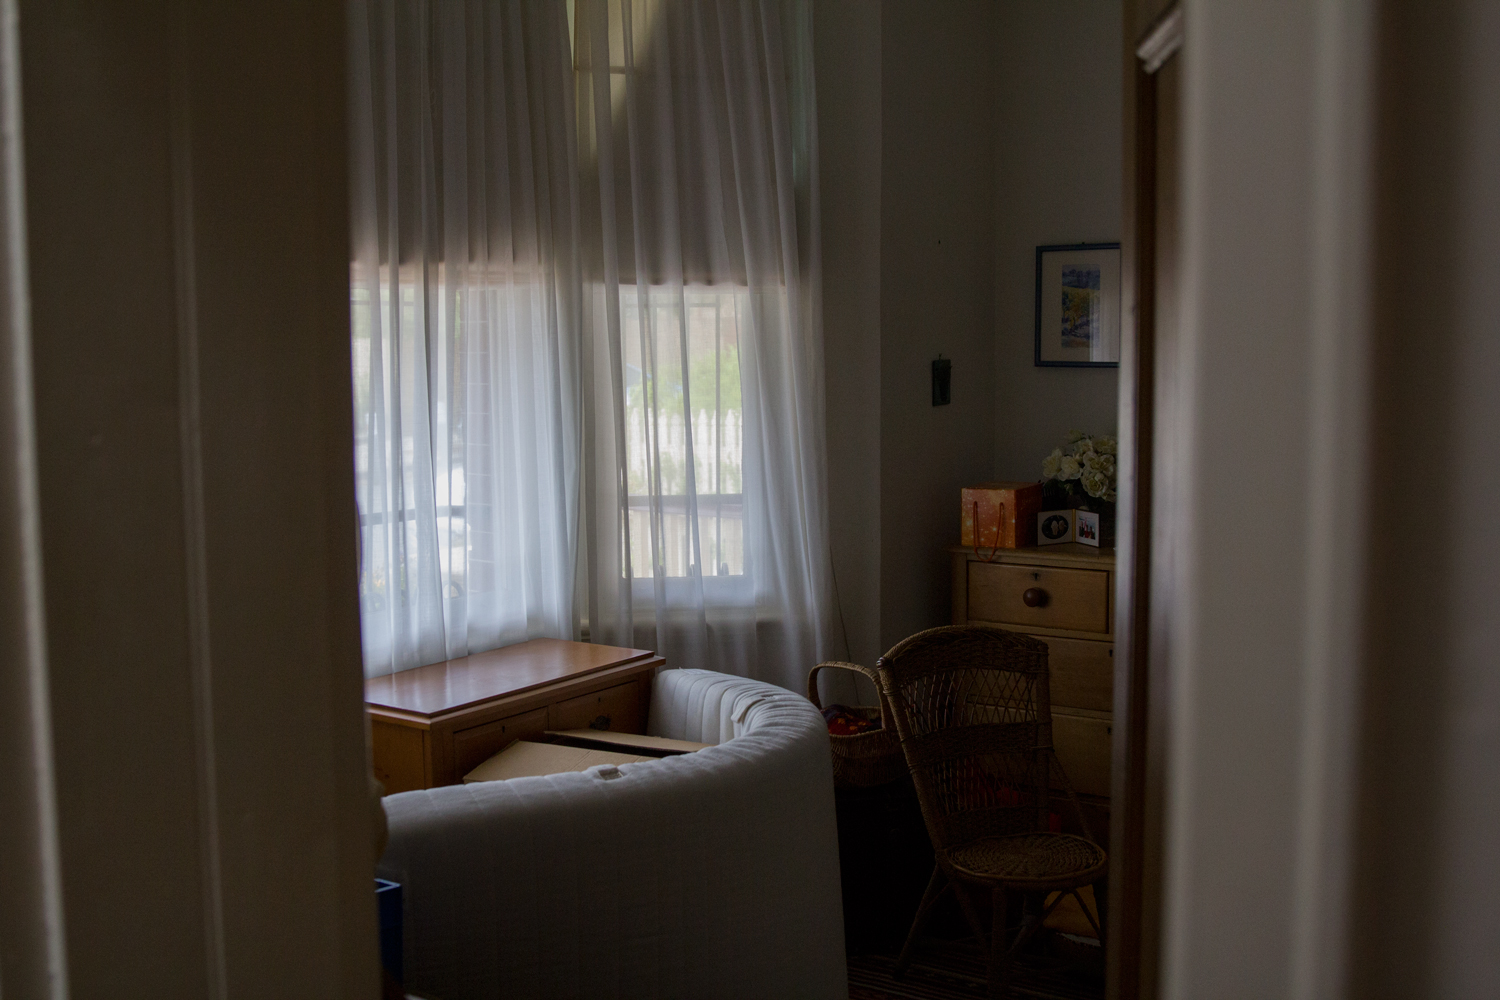
Pros: The wrapping windows were great.
The sheers were also already in place.
Cons: The room was super small so we would be limited with lights and angles.
Possible Bedroom #2:
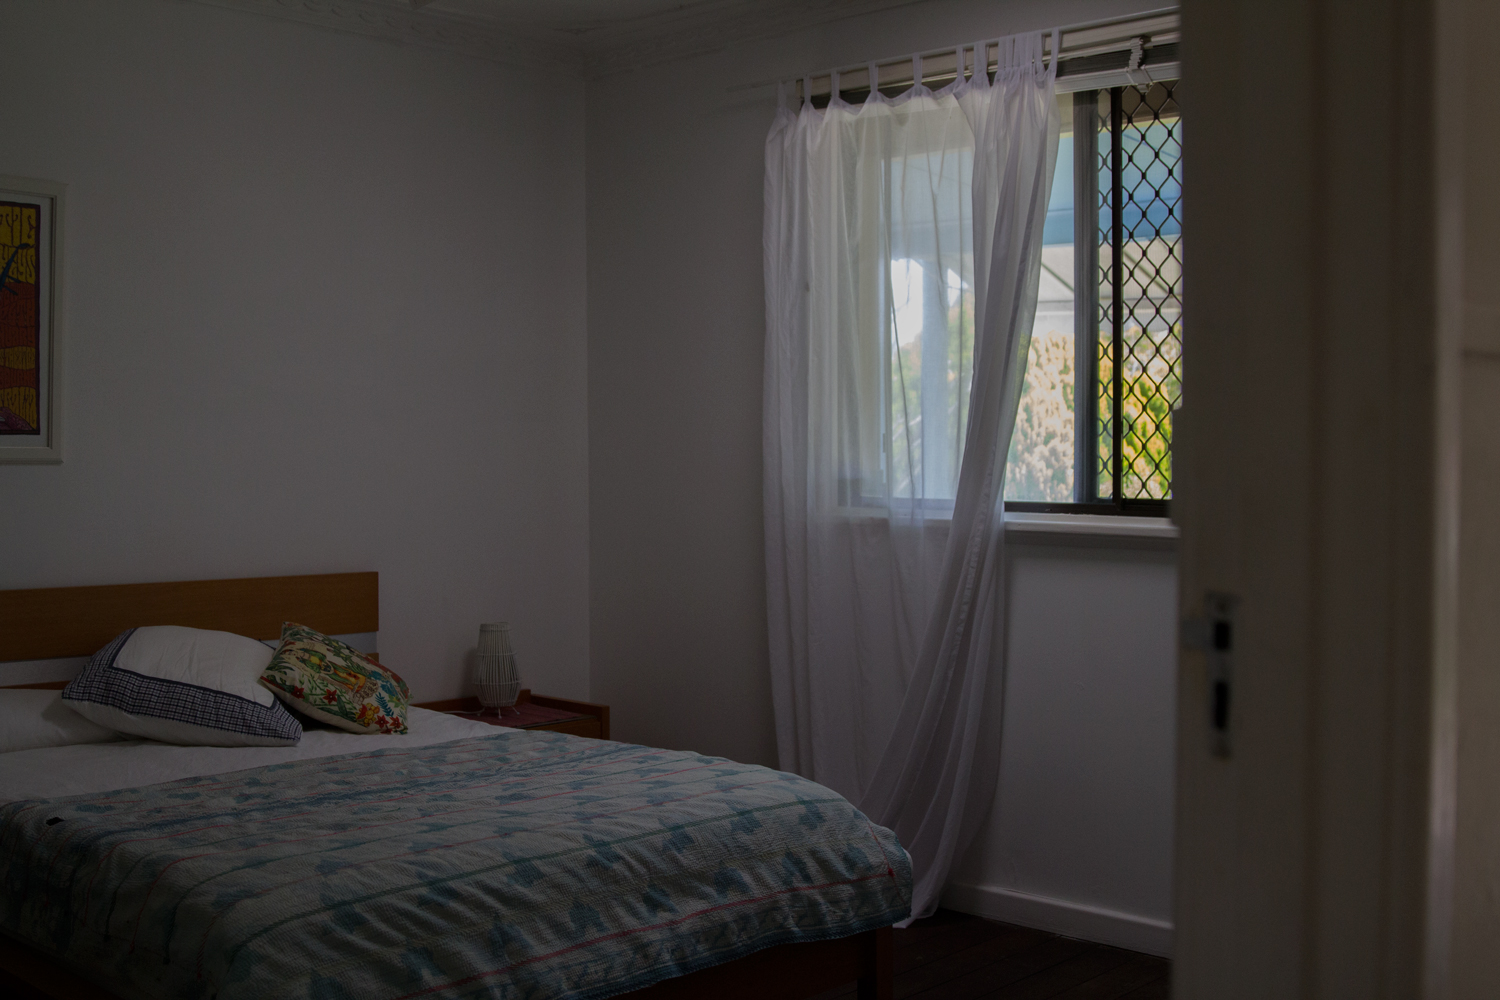
Pros: Not a lot. It had a window.
One positive was that it was fairly empty so we could have made any furniture or art department changes easily.
Cons: The window was too small.
I wanted single source lights coming through windows with no fill. That was the idea. This room didn’t have that special something.
The Winner:
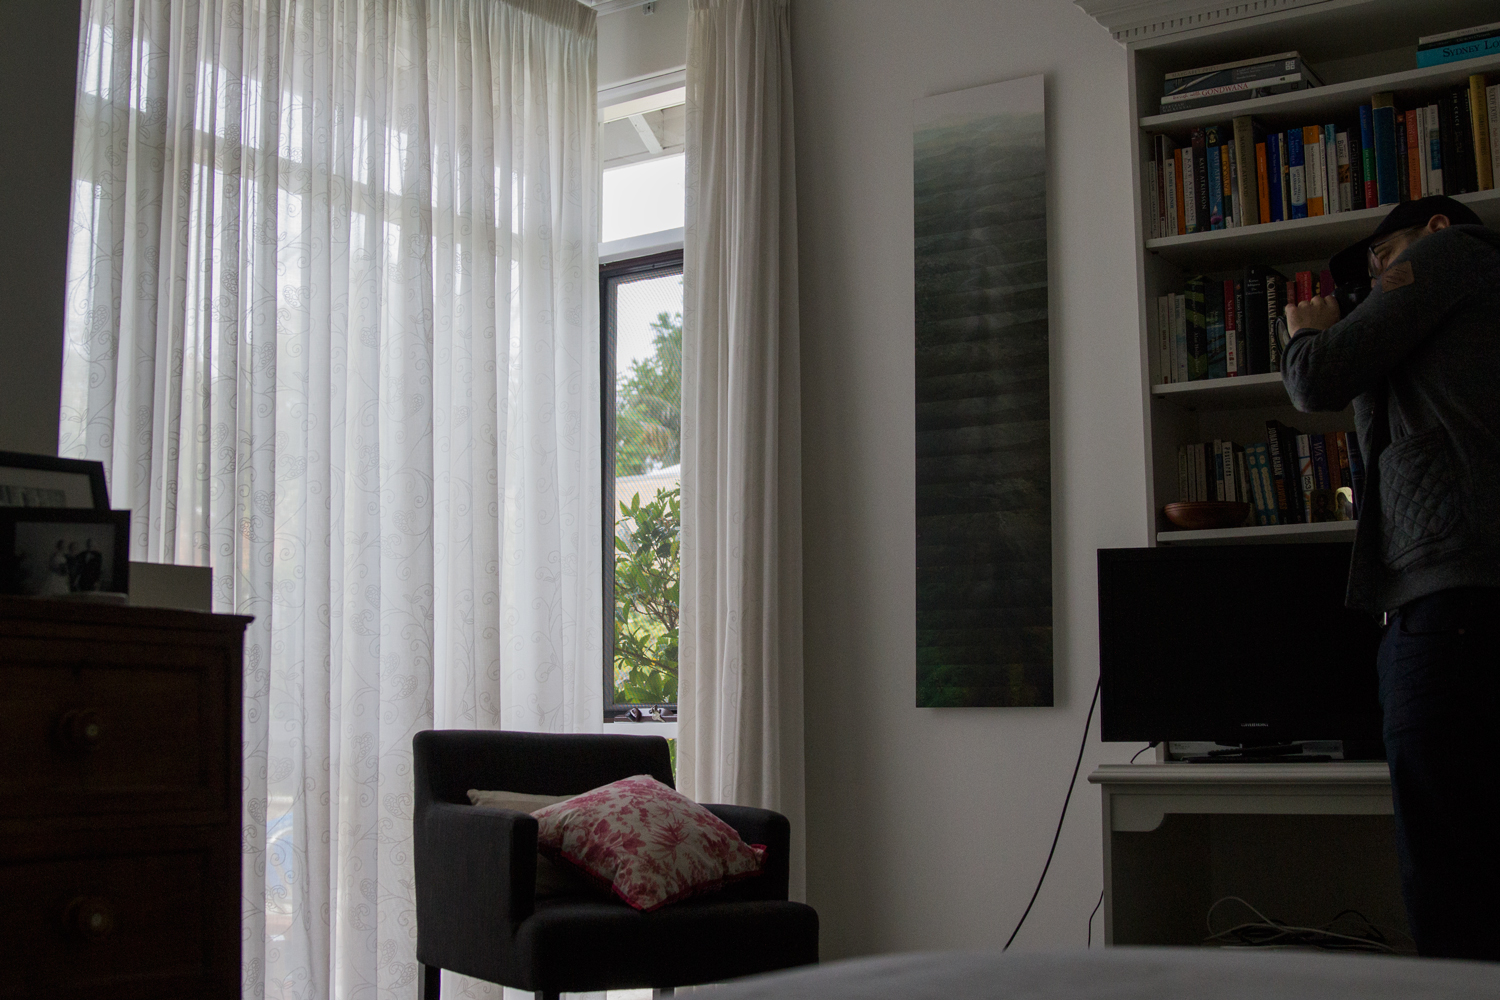
Pros:
The wrapping windows in this bedroom were perfect.
The orientation of the room worked for the time of day we were going for.
The access outside the window was great for blasting an HMI through.
Cons:
Nothing.
The bedroom location was one of those great moments where as soon as you set foot in a space you know it is going to work. No fuss, just a great location for what we needed.
Outside Access:
Location Scout: Stop #5 – The Federation Home
Preliminary Reference:
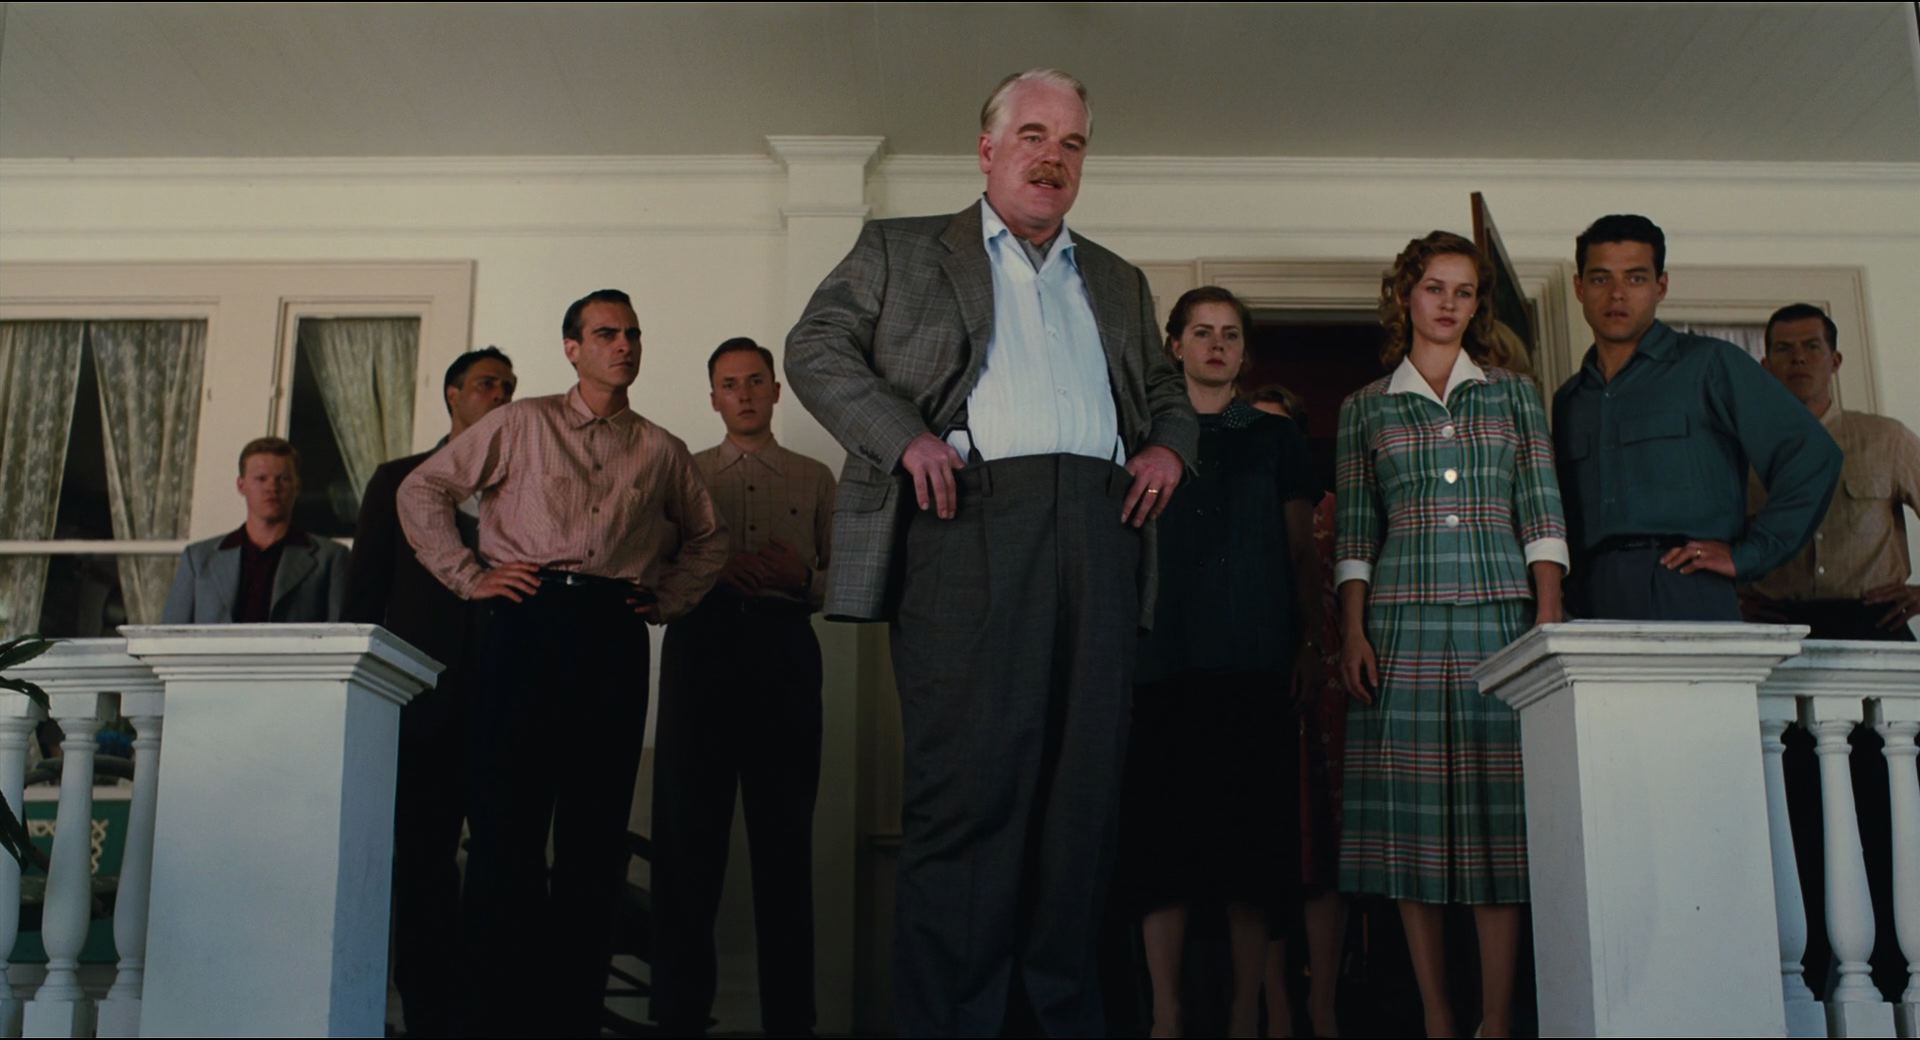
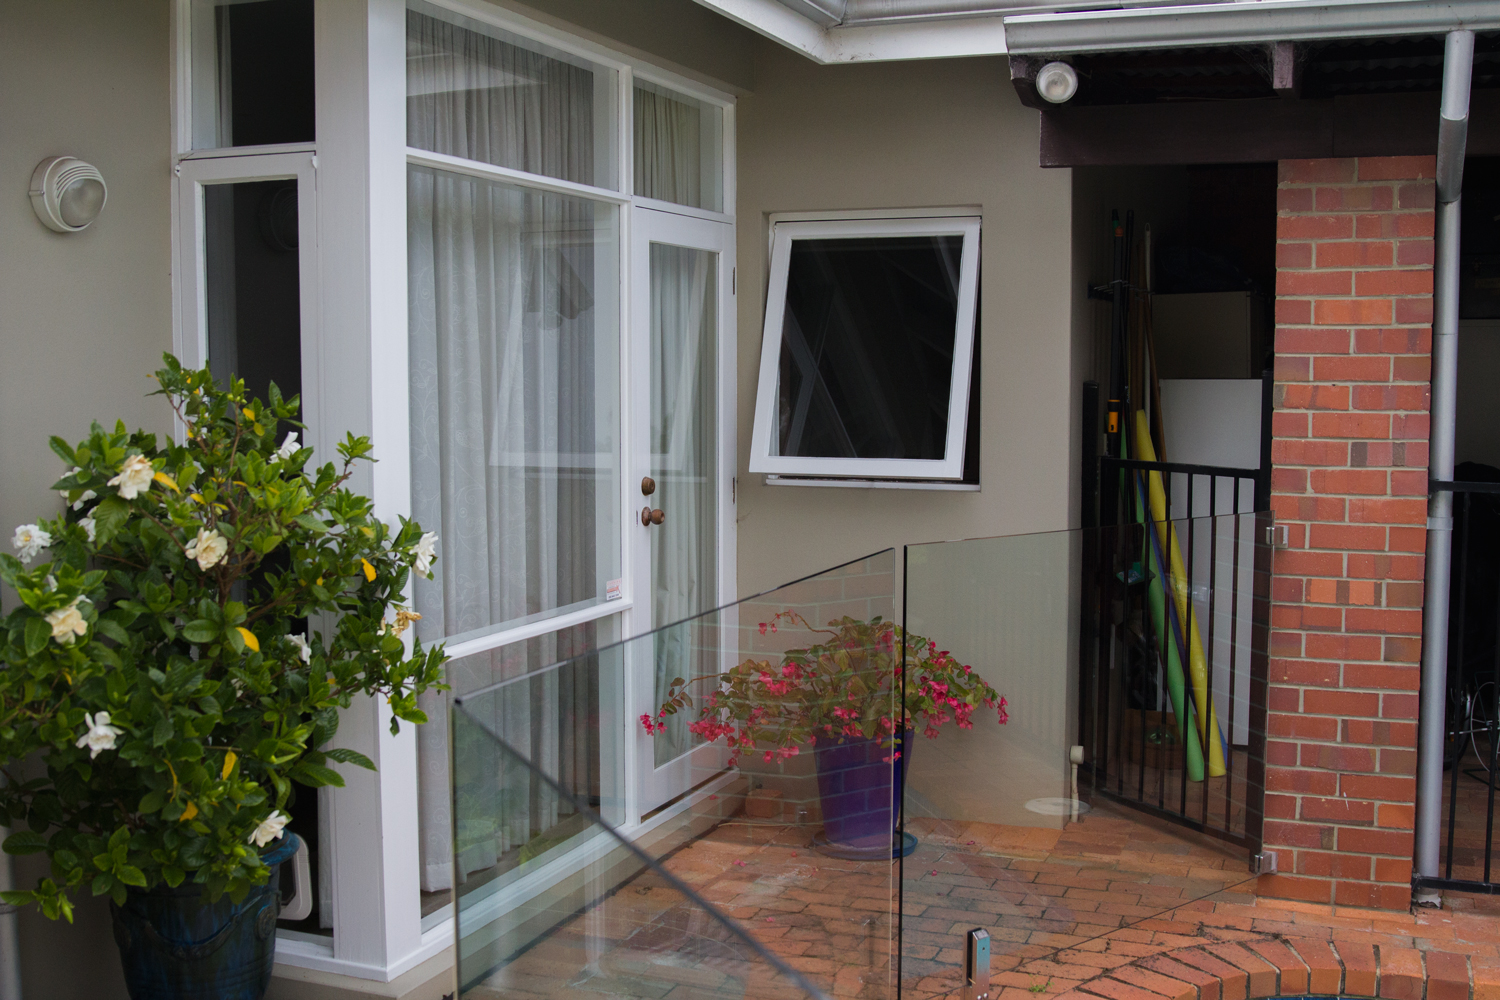
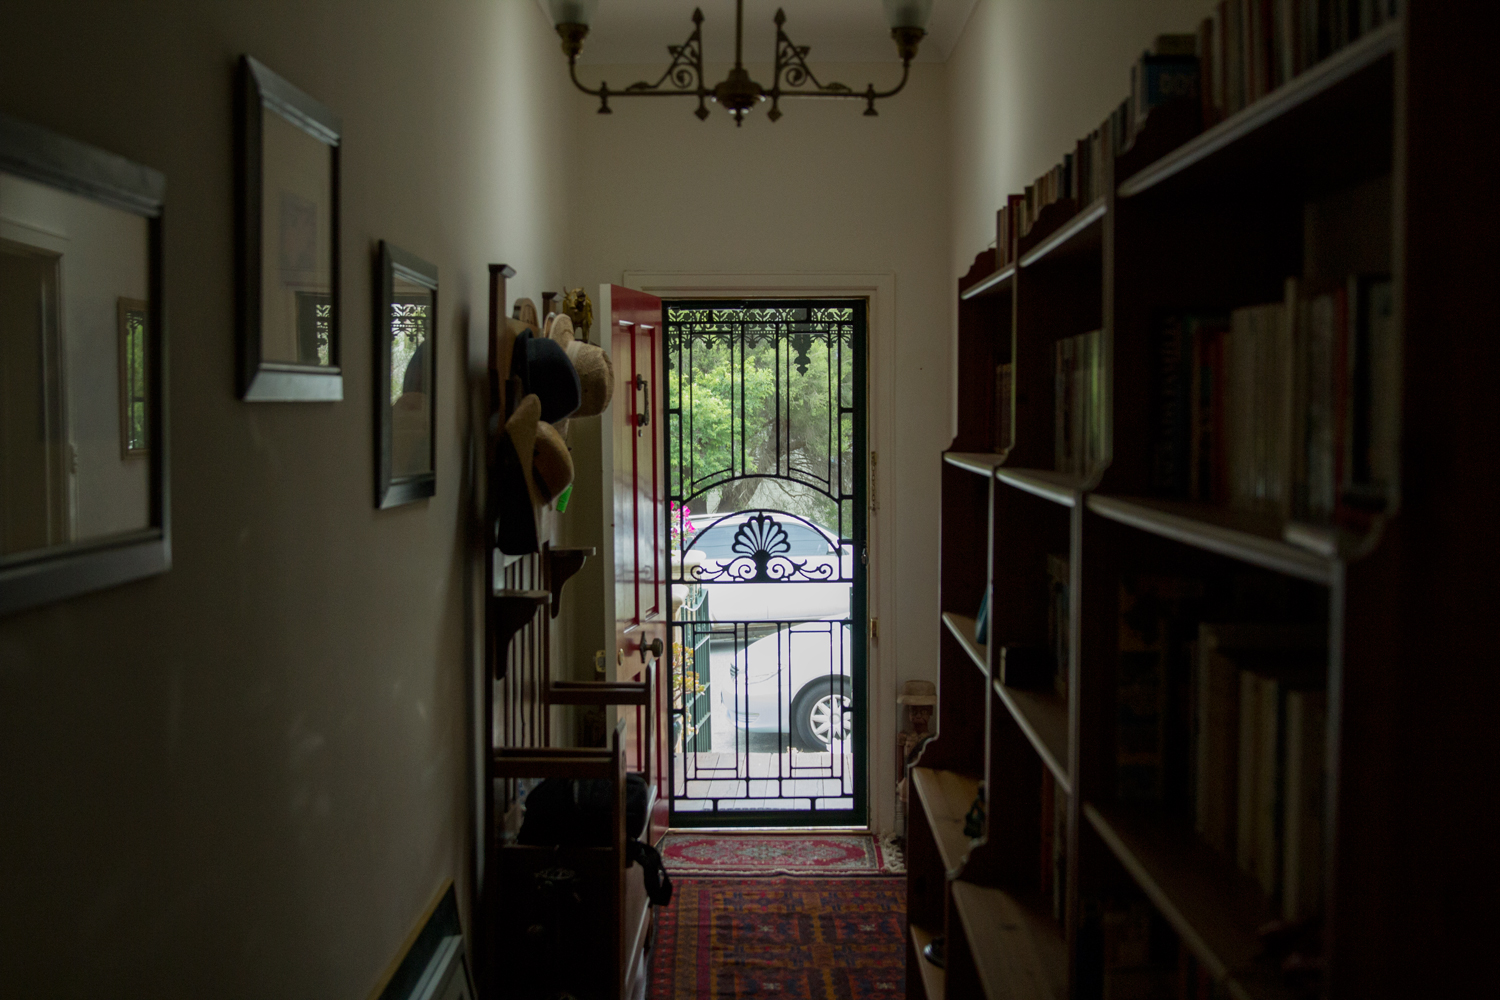
The last set up was going to be the only exterior stuff on this commercial. We needed a long hallway, a raised porch, and an old federation house.
We looked at a few options but the winner was pretty clear.
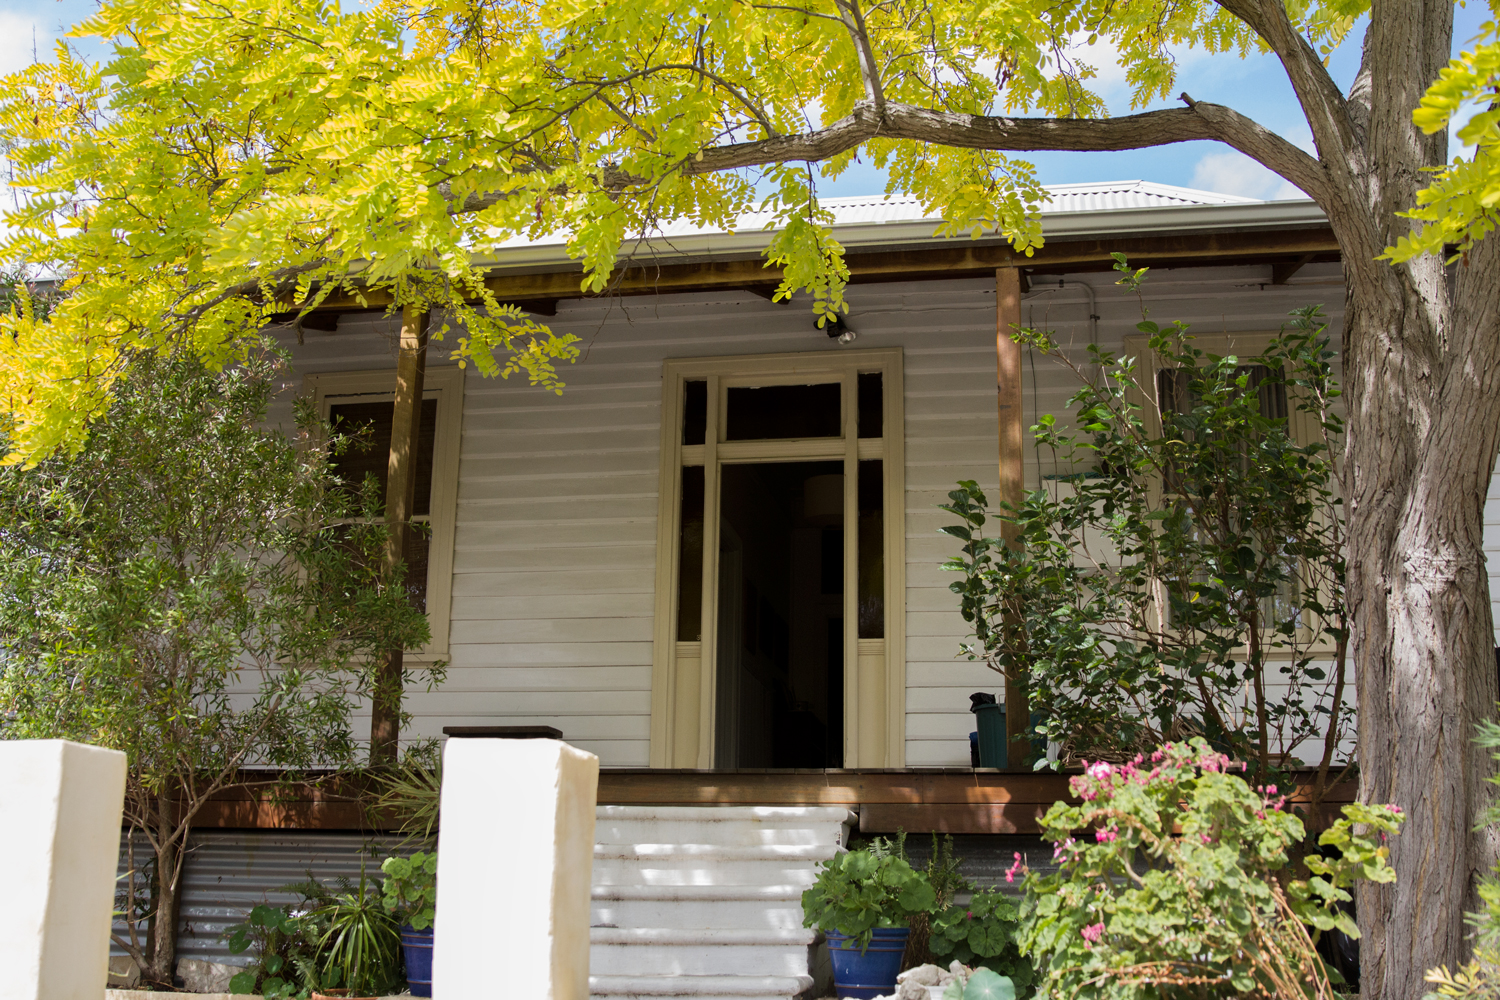
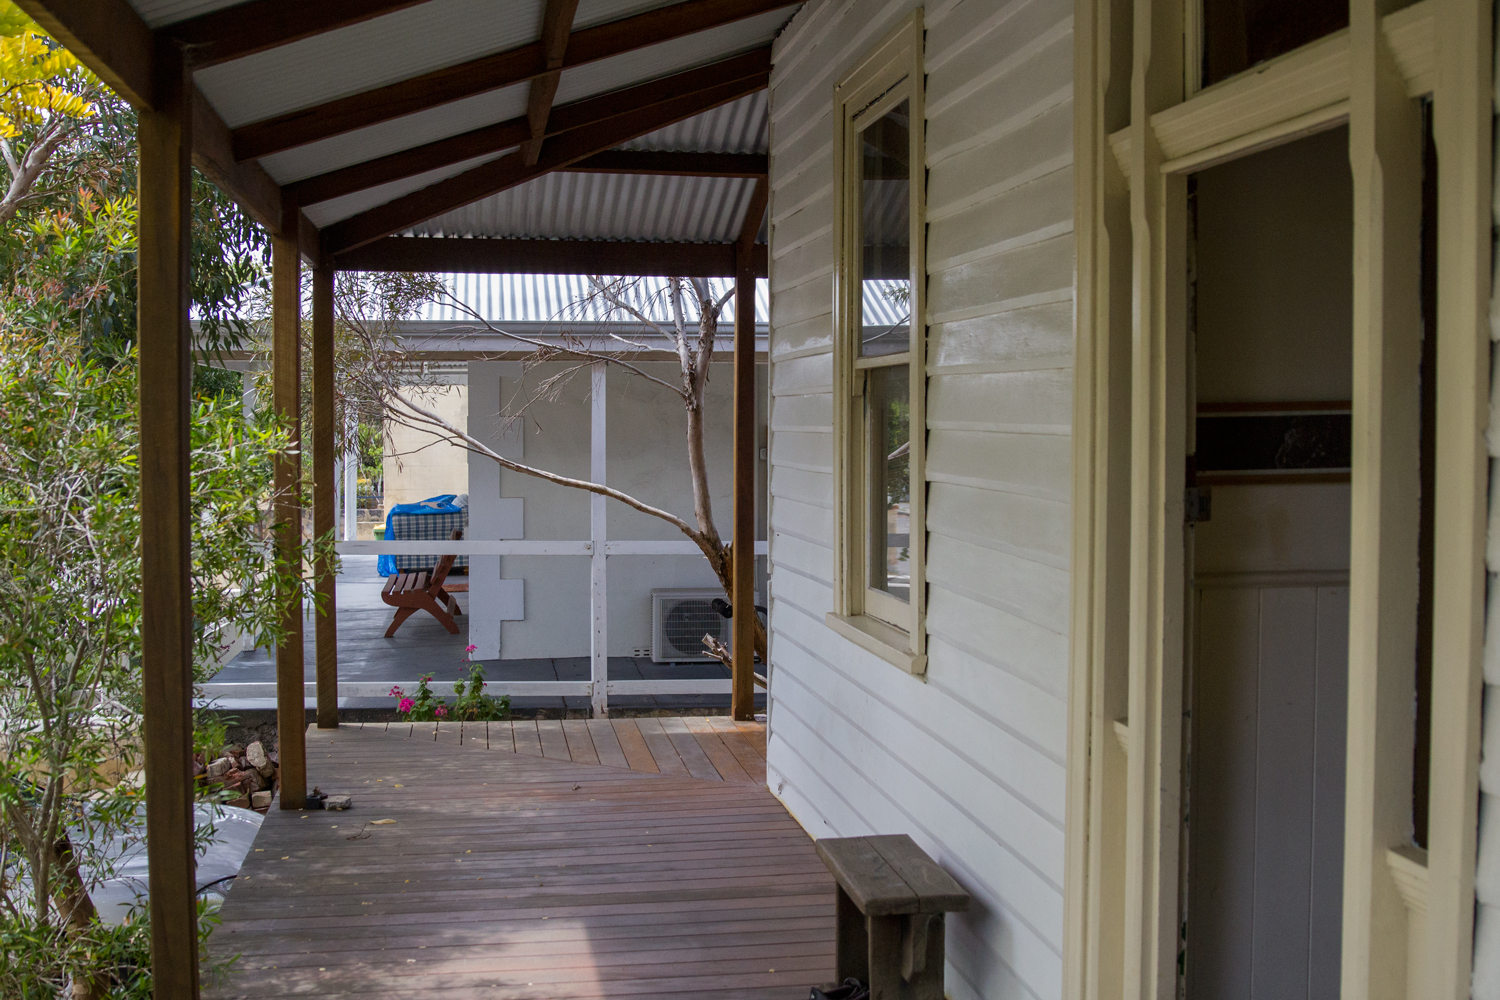
We would be shooting a bunch of different angles at the house and this particular house gave us everything we needed. The house was facing west. The orientation meant we could shoot early in the morning, wheel in the big lights (18ks) and create our own sun.
Plus we needed some hallway shots looking inside to outside. I knew the dynamic range on the epic would be stretching it so we could do some inventive stuff with the porch to control the light when we needed those shots.
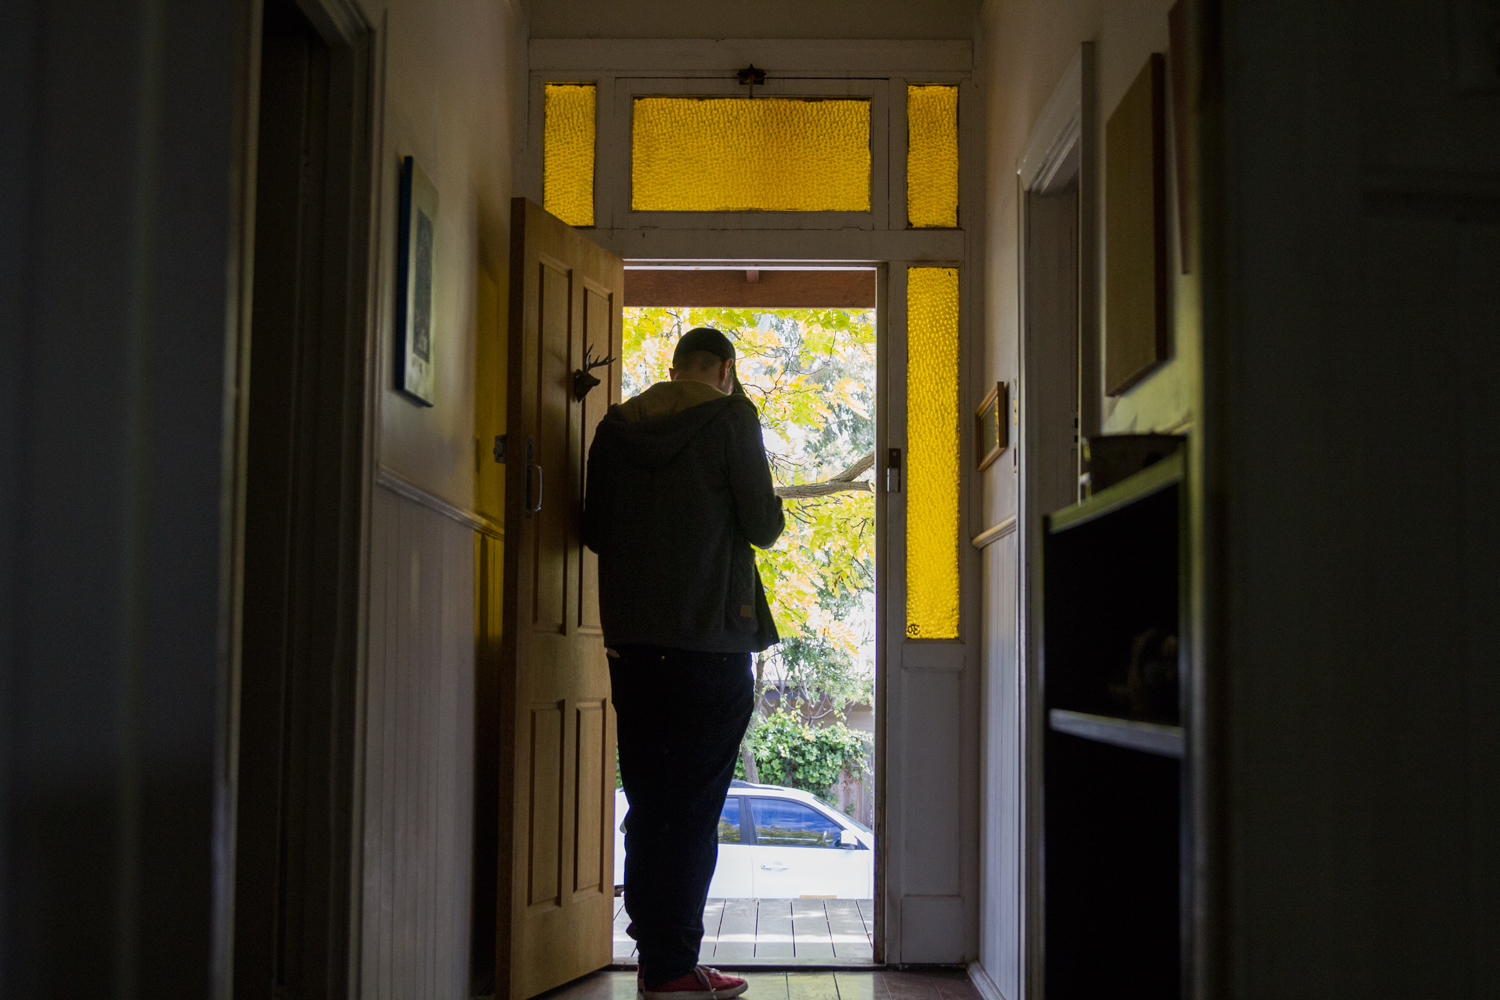
There were some other great hallways that we saw like the one below but we needed something that ticked all the boxes. Not just a cool hallway.
The porch shots were going to be the most difficult in the commercial as they were the only shots with VFX. The VFX crew needed a very specific type of lighting to help sell their work and it was going to be challenging to make it happen.
Here are a few shots of the porch from each angle.

Going Forward
After eyeing all the possible contenders we had our wish list sorted. The director was happy, I was pleased with the results, and now it just came down to production being able to line everything up.
A few days later we got the news that everything was a go. We managed to get all of our first pics.
The next step was finalizing the reference library. Be sure to check back in the next few days here on the website as I will be publishing another article each day for the rest of the week.
Great Stuff man!
It’s so helpful to see the process of other DP’s.
Hey Patrick, I just wanted to say thanks for this post, and for this website. It rocks.
Thanks for the feedback Tom.
Glad you are enjoying it