Lighting on Location: Using What You Can’t Control
Today we are going to be talking about location lighting. As a cinematographer you have to approach lighting on location in a slightly different way than a traditional studio approach.
When you are painting with light in a studio environment there is nothing limiting your choices or forcing your hand in a specific direction. The studio is blacked out until you decide to start striking lamps. Don’t like a source? No worries you can just shut it off. You have ultimate power.
Lighting on location (especially when on a budget) is not quite the same. There are generally objects you cannot change or move. More often than not you cannot change the orientation of where you are in relation to the path of the sun. You have to compromise and more often then not when lighting location interiors you need to plan and execute at certain times to have the most favorable settings for working in.
Location Lighting – Ratios, Ratios, Ratios

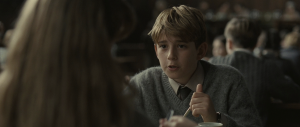
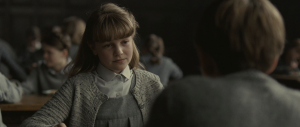
The film ‘Never Let Me Go” is an awesome example of consistent ratio lighting by Adam Kimmel.
I find the easiest thing to do when lighting location interiors is start by deciding where your weakest link is. What I mean by that is can you identify a light source that you cannot control or can only minimally control?
More often than not that source is going to be the sun and it will be coming through a window or a door. Let’s say you have checked out the room on the tech scout, you have given yourself the best shot at getting the look you are going for, but schedule forces your hand and you end up with a sun position that is less than ideal.
We know from having talked about it here on the site before that cinematography is all about ratios. The actual volume of light is inconsequential once you have an adequate amount to achieve the desired exposure you want.
So when you come across a light source that is difficult (or impossible) to control you need to remember that ratios are everything.
If you know the ratios that you are after (I am sure you have done your homework, studied images you like, and found out what ratios where used to achieve that particular imagery) then all you have to do is start with the uncontrollable light source as your ratio determinant.
The Ratios of Cinematography
The important ratios in cinematography form a triangle. You only have to know the value of one side of the triangle to set the two other sides of the triangle. The triangle consists of the Key, Fill, & Background.
In practice there are two main ratios that I like to work from when on set. These two ratios and how I apply them control every aspect of my cinematography.
They are:
#1. The Key to Fill Ratio
#2. The Key to Background Ratio
These ratios then make up a mathematical formula that I can apply to any situation I find myself. I have exact numbers for these ratios that I know will achieve images I like in any environment.
Now I don’t always stick to these ratios but the help act as a guide and a jumping off point when on set. In a previous post I mentioned these before but I thought a little refresher might help you follow along with my examples.
I have studied thousands of images from hundreds of DPs and the more images I see the more recognizable the patterns of ratios becomes. I used to have to take stills into Resolve and check the waveform or the histogram to gauge ratios. Then I moved on to exact ratio identification using my Flanders CM240 with it’s false color viewing option.
I have watched countless hours of television spots/movies/shows only viewing the footage with the false color turned on. I have beaten these ratios into my head. It is safe to say I know what I like at this point. Of course, it is always changing and morphing but the root ideas stay fairly grounded.
My Ratios
I will do another post to outline my exact preferred ratios in detail but for our purposes here my basic formula when setting up the camera in a given situation is as follows:
- Key light at Proper Exposure
- Fill at 2-3 stops under Key
- Background 1.5-3.5 stops under
What do these mean?
It all starts with the Key light. I like my key light coming from upstage (if you don’t know what upstage means google it) and like it coming in on a side angle to the talent. I like the light falling on the talents key side to be roughly around normal exposure. That means if my meter says I should be at T2.8 when i meter the key then I set my lens to T2.8.
Once my T-stop is set in accordance to my key light (or vice versa) I then dial in the background. I know from all my years looking at images I like that usually I want my background to be between 1.5-3.5 stops under what my key is at.
Armed with this information I can go about adjusting the levels in the background to achieve this outcome. (This is actually the main point for this post about location lighting)
Once that is locked in I then adjust the fill to suit the mood of the scene but generally the levels are between 2-3 stops under the key.
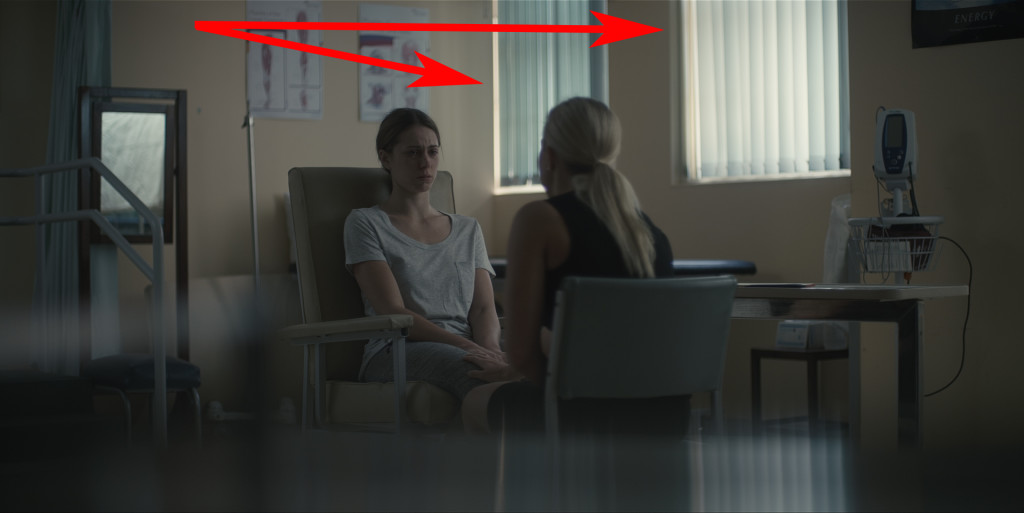
There you have it. In a nutshell that is the process. So how does this actually relate to lighting on location and starting with sources you can’t control? Let’s take a look at an example.
The Scene
I recently shot a commercial on location where we had to be quick and we didn’t have access to a lot of manpower or firepower. We had tons of setups and we were low on time. We needed to be quick and effecient with our choices in order to make the day.
Knowing the team and the equipment I had access to allowed me to game plan for how we would tackle the lighting.
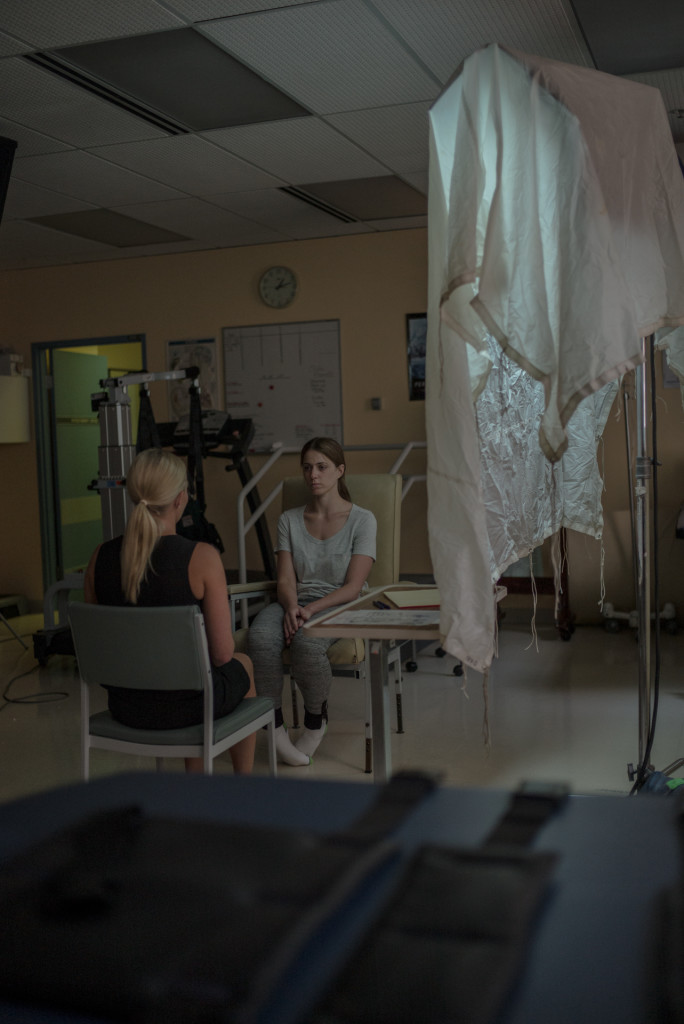
The scene we needed to capture was a therapy session between two characters in a rehabilitation center. They would be seated somewhere in the room and they wouldn’t move from their chairs.
The Room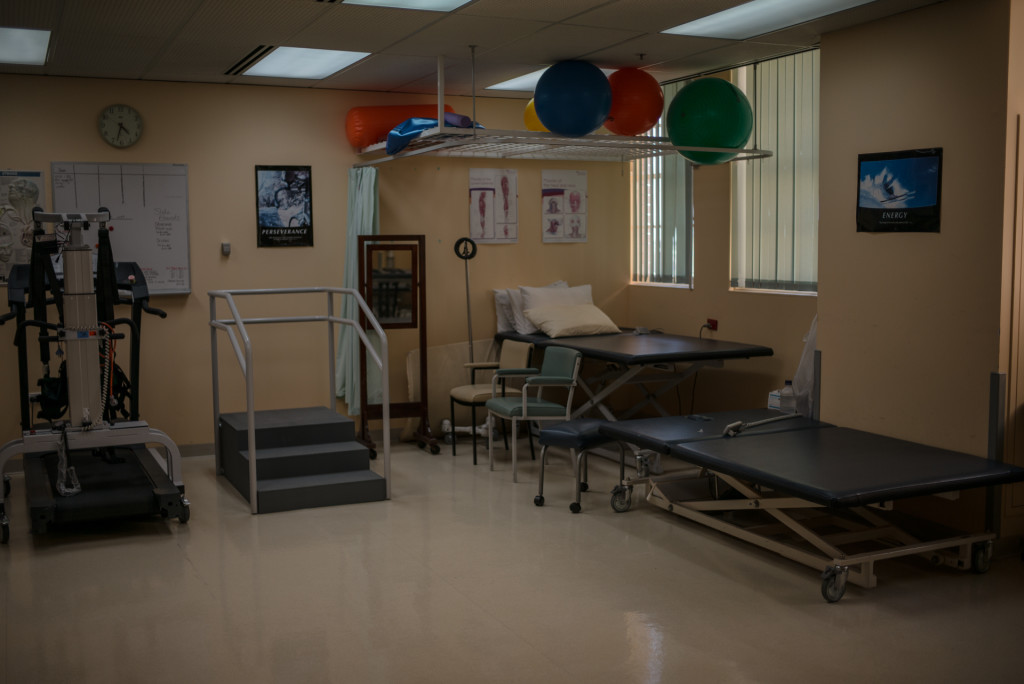
The room that worked best for production was in an actual hospital on the 6th floor. On the tech scout I took some photos so I could identify any glaring issues.
Here are the first things that came to mind.
- BAD – We are on the sixth floor. No way to control the light coming in from the windows if we actually want to see the windows in shot.
- BAD – The windows were facing north and because of the time of year we were shooting the sun would be coming through the windows throughout the entire day.
- GOOD – The windows had blinds that were adjustable already fitted to units.
- GOOD – There were 4 windows in a little tiny room so light level was not going to be an issue.
- BAD – Everything in the room was glossy/bright and the light that did come in the room was bouncing around like crazy.
So armed with this info what do we do next?
The Execution
In this situation the one thing we can not control is the level of light that the sun is giving off. We can’t put up any silks outside to knock down the level because we are too high up on the six floor.
The only thing we can do to effect the amount of light coming in through the windows is to adjust the blinds on the inside. Knowing this we need to figure out how we can shape the light in the wide shot (wides are always tougher than CUs) on the talent in a way that will look pleasing and get us the ratios we are after.
The Key Light
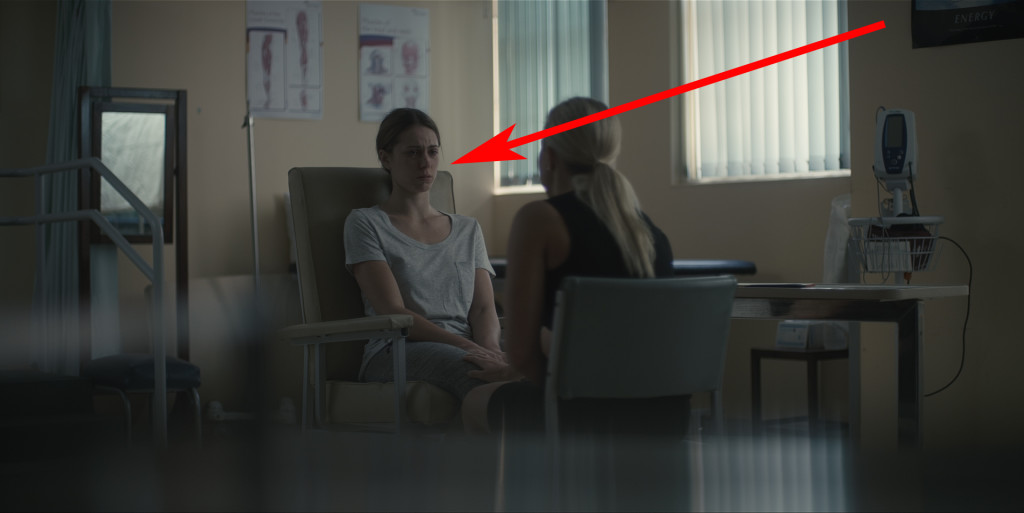
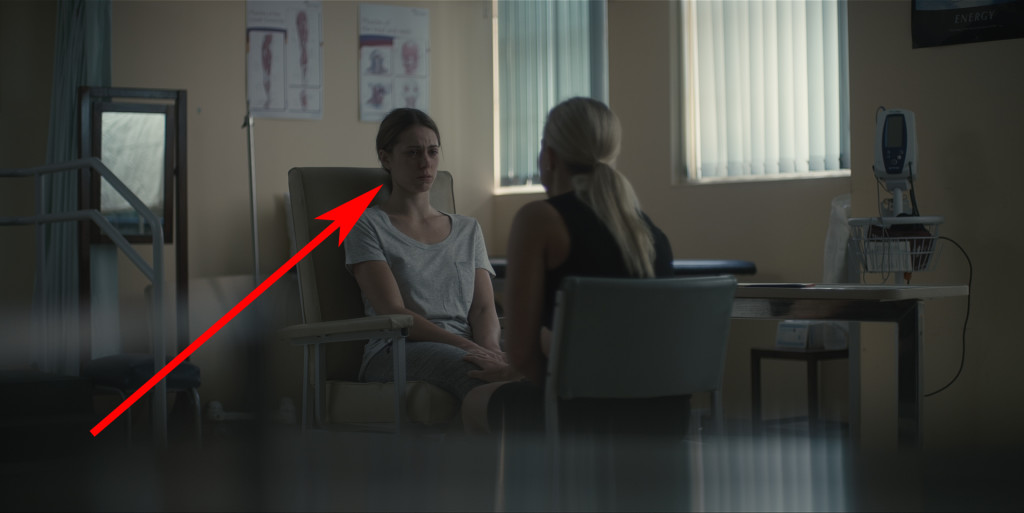
I wanted the key light to be soft and wrappy so that it would appear to be coming from the window. The problem was that the talent was set so far away from the window that we weren’t getting the levels necessary to get our ratios right. I needed to boost the key light level.
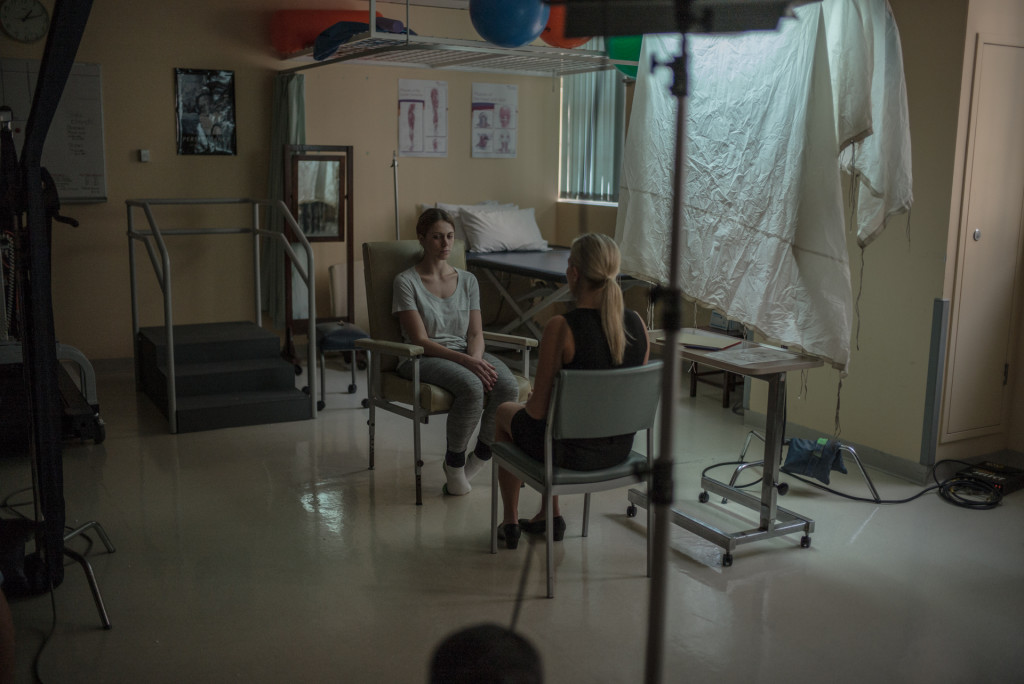
To boost the level I used a 4×4 kino with daylight tubes mushroomed with a 6×6 1/2 grid textile. The cool thing about mushrooming a 4×4 kino like this is that the light has a natural fall off as the skirt of the textile travels further from the lamp. It has a very natural feel and helps eliminate any unwanted “sourciness”.
The 4×4 gave us the desired level of light so that the key was 1.5-3 stops brighter than the background. Remember the only way to control the background was with the blinds. I wanted to see the frames of the windows but I didn’t want them blown out so I had to balance everything using the background windows as my fixed point.
I set my desired stop on the lens and checked my raw data. My highlights were clipping. I NDed down in combination with adjusting ISO, to make sure I was getting the optimum negative, until the window highlights were holding. That set my background level. I adjusted the blinds to get the direction of light the way I wanted it so that I liked not only the level but also the look.
I then brought in the kino to set the KEY. I knew my stop at that point so I just had to make sure the upstage side of the main talents face was at a level that corresponded to betwen 1.5-5 stops over the background level.
Finally once those two issues were sorted I finished off taking care of the fill. As I said before this room was quite bright and bouncing for the walls and floors so that meant I needed to neg fill the fill side. I put up a series of black floppies to suck up any of the bouncing light that was decreasing the contrast between my key and fill.
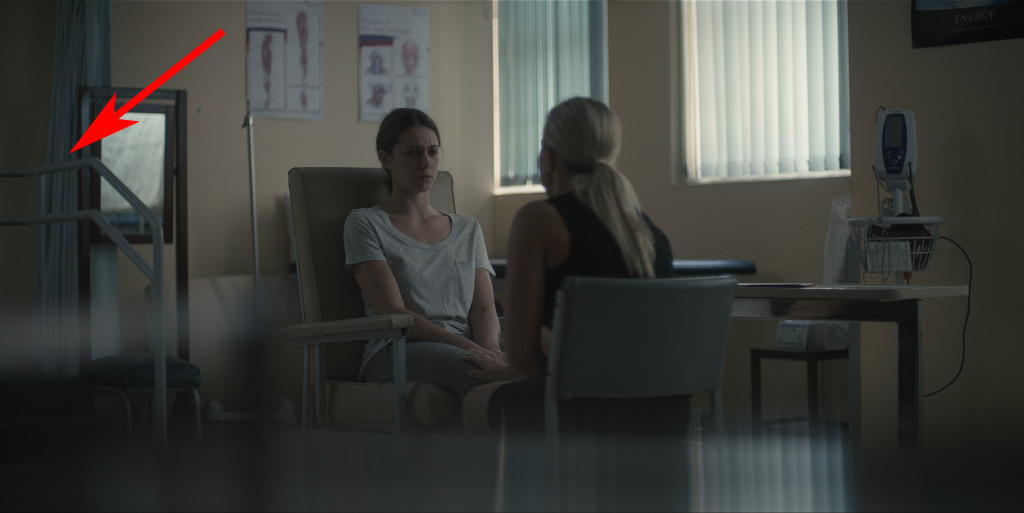
The only issue with all the black floppies on the fill side was that it killed some of the ambient levels on the left of frame in the background. The levels were know well past 4 stops under my lens stop so I had to throw some light lift it out of complete darkness. You can see in the photo above that the light is coming from the opposite side of all the other lights in the scene but it was the quickest and easiest solution and we were pressed for time by this point.
The Close Up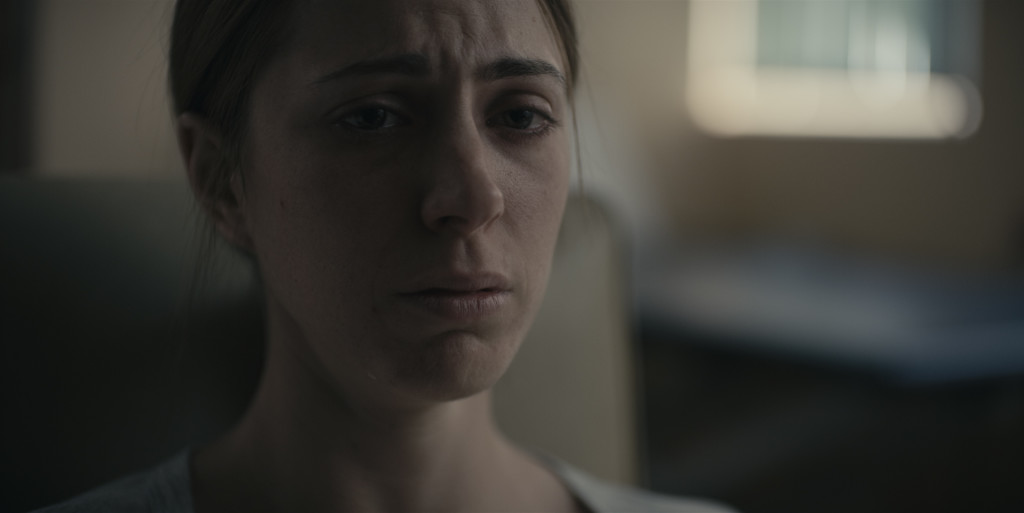
Knowing our ratios for the wide the close up is just about making the key a bit more flattering and adjusting the angle of the source so that we get the light exactly where we want it. You have a lot more flexibility in the CU because you can position the source much closer to the talent.
We kept everything the same but brought the Kino slightly more around the front to increase that wrappiness.
Also because we could I snuck in a little edge light on our talents camera left shoulder. Just to add a bit of seperation between her and the background.
The Reverse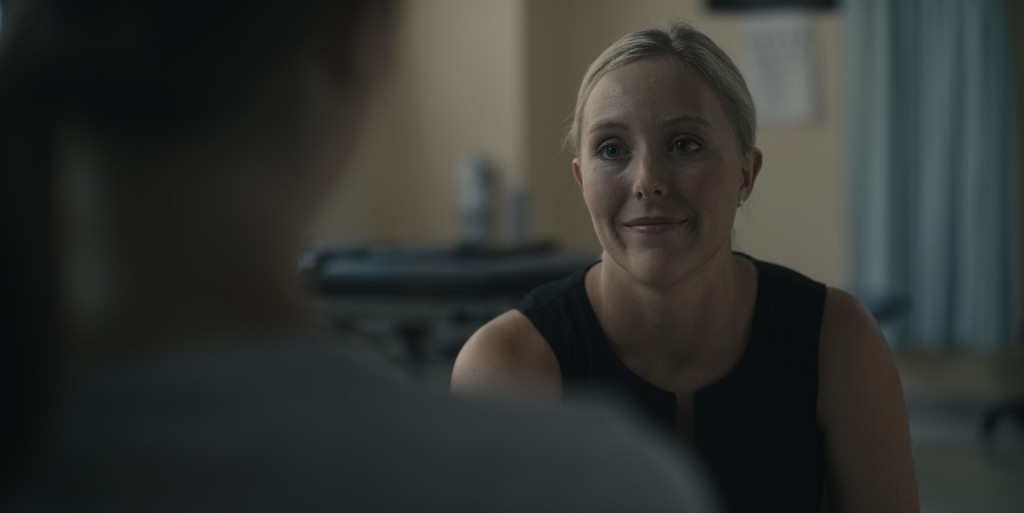
Much like our first wide shot we knew the ratios we needed and all we had to do was adjust the blinds on that side of the room to give us our direction and level, move the kino to get our level for exposure, then adjust the floppies to taste. No question about whether or not it matches levels because you can line it up exactly with the FSI False Color.
The Reverse Close Up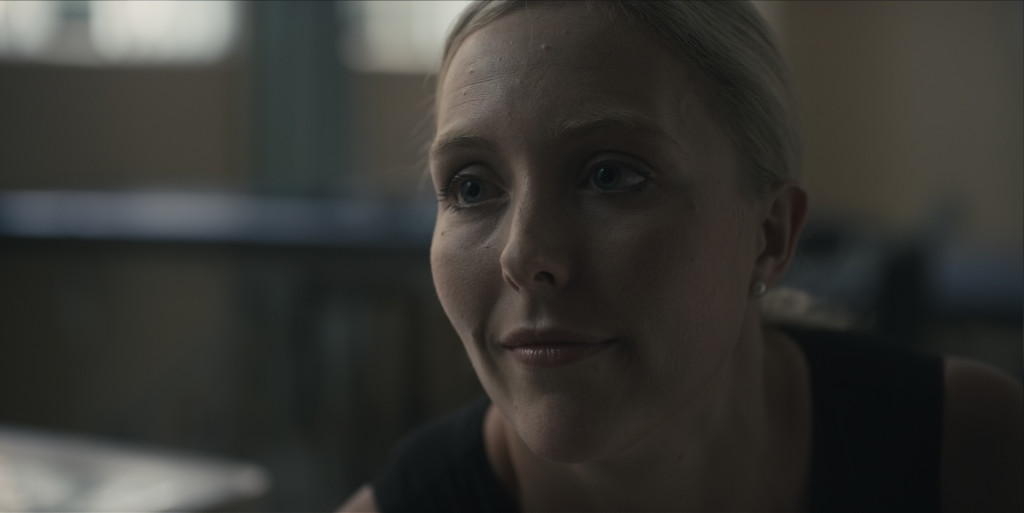
Identical to the previous close up we shot. No changes apart from physically swapping the lamp directions.
Location Lighting Summary
What I hope you have seen in the examples is the idea that when on location if you start with what you can’t control and then set your ratios around those levels then hopefully you can come up with a plan to produce something you are happy with. Chances are low but you might as well try. Haha!
Any questions let me know in the comments and I will try to answer them.
First of all, thanks for this awesome website! I’ve just recently discovered it and been listening to the great podcasts every day since and reading your posts. Lot here to learn from for an aspiring filmmaker, much appreciated!
I’ve recently purchased a light meter and your light meter workflow -episode was the best overall tutorial for the use of light meter in cinema work that I’ve come across.
One thing I wanted to ask about metering: in this post you said you metered the key to bee f2.8 and then set your f-stop accordingly. I understood that the meter tells you the correct exposure for a 18% grey card and typical caucasian skin tone sits one stop over it. Is that correct? O are you happy with the skin tones when using the exact meter reading?
I’m about to have a video gig shooting non-caucasian, african people. What would in your opinion be the correct exposure for darker skin tones compared to the the meter readings?
I’ve been wondering this same thing. Do you set your lens exposure at Key metered? Or 1 stop over for optimal skin tones? Thanks for all that you do Patrick! Literally the best cinema learning resource on the interwebs.
Depends how you are metering and what effect you want. If you spot then yes if you incident then no.
All depends.
This the first article I have read from you, and it’s definitely not the last. This was really helpful to me thanks. As for a question what is cover you used over the kino to defuse the light?
It’s called a 1/2 grid. For example http://www.adorama.com/CM7120.html
Good luck!
Love the break down, being an Indie filmmaker I literally have to deal with not ideal locations on a regular. Love this approach. Btw Literally check your site everyday, you create amazing work and I learn so much every time. Thanks for sharing your wisdom!
Love the term “mushrooming” thanks! – I’ve been doing that on occasion without knowing what to call it besides : “uhhhh…just toss the grid cloth over the light like a spooky ghost”…”I know it looks messy but trust me”
Awesome podcast!
Just started listening it is music to my cine ears!
Well done!
Thanks
That is awesome as always Pat
Thanks for this amazing write up Patrick! Its a wealth of knowledge. Thank you for your hard work man.