DaVinci Resolve & Anamorphics
Anamorphic imagery can set your project apart and add an extra element to the visual language of your work. Capturing anamorphic footage is easier than ever with most modern high end digital cameras capable of recording in either 4:3 or 6:5 modes.
In the cinema world the anamorphic format has been around for decades and professionals understand the workflow. The major players work with digital anamorphic footage on a daily basis so they know how to process the files.
The Anamorphic Conform- The Biggest Mistake
As budgets at the mid to low end are falling you may find yourself trying to conform anamorphic footage in DaVinci Resolve or, even worse if you are inexperienced, doing a selfie DI.
If that is the case you may run in to a few newcomer gotchas before you even get started.
Every finishing software (DaVinci Resolve, Assimilate Scratch, Baselight, & so on) deals with source material in it’s own way and for our purposes let’s concentrate on DaVinci Resolve.
The biggest issue you will have with anamorphic footage inside of Resolve is the software will not automatically recognize the aspect ratio of the source material. If you go through the usual process of locating the media on your computer, loading the source clips into the media pool, and viewing the footage you will notice the problem.
All of the clips will appear to be letter-boxed. If you’d like to view the material in it’s proper format there is a quick process that isn’t exactly self evident.
A Simple Fix – Getting Anamorphic Material to Display Properly
#1. Locate the media on your computer and add it to the media pool as per usual.
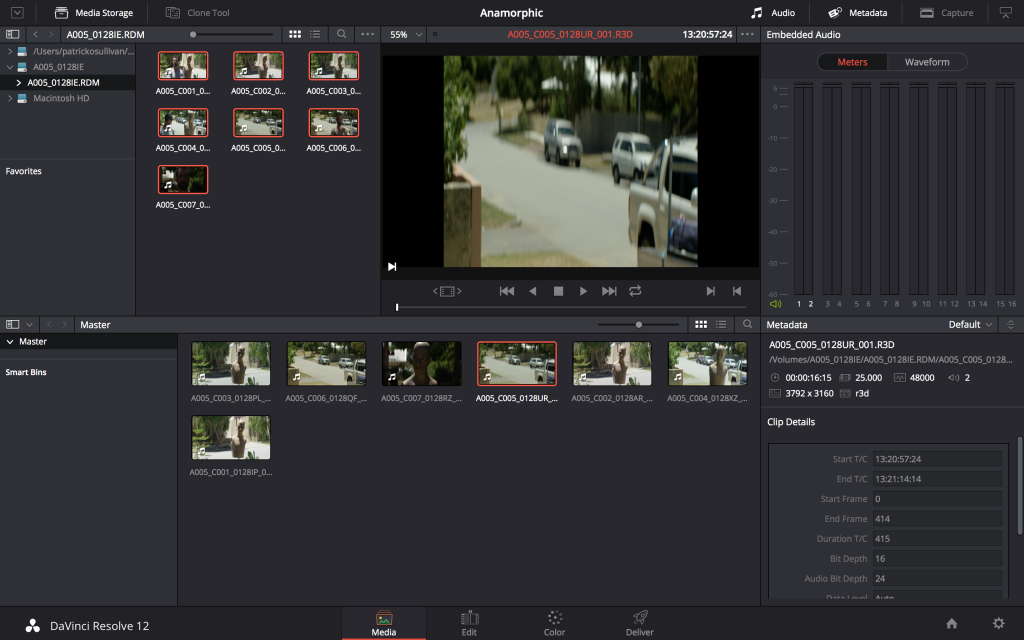
#2. You will notice the footage looks boxed in. Do not panic. This is what we are fixing.
#3. Highlight all of the anamorphic footage in your project and right click in the media pool area to bring up the menu settings.
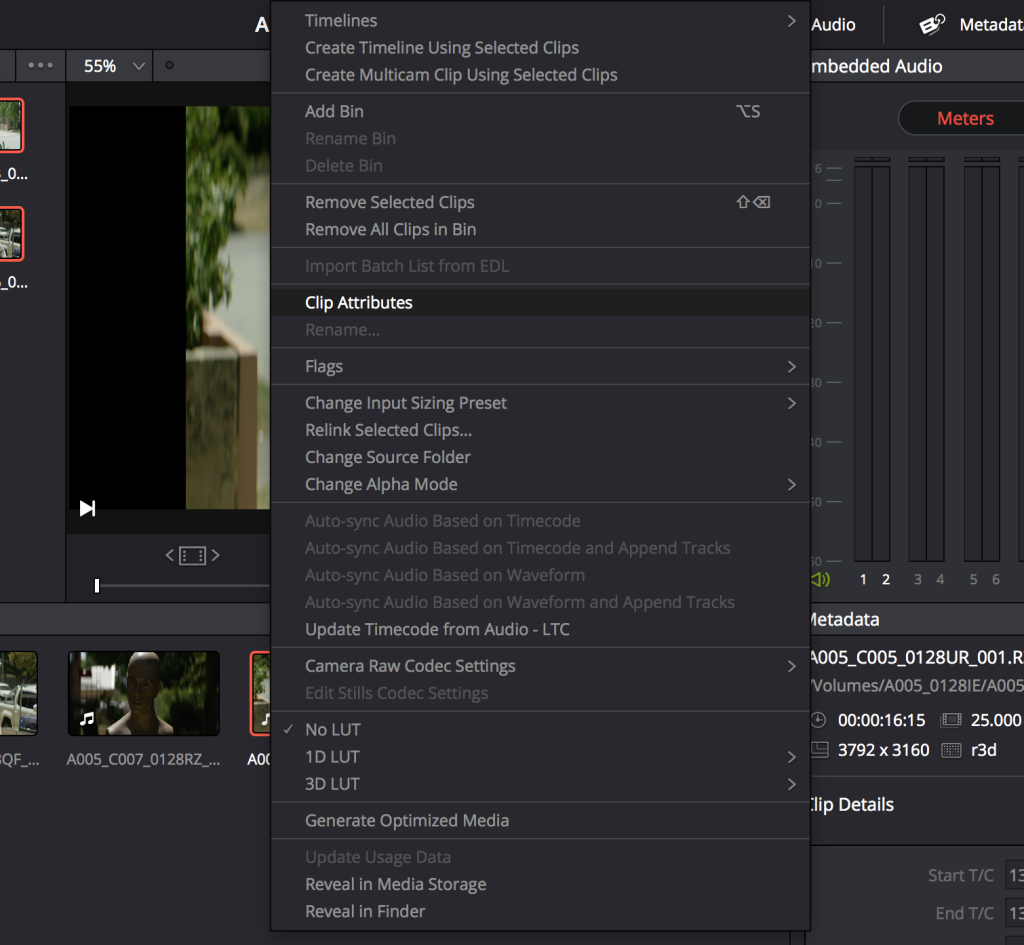
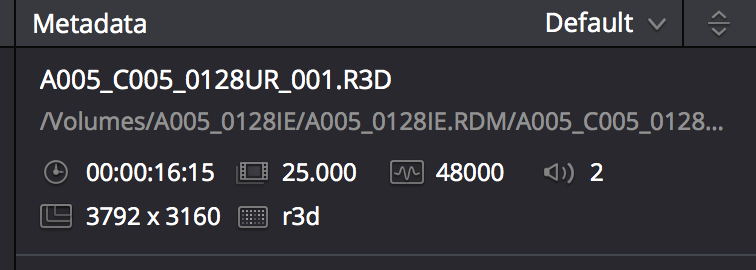
#4. Scroll to the Clip Attributes tab and click on it.
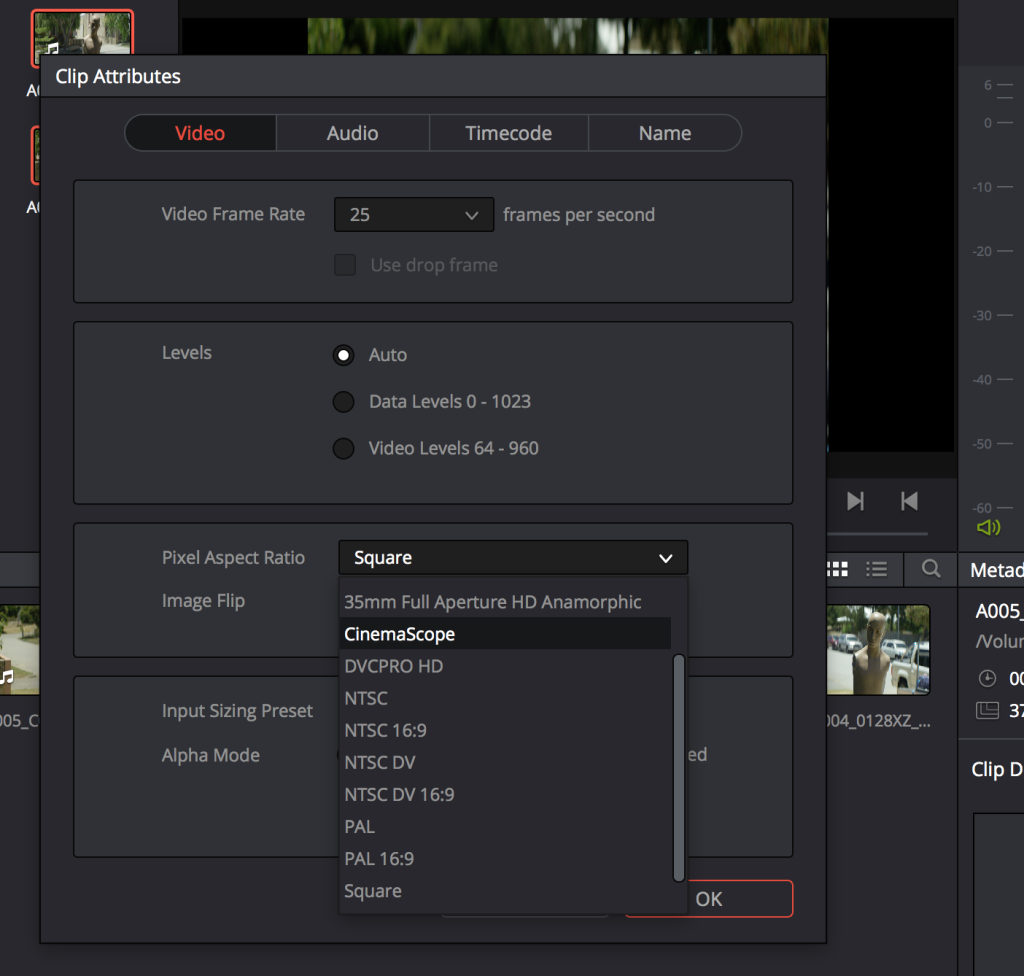
#5. Select the Pixel Aspect Ratio dropdown menu and navigate to the Cinemascope option. Click on it and press OK to exit.

#6. Now back in the main Media tab all of the footage should display in the proper aspect ratio.
DaVinci Resolve – Properly Conforming
There isn’t a great deal of information out there for dealing with native anamorphic files inside of DaVinci Resolve but hopefully this article can help you get started in understanding how Resolve reads and processes files.
Hey Patrick, It would be cool to also include colorists in your interviews.