Listen to the Podcast
This week on the podcast we look at lighting and lensing a tv commercial in overcast weather. Shooting exteriors can be challenging and the example we look at today was no exception.
In this episode we talk about creating contrast without the sun, tips for dealing with spotty weather and more.
Patreon Podcast: Negotiating Rates & Camera Accessories
Rate conversations are always tricky, whether you are a seasoned vet or someone just starting out, and things can go south fairly quickly.
In this episode of the Patreon podcast I chat about negotiating rates with producers, chatting with directors, and I blab a bit about buying second rate gear.
If you like the normal podcast chances are you will like this one too.
To listen to the episode click on the link below:
Patreon Podcast - Negotiating Rates & Camera Accesories
The Set Up: Low Contrast Cinematography
To get your bearings and to understand all the decisions around schedule and time of day you need to quickly glance at my beautiful map of the location.
This commercial had 4 different groups of people interacting with one another across a suburban street. Even though it was cloudy on the day we were hoping for sun so we planned accordingly.
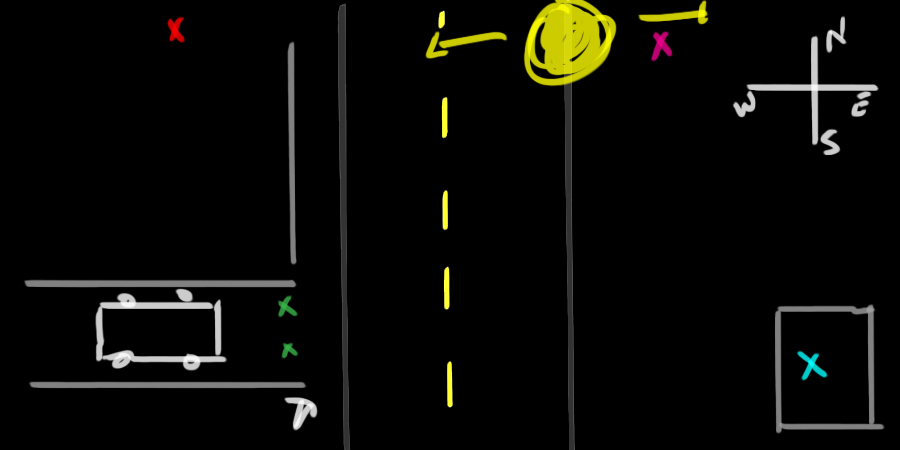
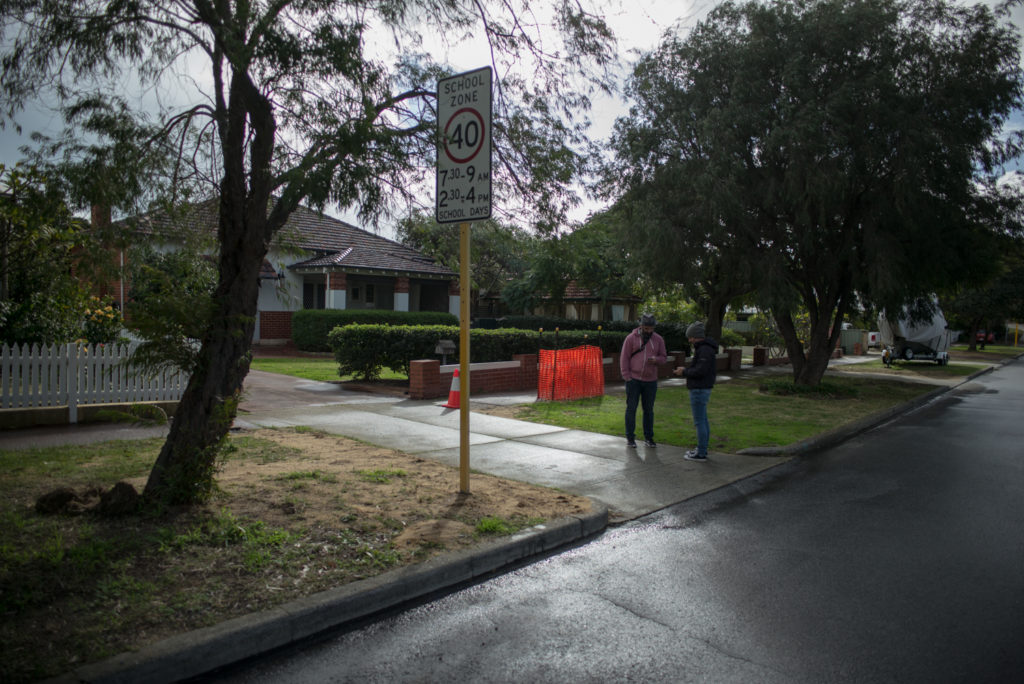
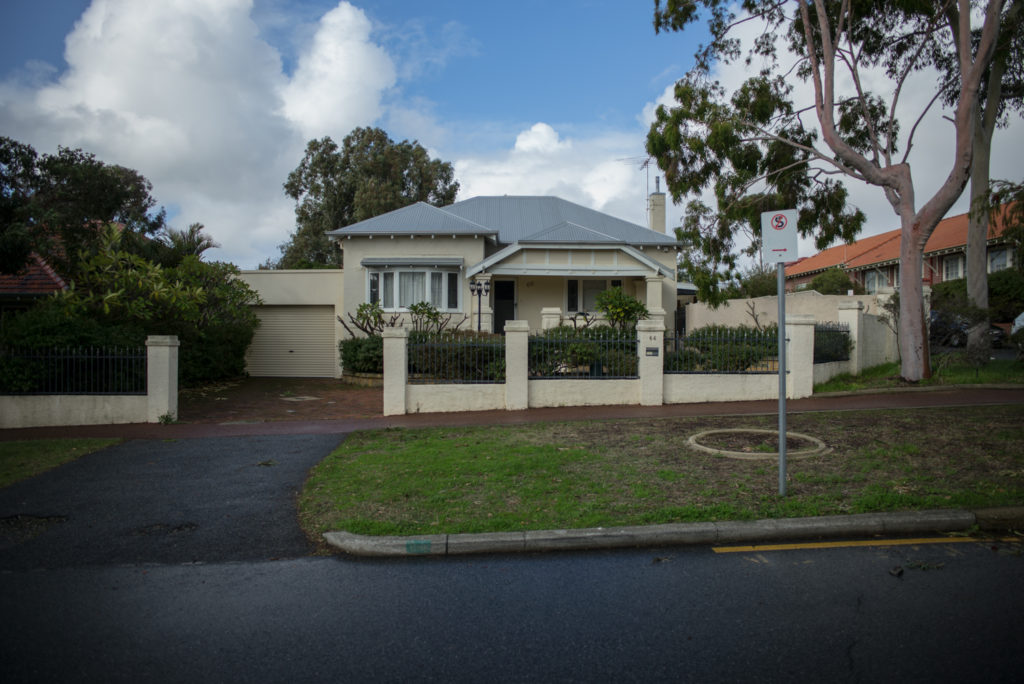
Below are the location/tech scout pictures of the actual location. We chose a street that ran north to south which meant we could be backlit for most of the day depending on which side of the street we were shooting.
The basic game plan was shoot everything facing east in the morning and then turn it around for the afternoon so we were always pointing the camera towards the sun.
The Breakdown: Low Contrast Cinematography
The Opening: 1st Angle Wide
The Shot
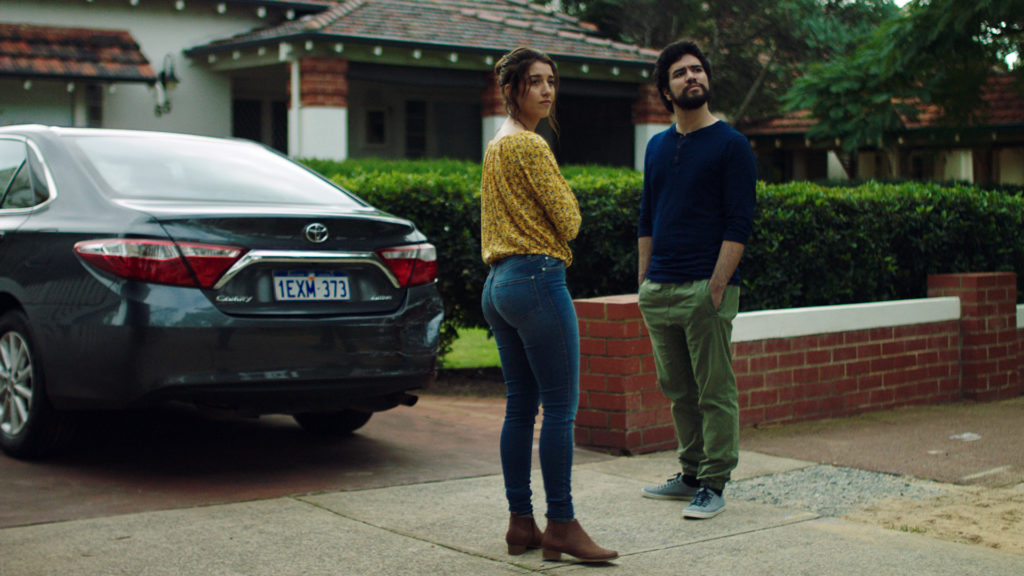
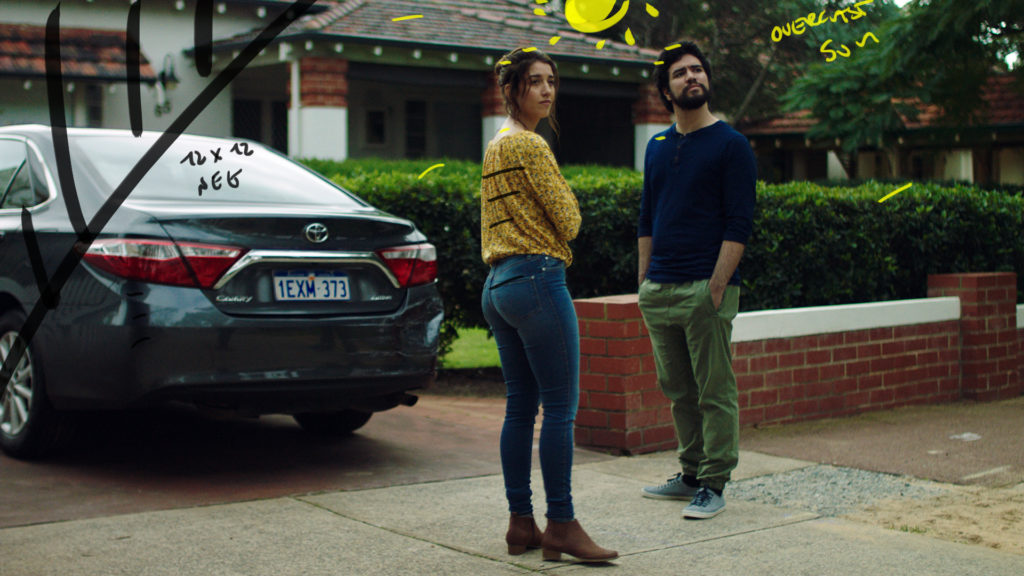
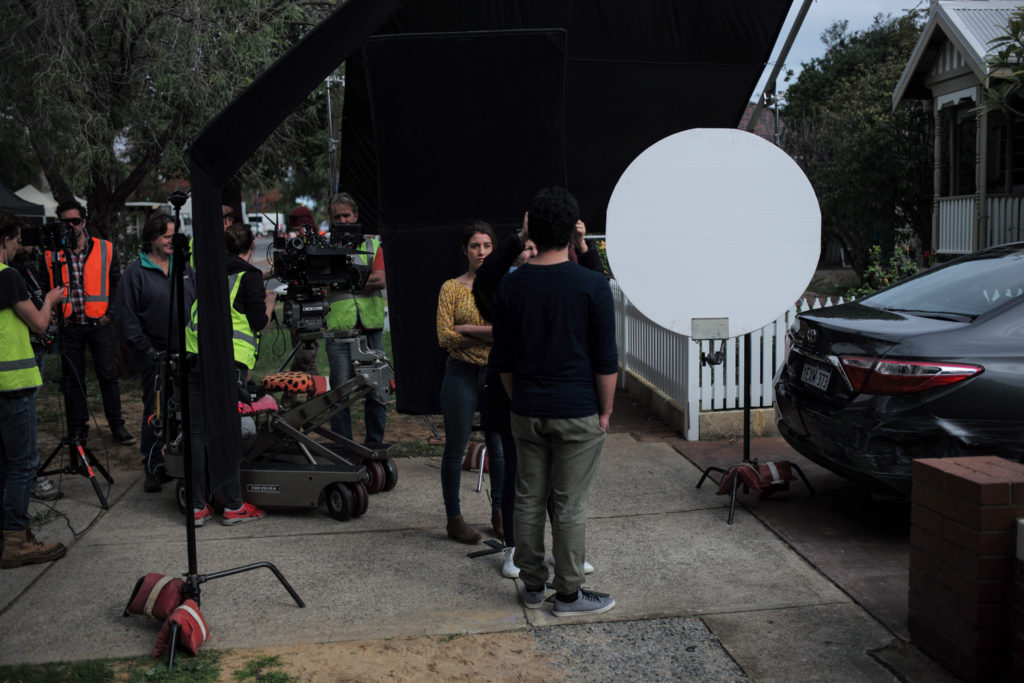
This shot introduces our hero couple. They stand in front of their damaged vehicle. We needed them full body plus the damaged bumper in the frame to set the scene.
The Lighting
We are facing west here so that means we shot this in the late afternoon. The lower the sun would be the better the shot would look.
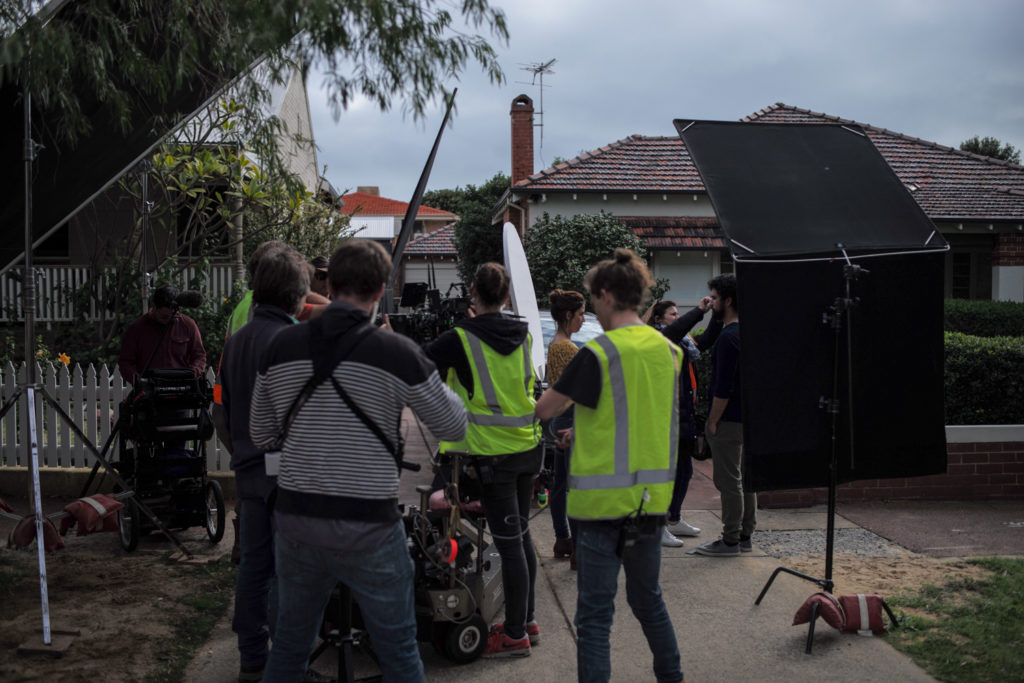
Unfortunately we didn't really have any sun just overcast so we used the bigger blacks to neg out our desired contrast levels.
The Results
Behind the Scenes
The CU: Our Hero in Tight
The Shot
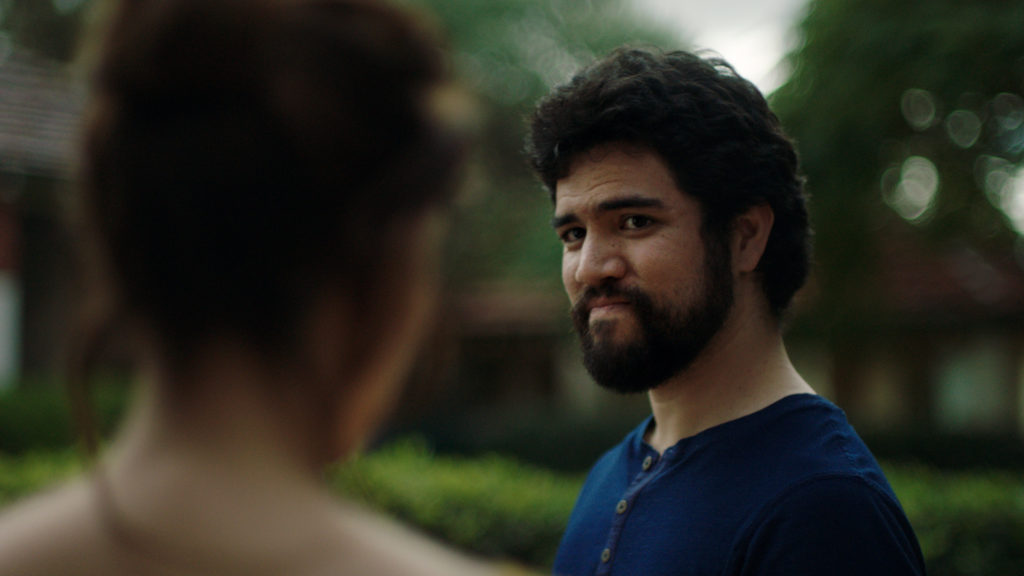
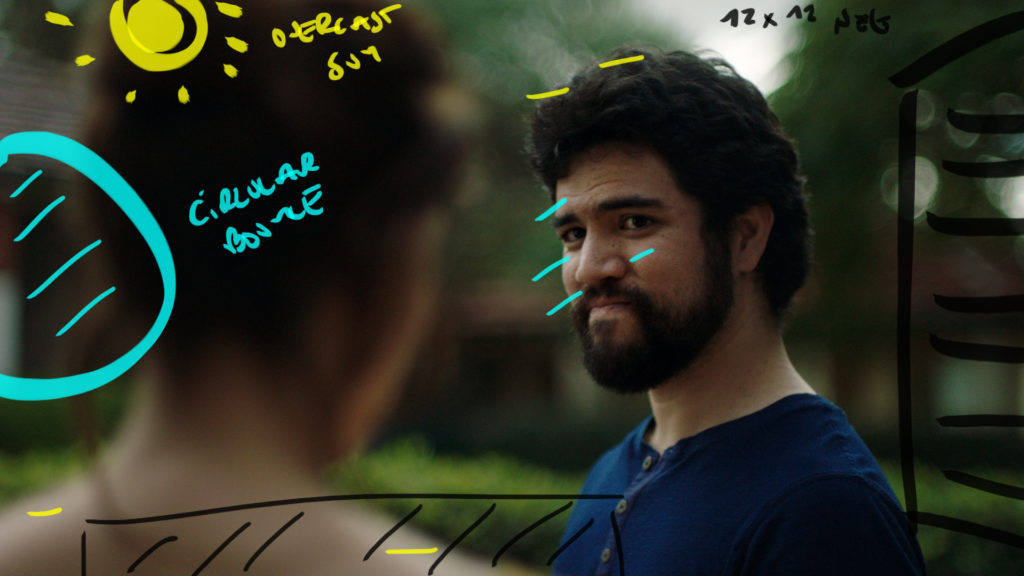
We followed the wide with this shot. Just a close up reaction of what was happening in the previous shot.
The Lighting
All is the same as before but we have added a circular poly just off frame right and moved the neg around to frame right to create a bit more shape.
The Results
Behind the Scenes
The Long Shot
The Shot
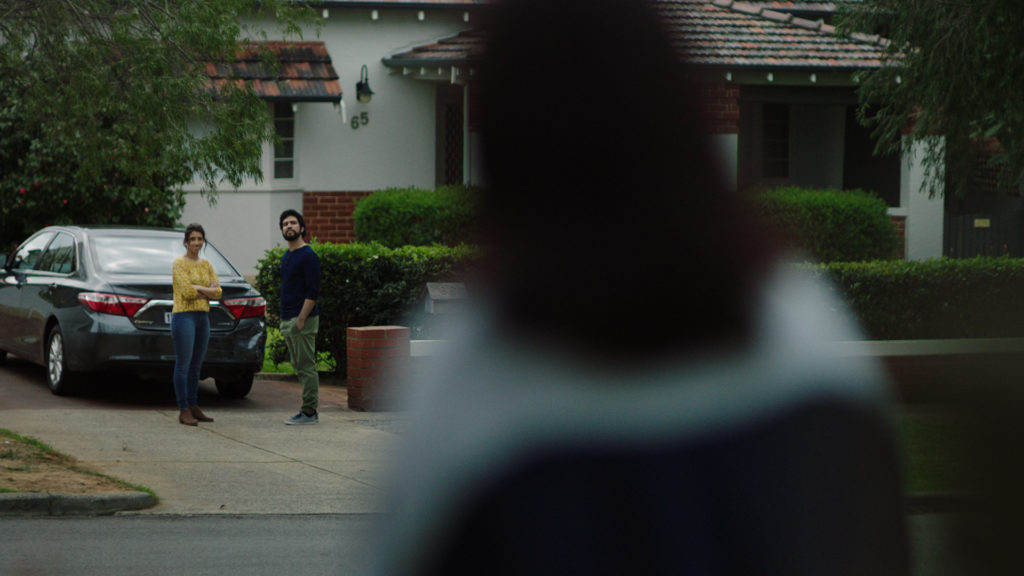
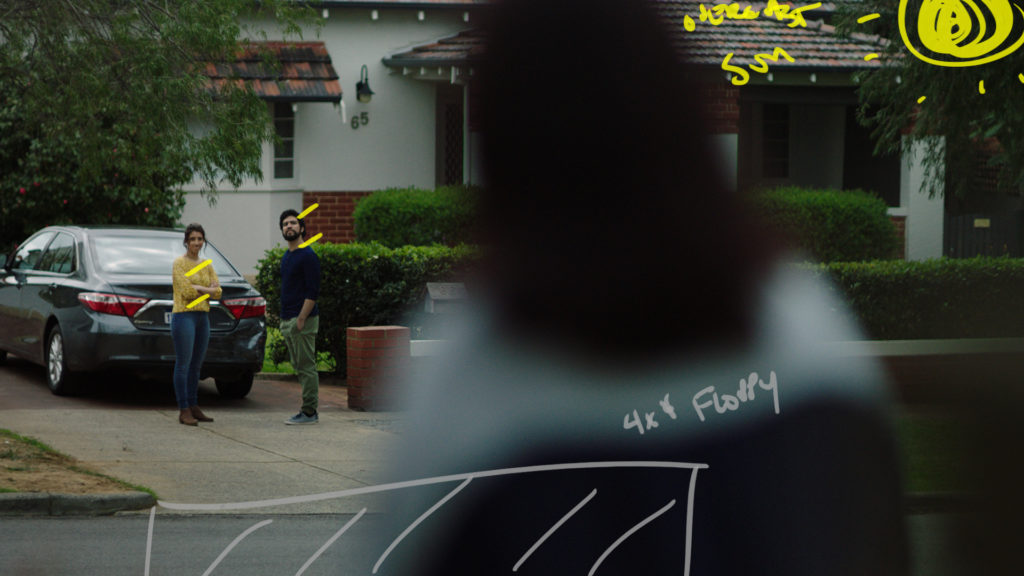
Now we needed to tie in the street and the introduction of the 1st neighbor. We chose the longest lens (85mm) and positioned the talent so we could get all three in the frame plus a bit of the road.
The Lighting
With the light being so falt we just did what we could and created some localized contrast with 4x4 floppies behind the camera. Those floppies sucked up some of the ambient bounce and sky levels to help viewers eyes away from the OTS shot and land more on the talent in the BG.
The Results
The Reverse: New Character Medium
The Shot
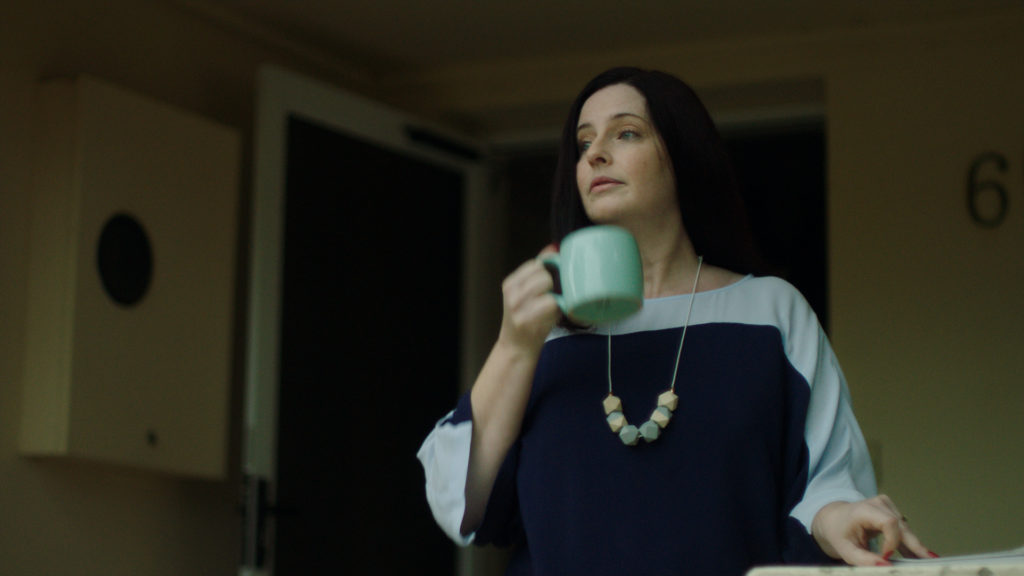
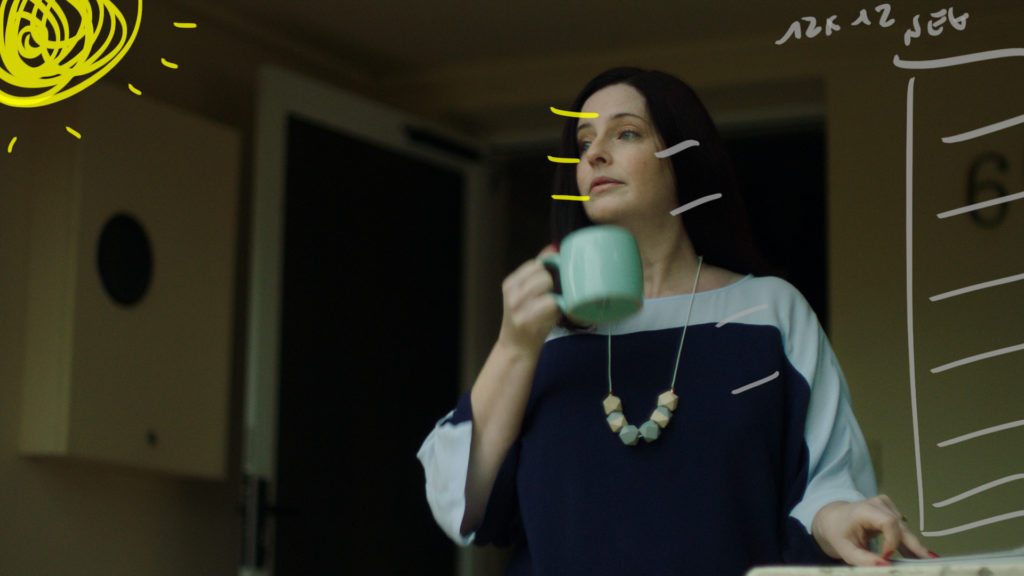
This shot immediately follows the previous one in the edit. We now see the neighbor and set the geography around her.
The Lighting
We shot this in the morning as the house was facing west. had the sun been out we would have framed this shot slighlty different.
There is no real punchy backlight options so we put her under the awning of the house and shaped it with some neg fill from camera right.
The Results
The Shot
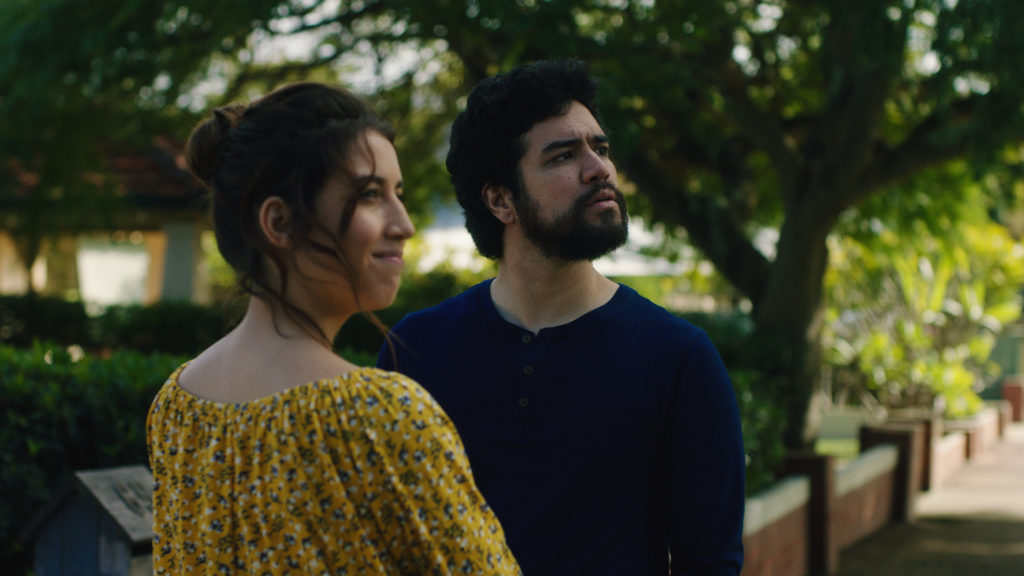
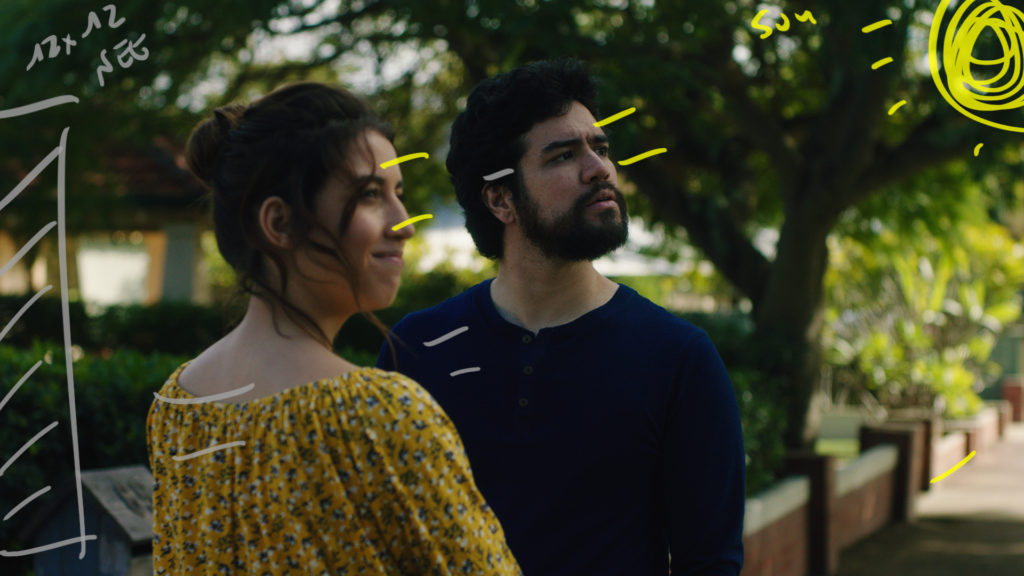
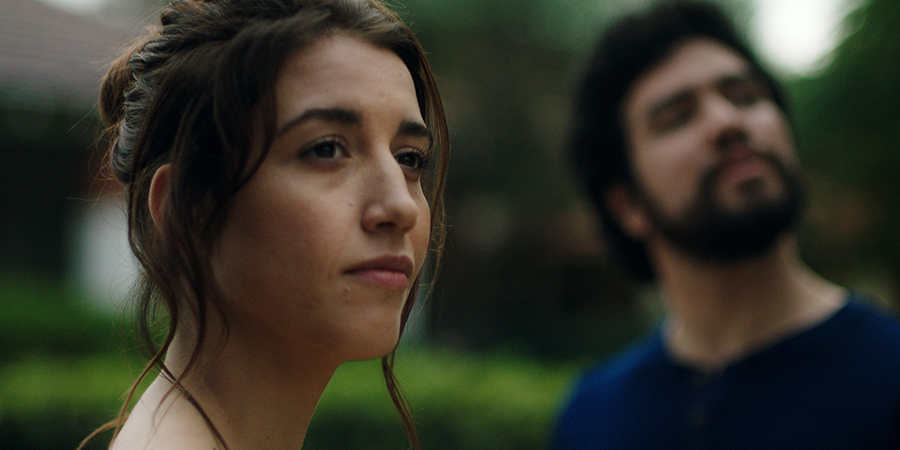
This is a reaction that goes from our hero in the foreground to a focus pull in the background to introduce the 3rd character.
The Lighting
We shot this in the morning and it just so happened this was the only 30 minute window of sun we would have all day.
We took the sun off the talent with a solid frame (a tree was already taking most of the direct sun away) then added some neg fill from camera left to shape the foreground.
The Results
Under the Tree: Challenges
The Shot
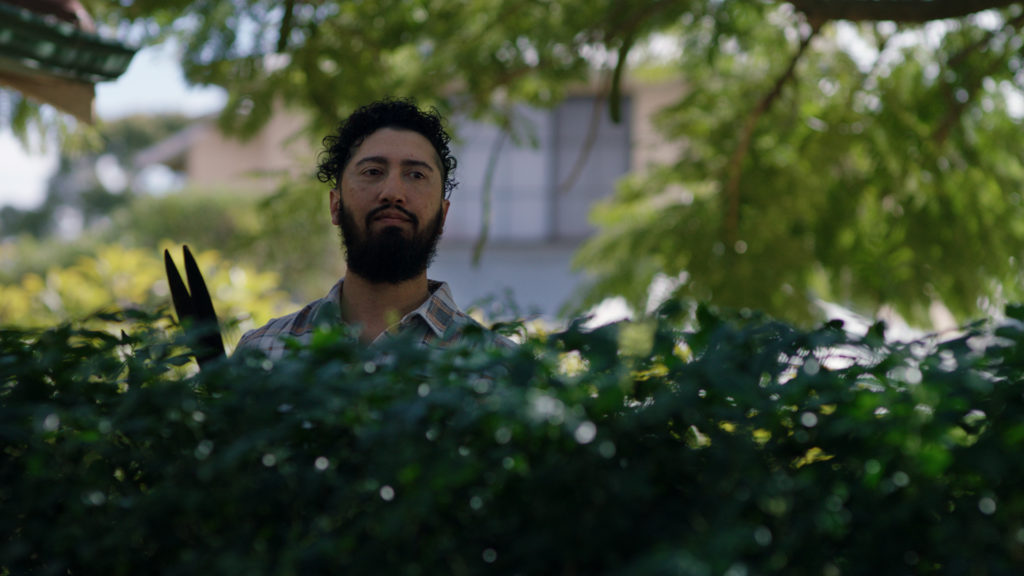
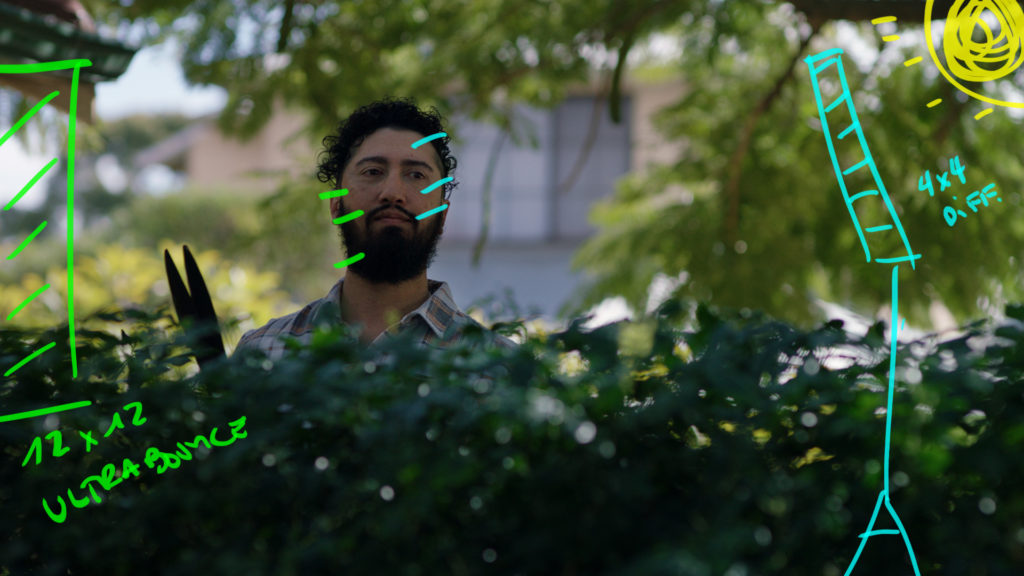
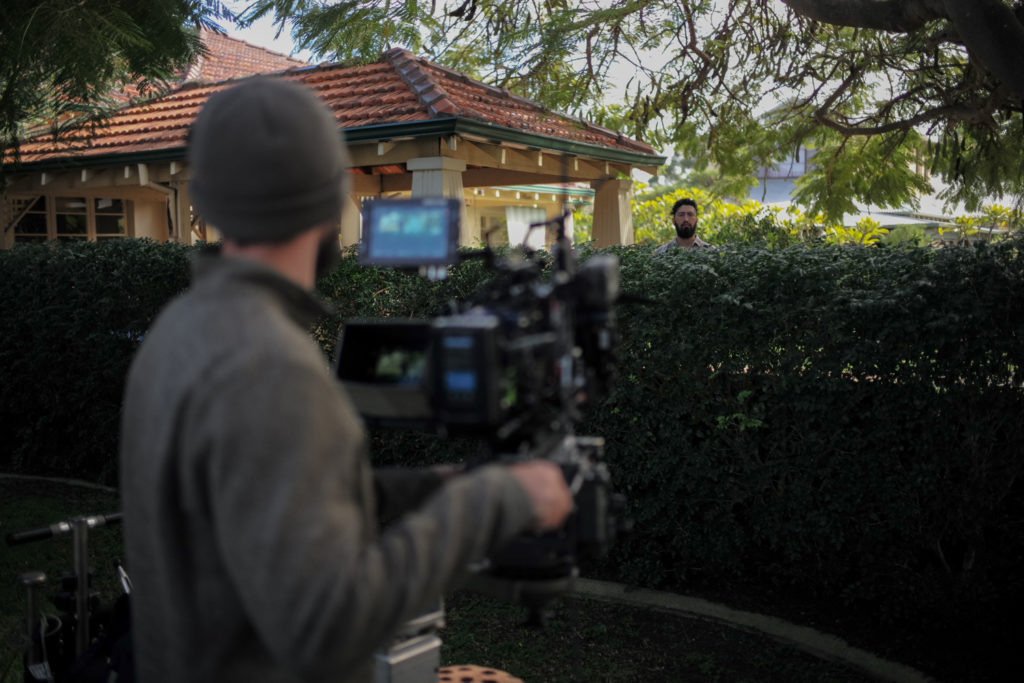
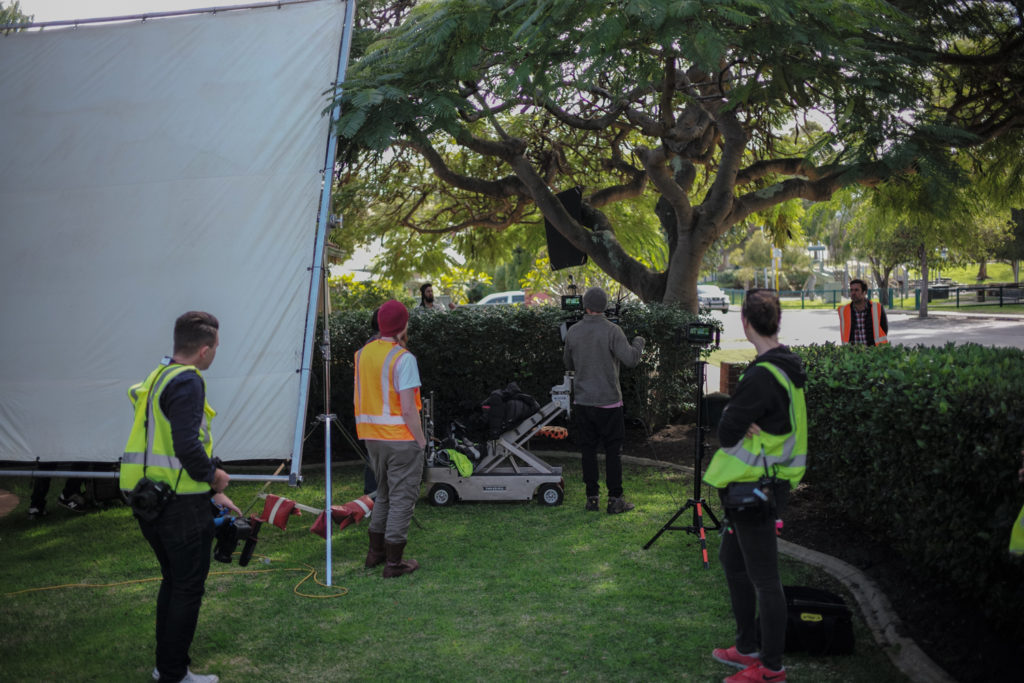
This was far and away the most difficult shot of the day and the only time we would have preferred overcast.
The talent is planted under a large tree and it is always a challenge balancing the contrast in a situation like this.
The Lighting
Becuase we got the exact opposite of what we were looking for in terms of natural lighting (we got our only full sun of the day during this set up) we had to change our plans on the fly.
We took away the sun light from the talent using a thick frame of diffusion camera right and then actually bounced light back in from camera left.
There was almost no light under the tree but the background was getting hit with full sunlight. This is where the power of 14 stops in the Alexa really shines. Any other camera would have had a very difficult time pulling this off.
The Results
Behind the Scenes
Wide & Tight
The Shot
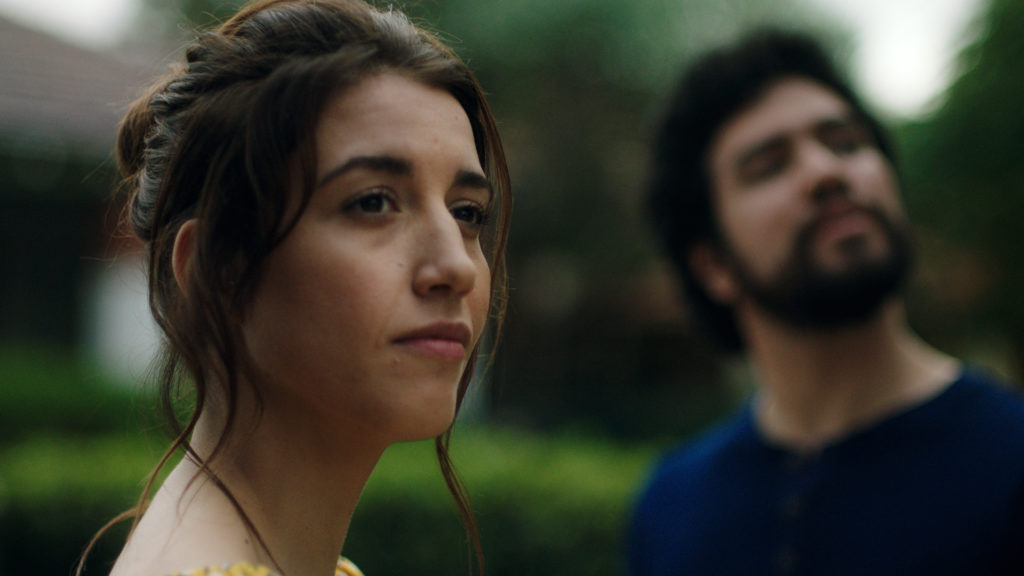
The beauty of the Canon K35s shining through here. This is a close up of the hero ladies reaction to some dialogue from the neighbor.
The Lighting
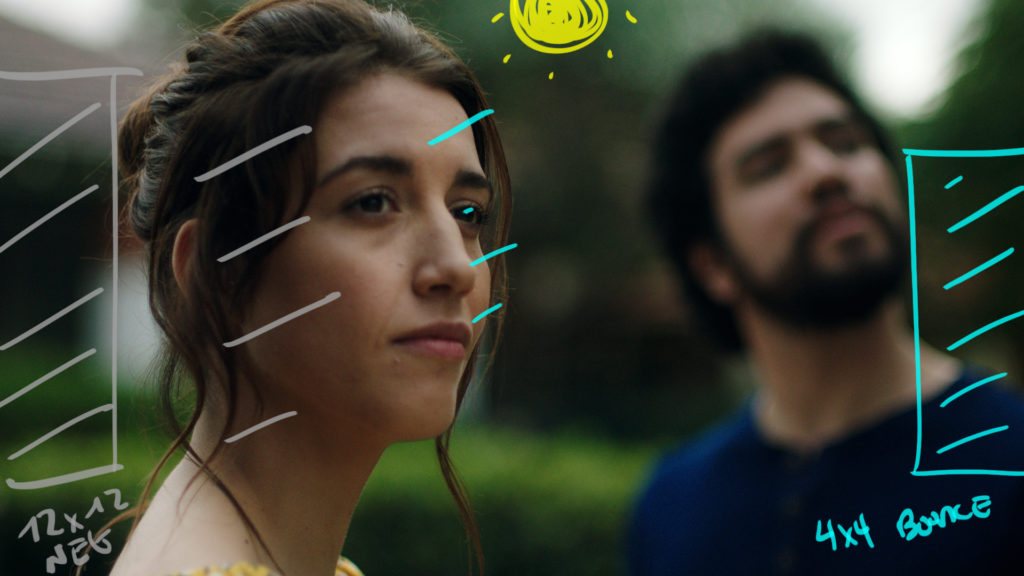
Again we were in overcast conditions so the shape came through negative fill and passive bounces.
Just the white surface being illuminated from the overcast ambient can be enough to give you a hint of shape. We used a 4x4 poly from camera right and played with some neg fill from camera right to give us just the levels we wanted.
The Results
The Shot
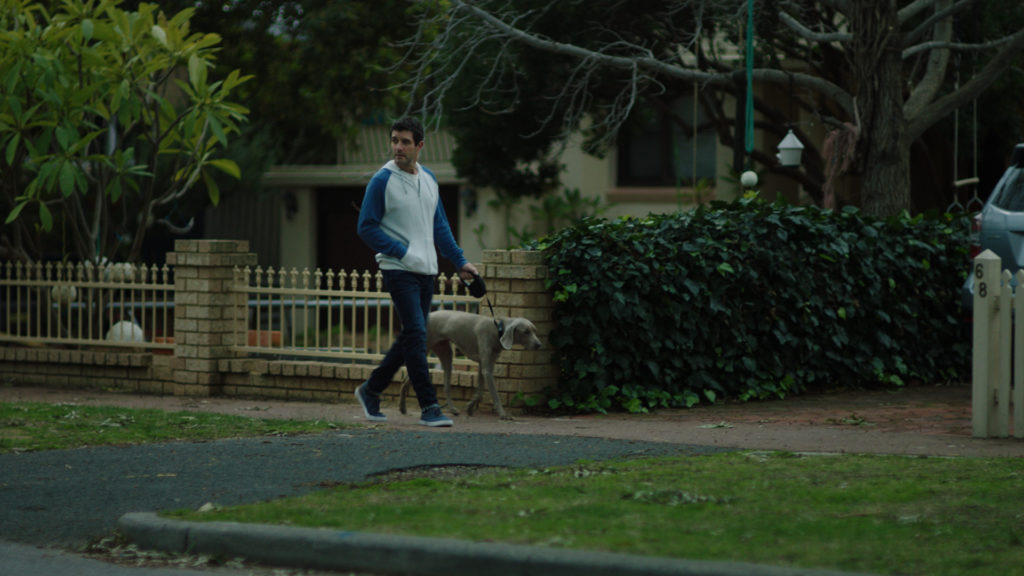
Our final character reveal happens with a walker on the east side of the road.
The Lighting
The lighting was difficult to effect here as we needed to be wide enough to see the road for story purposes. Our small 12x12 negs wouldn't help us out very much becuase of the sheer size of the frame.
WE shot this in the morning hoping for sun but we knew we could match it to everything else regardless. Even though there is no sun there is still a faint but of backlight direction through the cloud.
Dusk Look: Low Contrast Cinematography
The Shot
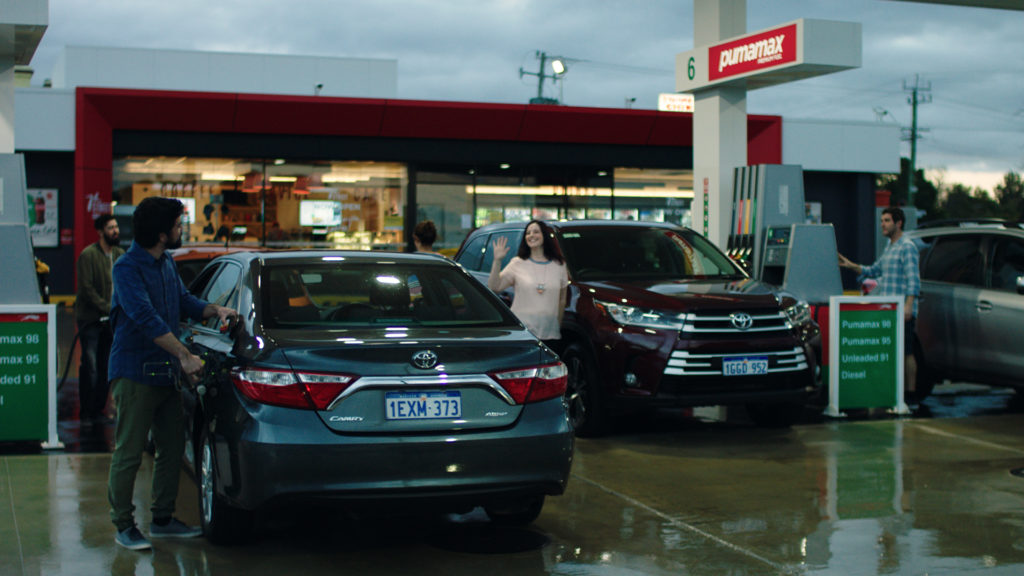
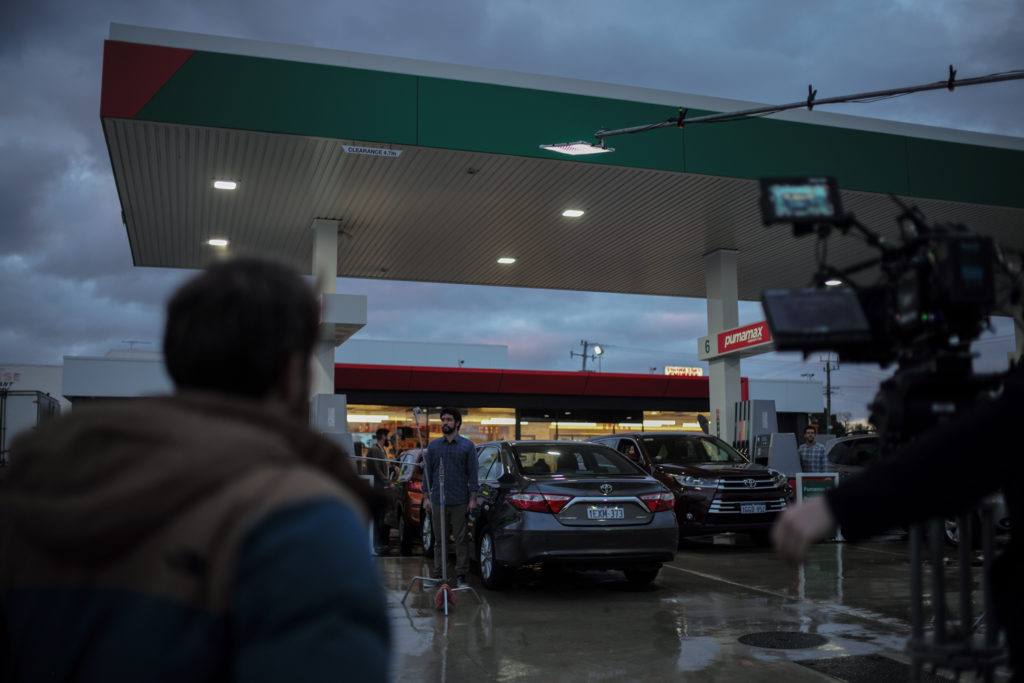
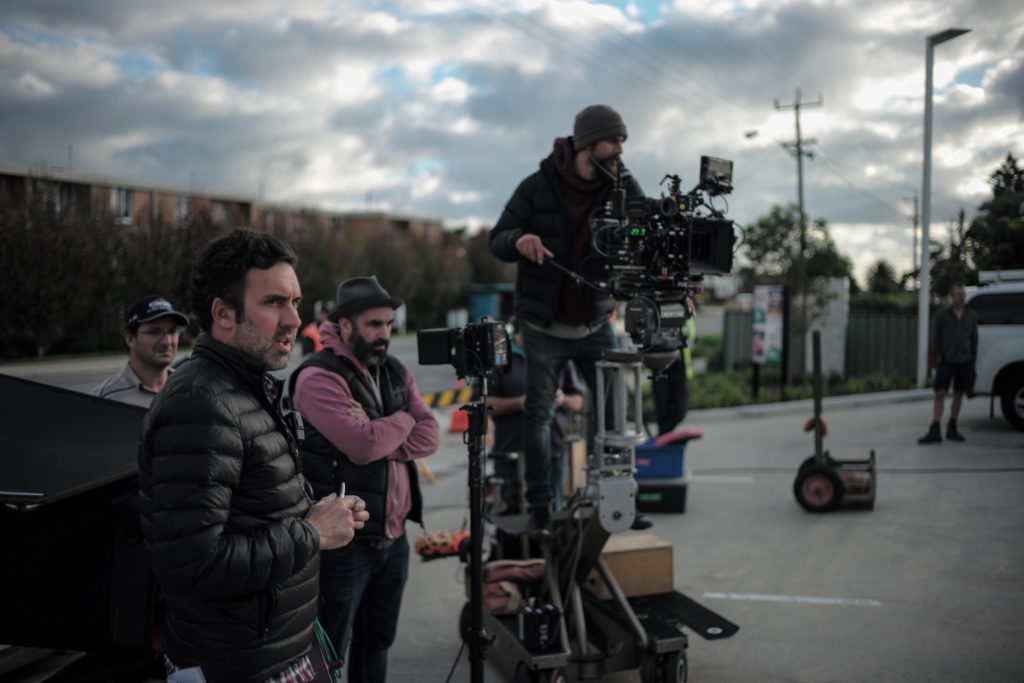
Our final set up was all 4 of the talent at the local gas station.
The Lighting
The orientation of the gas station we were using combined with the things we were required to show in frame for the story meant the only real time to shoot this was at dawn or dusk.
For schedule purposes we shot at dusk and even though we didn't get a nice sunset (because of the overcast conditions) we still got an interesting look.
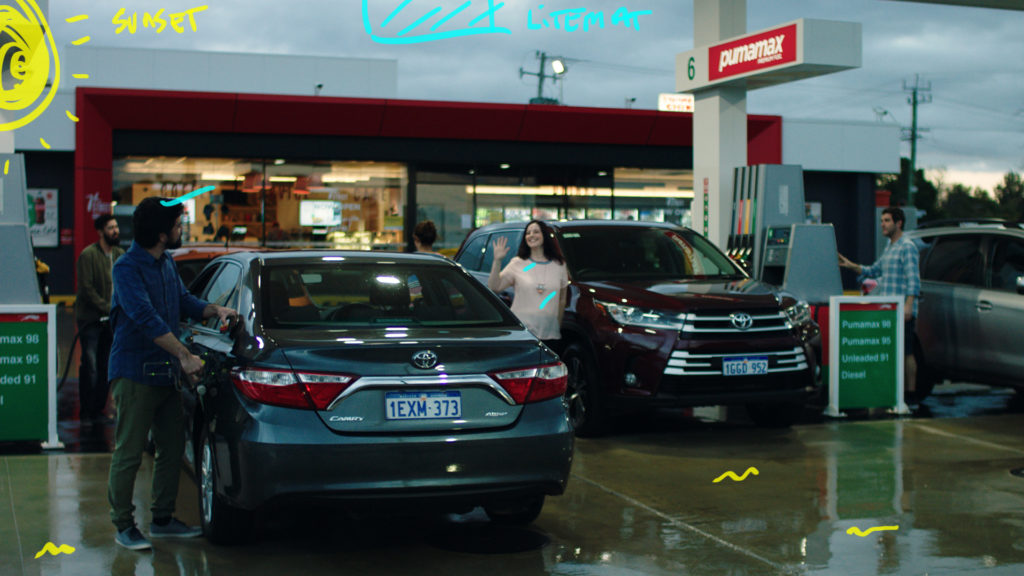
For the lighting we played with all the existing practicals and then set up a Lite Mate on a menace arm to give our hero talent some directional light to motivate the prettiness that would happen in the CU.
The only other addition was the wet down to add some contrast to the floor.
The Results
Behind the Scenes
Dusk Close Up
The Shot
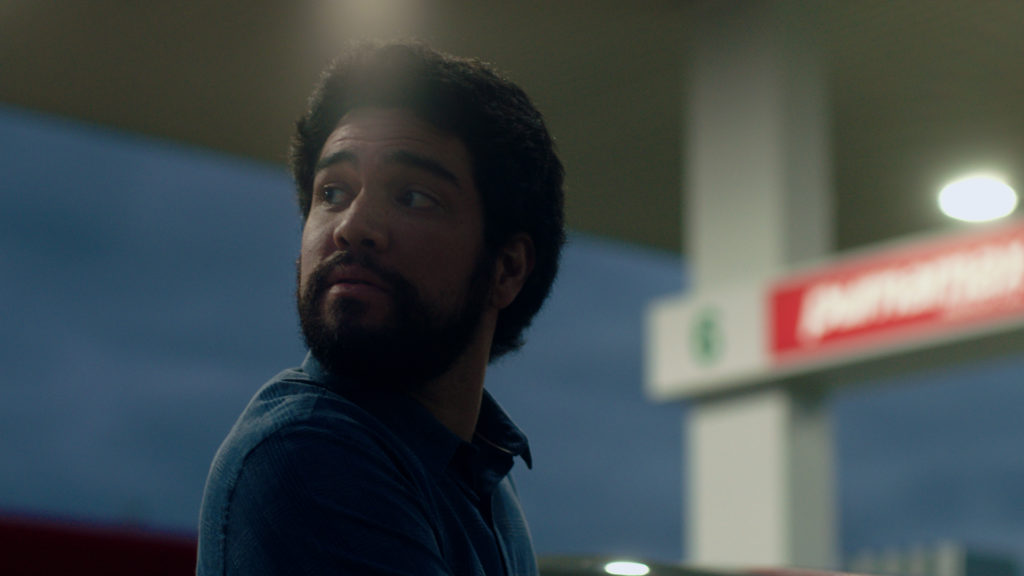
Now we cut to the final shot of the ad. A CU of our hero talent.
The Lighting
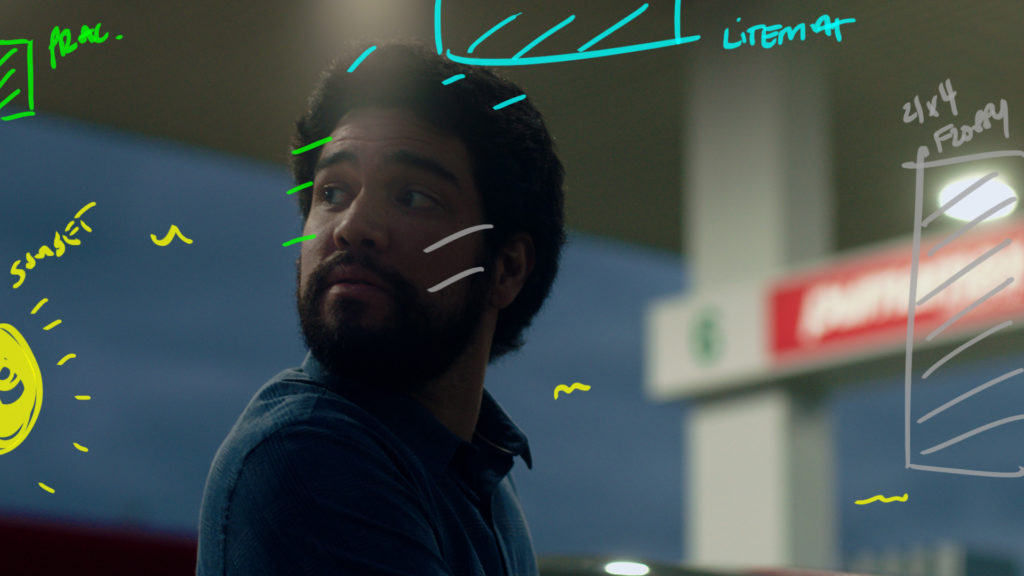
We set up the direction of light in the wide knowing we were going to come around for this frame.
The Lite Mat is giving us just enough of a fill from the practical lighting coming from camera left. We added some 4x4 floppies to cut the bounce from camera right and that was it.
The Results
Low Contrast Cinematography
One of the best parts of being a cinematographer is discovering ways to work through challenging situations and this ad is a perfect example of that. We didn't get the weather conditions we were looking for but we still had to make it work. With a good team on board we were able to pivot and change direction to make it happen.
Make sure to leave any questions in the comment section if you have them and I will try and get to them!


Gold!
Thanks for the great walkthrough! If you had more time / resources, what would you have modified to the frontal shot of the neighbor on the porch? Would it be a bad idea to turn on a practical in the house or motivate some light in that doorframe somehow? Thanks again.
Maybe. It was more that is was just a boring location. How much more dynamic would the shot have been with a practical on in the BG in the middle of the day? Hard to say
Hi Patrick, hillarious intro on this one! I am a long time fan of your show but never posted a comment before. I was wondering what color temperature you would dial in on an overcast day such as this one and would also like to ask why you went with the 35 instead of the 55 for the closeup of the lady. Thanks man!!!
I would guess we were between 6000 – 6500k.
We chose the 35 because we needed to see the male talent in the BG.