Kino Flo: Quick and Easy
The second location of Day #1 was the interior dinner scene where our lead actor was going to be dining with her family.
The only real issue on this set up was that we needed to black out the house so we could do a night shoot even though we started shooting at about 2:00PM.
The Kino Flo: Shot #1 – The Closer
The wide shot in the kitchen was our only moving shot in the entire commercial. There was a bit of back and forth on how exactly we were going to integrate the movement with the rest of the handheld feel. On the day we decided to just sit on the dolly and hold the camera using the Easyrig to help keep a bit of the uncertainty to the movement.
The other issue with the wide shot was going to be the placement of the final graphics. This shot would be a held a bit longer so Grant could slide up the graphics on the left hand side of the frame.
Tech Scout:
Reference Image:
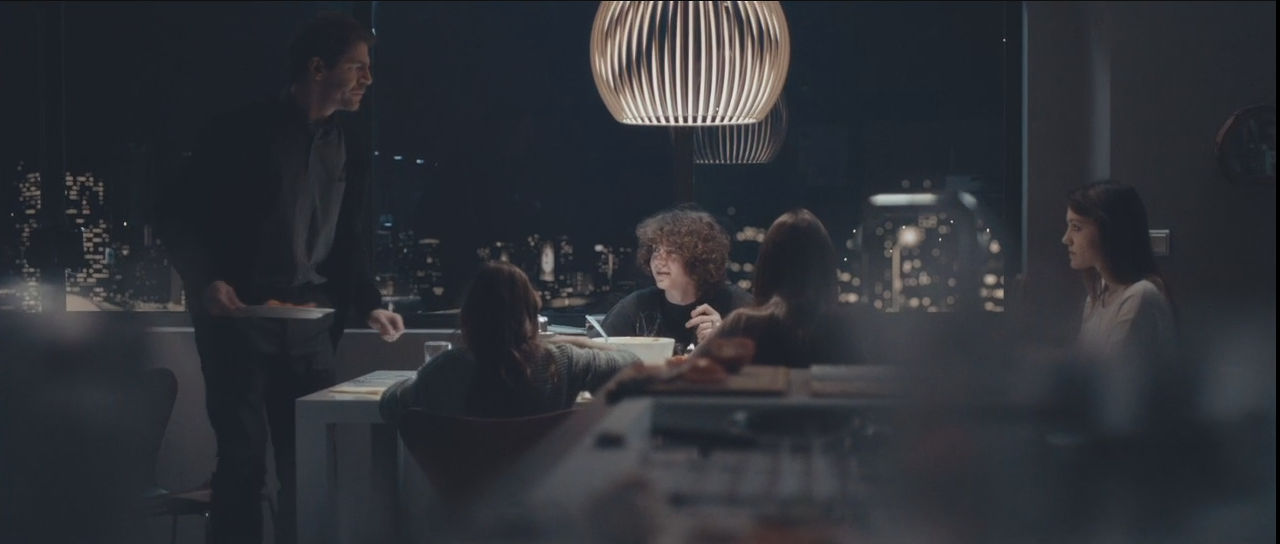
Color Temp/ISO: 3200K/500 ISO
Lens: Arri Zeiss Master Prime 32mm @ T1.3
Filtration: IRND .6
FPS: 25fps
Lights/Modifiers Used: 1x 4×4 Kino Flo 3200K (2 tulbs) with through diffusion & skirted, 2x Dedos through 8×4 loosely hung bed sheet, and 3 practicals on dimmers.
The Challenge: Getting the Kino Flo out of shot with a very low ceiling and getting a nice even wash of light across the background.
Solution (Short Version): A couple of skilled guys, a nice rigging job for the pole cat and using Dedos on half spot and then pumping them through a big loose bedsheet.
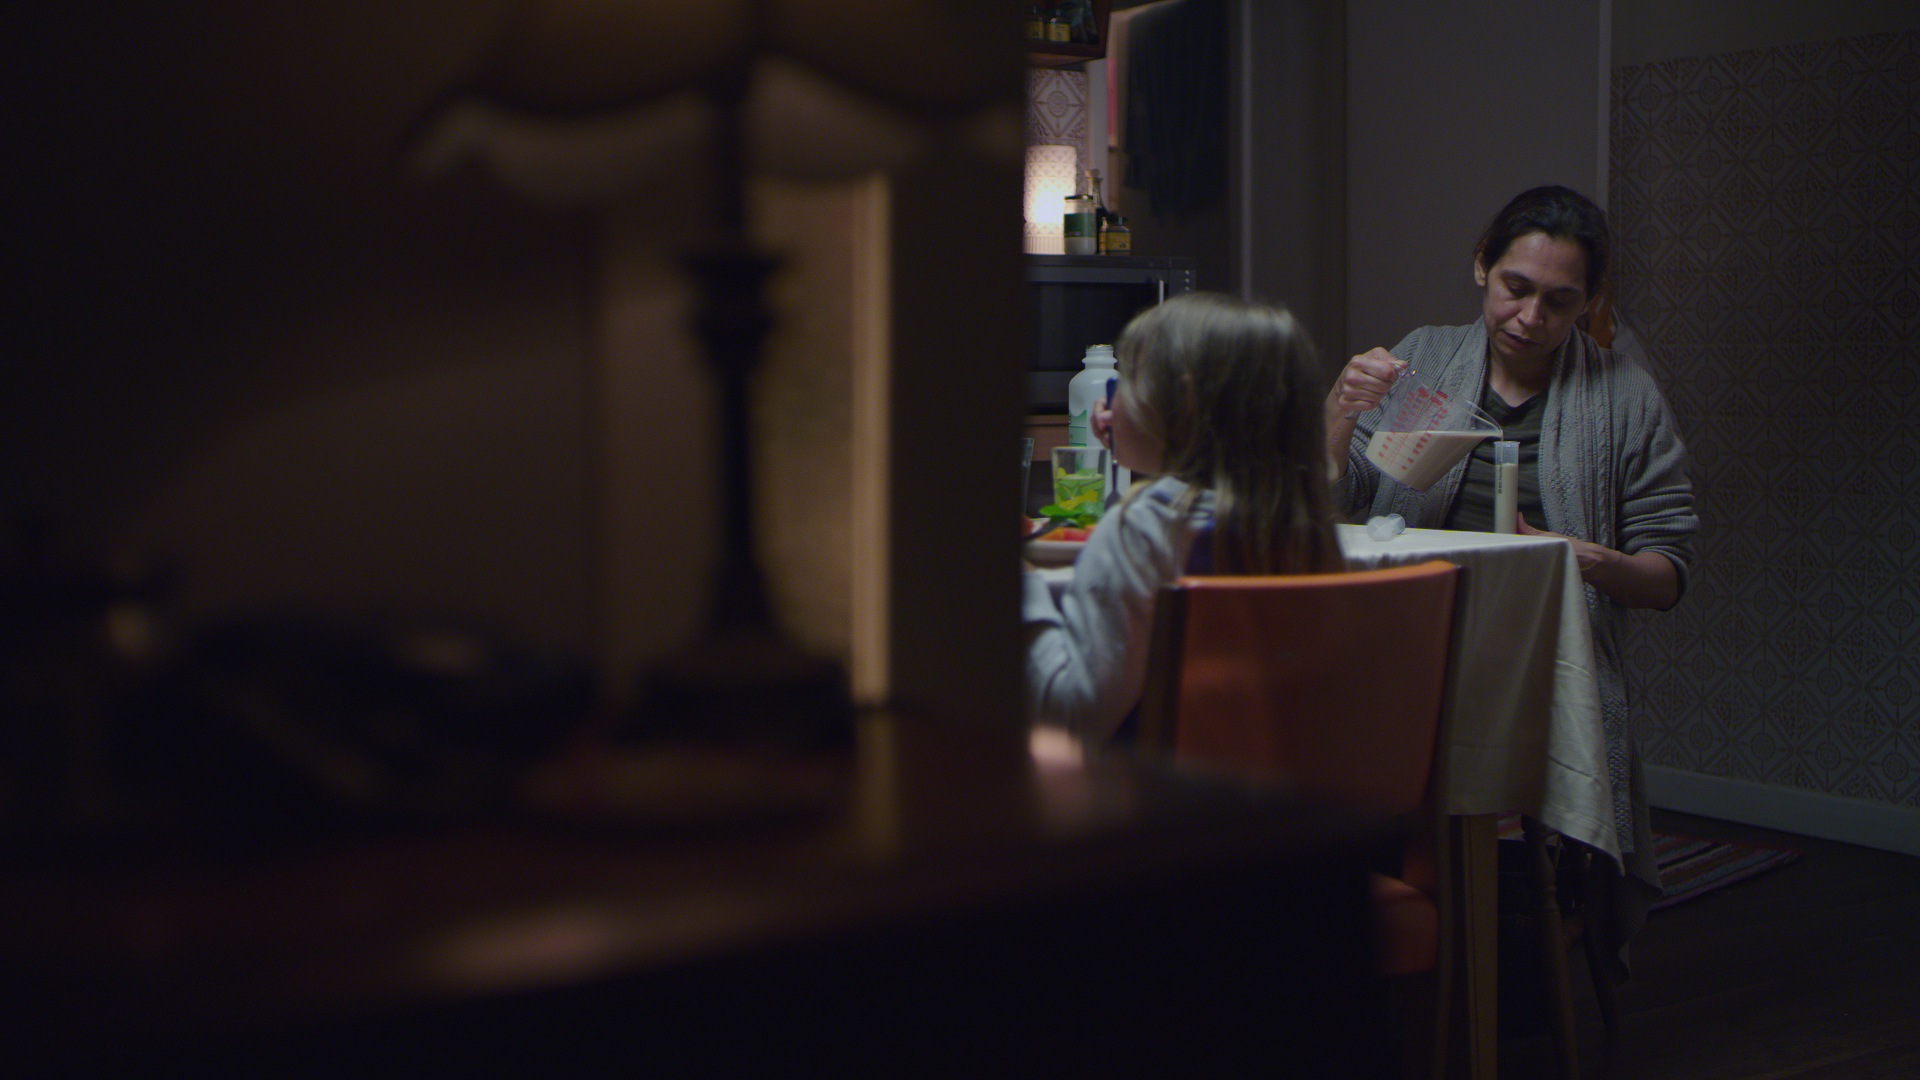
The Kino Flo: Shot #2 – The Body CU
The next shot we swapped lenses, turned on the third bulb of the kino flo to get further reach, and killed the dedos.
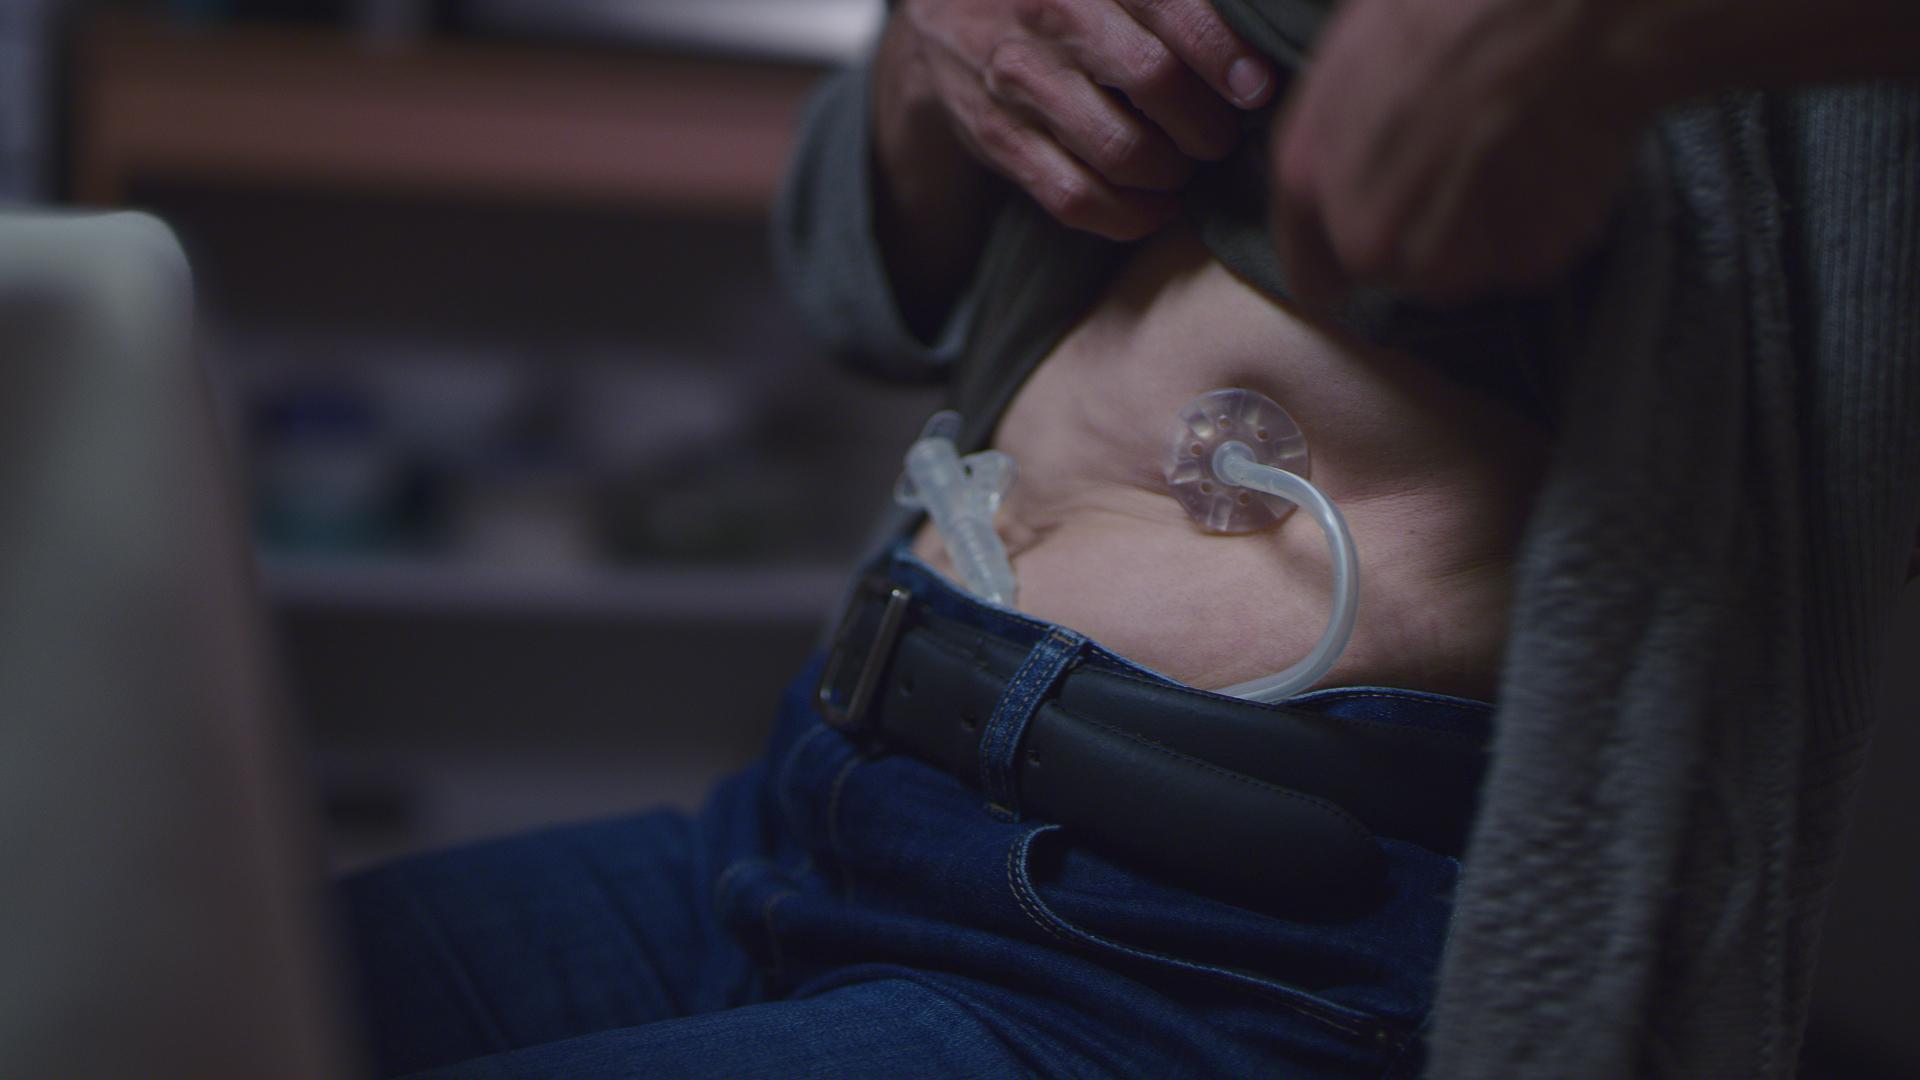
Color Temp/ISO: 3200k/500 ISO
Lens: Arri Zeiss Master Prime 65mm @ T1.3
Filtration: IRND .6
FPS: 25fps
Lights/Modifiers Used: 1x 4×4 Kino @ 3200k (3 Bulbs), Practicals on Dimmers, 1x 4×4 Black Negative Fill
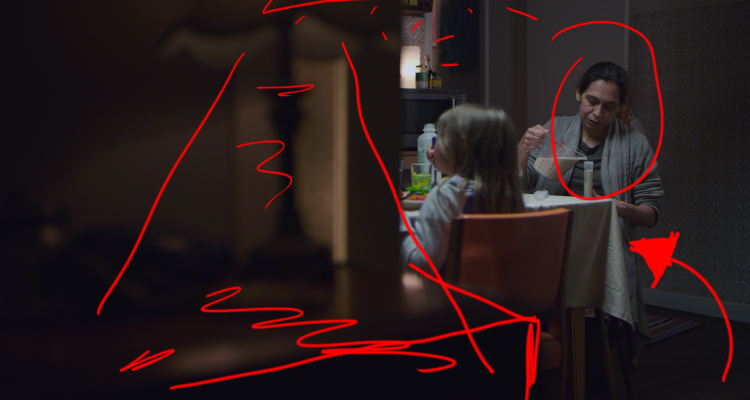
The Kino Flo: Shot #3 – The CU
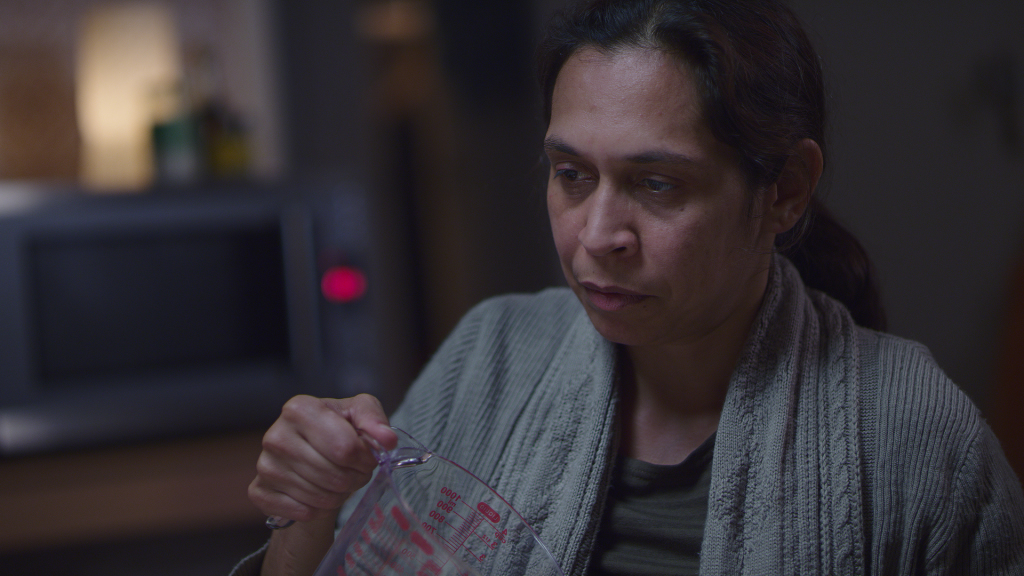
Color Temp/ISO: 3200K/500 ISO
Lens: Arri Zeiss Master Prime 65mm @ T1.3
Filtration: IRND .6
Lights/Modifiers Used: 1x 4×4 Kino Flo 3200K (2 tulbs) with through diffusion & skirted, 2x Dedos through 8×4 loosely hung bed sheet, 3 practicals on dimmers, and 1x Tweenie on Dimmer in the Room behind the Actor’s Head.
The Challenge: Balancing the Foreground action with some interesting background elements.
The Solution (Short Version): Using the Dimmer to dial in just the right amount of color and light contrast on the practical. Adding a tweenie to the back room and just cracking the door so it looked like light was pouring out.
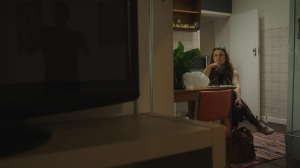
The Kino Flo: Shot #4 – Room Switch
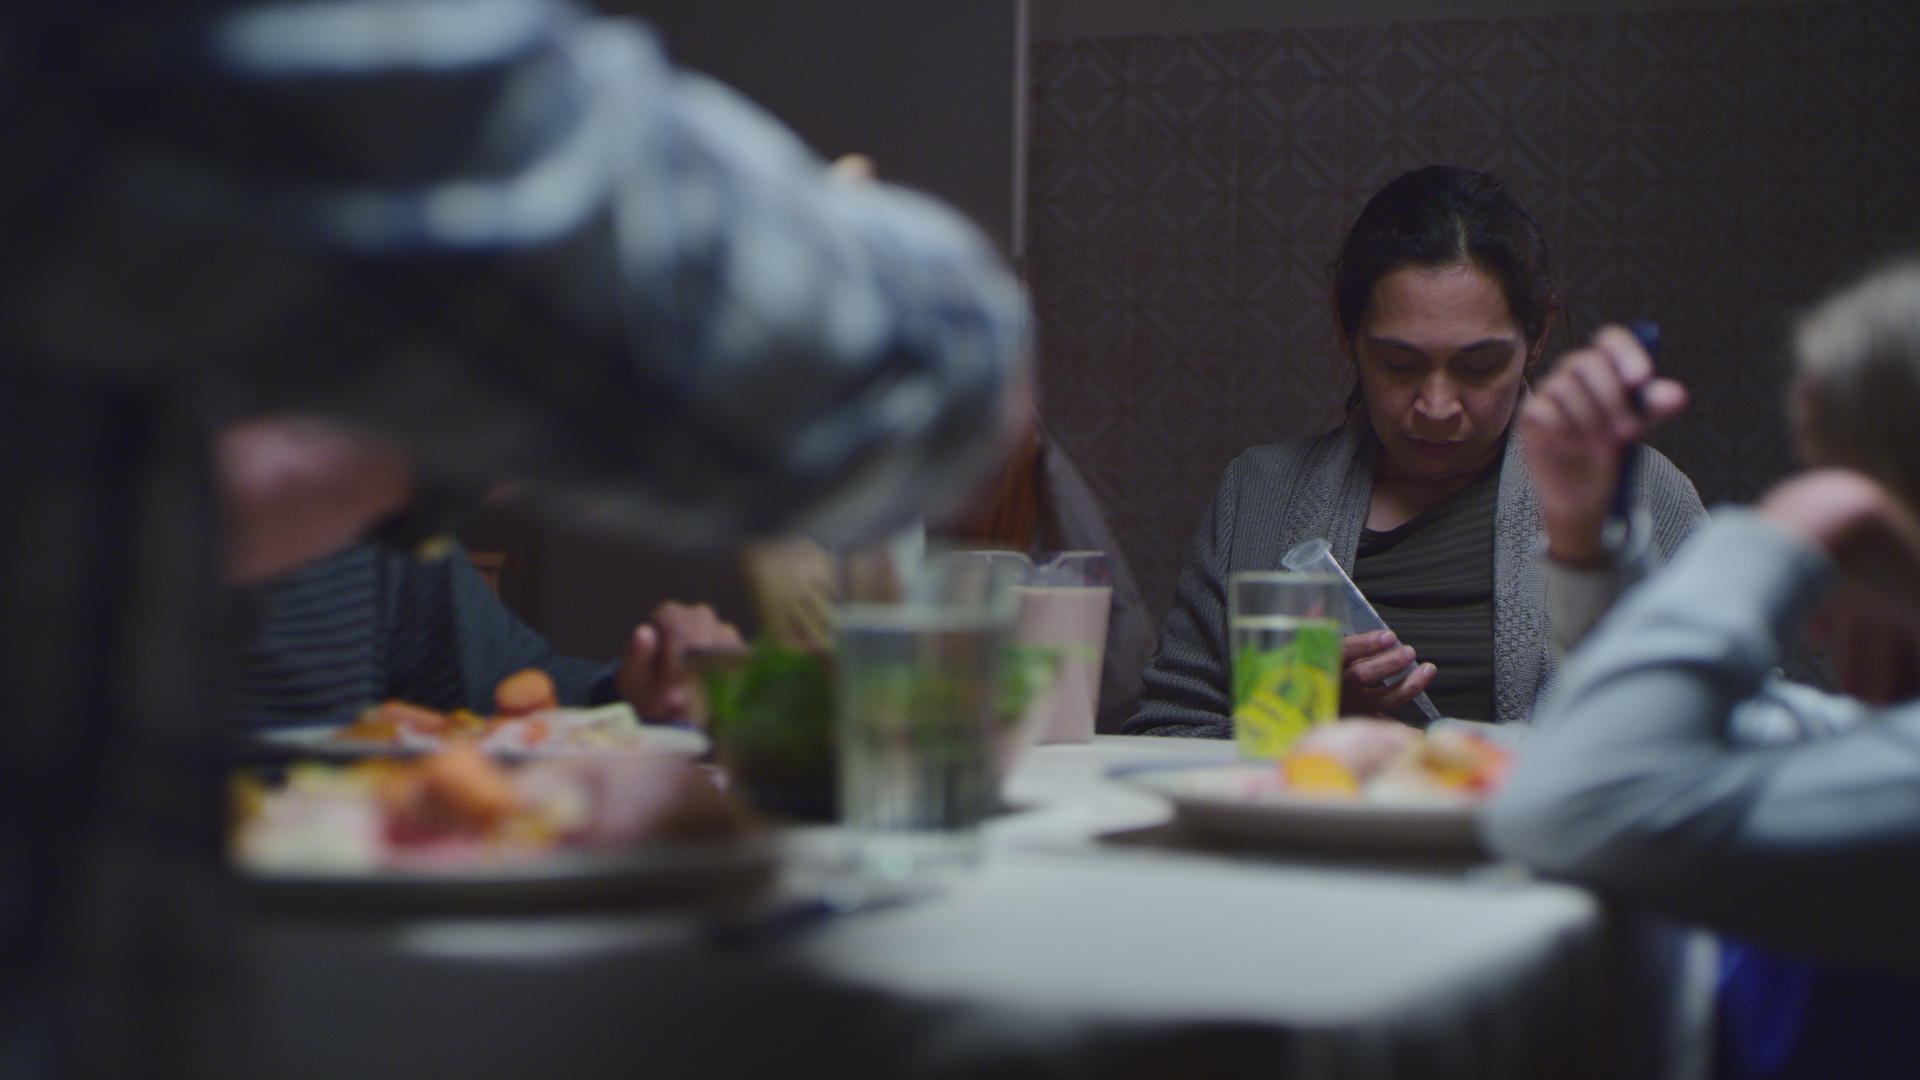
Color Temp/ISO: 3200K/500 ISO
Lens: Arri Zeiss Master Prime 40mm @ T1.3
Filtration: IRND .6
Lights/Modifiers Used: 1x 4×4 Kino Flo 3200K (2 tulbs) with through diffusion & skirted, 2x Dedos through 8×4 loosely hung bed sheet, 3 practicals on dimmers and some 8×4 Floppies for Negative Fill.
The Challenge: Getting enough exposure in the eyes of the talent.
The Solution (Short Version): Playing with the skirting on the kino flo to keep the harshness off the tops of the heads and getting bounce of the table to get enough exposure.
Moving On – Day One in the Can
We had a few more shots from different angles in the kitchen and shooting through different door frames but none of those made the final edits.
We wrapped Day 1 and got some rest before launching in to Day 2 which was going to be a big one.
Check back next time on the Commercial Cinematography Series for Part #8 featuring my favorite lighting set up of the entire commercial.
Thanks so much, this is very helpful. Please keep up the good work!
Never stop sharing your work! Thank you!