Leica M & Magic Hour
One of the things I love about my Leica M is its versatility. The size and design of the camera makes it really easy to take the camera wherever I go. The more I use the rangefinder the more comfortable I become with the system and the sensor.
Diopters for Creative Purposes
I have been experimenting with using diopters in my cinematography for a few years but I haven’t really mixed my Leica M work and diopters. On a recent location scout for an upcoming cinematography project I had to take the diopters along to see how the locations would react to the process.
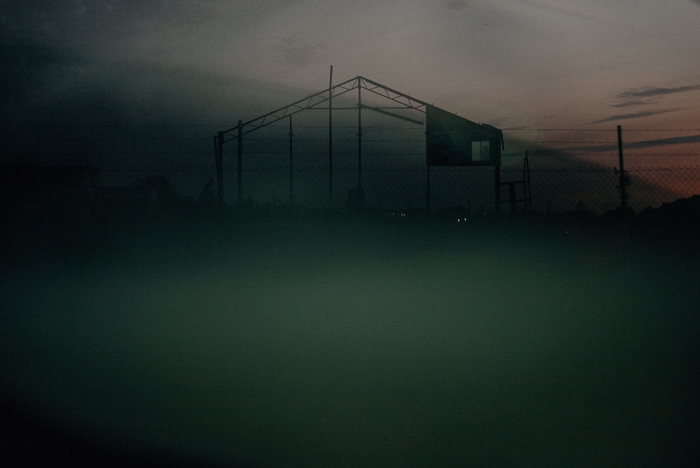
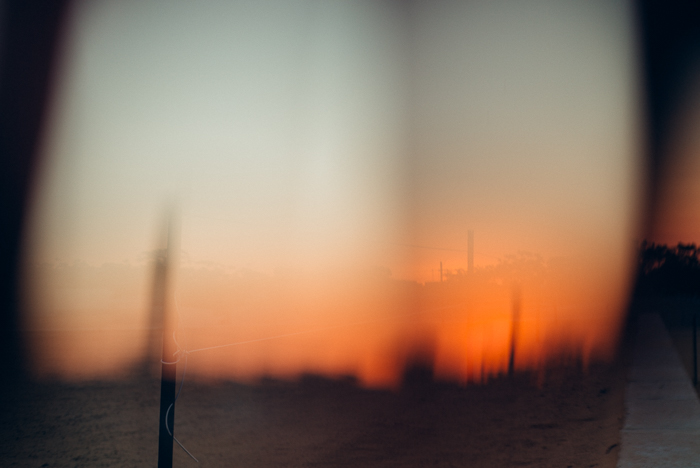
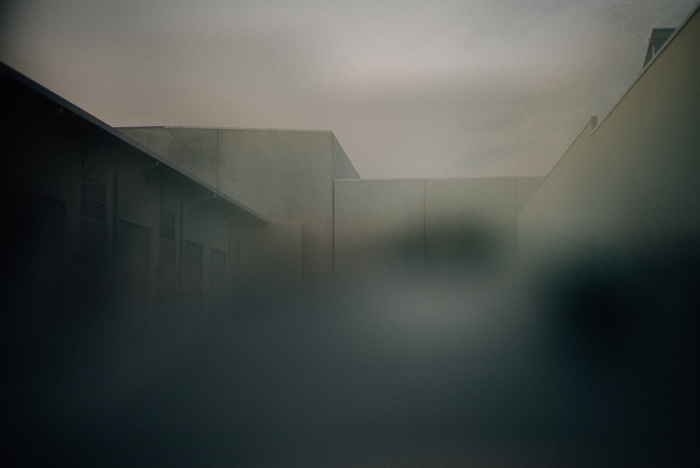
It didn’t take many exposures before I really started enjoying using the Leica M and the diopters. They add a certain dream-like feel to an image by obscuring it or blurring the subjects.


Essentially what you do is you use the diopters to magnify (in most cases extremely over magnify) an area of the frame so that it either adds elements (color, light, shadow) or takes away elements by blurring or mixing layers.
There are a few best practices you have to remember when doing this kind of work to get it right but once you do the results can be quite good.
5 main tips for using the Leica M and diopters:
1. Live View
I hate using live view on the Leica M for composition as one of the reasons I was drawn to the camera was the rangefinder focusing and eye piece. What I do is I will compose and focus through the rangefinder and then switch to live view to see the effects of the diopters.
In the rangefinder you aren’t seeing what the lens is seeing so getting the balance of blur/light/reflections is impossible. In live view you are able to see exactly what the sensor is so you can really fine tune the adjustments of the diopters.
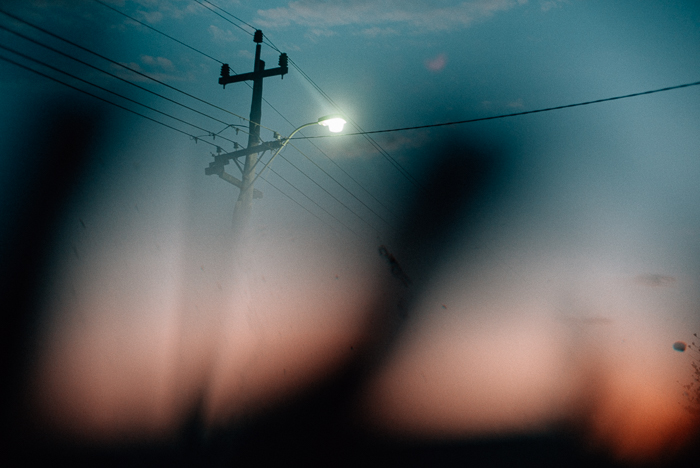
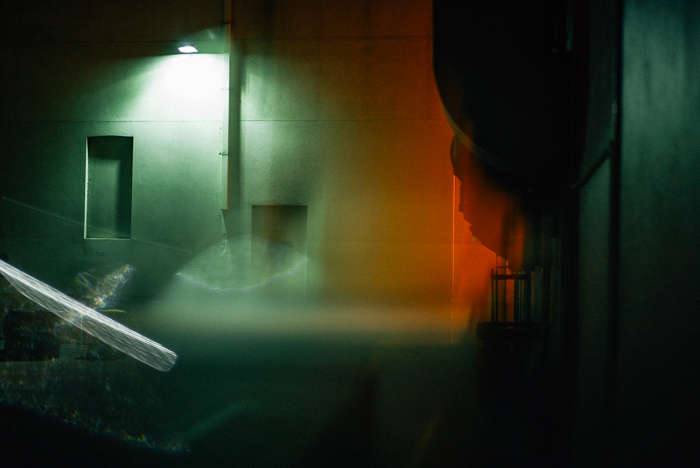
2. Backlight
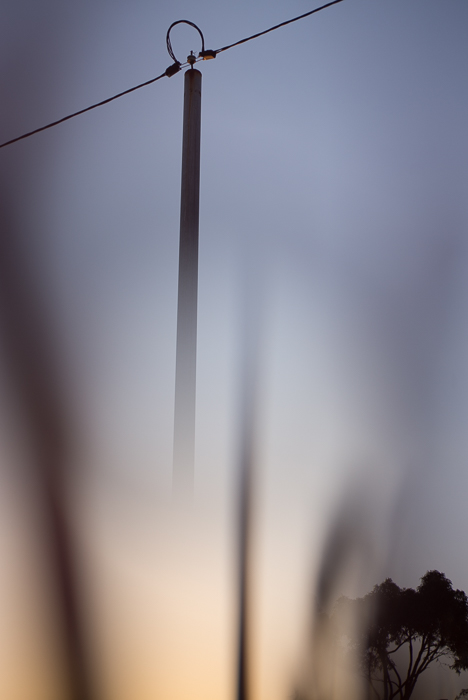
To get the most out of your diopter experience you really have to look for strong back light opportunities. The mixing of dark and light is what creates the moody images.
The back light on your subject also means that some stray light will be directly interacting with the diopter which will create unique artifacts that can add interest to the photo. The more back light the better I find.
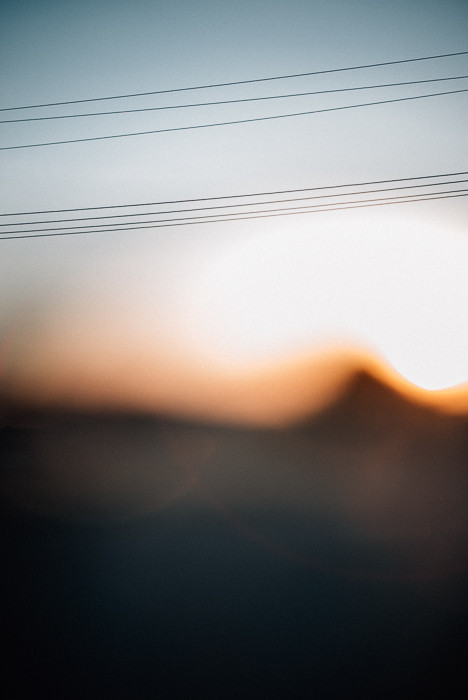
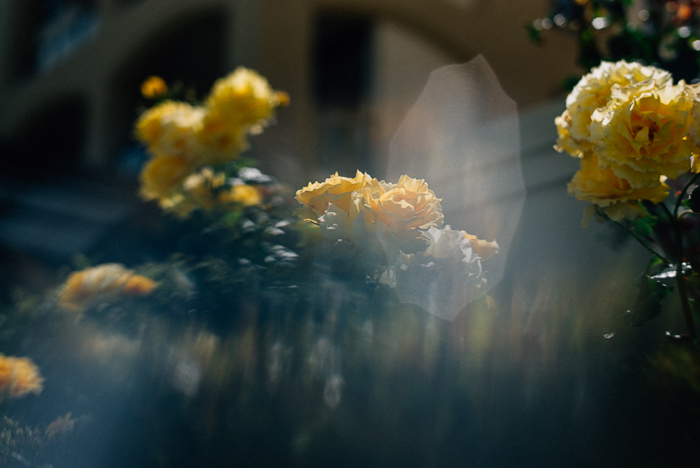
3. Depth of Field
To get the most out of the blur you need to manage your depth of field carefully. If you stop down too much you will begin to lose the blurriness that the diopter imparts on certain areas of the frame and you will also begin to see the hard outline of the glass. It is usually best to be working in the first two or three stops of a very fast lens to get the most out of the effect.
If you are wide open @ f1.4 you will find that the diopter may throw too much out of whack and you will get just a large blob of blurriness. The effect can be great for some projects but on other ones you are going to want a bit more detail in the blur.
If that is the case you can simply stop down a bit, move the diopter further from the lens and you will begin to get a bit more detail.
4. Lens Choice
Knowing that Depth of Filed is going to play an important role in this technique you must also think about your lens selection. Generally speaking, the longer the lens the easier it is going to be to get the desired results from the diopter. A fast 85mm on a Full Frame Sensor is going to have a much greater ability to throw things out of focus than a slower 24mm on the same sensor.
Keep your lenses longer and you should have a bit more room to play with when going for this look.
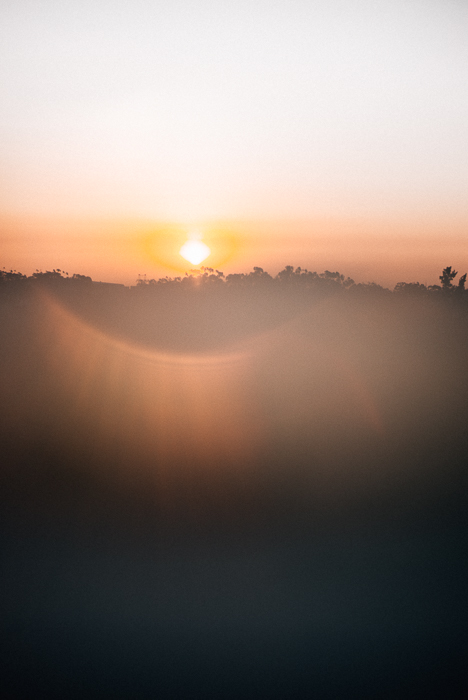
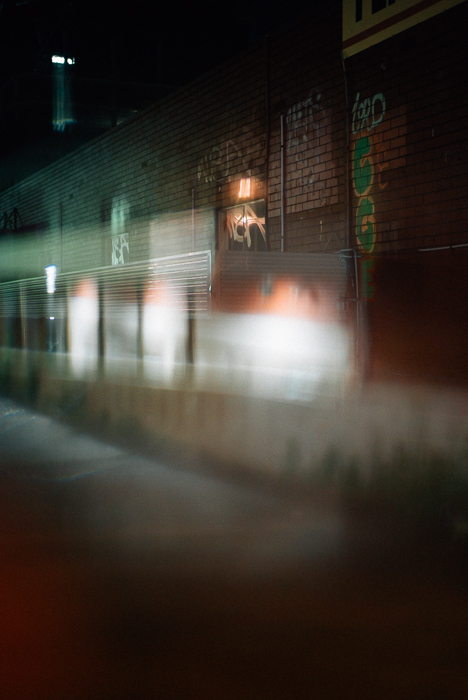
5. Underexposing
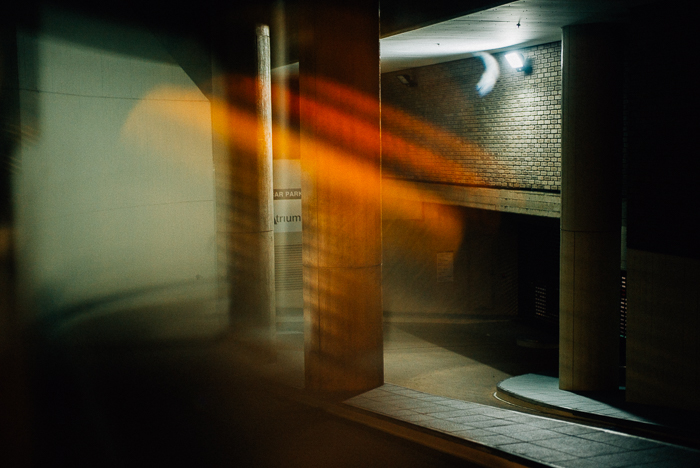
If you are shooting in a back light situation and direct light is hitting the diopter chances are high you are going to have some extreme highlights if you aren’t careful.
Nothing ruins one of these photos like a big blob of white where you didn’t want it. You can actually see this in a photo I have put above on this page. To mitigate the chances of getting one of these hot spots try underexposing and compensating for the highlights. You will thank me later.
One Last Tip
The main thing to remember with using this technique is that it can very easily be overdone and tasteless. The hard part is finding a balance between what you show and what you don’t show.
The line between those two is constantly shifting and finding the right balance is a work in progress.
The Creative Things You Use
What sort of things do you like to put in front of the glass to mix things up? Water glasses? Vaseline on a filter? Something else? I am always interested to hear how other people are getting similar end results.
what diopters are you using for these pics. you just using holding some type glass in front of the lens and playing around with the look or are you actually attaching a diopter to the lens?
-would love if you went further into this in a podcast!
Do you have a behind the scene sample using the diopters?
Not really. I just hold it up in front of the lens.
I move it all around till it looks nice and that is it.
I love taking out the lens and playing with the lens out of the mount.
Also love using kaleidoscopes and crystals in both, motion and stills pictures 🙂
Have a good day!
My favourite thing to stick in front of a lens is a used clear plastic water bottle.
Take any labels off the bottle, make sure there’s still a little water in there, squash the bottle in your hands, shake it around to make the water droplets move about and hold in front of the lens at different angles.
I’ve used this to great effect – a $1 filter in front of an expensive Summilux-C is a great combo!