The Anamorphic Frame
I recently wrapped up a short film that had been shooting over the last few weeks and I wanted to share some of the different lighting set ups we used in the piece.
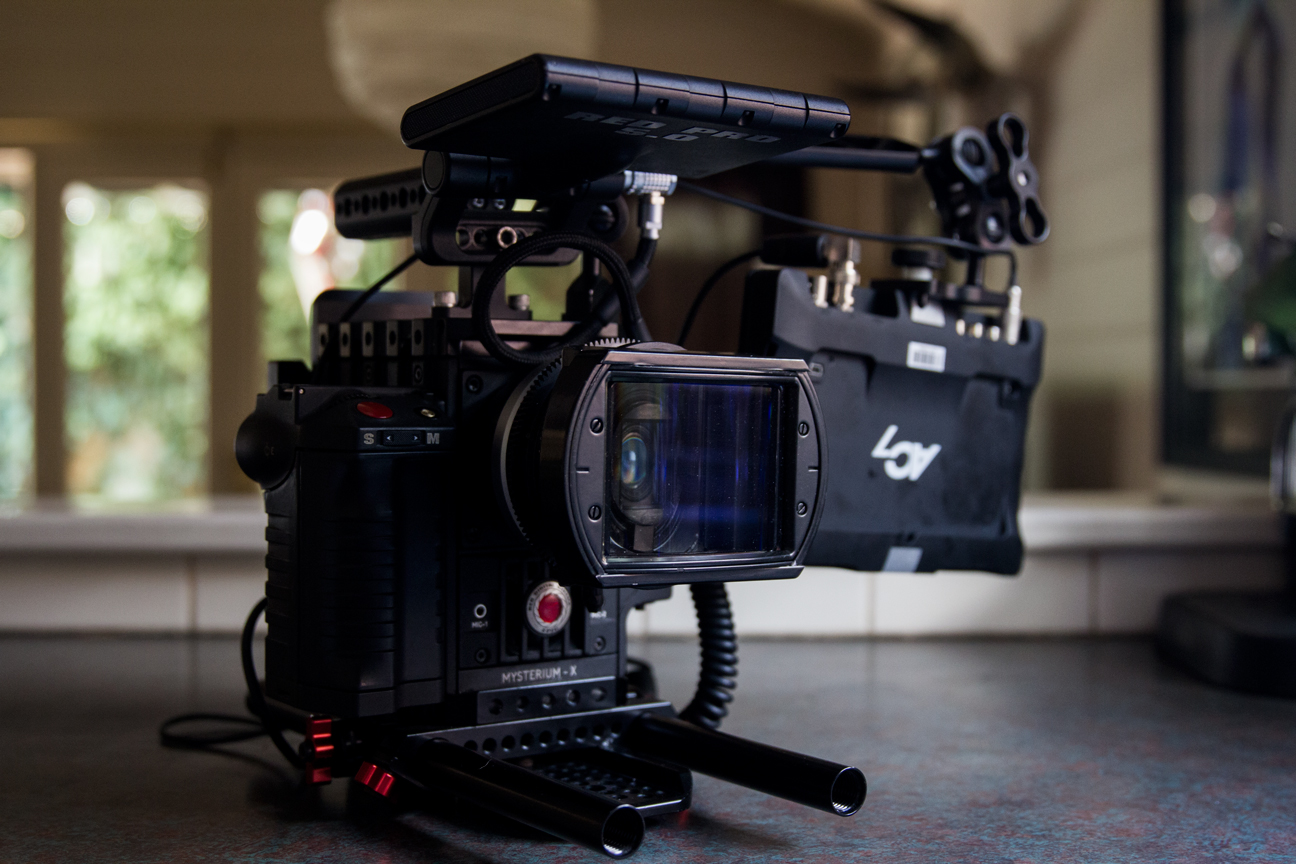
The film was shot using the RED Epic Anamorphic mode which meant we were using my Lomo 2x lenses. One of the strengths of the wide anamorphic frame is that you can really show off set design as so much outside the main action is still in frame. This can be a blessing or a curse.
On this film we were, like most short films, short on time and money. We were begging and borrowing every location we could get our hands on and we had to make do with what we could find.
Fitting the Frame to the Story
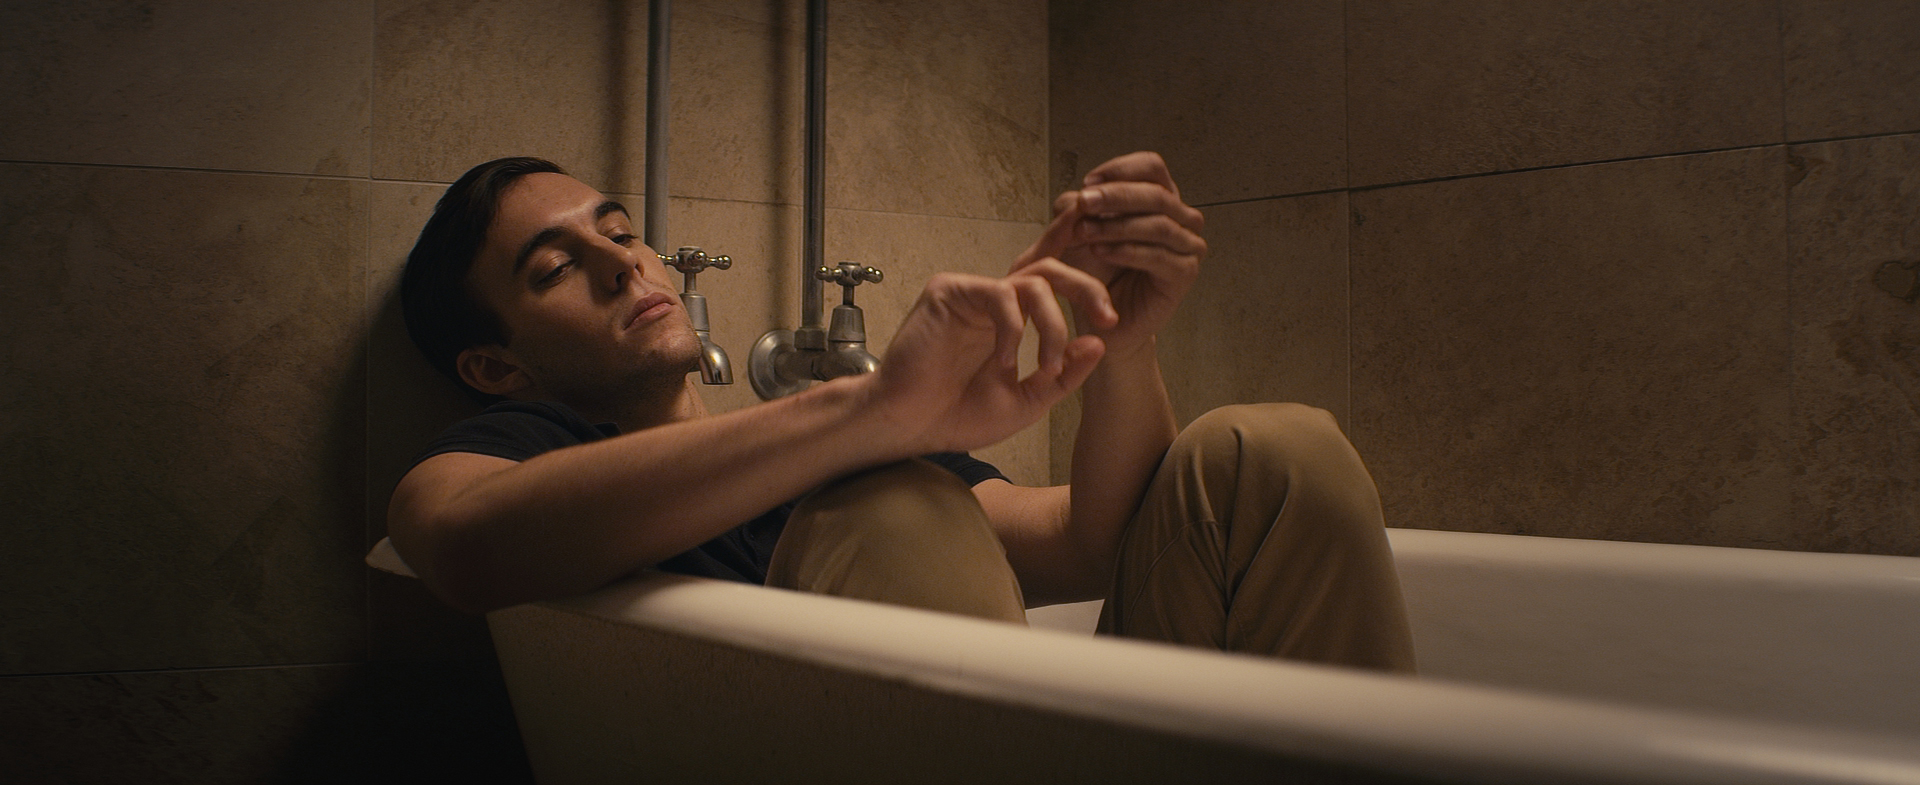
The story is about the relationships between the three main characters and one of the main scenes takes place in a bathroom in the middle of the night. When I read the script the first alarm bell that immediately went off in my head was 99% of the time bathroom location = small work space. Small work space means it is difficult to get motivated sidelight.
The inevitable compromise is lighting it from above and that leads to either a low contrast flat shot or an over the top feel. It turns out that our bathroom location was even smaller than anticipated and to make matters worse it was covered with brown, highly reflective tiles.
Doing Homework
While I love the freedom my Leica M affords me with my photography, working on set as a cinematographer could not be more opposite. You are 9 times out of 10 running behind in time and over in budget. As the cinematographer you have lots of people waiting for instructions and if you aren’t prepared it can quickly get overwhelming.
Over the years I have developed my own little system for dealing with the various tasks necessary. The biggest time saver for my style is going the extra mile in pre-production to ensure I have answered as many questions as I can about the lighting, framing, and camera movement before I get on set. Research makes things easier to articulate to key crew members and the director and if you have visual examples it moves things even further in the right direction as everyone is at least starting from the same base.
I like to collect as many lighting and framing examples as I can so that byu the end I amass what is essentially a look book or a giant mood notebook. From there I can pull ideas together and make it my own. It is about taking great work and building on it with your own style.
Fine Tuning the Research
So for this particular job I set out to find quality bathroom scenes with active side lighting. I am not a fan of top lighting and that limited my choices for finding creative references. The best example I found and the one I used for my own base was this scene from The Reader shot Roger Deakins & Chris Menges. This particular scene I believe was lensed by Mr. Menges.


The main reason I was draw to this scene was the side lighting and the use of a motivated top source that had a wrapping effect on the actors. So that is where we started from. Unfortunately we didn’t have the same location and we had a lot less space so we needed to go in a slightly different direction.
We, gaffer Joel Crane and myself, were going to have to come up with a way to make it interesting and keep the look in line with the rest of the piece. So here is what we came up with.

Making Due With Tight Spaces
We started by blocking out the action with the director and deciding on all of the camera positions and eye lines. Then we hung a Polecat in between the two walls parallel to the bathtub.
The majority of the action was taking place inside the bathtub so we decided to hang an ETC Source 4 750W on the polecat and shoot it directly across the room and bounce it off a piece of foam core hanging on the other side slightly lower and angling downwards. The foam core was wrapped in unbleached muslin. This was a little bit tricky because shooting Red Epic Anamorphic meant we needed quite a bit of light even rating the Epic at ISO 800. We were using a T4 shooting stop as anything lower compromised the sharpness and contrast levels on the Lomos. That combination managed to get us a key light that was reading T4.5 on the subjects key side.
The only problem was that because the tiles were so reflective we were getting stray bounce from all over which was then lifting our fill side to high.
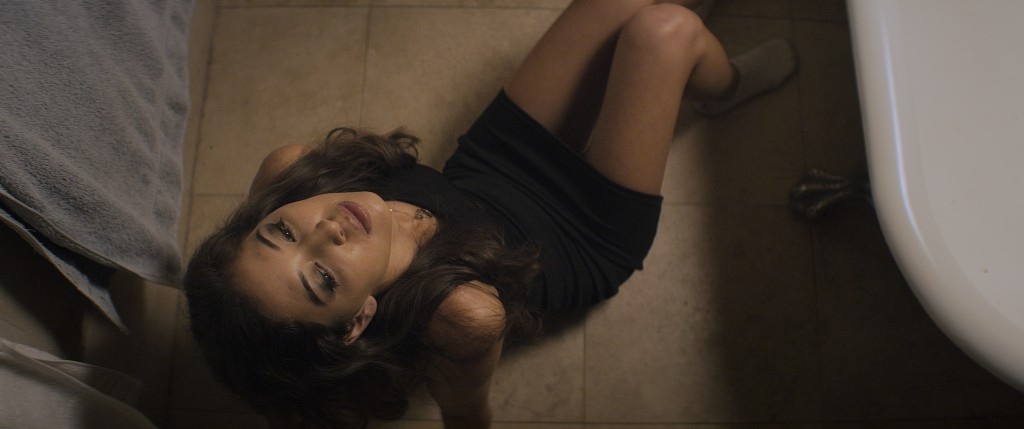
We were aiming to keep a 3:1 ratio on the males throughout the film and a 2:1 on the ladies. To achieve the 3:1 ratio we hung blacks on all the walls out of frame so that we could kill the levels with negative fill. I used my Sekonic 758cine lightmeter (which I deeply love) to dial in just the right amount of fill so I could be sure we were being consistent. We also added a small 2×2 kino for a hairlight for the female leads reverse shots.
A Peak Behind the Curtain
You can see the size of the space in these BTS stills:
As the photo shows we had some black wrap keeping the light off the rear wall behind the main actor. You can also see the negative fill on the side walls.

And here is another shot before we put the negative fill up. You see the c stand knuckle is about an inch outside the final frame. This is an example of how we used the short Red Epic Anamorphic frame to our advantage.

The Finished Product
I was fairly happy with how the results turned out. It isn’t easy shooting anamorphic but the team managed to keep busy and work hard and in the end I think we got something we can all be proud of. The shoot stayed on time and on budget due in large part to being overly prepared and ready for any hiccups in the plan.
Here is the final image with a quick pass inside DaVinci Resolve:

I plan on posting a few of these lighting breakdowns on this project as I get to see more of the final footage.

Hey Man,
Only found out about your website a week ago and during downtime I’ve been pretty much reading and following up on all your advice. Thank you very much for putting this out there! This is insanely valuable stuff here.
Hello Patrick,
You already know the value of the material you are sharing here but still I had to write and thank you. It’s always nice to hear even though you know it. After studying a couple of years at one of the good film schools in New York and studying everyday for years after that I still had this hesitation to produce stuff. Mostly because I knew what good image was or amazing looking footage was but I was scared to execute. It was safer to stay student. After studying handful of episodes of your I feel much confident now. You gave me what I needed to know to have confident. You made me buy my first light meter a week ago. I spent 10’s of thousands of dollars to equipment and I am still spending. This time I know I’ll produce nice images though. You thought me how to identify why I like an image and ways to produce similar images (quality wise). I appreciate your genorusity and efforts.